

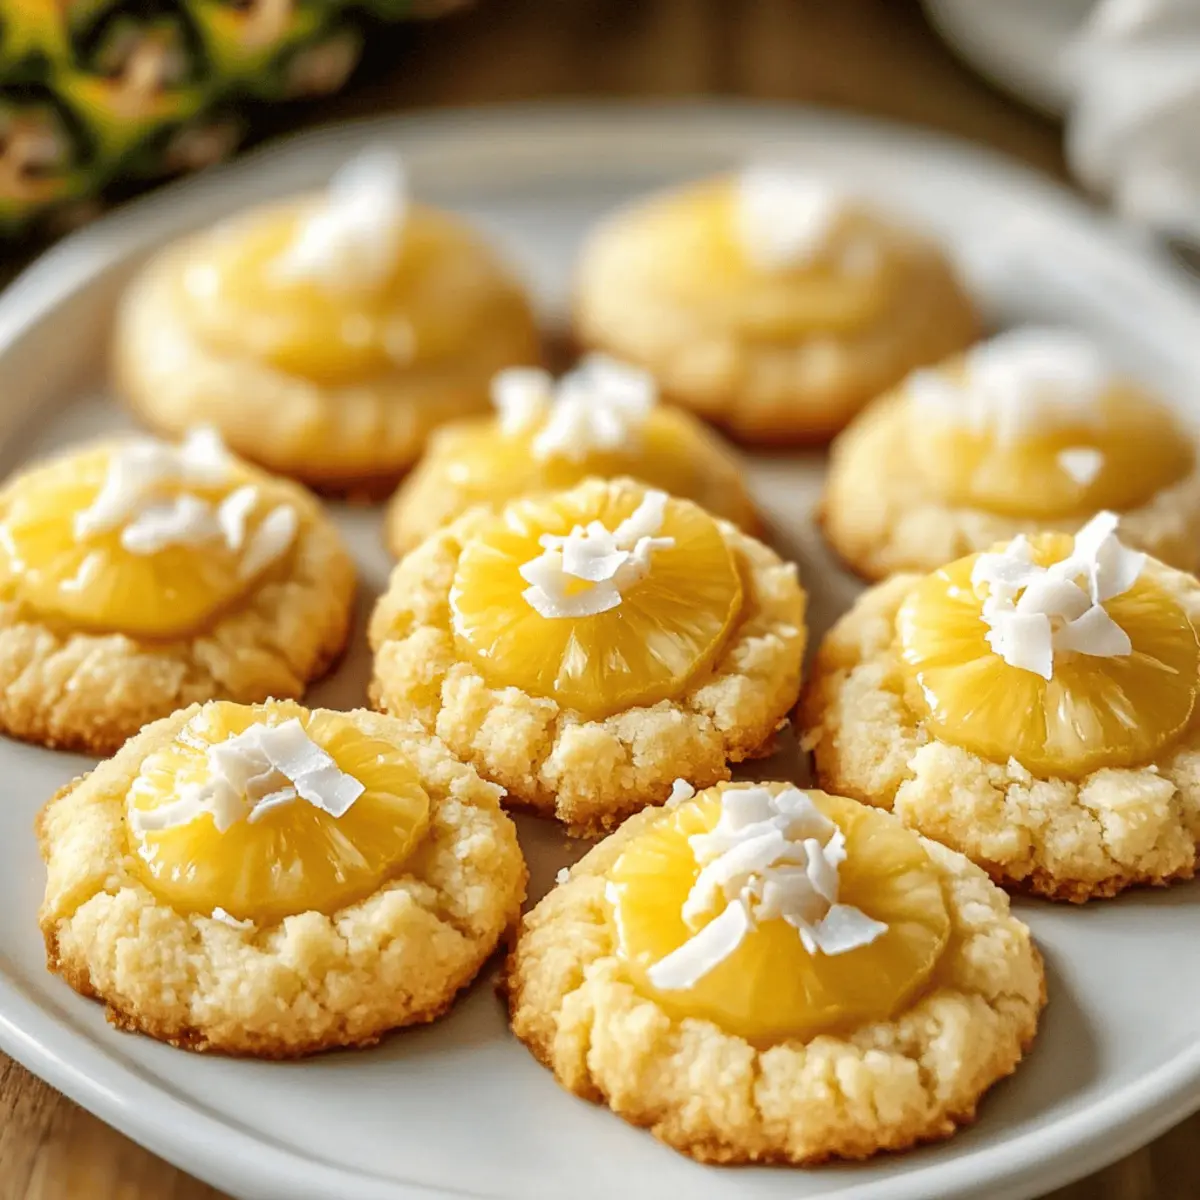
As I settled onto my patio with a warm breeze dancing around me, the scent of toasted coconut filled the air, instantly whisking me away to a tropical beach. That’s the magic of these Hawaiian Pineapple Coconut Thumbprint Cookies! With their inviting blend of sweet, tangy pineapple filling and the rich crunch of toasted coconut, this easy recipe transforms simple ingredients into a delightful escape to paradise. Perfect for any occasion, these cookies are not only a feast for the eyes but also a true crowd-pleaser. Plus, they’re adaptable for gluten-free baking, ensuring everyone can join in the fun. Ready to embark on a sweet culinary adventure? Let’s dive into making these irresistible treats!
Why Are These Cookies a Must-Try?
Tropical Escape: Each bite of these Hawaiian Pineapple Coconut Thumbprint Cookies transports you to a sunny paradise, combining tropical flavors in an easy-to-make treat.
Versatile Variations: Feel free to experiment! Try using different fruit fillings like mango or even raspberry to switch things up.
Quick Delight: With simple ingredients and just a handful of steps, you’ll have a delicious dessert ready in no time!
Perfect for Everyone: Whether you’re gluten-free or prefer traditional baking, this recipe adapts beautifully for all taste buds.
Crowd-Pleaser: Whether it’s a family gathering or a casual get-together, these cookies will surely impress your guests – they won’t last long!
Hawaiian Pineapple Coconut Thumbprint Cookies Ingredients
For the Dough
- Butter – Adds richness and tenderness to the cookies; use unsalted for better salt control.
- Sugar – Provides sweetness and promotes browning; try substituting with coconut sugar for a tropical twist.
- All-Purpose Flour – Gives structure to the cookie; swap with a 1:1 gluten-free flour blend for an easy gluten-free option.
- Eggs – Binds the ingredients together; for an egg-free variation, consider using flaxseed meal instead.
For the Filling
- Pineapple Filling – Offers sweet, tangy flavor; opt for crushed pineapple to ensure a smooth texture.
For the Topping
- Toasted Coconut – Adds delightful crunch and flavor; you can substitute with chopped nuts for a different texture.
These delectable Hawaiian Pineapple Coconut Thumbprint Cookies are a tropical delight, perfect for any occasion!
Step‑by‑Step Instructions for Hawaiian Pineapple Coconut Thumbprint Cookies
Step 1: Prep the Dough
Start by creaming together 1 cup of softened unsalted butter and 3/4 cup of sugar in a mixing bowl with an electric mixer until the mixture is light and fluffy, about 2-3 minutes. Add in 1 large egg, mixing until fully incorporated. Gradually sift in 2 cups of all-purpose flour (or a gluten-free flour blend) and mix until a soft dough forms.
Step 2: Form Cookies
Scoop tablespoon-sized portions of the dough and roll them into balls between your palms. Place the balls onto a parchment-lined baking sheet, spacing them about 2 inches apart to allow for spreading. Using your thumb, gently press down in the center of each ball to create a thumbprint, ensuring it’s deep enough to hold the filling later.
Step 3: Add Filling
Now it’s time to fill those thumbprints! Carefully spoon about 1 teaspoon of crushed pineapple filling into each thumbprint, making sure not to overflow. The filling should be slightly heaped, providing a sweet and tangy burst in every bite of your Hawaiian Pineapple Coconut Thumbprint Cookies.
Step 4: Bake
Preheat your oven to 350°F (175°C) and bake the cookies for 12-15 minutes or until the edges are a beautiful golden brown. Keep an eye on them to avoid over-baking, as this can dry out the cookies. Your kitchen will soon be filled with a delightful tropical aroma!
Step 5: Cool
Once baked, remove the baking sheet from the oven and let the cookies cool on the sheet for about 5 minutes. Then, transfer them to a wire rack to cool completely. This step ensures that your Hawaiian Pineapple Coconut Thumbprint Cookies maintain their soft, buttery texture, ready to be enjoyed!

Expert Tips for Hawaiian Pineapple Coconut Thumbprint Cookies
-
Use Cold Ingredients: Ensure your butter is softened, but not melted to achieve the right cookie texture.
-
Don’t Skip the Cooling: Allow cookies to cool completely on a wire rack; this helps maintain their soft and chewy consistency.
-
Mind the Thumbprint: Press deeply enough into the dough to hold the filling, but not too deep that it breaches the bottom.
-
Try Variations: Substitute crushed pineapple with other fruit preserves like mango or raspberry for a fun twist on these Hawaiian Pineapple Coconut Thumbprint Cookies.
-
Watch Your Baking Time: Keep a close eye on the cookies while they bake to prevent overbaking—golden edges are the key!
What to Serve with Hawaiian Pineapple Coconut Thumbprint Cookies
Nothing pairs better with a tropical treat than a little taste of paradise to complete your meal.
-
Tropical Fruit Salad: A medley of fresh fruits like mango, kiwi, and papaya enhances the tropical vibe while adding refreshing brightness and crunch.
-
Coconut Sorbet: This creamy, dairy-free dessert mirrors the cookie’s coconut flavor, offering a cool contrast that’s perfect for warm days.
-
Rum Punch: A glass of this fruity, refreshing drink complements the cookie’s sweet profile and adds an effervescent kick to your gathering.
-
Macadamia Nut Ice Cream: The rich and buttery notes of macadamia nuts pair beautifully with the sweet pineapple filling, creating a decadent combination.
-
Creamy Yogurt Dip: Serve the cookies with a side of coconut-flavored yogurt for a creamy dip that balances sweetness with tang.
-
Pineapple Coconut Smoothie: Blend pineapple, coconut milk, and a hint of banana for a smoothie that echoes the cookie’s tropical flavors, making a delightful pairing.
By mixing and matching these suggestions, you can create a whimsical, tropical-inspired spread that will transport your guests straight to the Hawaiian islands!
Storage Tips for Hawaiian Pineapple Coconut Thumbprint Cookies
Room Temperature: Store cookies in an airtight container at room temperature for up to one week to maintain freshness and texture.
Fridge: If you prefer, you can refrigerate the cookies for extended freshness. They should last about 10 days; just ensure they’re well-wrapped to prevent drying out.
Freezer: For longer storage, freeze cookies in a single layer on a baking sheet before transferring them to an airtight container. They can be frozen for up to three months.
Reheating: To enjoy your Hawaiian Pineapple Coconut Thumbprint Cookies warm, reheat them in the oven at 350°F (175°C) for about 5-7 minutes or until warmed through.
Make Ahead Options
These Hawaiian Pineapple Coconut Thumbprint Cookies are perfect for busy home cooks looking to save time without sacrificing flavor! You can prepare the cookie dough up to 24 hours in advance. Just mix the dough, wrap it tightly in plastic wrap, and refrigerate until you’re ready to bake. The thumbprint cookies can also be formed and filled with the pineapple filling up to 3 days ahead; simply store them covered in the fridge. When you’re ready to serve, bake them straight from the fridge, adding a couple of extra minutes if desired. This way, you’ll have warm, fresh cookies that are just as delightful as if they were made right before serving!
Hawaiian Pineapple Coconut Thumbprint Cookies Variations
Feel free to explore your creativity with these delightful cookies. Each twist brings a new flavor adventure!
-
Fruit Fillings: Experiment with mango, passionfruit, or raspberry as alternative fillings. Each fruit adds its unique sweetness and tang, making every bite exciting!
-
Gluten-Free Delight: Use a 1:1 gluten-free flour blend instead of all-purpose flour. This swap ensures everyone can enjoy the cookies without sacrificing flavor or texture.
-
Nutty Crunch: Add chopped macadamia nuts into the dough for a delightful crunch. You can even sprinkle some on top before baking to elevate the cookie’s nutty flavor.
-
Dairy-Free Option: Replace butter with coconut oil or a vegan butter substitute. This simple switch yields cookies that are equally rich yet dairy-free.
-
Lower Sugar Twist: Substitute regular sugar with a sugar alternative, like coconut sugar or a stevia blend, for a healthier treat without compromising on sweetness.
-
Add Spices: Incorporate a pinch of cinnamon or nutmeg into the dough for a warm, cozy flavor. This adds an aromatic touch that brings out the tropical essence beautifully.
If you’re interested in other fruity recipes, consider trying out Mango Coconut Pudding or the refreshing Pineapple Coconut Mojito. Embrace the tropical flavors and enjoy every variation!

Hawaiian Pineapple Coconut Thumbprint Cookies Recipe FAQs
What type of pineapple should I use for the filling?
Choose crushed pineapple for a smooth and sweet filling. If you prefer a chunkier texture, opt for small diced pineapple. Always look for pineapple that is ripe—sweet smelling and free of dark spots for the best flavor.
How should I store the cookies?
Store your Hawaiian Pineapple Coconut Thumbprint Cookies in an airtight container at room temperature for up to one week. If you’re looking to extend their shelf life, refrigerate them wrapped tightly, which can help them last up to 10 days.
Can I freeze these cookies?
Absolutely! To freeze your Hawaiian Pineapple Coconut Thumbprint Cookies, first place them in a single layer on a baking sheet and freeze for 1-2 hours until firm. Then, transfer them to an airtight container or freezer bag, and they can be kept in the freezer for up to three months. To enjoy, simply reheat them in the oven at 350°F (175°C) for about 5-7 minutes.
What if my cookies spread too much while baking?
If your cookies spread too much, it could be due to using melted butter instead of softened butter, or not chilling the dough for a short period before baking. Try refrigerating the dough for 30 minutes before you form and bake your cookies to help them maintain their shape.
Are there any dietary considerations for these cookies?
Good question! This recipe can be made gluten-free by substituting all-purpose flour with a 1:1 gluten-free flour blend. Additionally, for those with egg allergies, you can replace the egg with a flaxseed meal (1 tablespoon flaxseed meal mixed with 2.5 tablespoons water) for a binding agent. Always check for any other allergies related to the ingredients used, such as nuts in the toasted coconut.
Can I use different fillings in these thumbprint cookies?
Yes, very! You can switch out the pineapple filling with other options like mango, passionfruit, or even strawberry jam for a delightful twist. Each option brings its flavor flair to the cookies, making them a wonderful treat for any tropical-themed event or gathering.

Hawaiian Pineapple Coconut Thumbprint Cookies for Tropical Bliss
Ingredients
Equipment
Method
- Cream together the softened butter and sugar until light and fluffy.
- Add in the egg and mix until fully incorporated.
- Gradually sift in all-purpose flour and mix until a soft dough forms.
- Scoop tablespoon-sized portions, roll into balls and place on a baking sheet.
- Press down in the center of each ball to create a thumbprint.
- Fill each thumbprint with crushed pineapple filling.
- Preheat oven to 350°F and bake for 12-15 minutes until golden brown.
- Let cookies cool on the sheet for 5 minutes before transferring to a wire rack.