

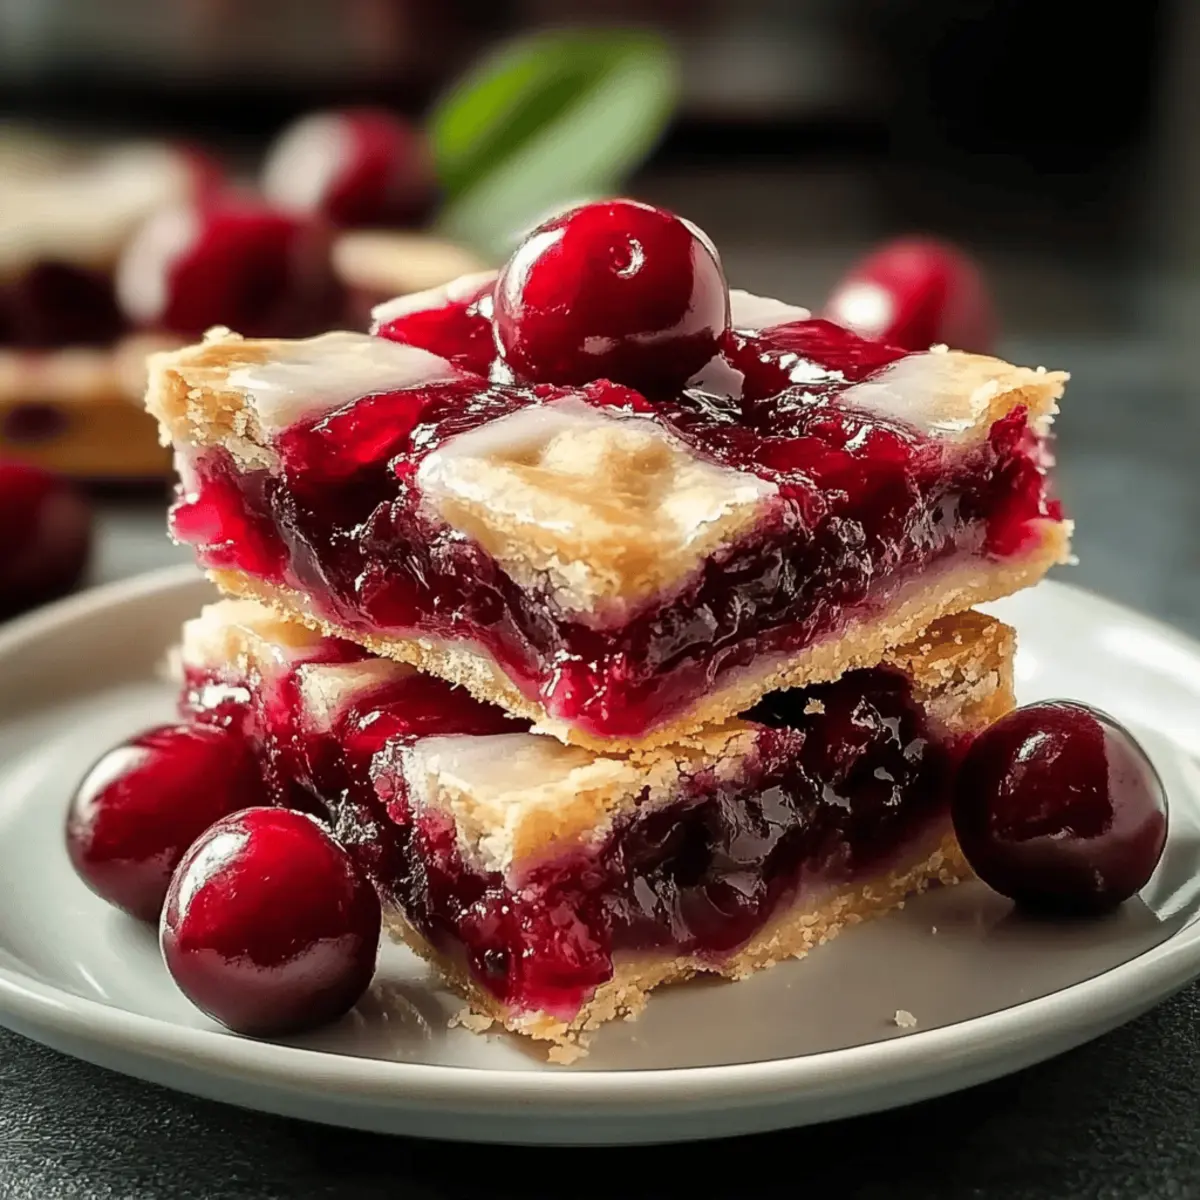
The scent of sweet cherries wafts through the kitchen as I pull these Easy Cherry Pie Bars from the oven, and it’s pure bliss! This simple dessert captures the classic flavors of cherry pie but in a delightful bar format that’s perfect for sharing—or hoarding for yourself! Not only are these cherry pie bars incredibly easy to whip up, but they also make a fantastic treat for busy weeknights or unexpected guests. With just a few staple ingredients and the option to customize with lemon juice or different fillings, you’ll find endless ways to enjoy this versatile dessert. Are you ready to discover your new favorite sweet indulgence? Let’s dive in!
Why try these Cherry Pie Bars?
Irresistible Flavor: The combination of sweet cherry filling and buttery crust creates a dessert that sings with flavor.
Beginner-Friendly: Perfect for novice bakers, this recipe has simple steps that make it easy to impress family and friends.
Versatile Options: Add a splash of lemon juice or swap in your favorite pie filling for endless variations that cater to all tastes.
Perfect for Sharing: Ideal for potlucks and gatherings, these bars are easy to cut into portions and serve, making them a crowd-pleaser.
Quick Prep Time: Ready in under an hour, these bars deliver delightful homemade bliss without the fuss—perfect for busy weeknights or surprise visitors.
Experience the magic of these Easy Cherry Pie Bars, and for more delicious treats, check out our Strawberry Icebox Pie or the classic Patriotic Chocolate Chip Cookie Pie!
Cherry Pie Bars Ingredients
• Delight in the flavors of these easy cherry pie bars with just a few simple ingredients!
For the Crust
- Real Butter – A rich and flaky crust is the star of the show. Substitute with dairy-free butter for a dairy-free version.
- Sugar – Provides sweetness and a perfect texture for your crust. No substitutions recommended.
- Eggs (Room Temperature) – Binds the dough for a tender result. Use applesauce as a replacement for a vegan option.
- All-Purpose Flour – Forms the base of the crust; consider gluten-free flour blends for an alternative.
- Salt – Balances sweetness and enhances all flavors. No substitutes necessary.
For the Filling
- Canned Cherry Pie Filling – The heart of these bars, offering a burst of cherry flavor. Look for a brand with real cherries. Fresh cherries work too!
For the Glaze
- Confectioners’ Sugar – Sweetens up the glaze for drizzling perfection.
- Pure Almond Extract – Imparts a delightful nutty aroma; you can use vanilla extract if you prefer.
- Milk – Adjusts the thickness of the glaze; add just enough for a perfect drizzling consistency.
These easy cherry pie bars capture the essence of homemade goodness, making them irresistible treats for everyone!
Step‑by‑Step Instructions for Easy Cherry Pie Bars
Step 1: Prep Oven and Pan
Begin by preheating your oven to 350°F (175°C). While the oven heats up, grease a 15×10-inch baking pan with butter or non-stick spray to ensure your Easy Cherry Pie Bars won’t stick later. This step is crucial for a smooth baking process and easy removal once your bars are baked and cooled.
Step 2: Make Dough
In a mixing bowl, cream together 1 cup of softened butter and 1 cup of sugar until the mixture is light and fluffy, which should take about 3-5 minutes. Then, beat in 2 large room-temperature eggs, along with 1 teaspoon of almond extract and 1 teaspoon of vanilla extract. This creamy foundation creates a rich base for your cherry pie bars.
Step 3: Combine Dry Ingredients
Gradually stir in 2 ½ cups of all-purpose flour and ½ teaspoon of salt into the butter mixture. Combine until a soft dough forms, which should take just a few minutes. This dough will serve as both the crust and the topping for your delightful Easy Cherry Pie Bars, ensuring every bite is buttery and satisfying.
Step 4: Assemble Bars
Press half of the dough into the prepared baking pan, creating an even layer across the bottom. Next, spread 1 can of cherry pie filling over the crust, ensuring to cover it fully. Crumble the remaining dough over the cherry filling to create a beautiful topping that will bake up golden and delicious, enhancing the flavor of the bars.
Step 5: Bake
Place the assembled pan in the preheated oven and bake for 35 to 40 minutes. You’ll know the Easy Cherry Pie Bars are ready when the crust turns golden brown, and the cherry filling is bubbling slightly at the edges. Once baked, remove the pan from the oven and allow it to cool completely on a wire rack, which will help set the bars.
Step 6: Glaze
After the bars have cooled, prepare a simple glaze by mixing 1 cup of confectioners’ sugar with 1 teaspoon of almond extract, ½ teaspoon of vanilla, and just enough milk to achieve a drizzling consistency. Once combined, drizzle the glaze over the cooled Easy Cherry Pie Bars using a spoon or a whisk, adding a delightful finishing touch to these scrumptious treats.
Cherry Pie Bars Variations & Substitutions
Feel free to get creative with these Cherry Pie Bars and customize them to suit your taste buds!
-
Zesty Lemon: Add a splash of fresh lemon juice for a bright, citrusy twist that complements the cherry flavor beautifully.
An extra zing of lemon can bring a refreshing balance to the sweetness, enhancing every bite and making your bars even more delightful. -
Fresh Cherry Swap: Use fresh, pitted cherries instead of canned filling for a homemade touch and vibrant flavor.
Fresh cherries can elevate your pie bars, offering a juicy burst that’s simply irresistible, especially during cherry season. -
Mixed Berry Fusion: Replace cherry filling with a blend of blueberries, raspberries, or strawberries for a berry medley treat.
Combining different berries creates an exciting new flavor profile and vibrant color that’s hard to resist. -
Nutty Texture: Add chopped nuts, like pecans or almonds, to the topping for an extra crunch and flavor boost.
The added texture can create a delightful contrast with the soft crust and juicy filling, making each bar truly irresistible. -
Vegan Option: Substitute eggs with applesauce and use dairy-free butter for a plant-based version that everyone can enjoy.
This recipe can cater to those with dietary restrictions without compromising on flavor or texture. -
Spiced Up: Sprinkle some cinnamon or nutmeg into the dough to bring warmth and extra flavor to your cherry pie bars.
These warming spices can add a cozy depth, making them perfect for autumn gatherings with family and friends. -
Chocolate Drizzle: Top your bars with a rich chocolate glaze instead of the classic almond glaze for a decadent dessert twist.
Chocolate and cherries make a fabulous pair, turning your pie bars into an indulgent treat everyone will love. -
Coconut Flake Surprise: Incorporate shredded coconut into the crust for a tropical twist and extra chewiness.
This will provide a delicious layer of flavor, enhancing the overall experience of these delightful bars.
Let your imagination run wild and experiment with these variations! And for more delicious treats, check out our Strawberry Cheesecake Bars or the classic Strawberry Icebox Pie for some fresh inspiration!
What to Serve with Easy Cherry Pie Bars
The sweet scent of cherry goodness fills the air, making your dessert experience even more delightful!
- Vanilla Ice Cream: A classic pairing that enhances the tartness of the cherry filling with creamy richness, making every bite indulgent.
- Whipped Cream: Light and airy, it complements the dense flavors of the bars and adds a touch of elegance to each serving.
- Fresh Berries: A mix of blueberries and raspberries adds a fresh, tart contrast that beautifully brightens the experience. Perfect for those who love a burst of fruitiness!
- Coffee or Espresso: The bold flavors of a good brew balance the sweetness, making it a perfect post-meal treat or afternoon snack.
- Cherry Sorbet: Intensifies the cherry flavor while providing a cool, refreshing contrast to the warm bars. A delightful twist for true cherry lovers!
- Almond Biscotti: A crispy, nutty addition that adds texture and complements the almond extract in the bars for an elegant treat.
- Chocolate Drizzle: A touch of melted dark chocolate on top adds richness and a decadent flair to your cherry pie bars, enticing any chocolate lover.
- Sparkling Water: Refreshing and palate-cleansing, a fizzy drink makes for a lighter option to accompany these sweet treats without overwhelming your taste buds.
Tips for the Best Cherry Pie Bars
-
Room Temperature Ingredients: Ensure all ingredients are at room temperature before mixing. This helps create a smooth, even batter for your cherry pie bars.
-
Quality Filling: Use canned cherry pie filling with real cherries for the best flavor. If using fresh cherries, pit and slice them before adding to maintain texture.
-
Avoid Overmixing: When combining flour with wet ingredients, mix just until combined. Overmixing can yield tough bars instead of soft, tender ones.
-
Cutting Tips: Let the bars cool completely before cutting to avoid crumbling. Use a sharp knife for clean cuts, ensuring perfect portions for sharing.
-
Storage Solutions: Store your cherry pie bars covered at room temperature for up to three days. They also freeze well for up to two months, making them a great make-ahead treat.
These simple tips will help you create the perfect cherry pie bars that friends and family will love!
Make Ahead Options
These Easy Cherry Pie Bars are a fantastic option for meal prep, saving time during your busy week. You can prepare the dough and store it in the refrigerator for up to 24 hours before baking, keeping it well wrapped to maintain freshness. The cherry filling can also be spread on the crust in advance and refrigerated, ensuring the flavors meld together beautifully. When you’re ready to bake, simply follow the remaining instructions—crumbing the top dough and popping it in the oven. They’ll come out just as delicious, making it a breeze to enjoy homemade dessert without the last-minute rush!
How to Store and Freeze Cherry Pie Bars
Room Temperature: Store your cherry pie bars covered at room temperature for up to 3 days. This helps maintain their deliciously soft texture.
Fridge: For longer freshness, place the bars in an airtight container in the fridge for up to a week. Just remember to let them come to room temperature before serving for the best flavor.
Freezer: Freeze your cherry pie bars for up to 2 months by wrapping them tightly in plastic wrap and placing them in a freezer-safe container. Thaw at room temperature before enjoying.
Reheating: If you like them warm, you can reheat the thawed bars in a preheated oven at 350°F (175°C) for about 10 minutes, making them even more delightful!
Easy Cherry Pie Bars Recipe FAQs
How do I choose ripe cherries for the filling?
Absolutely! When selecting cherries, look for ones that are firm, plump, and have a vibrant red color. Avoid any that have dark spots all over, as this indicates overripeness. Fresh cherries should also have green stems for added freshness.
How should I store my cherry pie bars?
Very! To keep your Easy Cherry Pie Bars fresh, store them covered at room temperature for up to 3 days. If you prefer them to last longer, an airtight container in the fridge will keep them fresh for up to a week. Just bring them back to room temperature for optimal flavor!
Can I freeze my cherry pie bars?
Absolutely! To freeze your bars, wrap them tightly in plastic wrap and place them in a freezer-safe container. They can be frozen for up to 2 months. When you’re ready to enjoy, simply thaw them at room temperature. If you prefer them warm, reheat at 350°F (175°C) for about 10 minutes.
What can I do if my crust is too crumbly?
If your crust turns out crumbly, it may need a bit more moisture. You can add a teaspoon of milk at a time as you mix until the dough comes together. Ensure your butter is softened enough for easy blending. If all else fails, just press it into the pan with your hands—no one’s judging!
Are these cherry pie bars suitable for people with allergies?
Definitely! However, they contain common allergens like gluten (from flour) and eggs. For a vegan version, you can replace the eggs with applesauce and use a gluten-free flour blend to accommodate dietary restrictions. Always double-check your ingredients for any specific allergens related to your guests.
What’s the best way to cut my cherry pie bars?
For clean, beautiful slices, ensure the bars are completely cooled before cutting. Use a sharp knife, and you can even warm the blade slightly in hot water for an even smoother cut. This will prevent crumbling and keep each piece looking lovely!
Delicious Cherry Pie Bars for Effortless Homemade Bliss
Ingredients
Equipment
Method
- Preheat your oven to 350°F (175°C) and grease a 15x10-inch baking pan.
- Cream together 1 cup of softened butter and 1 cup of sugar until light and fluffy, about 3-5 minutes. Beat in 2 large room-temperature eggs, 1 teaspoon of almond extract, and 1 teaspoon of vanilla extract.
- Gradually stir in 2.5 cups of all-purpose flour and 0.5 teaspoon of salt into the butter mixture until a soft dough forms.
- Press half of the dough into the prepared baking pan. Spread 1 can of cherry pie filling over the crust, and crumble the remaining dough over the cherry filling.
- Bake for 35 to 40 minutes until the crust is golden brown and the cherry filling bubbles slightly. Allow to cool completely on a wire rack.
- Prepare a glaze by mixing 1 cup of confectioners’ sugar with 1 teaspoon of almond extract, 0.5 teaspoon of vanilla, and enough milk for drizzling consistency. Drizzle over cooled bars.