

A sprinkle of joy, a swirl of creativity—these Easy No-Bake Christmas Tree Oreo Cookies are a delightful way to capture the spirit of the holiday season. When I first crafted these festive treats, I was amazed by how simple it was to turn ordinary Oreo cookies into whimsical mini Christmas trees that bring smiles all around. With this no-bake recipe, you can skip the oven and dive into a fun family project that encourages everyone, from kids to adults, to unleash their inner artist. Not only do these cookies offer a stress-free prep experience but they also double as charming gifts that can be beautifully packaged to spread cheer to friends and family. Ready to join in on the festive fun? Let’s get started on this deliciously creative journey!
Why Make Christmas Tree Oreo Cookies?
Festive Fun: These cookies bring the holiday spirit right to your kitchen with their delightful design and vibrant colors.
No-Bake Ease: Skip the oven and create these delicious treats with minimal effort, perfect for busy festive schedules.
Customizable: Elevate your creation by experimenting with colored melts and toppings to reflect your unique style or theme.
Family Activity: Gather everyone for a joyful, hands-on activity that creates lasting memories and sweet treats.
Charming Gifts: Dressed up in pretty packaging, these cookies make wonderful homemade gifts that will warm hearts this season.
For a twist on holiday treats, check out my Chocolate Cranberry Cookies or explore other fun ideas like the Street Corn Chicken Rice Bowl.
Christmas Tree Oreo Cookies Ingredients
For the Base
• Oreo Cookies – Essential for a delightful crunch and rich flavor.
For the Coating
• White Candy Melts – Creates a smooth, creamy layer; other white chocolates can work but may not give the same finish.
• Green Candy Melts – Perfect for giving those festive tree vibes; you can swap in other colors for a unique look.
For the Decorations
• Star Sprinkles – Adds a whimsical touch to your cookie trees; edible glitter can be an alternative if you want extra sparkle.
• Nonpareils Sprinkles – Provide that extra pop of color and festive flair; feel free to use any colorful sprinkles you adore.
Get ready to indulge in the deliciousness of these Christmas Tree Oreo Cookies—they’re a no-bake marvel that everyone will love!
Step‑by‑Step Instructions for Christmas Tree Oreo Cookies
Step 1: Melt the White Candy Melts
Start by placing white candy melts in a microwave-safe bowl. Heat them in the microwave for 1-2 minutes, stirring every 30 seconds to ensure an even melt. The goal is a smooth, fluid consistency that coats easily; if they become too hard, return to the microwave for a few more seconds.
Step 2: Prepare the Oreo Cookies
Once your white candy melts are melted and smooth, take your Oreo cookies and dip the bottoms into the candy melts. Ensure they are fully coated, then lay the dipped Oreos flat on a lined baking sheet. This will form the base for your Christmas Tree Oreo Cookies, giving them a sturdy foundation to stand on.
Step 3: Melt the Green Candy Melts
Next, repeat the process with the green candy melts. Melting them in a microwave-safe bowl, heat for 1-2 minutes until they reach a liquid state, stirring frequently. Once melted, you’re ready to create the festive tree shape atop your Oreo cookies—this is where the magic really begins!
Step 4: Create the Tree Design
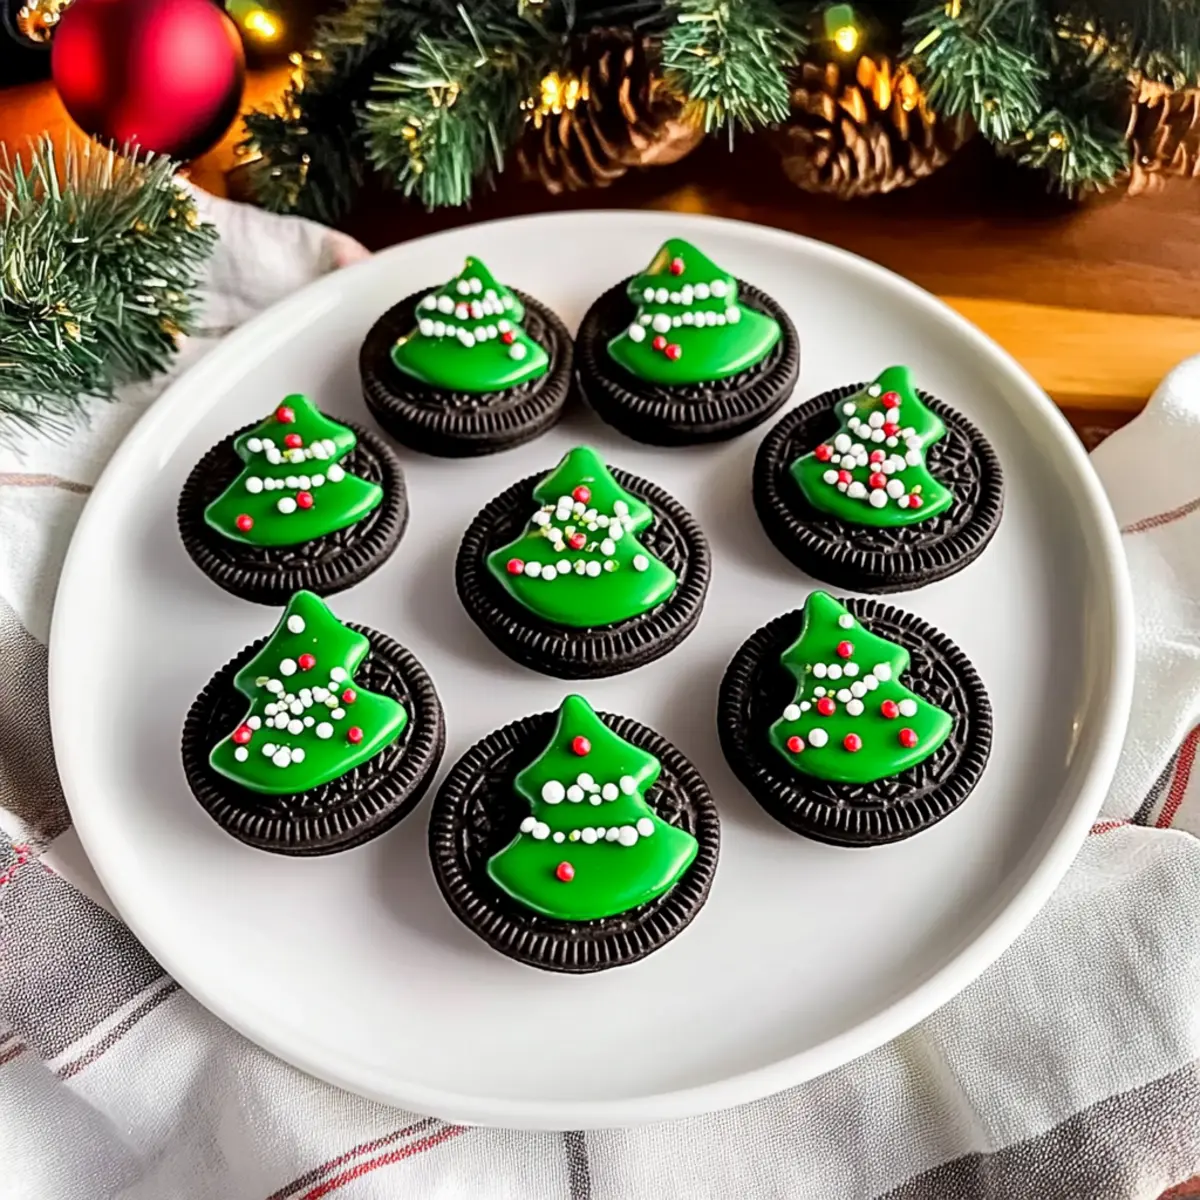
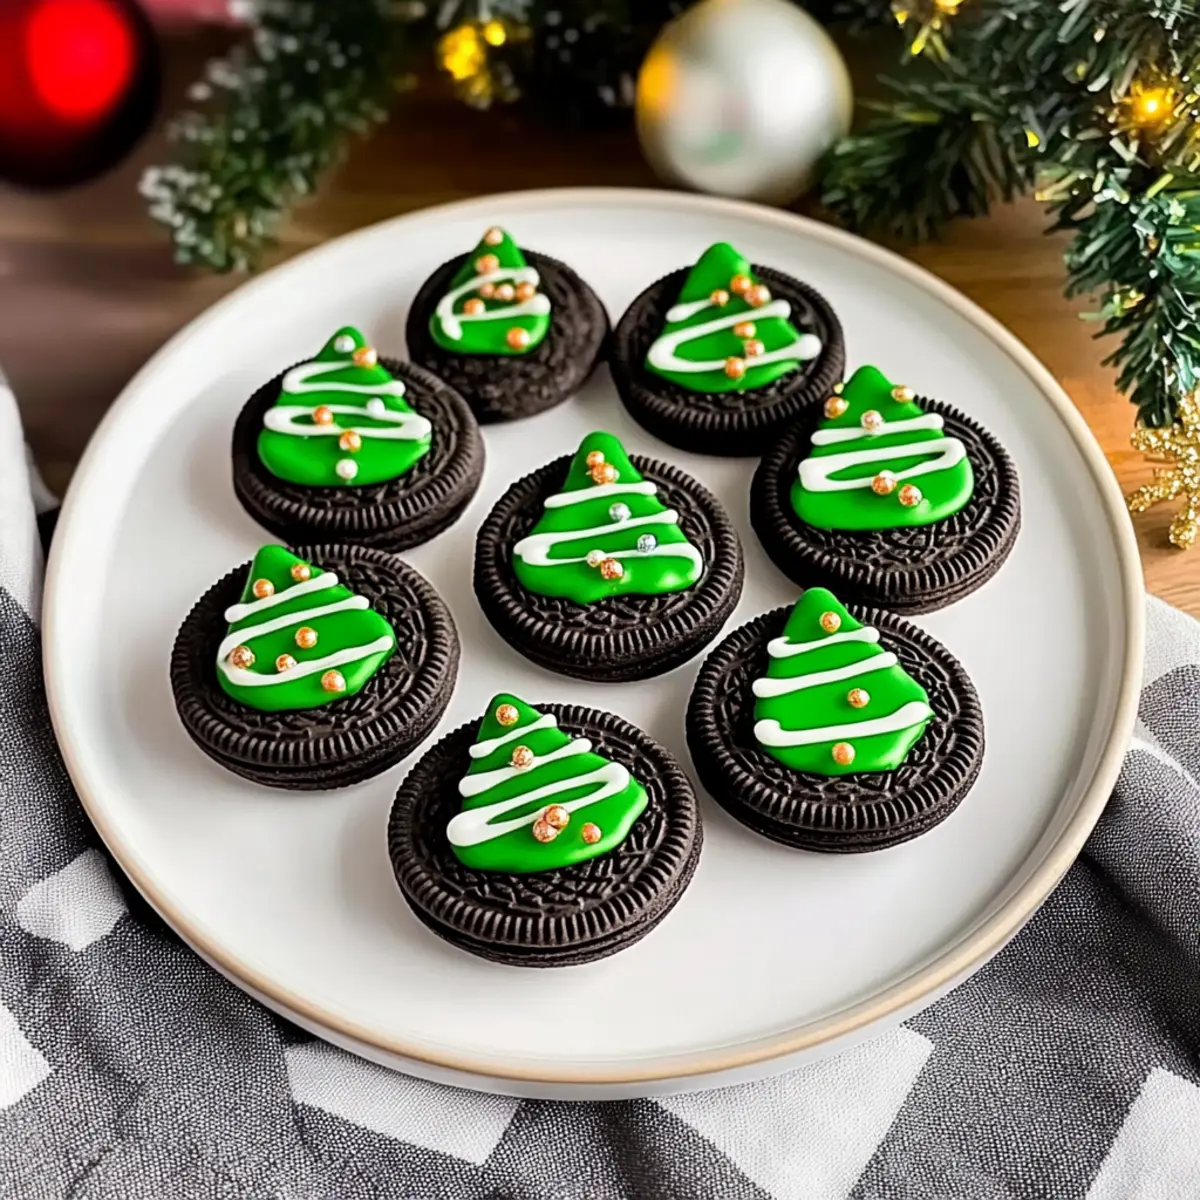
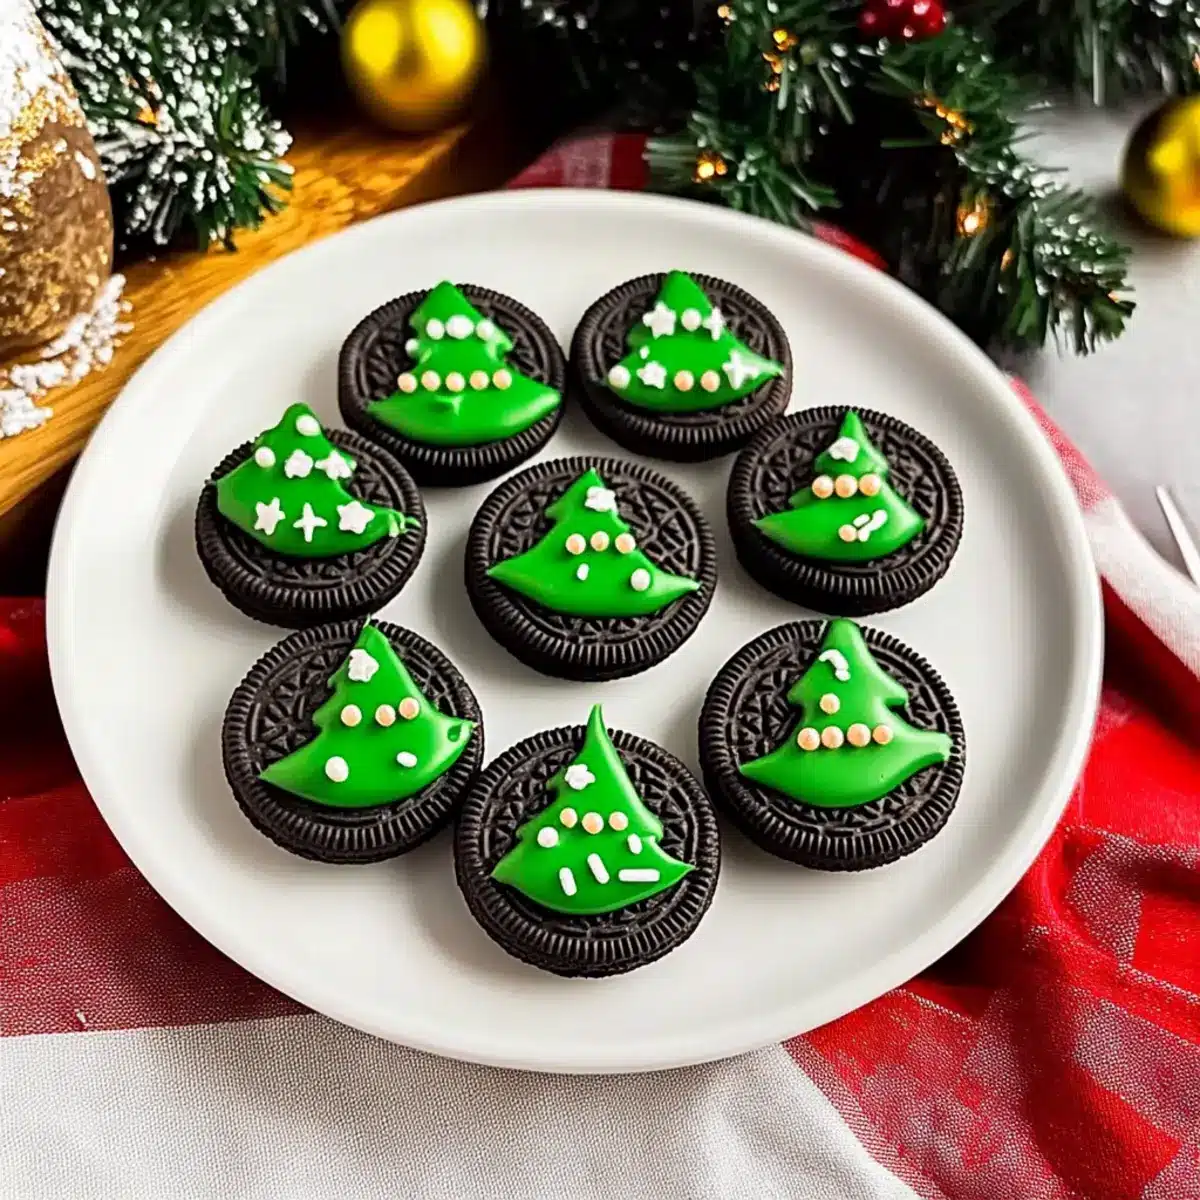
Transfer your melted green candy melts into a piping bag, allowing for precise application. Pipe the green melts over each Oreo cookie in a zigzag pattern to mimic the branches of a Christmas tree. The vibrant green will contrast beautifully against the white base, creating a charming festive look.
Step 5: Add the Star Sprinkles
While the green candy melts are still soft, gently place a star sprinkle on top of each cookie to serve as the star of the Christmas tree. This step adds a whimsical touch that will delight everyone as they admire your Christmas Tree Oreo Cookies, bringing instant holiday cheer!
Step 6: Sprinkle Nonpareils
To enhance the festive flair, sprinkle nonpareils over the green coating while it’s still tacky. The colorful sprinkles will stick beautifully, transforming your cookies into a vibrant holiday treat. Make sure to add them generously for a cheerful effect that is both eye-catching and delicious.
Step 7: Let Them Set
After decorating your Christmas Tree Oreo Cookies, allow them to set at room temperature for about 30 minutes or place them in the refrigerator for 10 minutes. This will give the candy melts sufficient time to harden, creating a glossy finish and ensuring your decorations stay in place perfectly.
How to Store and Freeze Christmas Tree Oreo Cookies
Room Temperature: Store the cookies in an airtight container at room temperature for up to 3 days, ensuring they remain fresh and crunchy.
Fridge: If you live in a warmer climate, consider refrigerating the cookies. They can stay fresh for up to a week in an airtight container.
Freezer: For extended storage, these Christmas Tree Oreo Cookies can be frozen for up to 3 months. Layer them between parchment paper to prevent sticking and ensure they retain their festive charm.
Reheating: If desired, let the frozen cookies thaw at room temperature for about 30 minutes before serving, preserving their delightful crunch and flavor.
Expert Tips for Christmas Tree Oreo Cookies
- Smooth Coating: Ensure your candy melts are completely smooth for an even coating; re-melt if they harden during the process.
- Piping Precision: Use a small piping tip for detailed tree designs; this will help create that charming zigzag effect on the Oreos.
- Sprinkle Timing: Add your sprinkles while the candy melts are still soft to ensure better adhesion—this prevents them from falling off later.
- Storage Tips: Keep your completed cookies in an airtight container at room temperature to maintain their freshness and avoid melting in warmer climates.
- Experiment with Flavors: Consider using chocolate-covered Oreos for a rich twist on these Christmas Tree Oreo Cookies; the flavor contrast is delightful!
What to Serve with Christmas Tree Oreo Cookies?
Bring sheer delight to your holiday gatherings by pairing these whimsical treats with festive accompaniments that will surely elevate your celebrations.
- Creamy Hot Chocolate: The rich, velvety warmth of hot chocolate complements the sweetness of the cookies, creating a cozy winter treat ideal for family gatherings.
- Festive Vanilla Ice Cream: A scoop of vanilla ice cream adds a delightful creaminess that balances the crunchy texture of the cookies, serving as a perfect contrast.
- Sparkling Cider: This bubbly drink adds a touch of festivity, providing a refreshing lift to your dessert table while echoing the holiday spirit.
- Peppermint Bark: The rich, chocolatey crunch of peppermint bark alongside the cookies creates a delightful contrast in flavor, enhancing the overall dessert experience.
- Chocolate Fondue: Dip your cookies into melted chocolate for a fun and interactive dessert option; the warm chocolate coating will make them even more indulgent.
- Fruit Platter: A colorful array of fresh fruits like strawberries and grapes brings a fresh and light balance to the sweetness of the cookies, appealing to all palates.
- Holiday-themed Cocktails: Craft a batch of festive cocktails that incorporate seasonal flavors like cranberry or pomegranate for an adult twist to your dessert table.
- Gingerbread Cookies: Pairing with gingerbread adds a hearty spice that complements the Oreo cookies’ sweetness, creating a festive flavor medley.
- Marshmallow Treats: Incorporating chewy marshmallows alongside these cookies enhances the texture and adds a child-friendly element to your festive spread.
Make Ahead Options
These Christmas Tree Oreo Cookies are perfect for making ahead, saving you time during the busy holiday season! You can prepare the cookie bases by dipping the Oreo cookies in the white candy melts up to 24 hours in advance; simply store them in an airtight container to maintain freshness. The decorating step, including piping the green melts and adding sprinkles, is best done closer to serving time to ensure the vibrant colors pop. If you need to prep even further in advance, feel free to freeze the dipped cookies for up to 3 months. Just thaw them at room temperature before finishing the decorations. With these make-ahead options, you can enjoy the festive fun without the last-minute rush!
Christmas Tree Oreo Cookies Variations
Feel free to let your creativity shine by customizing these festive treats in ways that delight your senses!
-
Colorful Trees: Use red or blue candy melts for unique Christmas trees that pop with color. Change the palette for different holidays or personal flair!
-
Chocolate Delight: Substitute chocolate-covered Oreos for a richer taste that’ll take these cookies to a whole new level of yumminess. The combination of chocolate and creamy toppings creates a delightful contrast.
-
Nutty Crunch: Incorporate crushed nuts like walnuts or almonds to add a delightful crunch. This will not only enhance the texture but also offer a satisfying nutty flavor that complements the sweetness.
-
Minty Freshness: Add crushed peppermint candies to the tops for a burst of holiday mint flavor. They practically scream “Christmas” and make for a refreshing treat!
-
Gluten-Free Option: Choose gluten-free Oreos to ensure everyone can enjoy these adorable treats. Celebrate without the worry, and include your gluten-sensitive friends in the fun.
-
Fruity Twist: For a tropical flair, sprinkle some dried coconut or colorful fruit bits on top. The vibrant colors and flavors bring a delightful surprise!
-
Spicy Heat: Drizzle a bit of spicy chili chocolate over the green candy melts for those who love a little kick in their sweets. This twist will make your cookies stand out!
-
Allergy-Friendly: Substitute with dairy-free or nut-free candy melts if needed, ensuring everyone can enjoy these festive delights!
These variations not only make your Christmas Tree Oreo Cookies unique, they also invite a collective experience around the table. Remember to share your creations with a warm cup of hot chocolate or consider pairing them with my delicious Chocolate Cranberry Cookies for a delightful treat showcase. Enjoy the festivities!

Christmas Tree Oreo Cookies Recipe FAQs
How do I choose the best Oreos for this recipe?
When selecting your Oreo cookies, look for packages that are intact and free of any visible damage. I often recommend opting for classic Oreos for the best flavor and crunch, but feel free to experiment with flavored varieties, such as mint or pumpkin spice, to add a unique twist to your Christmas Tree Oreo Cookies!
How can I store my Christmas Tree Oreo Cookies?
Store your cookies in an airtight container at room temperature for up to 3 days to keep them crunchy. If you’re in a warmer climate, you can refrigerate them where they should stay fresh for up to a week. Just remember to place a slice of bread in the container to keep them from getting too hard.
Can I freeze Christmas Tree Oreo Cookies?
Absolutely! These delightful cookies freeze beautifully. Layer them between sheets of parchment paper in an airtight container to prevent sticking and freeze for up to 3 months. When you’re ready to enjoy them again, just let them thaw at room temperature for about 30 minutes before serving.
What should I do if my candy melts are too thick?
If you find that your candy melts are too thick for easy dipping or piping, don’t fret! Simply return the bowl to the microwave for an additional 10-15 seconds and stir until smooth again. Be careful not to overheat; just keep an eye on the consistency until you achieve that silky, pourable state.
Are there any dietary considerations for these cookies?
Yes, absolutely! If you’re making these for someone with dietary restrictions, there are options available. Use gluten-free Oreos for a gluten-free version, or check the ingredient list of your candy melts to confirm they are suitable for any allergies. Additionally, the sprinkles can be swapped for allergy-friendly varieties or omitted altogether if necessary.
How long does it take for the cookies to set after decorating?
After you’ve decorated your Christmas Tree Oreo Cookies, let them set at room temperature for about 30 minutes. If you’re in a hurry, you can also chill them in the refrigerator for 10 minutes to speed up the hardening process for the candy melts. This will help ensure your decorations stay in place and give the cookies a lovely glossy finish!
Christmas Tree Oreo Cookies: No-Bake Festive Fun for All
Ingredients
Equipment
Method
- Melt the White Candy Melts by heating in the microwave for 1-2 minutes, stirring every 30 seconds until smooth.
- Prepare the Oreo Cookies by dipping the bottoms into the melted white candy melts and laying them flat on a lined baking sheet.
- Melt the Green Candy Melts in a microwave-safe bowl until they reach a liquid state, about 1-2 minutes.
- Create the Tree Design by transferring the melted green candy melts into a piping bag and piping over each Oreo in a zigzag pattern.
- Add the Star Sprinkles on top of each cookie while the green candy melts are still soft.
- Sprinkle Nonpareils over the green coating while it's still tacky for an extra festive look.
- Let them set at room temperature for about 30 minutes or refrigerate for 10 minutes.