

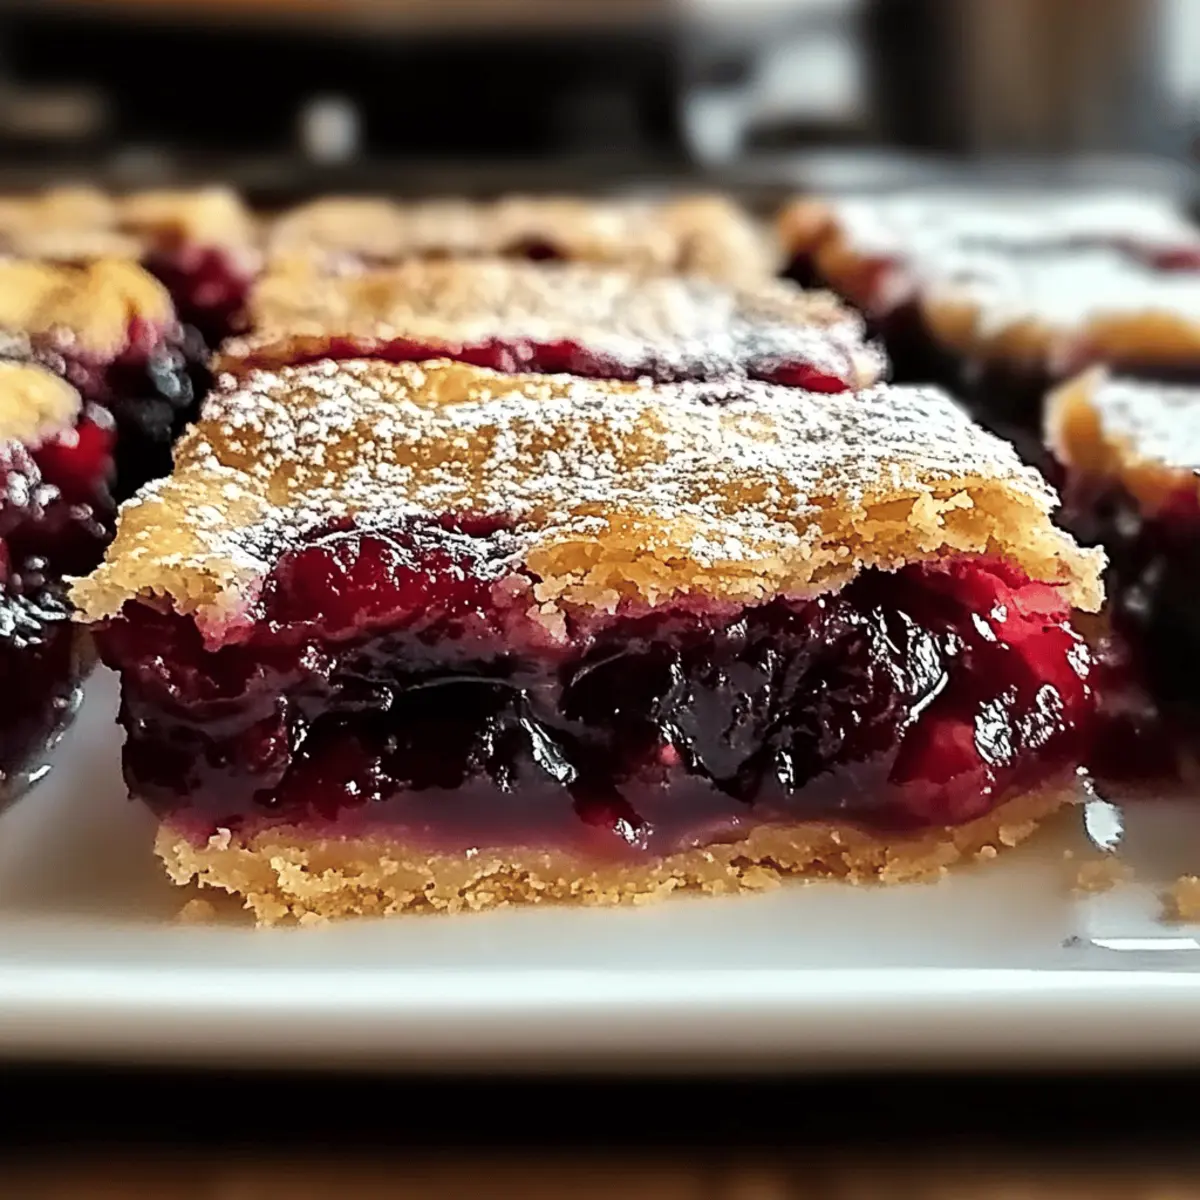
As I stood in my kitchen, the warm scent of cherries wafted through the air, instantly transporting me to summer picnics filled with laughter and sweet indulgence. That’s when the idea for my Easy Cherry Pie Bars with Almond Glaze struck me. These delightful bars combine a soft, buttery crust with a luscious, tangy cherry filling, all drizzled with a dreamy almond-scented glaze. They’re not just a treat for the taste buds; they’re perfect for sharing at gatherings or simply enjoying during cozy nights in. The best part? They come together in no time, making them an ideal dessert for those of us who prefer homemade goodness over fast food. So, are you ready to take a bite of nostalgia and create a dessert that warms the heart? Let’s dive into this cherry-filled adventure!
Why are Cherry Pie Bars a Must-Try?
Simplicity: These Cherry Pie Bars require minimal effort and time, making them the perfect quick dessert for busy days.
Irresistible Taste: Enjoy a delightful symphony of flavors with a buttery crust, tart cherries, and a sweet, nutty almond glaze that elevates the classic cherry pie experience.
Versatile: Customize with different fruit fillings like blueberry or raspberry, or try adding lemon zest for a refreshing twist!
Ideal for Sharing: Perfectly sized for gatherings, these bars can be cut into squares for easy serving, making them a hit at parties or potlucks.
Meal Prep Friendly: You can make them ahead of time and store them in an airtight container, ensuring a sweet treat is always on hand.
For more delicious desserts, check out my Strawberry Icebox Pie for a refreshing treat or Strawberry Cheesecake Bars that everyone will love!
Cherry Pie Bars Ingredients
For the Crust
- Butter – Adds richness and moisture. Use softened butter for easy creaming.
- Sugar – Provides sweetness. Granulated sugar is standard; brown sugar can add a molasses flavor.
- Eggs – Binds the ingredients and adds moisture. Room temperature eggs blend better with the batter.
- Vanilla Extract – Enhances flavor. Feel free to use pure or imitation.
- Almond Extract – Provides a unique, nutty essence. Can be omitted if preferred.
- All-Purpose Flour – Forms the structure of the bars. Whole wheat flour can be substituted for added nutrition.
- Salt – Balances sweetness and enhances flavor. Always use fine sea salt for consistency.
For the Filling
- Cherry Pie Filling – The main flavor component. Homemade or store-bought can be used.
For the Glaze
- Powdered Sugar – For the glaze, adds sweetness and structure. Make sure it’s sifted to prevent lumps.
- Milk – Thins the glaze for drizzling. Non-dairy alternatives like almond or oat milk can be used.
With these ingredients in hand, you’re just moments away from whipping up your own batch of Cherry Pie Bars—sweet, sharable, and simply delightful!
Step‑by‑Step Instructions for Cherry Pie Bars
Step 1: Preheat the Oven
Start by preheating your oven to 350°F (175°C). While the oven heats, grab a 15x10x1-inch pan and spray it generously with non-stick cooking spray, ensuring an easy release for your Cherry Pie Bars once baked. This preparation sets the stage for a perfectly baked, buttery dessert.
Step 2: Cream the Butter and Sugar
In a large mixing bowl, combine softened butter and granulated sugar. Using an electric mixer, cream them together on medium speed for about 2 to 3 minutes until the mixture turns light and fluffy, indicating that it’s well-aerated. This step is crucial for achieving the soft texture in your Cherry Pie Bars.
Step 3: Incorporate Eggs and Extracts
Next, beat in the eggs one at a time, ensuring each egg is fully incorporated before adding the next. Then, mix in the vanilla and almond extracts, letting their delightful aromas fill your kitchen. This mixture adds moisture and flavor to your Cherry Pie Bars, making them irresistibly tasty.
Step 4: Combine the Dry Ingredients
In a separate bowl, whisk together the all-purpose flour and salt until evenly mixed. Gradually incorporate this dry mixture into the wet ingredients, using a spatula or wooden spoon until just combined, being careful not to overmix. This step creates the perfect base for your Cherry Pie Bars.
Step 5: Layer the Batter and Cherry Filling
Spread about 3 cups of the batter evenly across the bottom of your prepared pan, forming a nice base. Gently layer the cherry pie filling on top, spreading it evenly. Then, drop spoonfuls of the remaining batter onto the cherry filling, creating gaps where the filling peeks through. This will ensure each bite is delightful.
Step 6: Bake to Perfection
Place the pan in your preheated oven and bake for 30-35 minutes. You’ll know your Cherry Pie Bars are ready when they are golden brown and a toothpick inserted in the center comes out clean or with a few moist crumbs. The delightful aroma wafting through your kitchen will be a hint that something wonderful is baking.
Step 7: Cool the Bars
After baking, remove the pan from the oven and set it on a wire rack to cool completely. This cooling step, which may take about 30 minutes, is essential for the texture of your Cherry Pie Bars, allowing them to set up properly before cutting.
Step 8: Prepare the Almond Glaze
While the bars cool, prepare the almond glaze by whisking together sifted powdered sugar, a splash of vanilla extract, a hint of almond extract, and just enough milk to achieve a smooth consistency. This glaze will add a sweet and elegant finish to your Cherry Pie Bars, creating an irresistible topping.
Step 9: Drizzle and Set
Once the Cherry Pie Bars have completely cooled, generously drizzle the glaze over the top, allowing it to cascade down the edges. Let the glaze set for about 15 minutes before cutting the bars into squares. This final step adds a beautiful touch to your delicious creation.
Cherry Pie Bars Variations & Substitutions
Feel free to get creative with these Cherry Pie Bars to suit your tastes and preferences!
-
Flavor Swap: Substitute cherry pie filling with blueberry, raspberry, or apple pie filling for a delightful twist.
-
Citrus Zing: Incorporate a tablespoon of lemon zest into the batter to brighten the flavors and add a refreshing citrus note. This little touch can elevate your bars to a whole new level!
-
Nutty Texture: Top with slivered almonds or crushed pecans before baking for an added crunch that complements the soft texture beautifully.
-
Gluten-Free: Use gluten-free 1:1 baking flour instead of all-purpose flour for a delicious gluten-free version without sacrificing taste.
-
Dairy-Free Delight: Swap the butter with coconut oil or a plant-based butter alternative, and use almond or oat milk for the glaze to make this recipe dairy-free.
-
Extra Sweetness: Add a few drops of almond extract to the pie filling for deeper harmony between the flavors and a touch more sweetness.
-
Chocolate Lovers: Drizzle melted dark chocolate over the glaze for a rich, decadent finish that pairs wonderfully with the tart cherry filling.
And if you’re looking for more delicious dessert ideas, you might want to explore my Strawberry Cheesecake Bars for another delightful treat, or check out my Patriotic Chocolate Pie for a fun and festive option!
Make Ahead Options
These Easy Cherry Pie Bars are perfect for busy weeknights and meal prep enthusiasts! You can prepare the crust and filling up to 24 hours in advance, ensuring everything is ready to go when you need a delicious dessert. Simply cream the butter and sugar, mix in the eggs and extracts, and combine the dry ingredients. After layering the cherry filling, cover the pan tightly with plastic wrap and refrigerate. When you’re ready to bake, just pop them in the oven directly from the fridge. For the best flavor, drizzle the almond glaze just before serving. This way, your Cherry Pie Bars will be just as delightful and fresh as when they were first made!
What to Serve with Easy Cherry Pie Bars
Serve these delightful bars as the perfect sweet treat for gatherings or cozy nights in, delightful flavors to embrace!
- Vanilla Ice Cream: A classic pairing that contrasts the tart cherry filling with creamy sweetness, making each bite divine.
- Whipped Cream: Light and fluffy, it enhances the cherry flavor and adds a luxurious touch to the rich, buttery bars.
- Coffee: A warm cup of coffee perfectly complements the sweet glaze and enhances the cherry filling for a delightful ending.
- Fresh Berries: Add a fresh burst of flavor with strawberries or raspberries for a delightful contrast against the sweet bars.
- Lemon Zest: Sprinkle over the bars before serving for a zesty finish that brightens the dessert and elevates its flavor.
- Almond Milkshake: Silky and nutty, this drink mirrors the almond glaze while offering a refreshing twist to accompany the bars.
- Chocolate Sauce: Drizzle over the top for those who crave a little extra decadence; rich chocolate pairs wonderfully with cherries.
- Charcuterie Board: Create a dessert board with these cookie bars, fresh fruit, and assorted nuts for a delightful sharing experience!
- Sparkling Water: Lightly flavored sparkling waters cleanse the palate while enhancing your dessert experience without overwhelming sweetness.
Expert Tips for Cherry Pie Bars
-
Avoid Overmixing: Prevent dense bars by mixing just until the flour is incorporated. The goal is a tender texture, not a tough one.
-
Use Room Temperature Ingredients: Bringing your eggs and butter to room temperature helps them blend more evenly, ensuring a consistent batter for your Cherry Pie Bars.
-
Doneness Check: Use a toothpick to test for doneness. A few moist crumbs clinging to the toothpick indicate your bars are perfectly baked.
-
Cool Completely: For clean cuts, let your Cherry Pie Bars cool in the pan for at least 30 minutes before slicing.
-
Glaze Tips: Drizzle extra glaze over the bars right before serving for an eye-catching finish that elevates their appeal.
How to Store and Freeze Cherry Pie Bars
Room Temperature: Store uncovered at room temperature for up to 2 days. If you need to cover them, ensure it’s lightly, allowing some air to avoid sogginess.
Fridge: For freshness, keep the bars in an airtight container in the fridge for up to a week. Just allow them to come to room temperature before enjoying for the best flavor.
Freezer: Freeze individually wrapped squares for up to 2 months. Thaw at room temperature or gently reheat in the oven for a warm treat anytime.
Reheating: To reheat, warm in the oven at 350°F (175°C) for about 10 minutes. This will keep your Cherry Pie Bars soft and delicious!
Cherry Pie Bars Recipe FAQs
What is the best way to choose cherries for my Cherry Pie Bars?
Absolutely! When selecting cherries, look for those that are vibrant and plump, with a glossy skin. Avoid those with dark spots or blemishes, as they may be overripe. If using canned cherries, choose a brand with minimal added sugars for the best flavor.
How should I store my Cherry Pie Bars after baking?
The best way to keep your Cherry Pie Bars fresh is by storing them in an airtight container at room temperature for up to 2 days. If you need to store them longer, I recommend refrigerating them, where they’ll stay good for about a week. Allow them to come to room temperature before serving for the best texture and flavor!
Can I freeze Cherry Pie Bars for later?
Very! To freeze your Cherry Pie Bars, first, ensure they are completely cooled. Then, wrap the bars individually in plastic wrap and place them in an airtight container or freezer bag. They can be frozen for up to 2 months. When you’re ready to enjoy them, simply thaw at room temperature or pop them back in a preheated oven at 350°F (175°C) for about 10 minutes for that freshly baked taste.
What should I do if my bars come out too dense?
If your Cherry Pie Bars end up being too dense, it may be due to overmixing the batter when combining wet and dry ingredients. The goal is to mix just until combined to keep them light and airy. Additionally, ensure your butter and eggs are at room temperature, which helps create a smoother batter that incorporates air more effectively.
Can I make these bars gluten-free?
Absolutely! To make your Cherry Pie Bars gluten-free, you can substitute all-purpose flour with a gluten-free 1:1 baking flour, which will work beautifully in this recipe. Just make sure your cherry filling is also gluten-free, and you’ll have a delightful treat that everyone can enjoy!
Are Cherry Pie Bars safe for pets?
While cherries are safe for most humans when consumed in moderation, they contain cyanogenic compounds in their pits that can be harmful to pets, especially dogs. It’s best to keep these Cherry Pie Bars out of reach of your furry friends to ensure their safety.
Irresistible Cherry Pie Bars That Are Perfect for Sharing
Ingredients
Equipment
Method
- Preheat your oven to 350°F (175°C). Spray a 15x10x1-inch pan with non-stick cooking spray.
- In a large mixing bowl, cream together softened butter and granulated sugar on medium speed for 2-3 minutes until light and fluffy.
- Add eggs one at a time, mixing well after each addition. Then mix in the vanilla and almond extracts.
- In another bowl, whisk together all-purpose flour and salt. Gradually add to the wet ingredients until just combined.
- Spread 3 cups of the batter evenly in the prepared pan, layer cherry pie filling, then drop spoonfuls of remaining batter on top.
- Bake for 30-35 minutes until golden brown and a toothpick inserted comes out clean.
- Cool the bars completely on a wire rack for about 30 minutes.
- Prepare the almond glaze by whisking sifted powdered sugar, vanilla extract, almond extract, and milk until smooth.
- Drizzle the glaze over the cooled bars and let set for 15 minutes before cutting into squares.