

As I stood stirring a sizzling pan of tender beef, the rich aroma immediately took me back to a bustling street market in Seoul, where the sights and sounds of culinary magic fill the air. This Korean-Inspired Kimchi Bulgogi Cheesesteak is a delightful fusion of my favorite flavors, combining the savory, marinated beef and the vibrant spice of kimchi, all packed into a warm, toasty hoagie. Not only is this meal quick to prepare, making it ideal for busy weeknights, but it’s also wildly customizable, perfect for satisfying the unique cravings of your family or friends. Whether you’re planning a casual dinner or a game-day feast, this cheesesteak is sure to be a hit! What twists would you add to make your own?
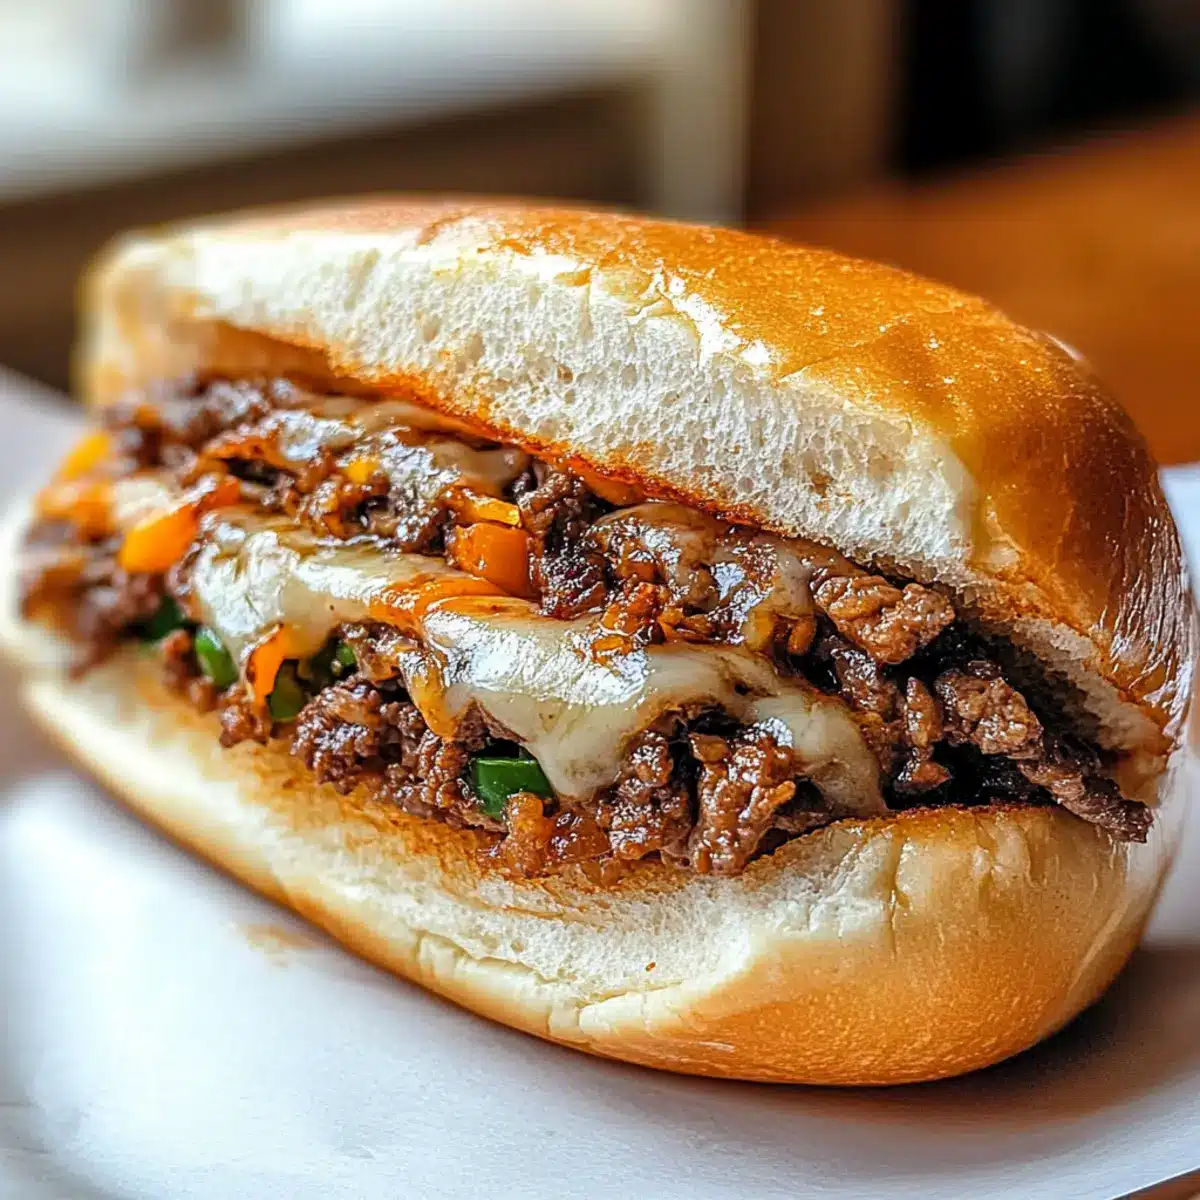
Why is This Cheesesteak a Must-Try?
Bold flavors combine in this Korean Kimchi Bulgogi Cheesesteak, making every bite a savory delight! Quick and easy to whip up, you’ll have a gourmet meal ready in no time. Versatile ingredients mean you can swap in your favorites, whether it’s beef, chicken, or even tofu! Plus, crowd-pleaser appeal keeps everyone happy at the dinner table. For a bit of extra kick, consider pairing it with a side of Spicy Korean Gochujang noodles, or enjoy it with a classic Korean Steak Sandwich to satisfy your cravings further!
Korean Kimchi Bulgogi Cheesesteak Ingredients
For the Bulgogi Marinade
• Beef Sirloin – High-quality cut ensures depth of flavor and tenderness.
• Soy Sauce – Adds umami and saltiness; use tamari for a gluten-free alternative.
• Sesame Oil – Imparts a rounded nutty flavor; substitute olive oil if needed.
• Minced Garlic – Provides aromatic depth; garlic powder is a handy alternative.
• Sugar – Balances flavors and helps with caramelization; brown sugar works well too.
For the Vegetables
• Onion – Adds sweetness; shallots can provide a milder flavor.
• Bell Peppers – Bring crunch and color to the dish; any sweet pepper can be used.
For the Cheesesteak Assembly
• Kimchi – The star ingredient that introduces spice and tang; opt for mild kimchi for less heat.
• Hoagie Rolls – The perfect vessel for your bulgogi; choose gluten-free rolls for a gluten-free option.
• Cheese (Provolone/American) – Adds creaminess; cheddar gives a sharper taste, while mozzarella offers mildness.
Feel free to get creative with this Korean Kimchi Bulgogi Cheesesteak, and mix in your own favorite ingredients!
Step‑by‑Step Instructions for Korean Kimchi Bulgogi Cheesesteak
Step 1: Prepare Ingredients
Start by slicing the beef sirloin into thin strips for optimal tenderness. Next, chop the onions and bell peppers into bite-sized pieces. Use a sharp knife for clean cuts, making the preparation efficient and enjoyable. This colorful mix will add both texture and flavor to your Korean Kimchi Bulgogi Cheesesteak.
Step 2: Marinate Beef
In a medium bowl, whisk together soy sauce, sesame oil, minced garlic, and sugar until smooth. Add the beef strips, ensuring they’re well-coated with the marinade. Cover the bowl with plastic wrap and let it marinate for at least 15 minutes at room temperature. This step enhances the beef’s flavor, making your cheesesteak even more delicious.
Step 3: Sauté Vegetables
Heat a tablespoon of oil in a large skillet over medium-high heat. Once the oil shimmers, add the chopped onions and bell peppers. Sauté for about 5 minutes, stirring frequently until the vegetables are tender and caramelized. You should see a golden color developing, which will deepen their sweet flavor and contrast beautifully with the spicy kimchi later.
Step 4: Cook Beef
Push the sautéed vegetables to one side of the skillet and add the marinated beef to the other side. Cook the beef for about 5 minutes, stirring occasionally, until it’s browned all over and cooked through. Keep an eye on it for good caramelization; the beef should be juicy but no longer pink.
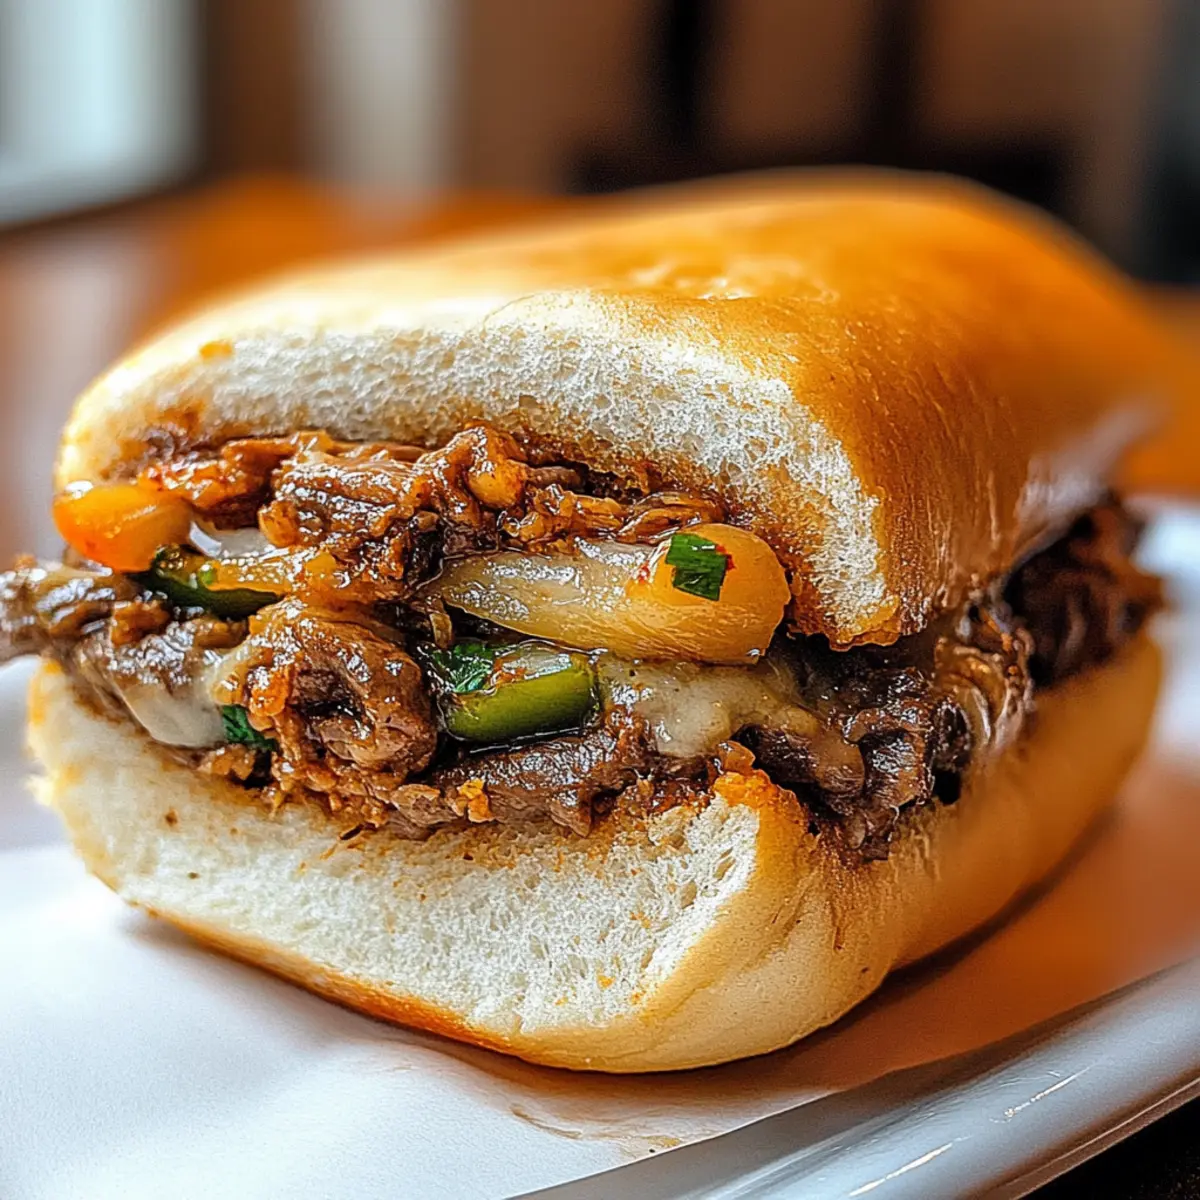
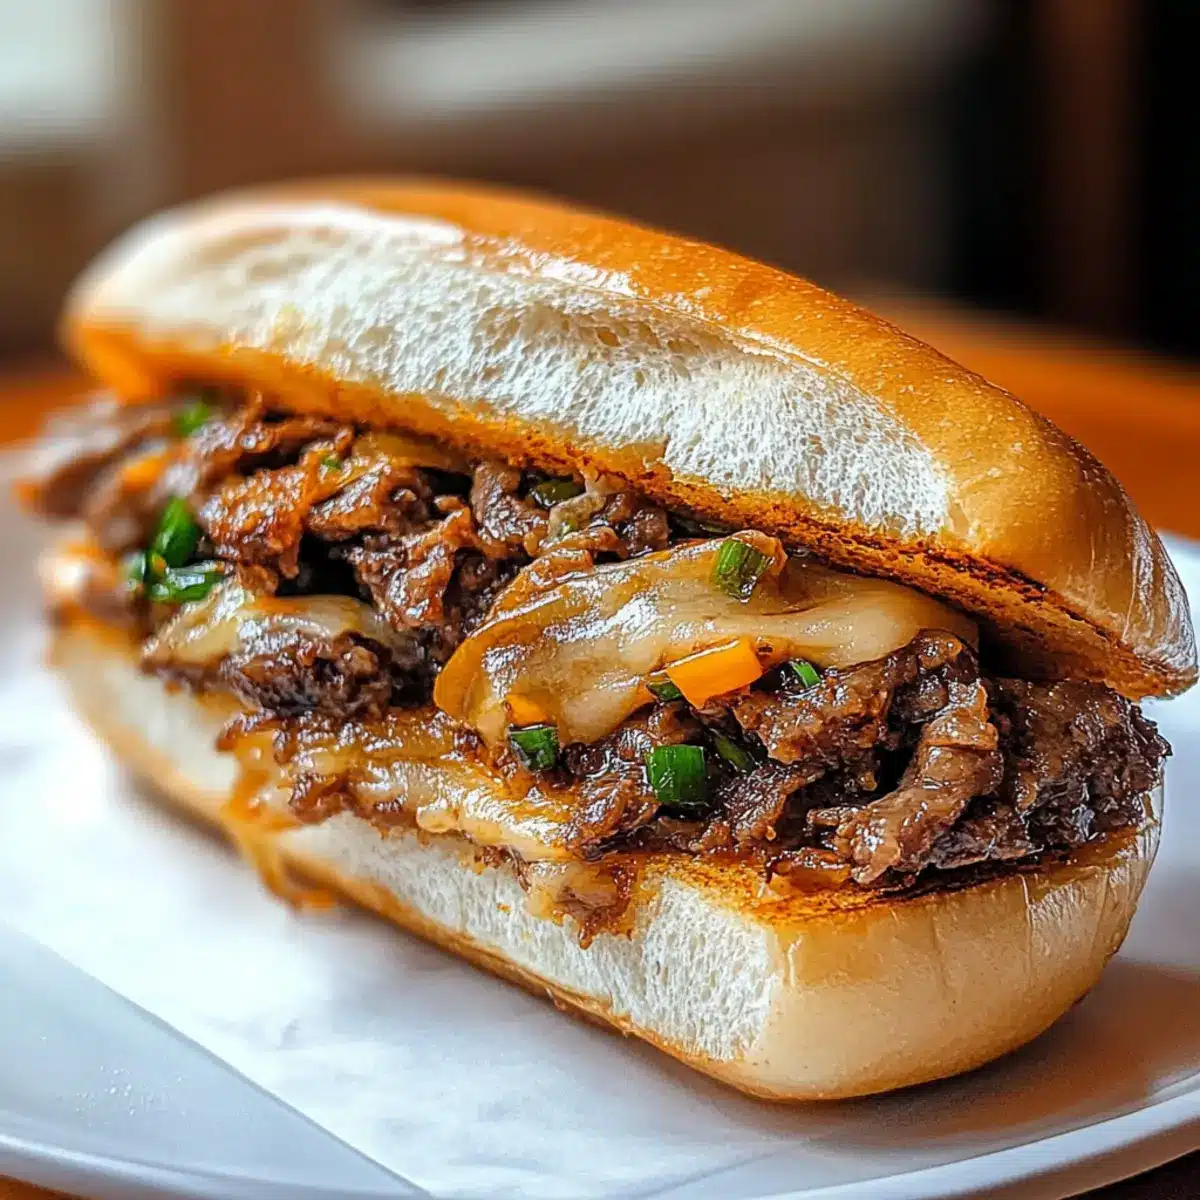
Step 5: Mix in Kimchi
Once the beef is perfectly cooked, add the chopped kimchi to the skillet. Stir everything together and cook for an additional 2 minutes. This allows the kimchi to heat through while infusing the dish with its signature spicy tang. Your Korean Kimchi Bulgogi Cheesesteak mixture is now bursting with flavor!
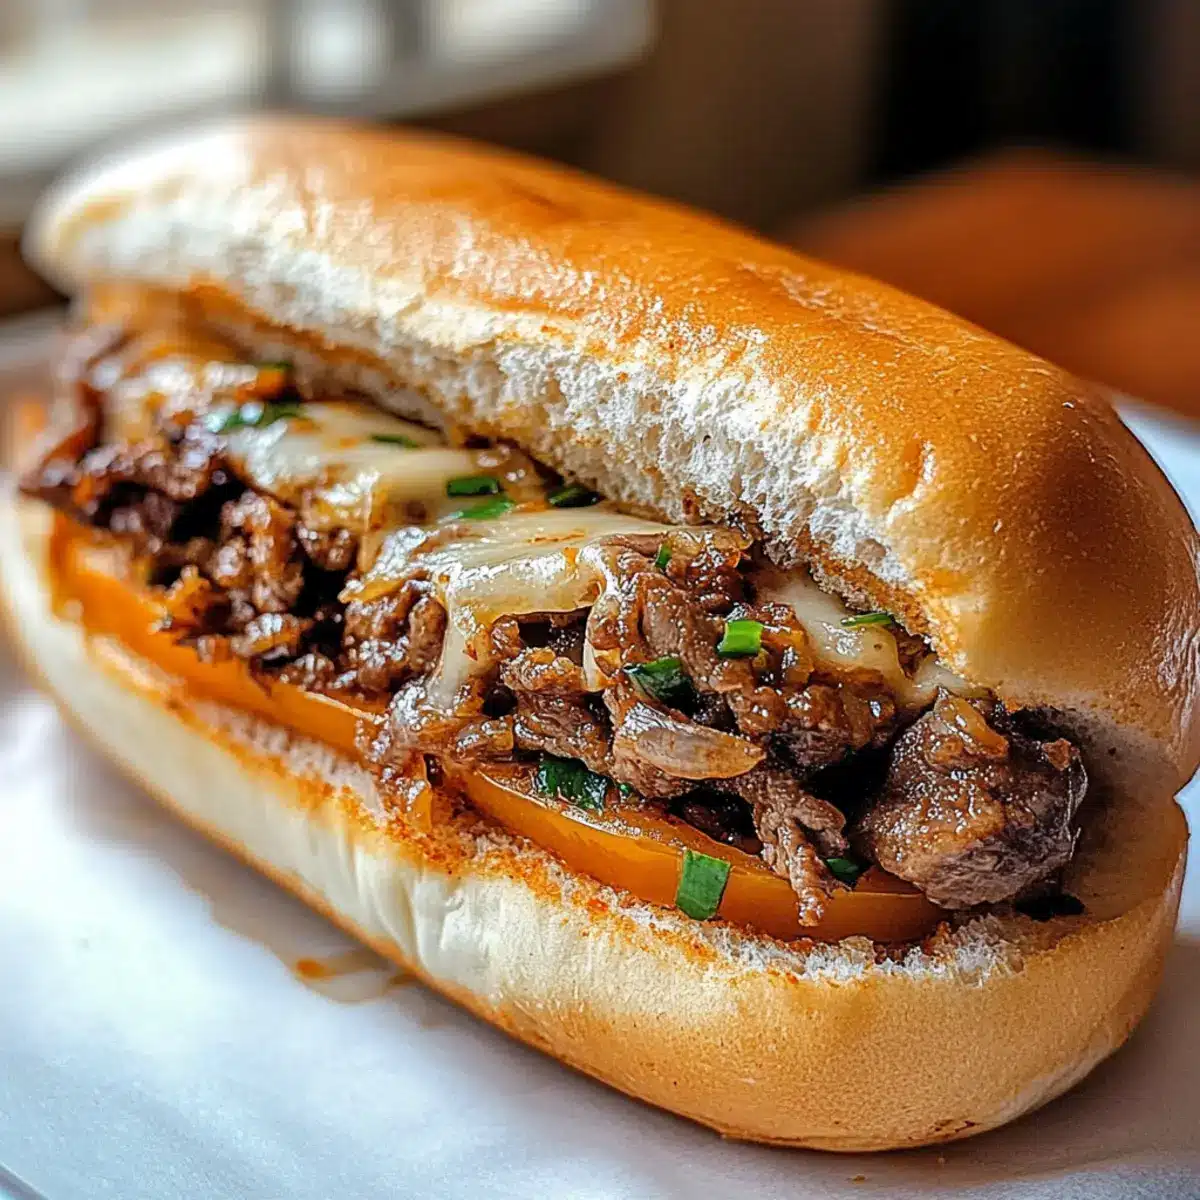
Step 6: Assemble Cheesesteaks
Toast the hoagie rolls in a preheated oven at 350°F for about 2-3 minutes until warm and slightly crispy. Remove them from the oven and fill each roll generously with the bulgogi mixture. Top with your choice of cheese, ensuring it covers the filling evenly.
Step 7: Broil for Perfection
Transfer the filled hoagie rolls to an oven-safe dish and switch the oven to broil. Place the dish under the broiler for about 2 minutes, watching closely until the cheese is melted and bubbly. This final touch brings the Korean Kimchi Bulgogi Cheesesteak to a whole new level of deliciousness!
How to Store and Freeze Korean Kimchi Bulgogi Cheesesteak
Fridge: Store leftover Korean Kimchi Bulgogi Cheesesteak in an airtight container for up to 3 days. This keeps the flavors fresh while maintaining the soft texture of the hoagie roll.
Freezer: If you’d like to freeze them, wrap individual cheesesteaks tightly in plastic wrap and then in aluminum foil. They can be frozen for up to 2 months.
Reheating: When you’re ready to enjoy, thaw in the fridge overnight, then reheat in the oven at 350°F for about 10 minutes to keep the bread crispy and the filling heated through, ensuring a tasty experience.
Airtight Guidance: Always cool the cheesesteaks to room temperature before storing to prevent condensation. Keeping them sealed tightly helps avoid freezer burn and maintains flavor.
Expert Tips for Korean Kimchi Bulgogi Cheesesteak
- Slice Against the Grain: Ensure you slice the beef sirloin against the grain for maximum tenderness, resulting in a melt-in-your-mouth texture.
- Marination Matters: Don’t rush the marinating step; allowing at least 15 minutes ensures the meat absorbs all the flavors of the Korean Kimchi Bulgogi Cheesesteak.
- Watch the Broil: Keep a close eye while broiling the cheesesteaks to prevent cheese from burning; a few seconds can make a big difference!
- Customize Wisely: Feel free to swap ingredients, but avoid overloading with too many substitutes, as the balance is key to enjoying the authentic flavors.
- Add Extra Crunch: For added texture, consider topping your cheesesteak with crispy fried onions or fresh shredded cabbage for a delightful crunch.
Korean Kimchi Bulgogi Cheesesteak Variations
Feel free to let your creativity shine by customizing this delicious cheesesteak to suit your tastes and dietary needs!
-
Dairy-Free: Use a non-dairy cheese alternative or skip the cheese altogether for a lighter option. This keeps it vibrant yet satisfying.
-
Spice Level Boost: Toss in some sliced jalapeños or serrano peppers during the sauté for an extra kick. You’ll enjoy that added heat in every bite!
-
Vegetarian Twist: Swap out the beef for marinated mushrooms or grilled eggplant for a hearty vegetarian version. This will still satisfy with its rich umami flavor.
-
Gluten-Free: Use gluten-free hoagie rolls and tamari in place of soy sauce to make this delicious meal gluten-free. Your taste buds won’t miss a beat!
-
Flavorful Additions: Mix in some sautéed shiitake mushrooms or bok choy for an earthier touch. These additions will enhance the texture and overall experience.
-
Herb Infusion: Add fresh herbs like cilantro or basil right before serving for a burst of freshness. It elevates the dish and adds a fragrant finish.
-
Asian Slaw Topping: Top off with a simple slaw of cabbage, carrots, and a sesame dressing for crunch and brightness. It’s the perfect contrast to the rich flavors below!
-
Unique Cheese Options: Swap the cheese for feta or gouda to give the cheesesteak an exciting twist. These mild, creamy options pair beautifully with the bold toppings.
No matter how you decide to customize, this Korean Kimchi Bulgogi Cheesesteak will always deliver a delightful experience. Explore the options and find your perfect combination!
Make Ahead Options
These Korean Kimchi Bulgogi Cheesesteaks are perfect for busy home cooks looking to save time during hectic weeknights! You can marinate the beef sirloin up to 24 hours in advance, allowing the flavors to deepen while stored in the refrigerator. Additionally, you can sauté the vegetables and store them in an airtight container for up to 3 days. When it’s time to serve, simply reheat the beef and vegetable mixture in a skillet, mix in the kimchi, and assemble the cheesesteaks in toasted rolls with cheese. This prep-ahead approach ensures your meal is just as delicious, without the last-minute rush!
What to Serve with Korean Kimchi Bulgogi Cheesesteak
Elevate your meal with delightful sides that enhance the zingy flavors of this scrumptious cheesesteak.
-
Crispy Sweet Potato Fries: These sweet and slightly salty fries add the perfect crunch, balancing the savory notes of the cheesesteak while bringing a pop of color to your plate.
-
Korean Pickled Vegetables: Tangy and refreshing, these pickles can lighten the richness of the bulgogi cheesesteak, providing a delicious contrast that wakes up your palate.
-
Asian Slaw: A crunchy mix of cabbage and carrots tossed with a sesame dressing brings a fresh, vibrant element to your meal, enhancing the overall flavor experience.
-
Spicy Kimchi: For the bold, serve extra kimchi on the side. Its fiery tang complements the cheesesteak while inviting a deeper dive into the Korean flavors.
-
Rice or Quinoa: A bed of steamed rice or fluffy quinoa serves as a perfect neutral side, soaking up juices from the cheesesteak while providing a satisfying texture.
-
Beer or Soju: Pair with a cold beer or a refreshing shot of soju for an authentic culinary experience that invigorates the flavors of the Korean Kimchi Bulgogi Cheesesteak.
-
Fruit Salad: A light, refreshing fruit salad can act as a palate cleanser, bringing a sweet finish to your meal but leaving you ready for a second helping of the cheesesteak!
Korean Kimchi Bulgogi Cheesesteak Recipe FAQs
What type of beef should I choose for optimal flavor?
Absolutely! For the best flavor and tenderness, I recommend using high-quality beef sirloin. Look for a cut with a little marbling, as this fat adds flavor during cooking. Slicing against the grain will also help keep it tender.
How do I store leftover cheesesteaks?
Store your leftover Korean Kimchi Bulgogi Cheesesteaks in an airtight container in the fridge for up to 3 days. Make sure they are cooled to room temperature before sealing to avoid condensation, which can make the bread soggy.
Can I freeze Korean Kimchi Bulgogi Cheesesteaks?
Yes, you can! Wrap each cheesesteak tightly in plastic wrap followed by aluminum foil. They can be frozen for up to 2 months. When you want to enjoy them again, thaw in the fridge overnight, and reheat in the oven at 350°F for about 10 minutes for the best texture.
What if my beef is tough after cooking?
If your beef turns out tough, it’s often due to slicing against the grain or not marinating long enough. Always slice your beef sirloin against the grain to enhance tenderness, and try marinating for at least 15 minutes (or longer if possible) to really infuse those flavors!
Is this recipe gluten-free?
Absolutely! To make your Korean Kimchi Bulgogi Cheesesteak gluten-free, simply substitute soy sauce with tamari and use gluten-free hoagie rolls. With these adjustments, you can savor all the delicious flavors without any worries!
How do I adjust for dietary allergies?
For nut allergies, instead of sesame oil, you can use olive oil or avocado oil. If you’re dealing with dairy allergies, skip the cheese or opt for a dairy-free cheese substitute. Always check the labels of your kimchi to ensure it’s free of allergens.
Savory Korean Kimchi Bulgogi Cheesesteak You’ll Crave
Ingredients
Equipment
Method
- Slice the beef sirloin into thin strips for optimal tenderness. Chop the onions and bell peppers into bite-sized pieces.
- In a medium bowl, whisk together soy sauce, sesame oil, minced garlic, and sugar until smooth. Add the beef strips and let marinate for at least 15 minutes.
- Heat a tablespoon of oil in a large skillet over medium-high heat. Add the chopped onions and bell peppers. Sauté for about 5 minutes until tender.
- Push the sautéed vegetables to one side and add the marinated beef. Cook for about 5 minutes, stirring occasionally until browned and cooked through.
- Add the chopped kimchi and stir everything together. Cook for an additional 2 minutes.
- Toast the hoagie rolls in a preheated oven at 350°F for about 2-3 minutes. Fill each roll with the bulgogi mixture and top with cheese.
- Transfer the hoagie rolls to an oven-safe dish and broil for about 2 minutes until the cheese is melted and bubbly.