

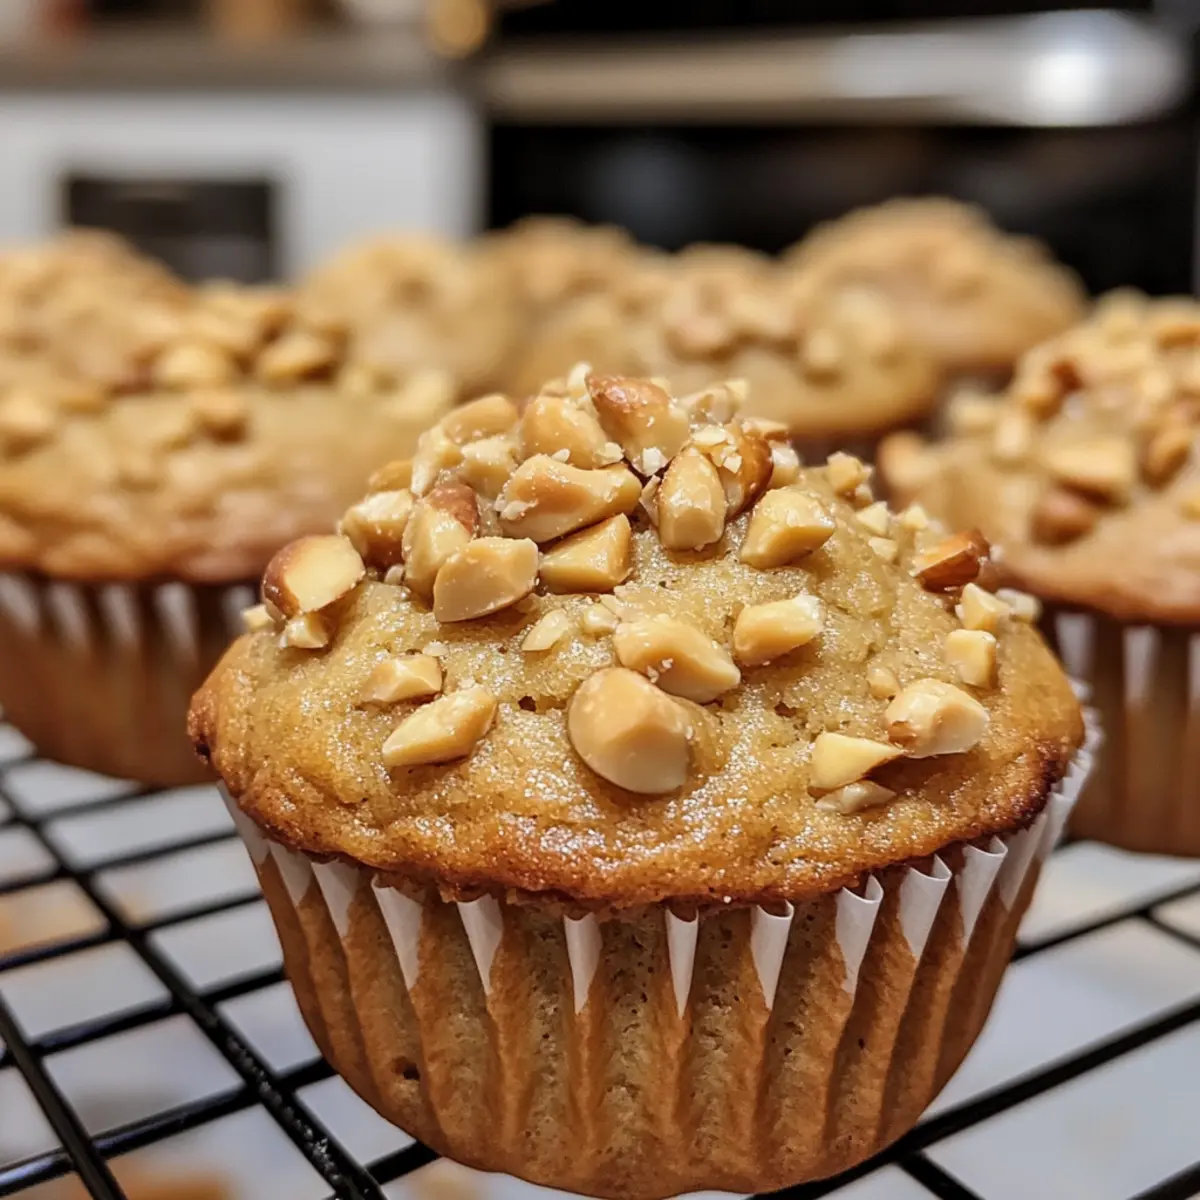
As I stand by the kitchen counter, the fragrant scent of creamy peanut butter fills the air, gently urging me to whip up a batch of Fluffy Peanut Butter Muffins. These delightful treats are not only quick and easy to prepare, but they also blend perfectly into your busy mornings or serve as a wholesome snack any time of day. Rich in flavor yet health-conscious, they boast a soft and moist texture that makes every bite feel indulgent, while still being a smart choice for breakfast or dessert. Trust me; your loved ones will be begging for seconds! Curious about how to make these irresistible muffins? Let’s dive in!
Why are Peanut Butter Muffins a Must-Try?
Irresistible Taste: The combination of creamy peanut butter and real maple syrup creates a flavor explosion that feels like a warm hug in every bite.
Quick & Easy: With just a handful of pantry staples, you can whip up these muffins in no time, making them perfect for busy mornings or unexpected snack attacks.
Healthy Indulgence: Made with white whole wheat flour and natural sweeteners, these muffins are a guilt-free treat that doesn’t sacrifice flavor.
Versatile Delight: Add in dark chocolate chips or swap applesauce for mashed bananas to customize your creation; the options are endless! For more delightful breakfast ideas, check out these Buttermilk Pancakes or Honey Butter Brioche.
Crowd-Pleaser: These muffins are perfect for sharing at brunches or family gatherings, ensuring you’ll be the star of the kitchen with minimal effort!
Peanut Butter Muffin Ingredients
For the Batter
- White Whole Wheat Flour – Gives structure and a nutritious base; you can substitute half with all-purpose flour for a lighter texture.
- Baking Soda – Essential for creating that fluffy lift in your peanut butter muffins.
- Baking Powder – Works alongside baking soda to enhance the rise for a lighter muffin.
- Fine Sea Salt – Brings out the flavor, balancing the sweetness perfectly.
- Ground Cinnamon – Adds warmth and spice, elevating the overall taste.
- Creamy Peanut Butter – This is the star ingredient, so opt for natural unsalted for the best flavor.
- Pure Maple Syrup – A natural sweetener that also lends moisture; honey can be a delightful alternative.
- Unsweetened Applesauce – Contributes moisture without added fat; yogurt can be used as an equal substitute.
- Large Egg – Acts as a binder for all the ingredients; for a vegan option, replace with a flaxseed egg.
- Vanilla Extract – Enhances the overall flavor subtly, blending perfectly with the peanut butter.
- Unsweetened Non-Dairy Milk – Offers moisture and can be adjusted for your desired consistency.
Step‑by‑Step Instructions for Peanut Butter Muffins
Step 1: Preheat and Prepare
Start by preheating your oven to 375ºF (190ºC). While the oven warms, grab a muffin pan and either grease it well or line it with silicone muffin liners. This will ensure your fluffy Peanut Butter Muffins release easily after baking, preventing any sticky situations.
Step 2: Combine Dry Ingredients
In a medium mixing bowl, whisk together the white whole wheat flour, baking soda, baking powder, fine sea salt, and ground cinnamon. This step is crucial for evenly distributing the leavening agents. As you combine, take note of the dusty texture and aroma of the spices—you want to create a well-mixed foundation for your muffins.
Step 3: Mix Wet Ingredients
In a larger bowl, whisk together the creamy peanut butter and pure maple syrup until they form a smooth, cohesive mixture. Next, add the unsweetened applesauce, large egg, and vanilla extract, continuing to whisk until everything is fully blended and invitingly creamy. This vibrant mixture embodies the delicious essence of your Peanut Butter Muffins.
Step 4: Combine Mixtures
Gently add the dry mixture to your wet ingredients, stirring with a spatula until just combined. Be careful not to overmix—the goal is a lumpy batter that will create tender muffins. Slowly pour in the unsweetened non-dairy milk, folding it in until the batter is just mixed, but still a bit rustic in appearance.
Step 5: Fill and Bake
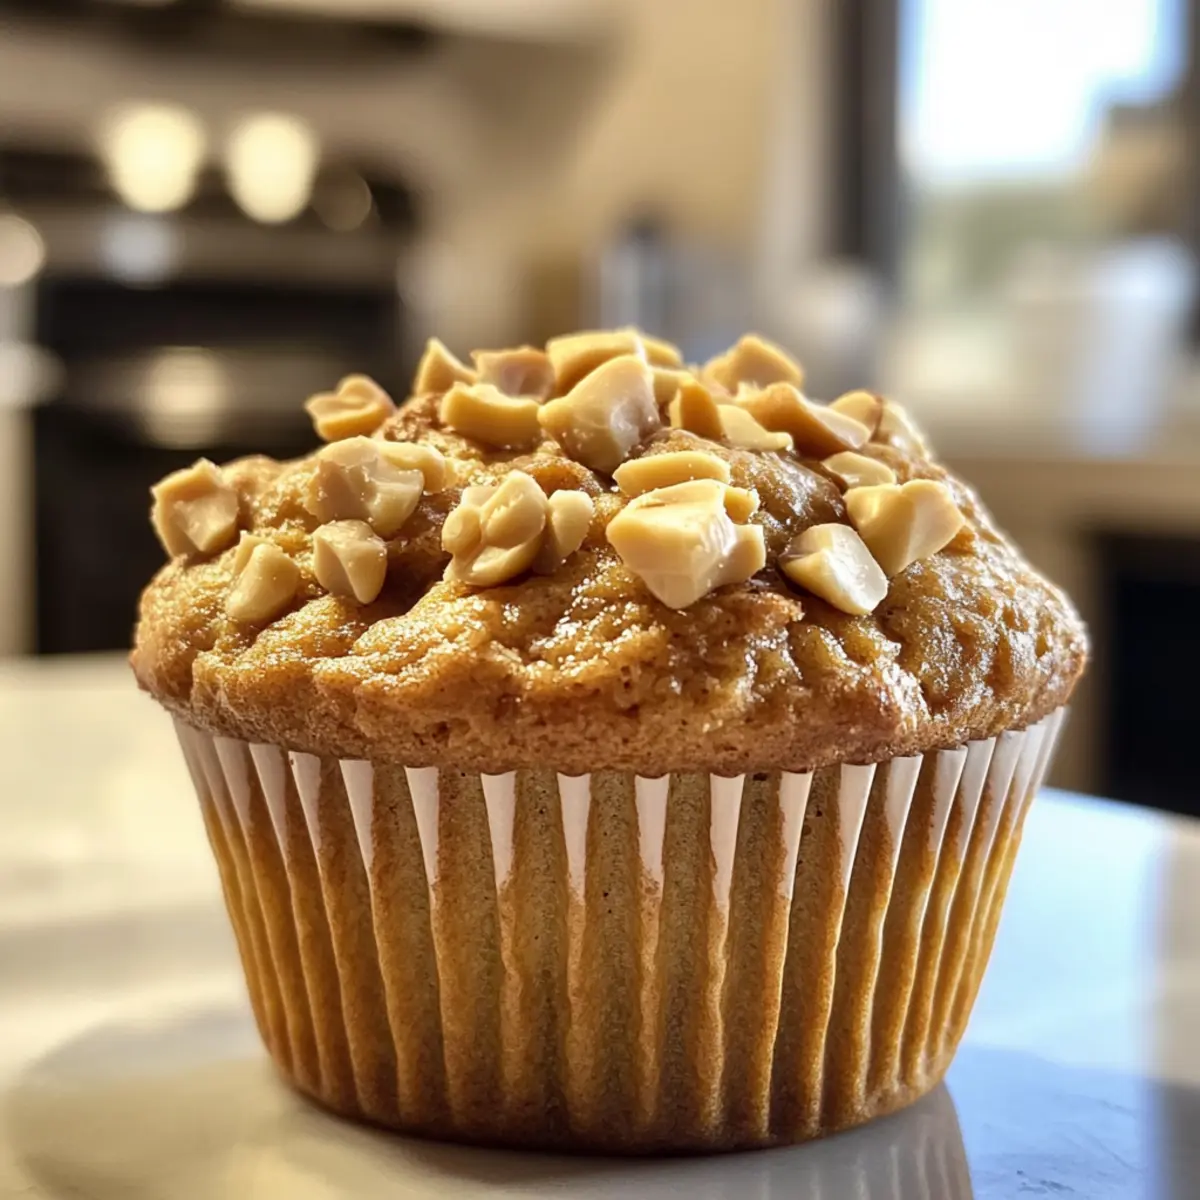
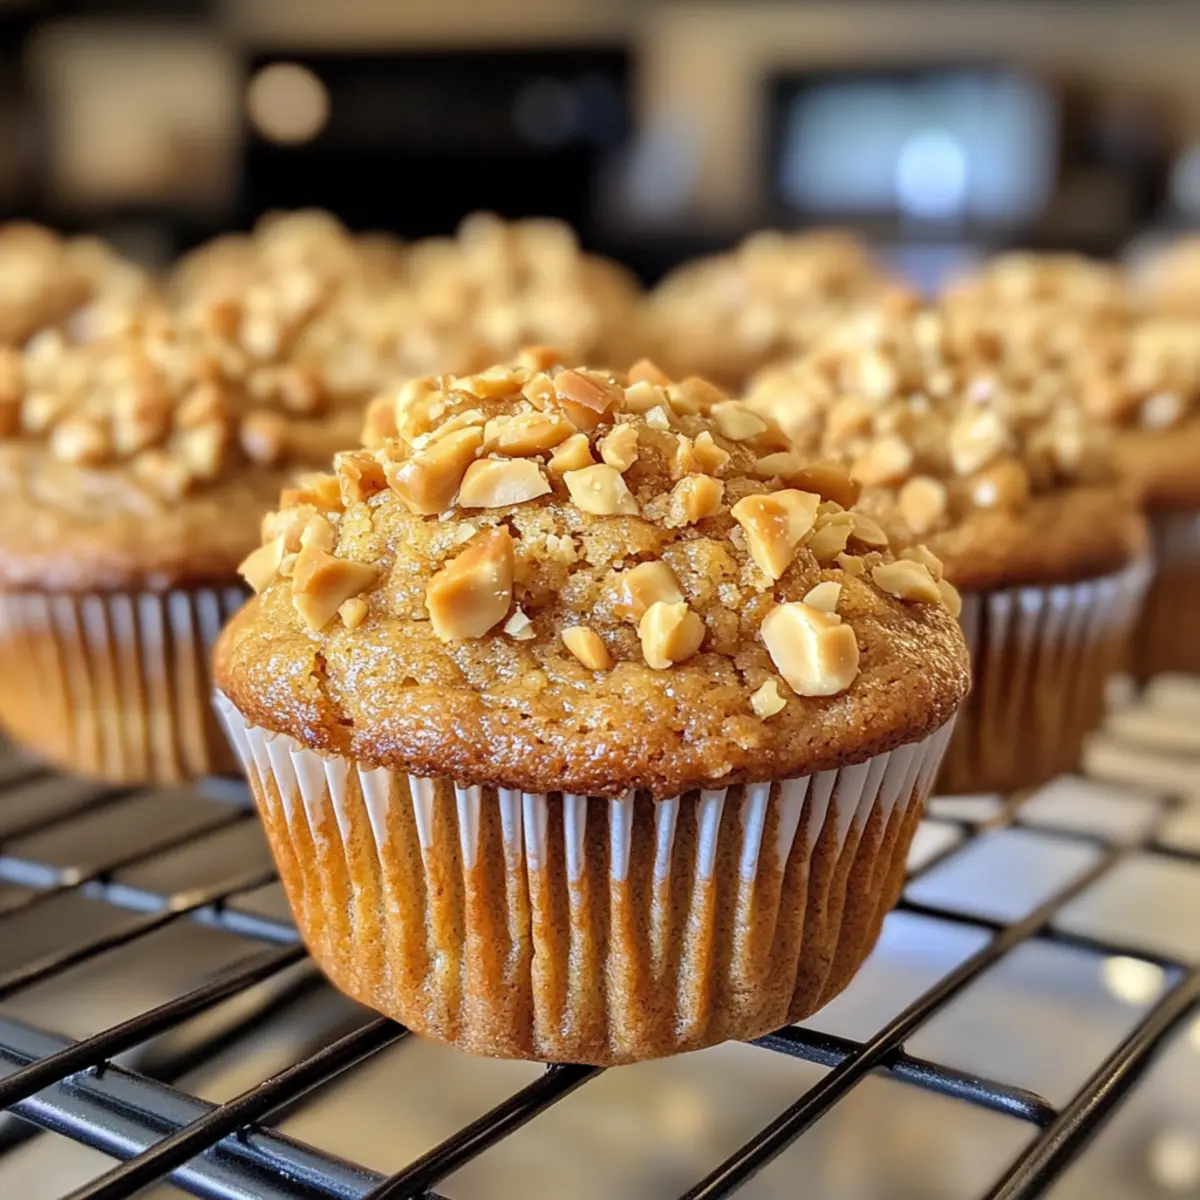
Spoon the batter evenly into your prepared muffin cups, filling each about two-thirds full. If desired, sprinkle some crushed peanuts on top for texture. Place the muffin pan in the preheated oven and bake for 15-20 minutes. The muffins are ready when they turn lightly golden brown on the tops and a toothpick inserted comes out clean.
Step 6: Cool and Serve
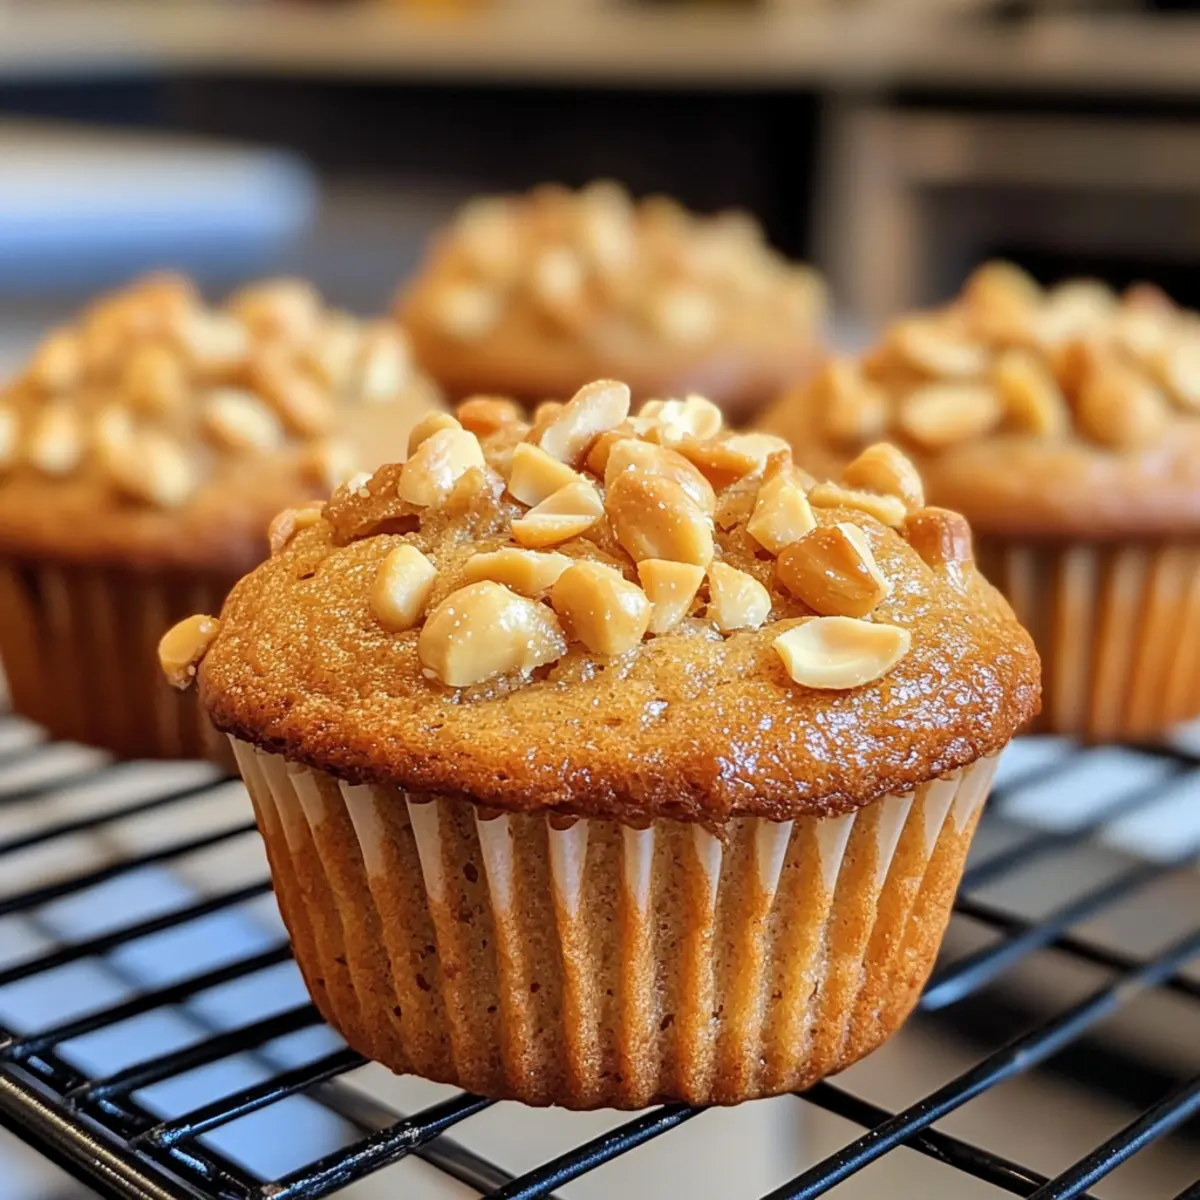
Once baked, remove the Peanut Butter Muffins from the oven and allow them to cool in the pan for about 5 minutes. Then, transfer them to a wire rack to cool completely. The delightful aroma will fill your kitchen, making them hard to resist! Serve at room temperature or slightly warm for an extra comforting treat.
Peanut Butter Muffins Customizations
Feel free to make these delightful Peanut Butter Muffins your own with these tasty twists and substitutions!
- Dairy-Free: Use a plant-based milk, such as almond or oat milk, for a completely dairy-free treat.
- Gluten-Free: Substitute white whole wheat flour with gluten-free all-purpose flour to cater to gluten-sensitive friends. Ensure that your baking powder is also gluten-free.
- Lower Sugar: Replace maple syrup with a sugar-free sweetener like monk fruit for a reduced-sugar version that maintains sweetness.
- Nutty Variety: Try almond or sunflower butter instead of peanut butter for a unique flavor profile. These swaps will add richness and flair to your muffins.
- Fruit-Infused: Incorporate fresh or frozen blueberries or raspberries into the batter for a fruity surprise in every bite; they pair wonderfully with peanut butter!
- Chocolate Delight: Add dark chocolate chips to the batter for a sweet, indulgent twist. The richness of chocolate complements the nutty flavor beautifully.
- Spice it Up: Elevate the flavor with a pinch of nutmeg or a dash of pumpkin spice for a warm and cozy aromatic experience.
- Add Crunch: Top your muffins with chopped nuts or granola before baking for a delightful crunchy texture on top. Children and adults alike will appreciate this fun twist!
Don’t forget to explore more delightful treats, such as these Honey Butter Brioche or our tasty Bakery-Style Blueberry Muffins for even more kitchen excitement!
What to Serve with Fluffy Peanut Butter Muffins?
The perfect accompaniments can elevate your muffins into a delightful meal or snack experience.
-
Fresh Berries: Their tartness balances the sweet richness of the muffins, adding a burst of flavor and freshness. Serve alongside a handful of strawberries or blueberries for a colorful plate.
-
Greek Yogurt: A dollop of creamy Greek yogurt pairs beautifully, bringing tanginess and added protein. Top it with a sprinkle of granola for a satisfying crunch and complete breakfast.
-
Nutty Granola: Crunchy, nutty granola can add texture and a caffeine kick when served with your muffins. It complements the flavors while providing a wholesome crunch that everyone will love.
-
Smoothie Bowl: Whipping up a refreshing smoothie bowl can create a delightful contrast. Blend spinach, banana, and almond milk for a nourishing drink that rounds out your meal beautifully.
-
Honey Drizzle: A light drizzle of honey over your muffins enhances the sweetness and adds a touch of floral flavor. It’s a simple yet effective way to make your muffins feel extra special.
-
Herbal Tea: Pairing your muffins with a soothing cup of herbal tea offers a serene moment. The warm, fragrant notes of chamomile or mint bring a calmness to your snack time.
-
Chocolate Milk: For a nostalgic twist, serve a glass of chocolate milk alongside. The creamy chocolate undertones will create an irresistibly indulgent experience with your muffins.
Make Ahead Options
These Fluffy Peanut Butter Muffins are a dream for meal prep enthusiasts! You can prepare the batter and store it in the refrigerator up to 24 hours in advance, which allows the flavors to meld beautifully. To maintain their quality, cover the bowl tightly with plastic wrap. When you’re ready to bake, simply preheat the oven and spoon the batter into muffin cups. If you prefer, you can also bake a batch ahead of time and freeze the muffins individually for up to 3 months. Just thaw them in the refrigerator overnight or warm them briefly in the microwave before serving for the same delightful aroma and taste.
Expert Tips for Peanut Butter Muffins
• Choose Natural Peanut Butter: Opt for natural peanut butter without additives for a smoother texture and authentic flavor in your muffins.
• Avoid Overmixing: Mixing the batter too much can result in tough muffins. Stir gently until just combined for light and fluffy treats.
• Temperature Adjustment: For an extra fluffy muffin, start baking at 425°F for the first 5 minutes, then lower to 350°F for the remainder of the time.
• Taste Test Variations: Experiment with crunchy peanut butter or chocolate chips to find your favorite flavor combination—there’re no wrong choices!
• Proper Storage: Keep your muffins in an airtight container at room temperature for up to 5 days to maintain their freshness and moisture.
How to Store and Freeze Peanut Butter Muffins
Room Temperature: Keep your muffins in an airtight container for up to 5 days to maintain their soft and moist texture while avoiding any staleness.
Fridge: If you want them to last a bit longer, store them in the refrigerator where they can be kept for up to 1 week without losing flavor.
Freezer: For extended storage, wrap the cooled muffins individually in plastic wrap and place them in a freezer bag; they can stay fresh for up to 3 months. Thaw in the fridge or at room temperature before enjoying.
Reheating: To enjoy warm muffins, pop them in the microwave for 10-15 seconds or toast them lightly for a delightful treat that tastes fresh!
Peanut Butter Muffins Recipe FAQs
What type of peanut butter should I use for these muffins?
Absolutely! For the best texture and flavor, I recommend using natural creamy peanut butter without added ingredients. This will ensure a smooth batter and that rich peanut butter taste that makes these muffins so irresistible.
How do I tell when my muffins are baked properly?
Very good question! To check for doneness, insert a toothpick into the center of a muffin; if it comes out clean or with just a few crumbs attached, they’re ready. You’ll also want to look for a lightly golden brown top, which is a great visual cue that they are perfectly baked.
How should I store leftover muffins?
Keep your muffins in an airtight container at room temperature for up to 5 days. If you need them to last longer, refrigerating them can extend their freshness for up to 1 week. Just make sure they are wrapped tightly or placed in a container to maintain moisture.
Can I freeze the muffins for later?
Absolutely! To freeze your Peanut Butter Muffins, first allow them to cool completely. Then, wrap each muffin individually in plastic wrap and place them in a freezer-safe bag. They can last up to 3 months in the freezer. When you’re ready to enjoy them, simply thaw in the fridge overnight or at room temperature for a few hours.
Are there any allergenic ingredients I should be aware of?
Yes, these muffins contain peanuts and eggs, which are common allergens. If you’re making them for someone with allergies, consider using a flaxseed egg as a substitute and ensure the peanut butter used is free from cross-contamination with other nuts. Additionally, check to see if the baking powder used is gluten-free if that’s a concern.
What if my muffins didn’t rise?
If your muffins didn’t rise as expected, it might be due to overmixing the batter or using old leavening agents. I recommend gently folding the ingredients together only until just combined and checking the expiration dates on your baking soda and baking powder. This will help you achieve those fluffy muffins that everyone loves!
Fluffy Peanut Butter Muffins for a Healthy, Tasty Treat
Ingredients
Equipment
Method
- Preheat your oven to 375ºF (190ºC). Grease a muffin pan or line it with silicone muffin liners.
- In a medium mixing bowl, whisk together the white whole wheat flour, baking soda, baking powder, fine sea salt, and ground cinnamon.
- In a larger bowl, whisk together the creamy peanut butter and pure maple syrup until smooth. Add the unsweetened applesauce, large egg, and vanilla extract, whisking until fully blended.
- Gently add the dry mixture to your wet ingredients, stirring with a spatula until just combined. Pour in the unsweetened non-dairy milk, folding it in until mixed but still lumpy.
- Spoon the batter into prepared muffin cups, filling each about two-thirds full. Bake for 15-20 minutes until lightly golden and a toothpick comes out clean.
- Allow muffins to cool in the pan for 5 minutes before transferring to a wire rack. Serve warm or at room temperature.