

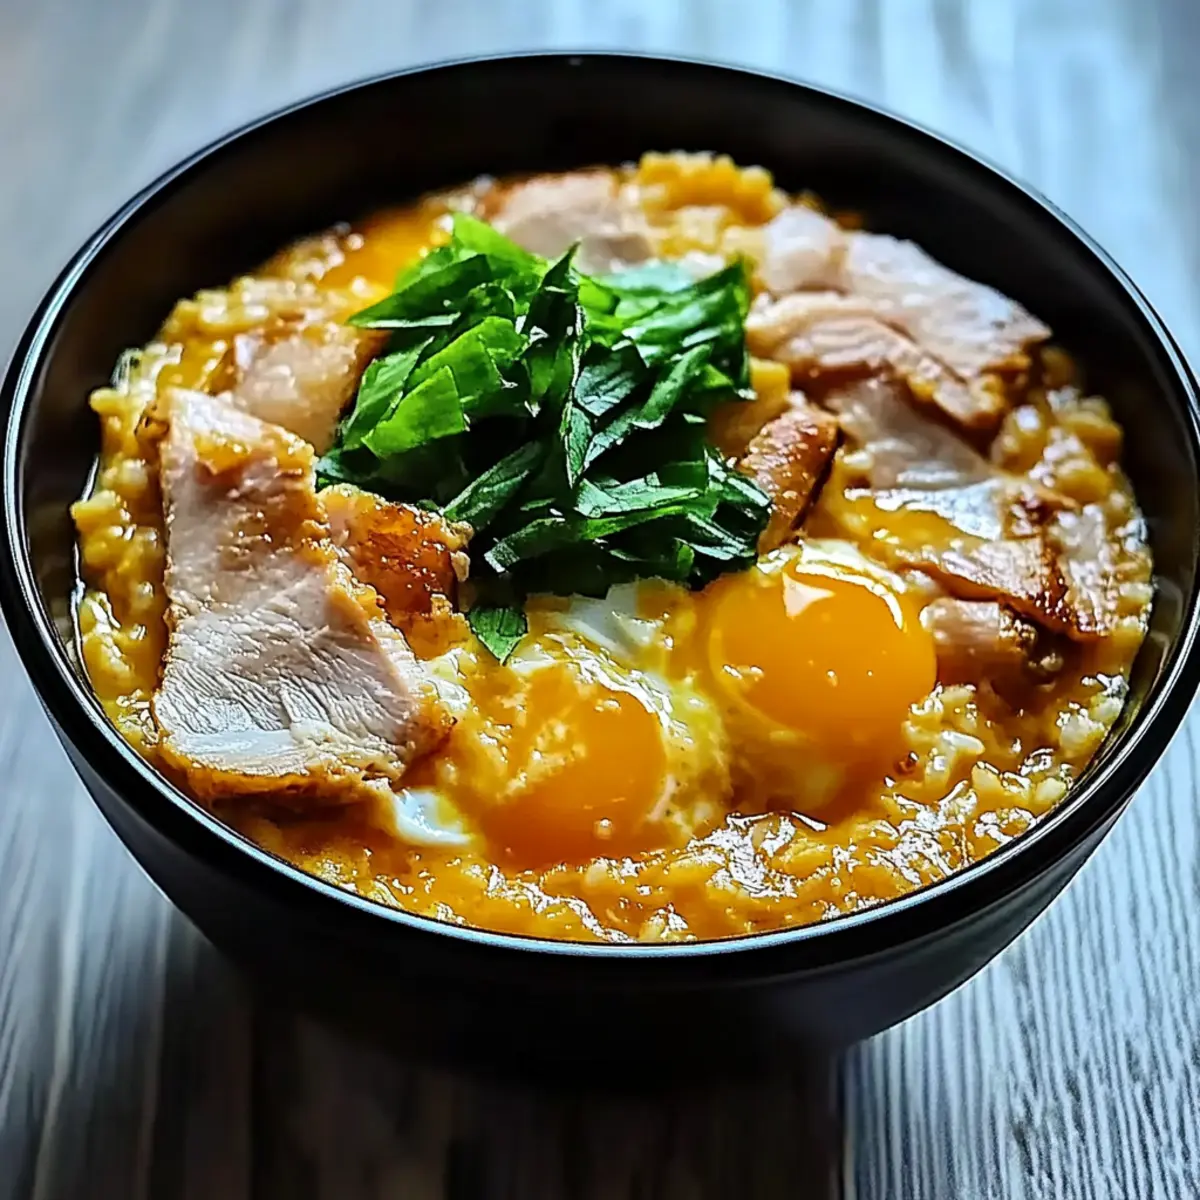
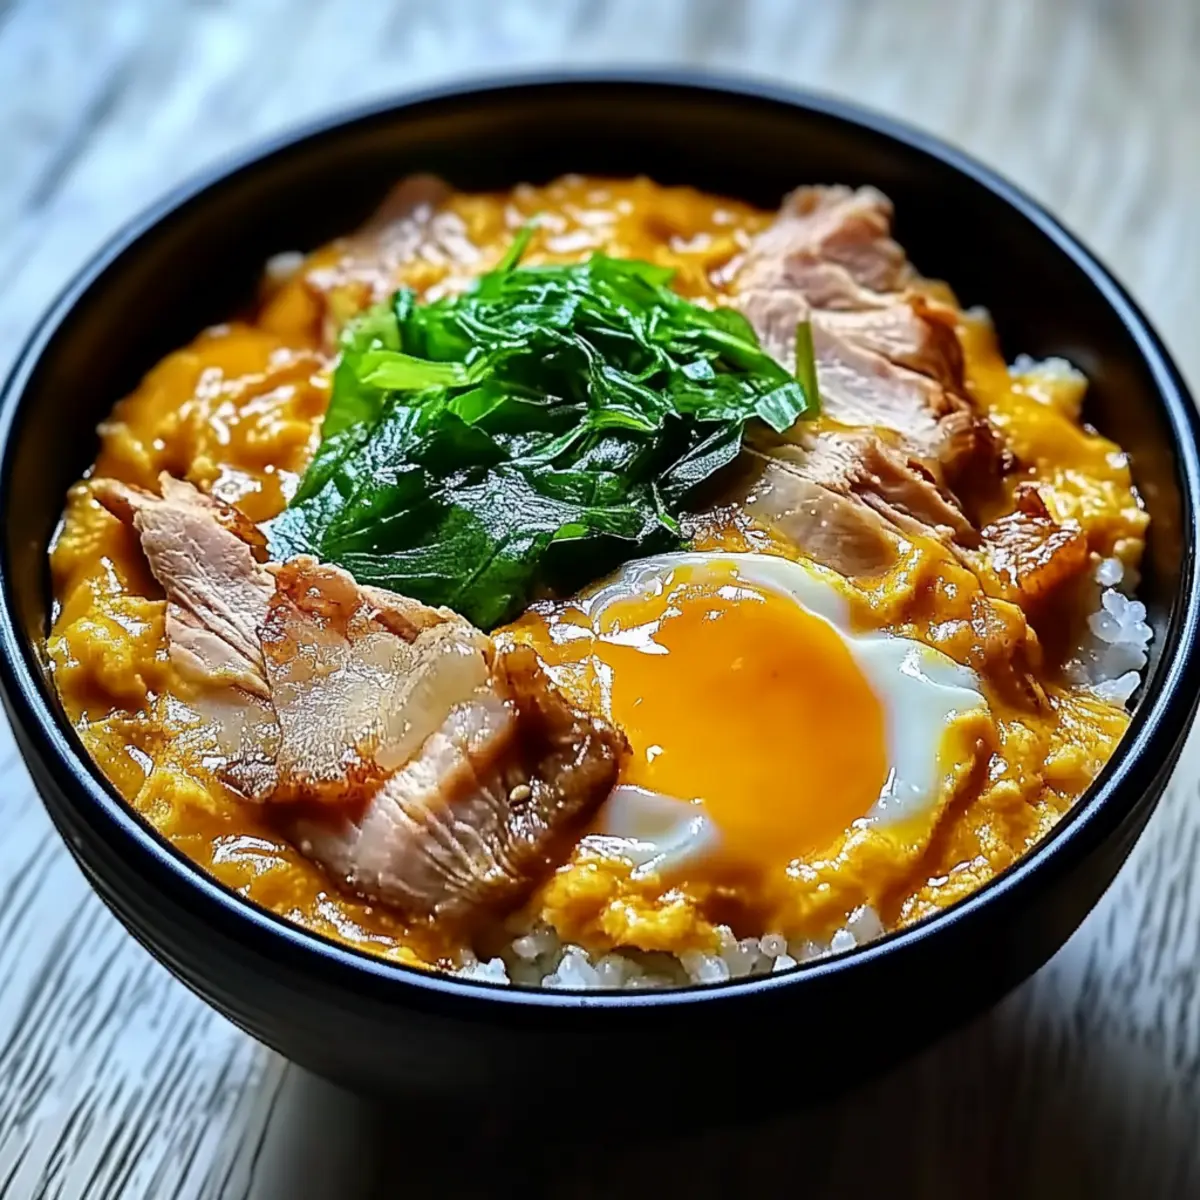
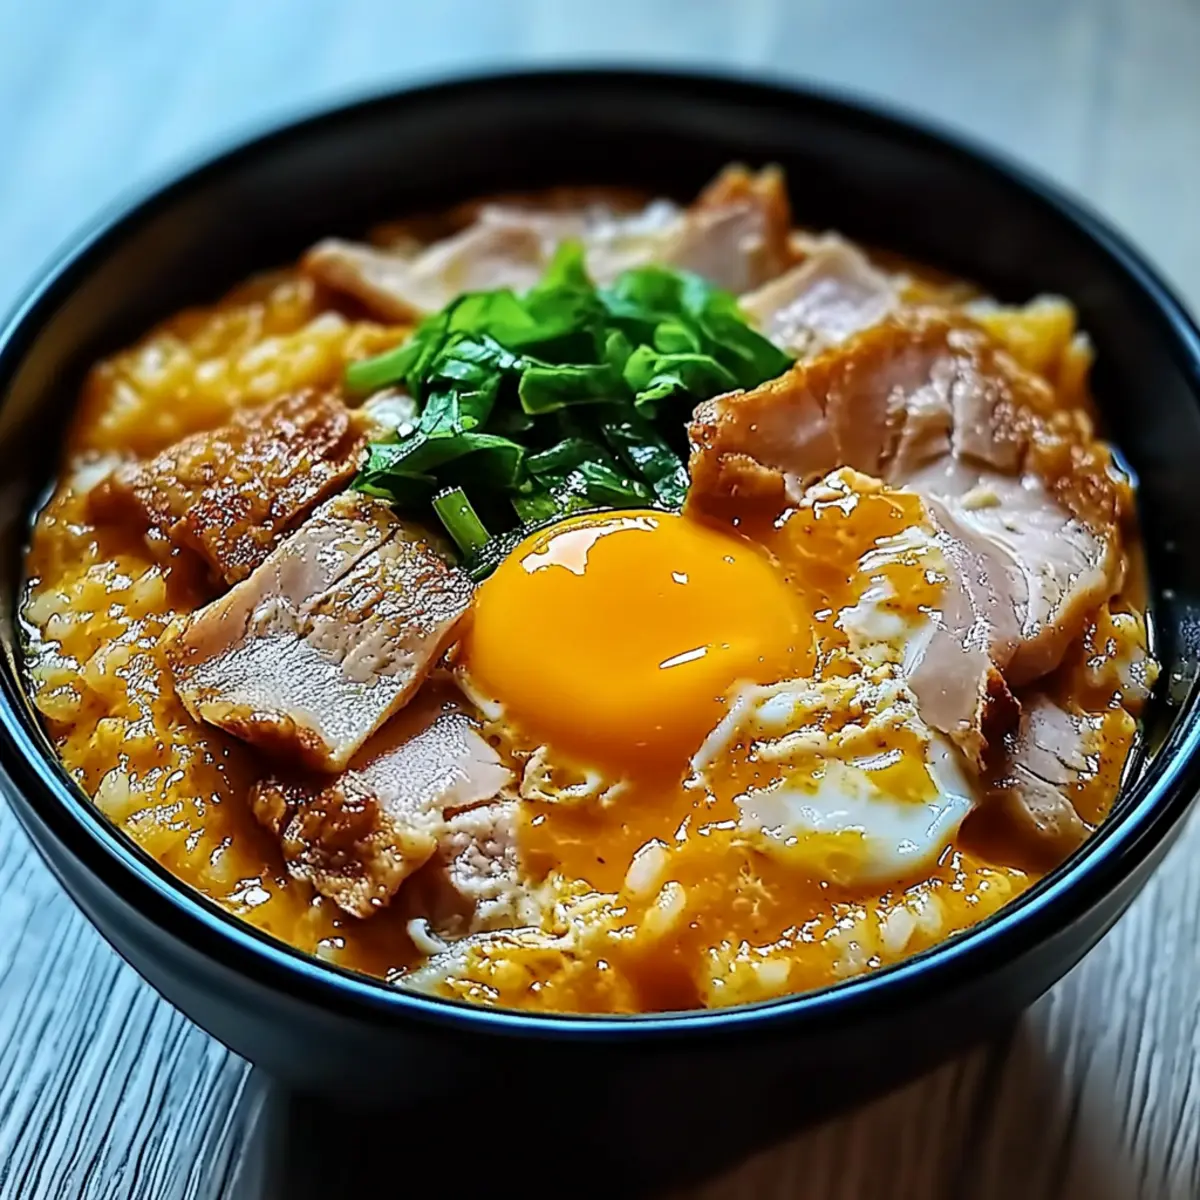
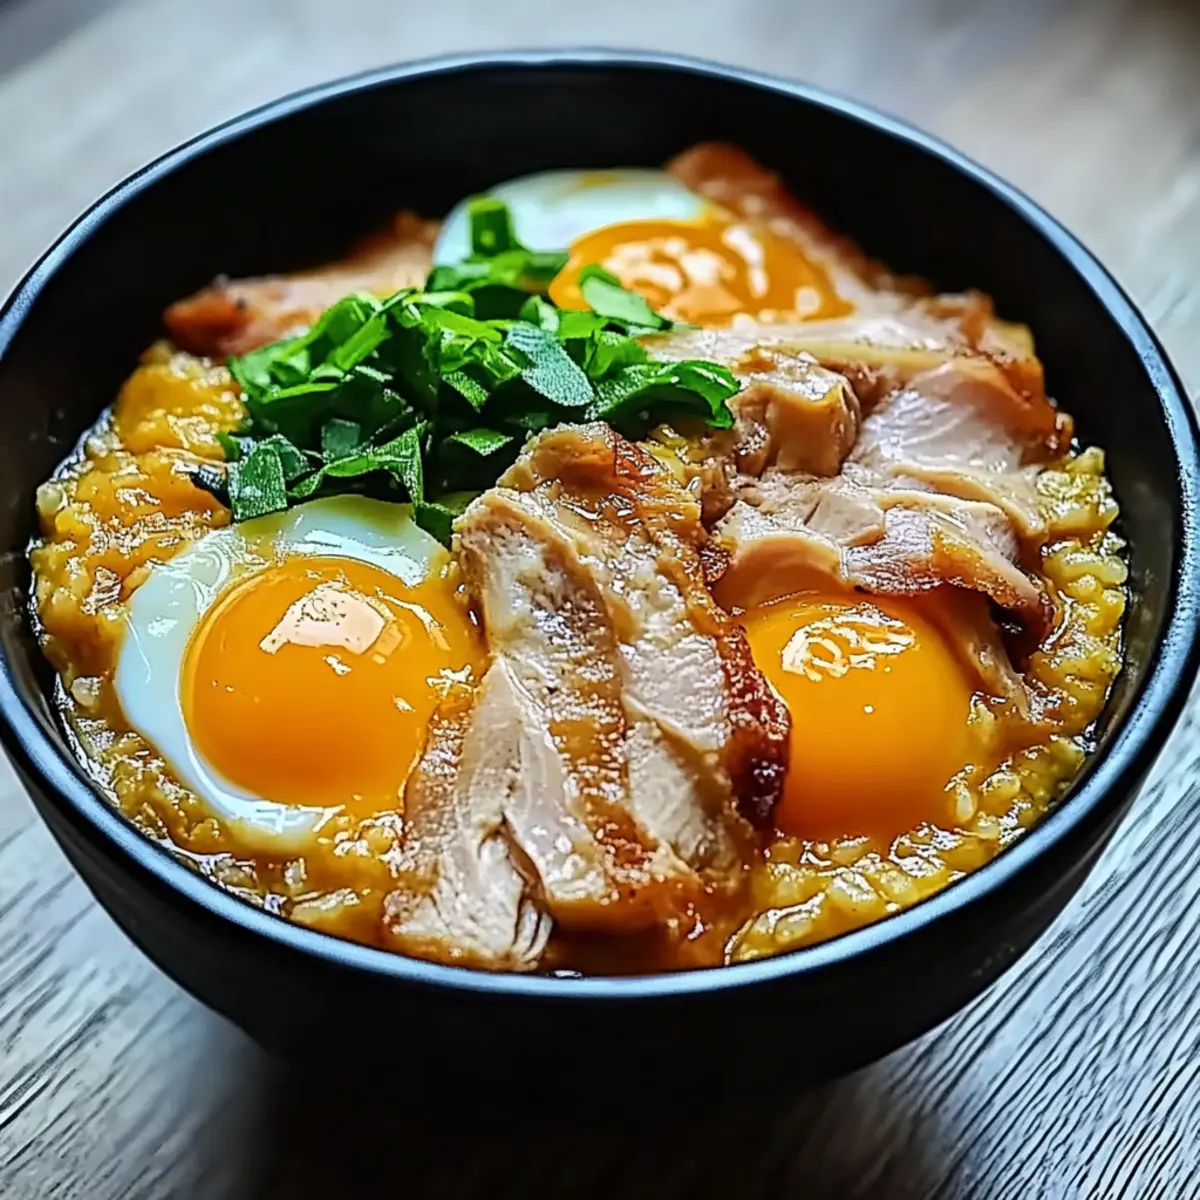
As I stood in my kitchen, the sweet scent of sautéing onions wafted through the air, instantly transporting me to a cozy Japanese eatery. This Ultimate Oyakodon Recipe is a beautiful celebration of simplicity, featuring tender chicken, perfectly cooked eggs, and comforting rice all in one bowl. It’s the quintessential Japanese comfort food, ideal for those bustling weeknights when time is short but you crave something heartfelt and satisfying. In just under 30 minutes, you can whip up a wholesome meal that’s not only easy to prepare but also a definite crowd-pleaser. And let’s face it, who wouldn’t want a dish that warms both the belly and soul? Ready to experience a taste of Japan right in your home? Let’s dive in!
Why is Oyakodon a Must-Try?
Comforting, Heartwarming Dish: This Ultimate Oyakodon recipe delivers a soothing bowl of goodness that feels like a warm hug after a long day.
Quick and Easy: With just a handful of ingredients and under 30 minutes of cooking time, it’s perfect for busy weeknights when you want a homemade meal without the fuss.
Flavor Explosion: The sweet onions, tender chicken, and creamy eggs come together for a flavor profile that’s both savory and satisfying.
Endless Variations: Whether you stick to the classic or switch things up with veggies or tofu, this dish is adaptable to your taste preferences.
Family-Friendly: Kids and adults alike will love this delightful rice bowl, making it an ideal choice for family dinners. You can even pair it with other comforting dishes like Hobo Casserole Discover for a feast!
Ultimate Oyakodon Recipe Ingredients
For the Rice
• Short-grain Japanese rice – Essential for the perfect sticky texture that complements the dish beautifully.
For the Chicken
• Boneless, skinless chicken thighs – Recommended for their tenderness and flavor that infuses the broth.
For the Eggs
• Fresh eggs – Use high-quality, fresh eggs for a rich, creamy consistency that elevates the dish.
For the Onion
• Yellow onions – Their natural sweetness enhances the overall flavor of your Ultimate Oyakodon.
For the Broth
• Dashi – Provides that signature umami flavor; instant dashi powder is a quick alternative if time is short.
• Low-sodium soy sauce – Offers depth of flavor without being overly salty: a healthier option for cooking.
• Mirin (sweet rice wine) – Adds a touch of sweetness; mix honey with water if it’s not available.
For Sweetness
• Sugar – Adjust according to your taste to balance the flavors perfectly; it enhances the dish’s comforting profile.
Feel free to explore different flavors and ingredients as you make this Ultimate Oyakodon recipe your own!
Step‑by‑Step Instructions for Ultimate Oyakodon Recipe
Step 1: Prepare Ingredients
Begin by slicing 1 medium yellow onion and 2 boneless, skinless chicken thighs into bite-sized pieces, ensuring they are uniform for even cooking. Measure out 2 cups of short-grain Japanese rice, rinsing it under cold water until it runs clear. Gather your dashi, soy sauce, mirin, and sugar for easy access during cooking.
Step 2: Cook Rice
In a rice cooker or a saucepan, add the rinsed rice along with the appropriate amount of water based on your cooker instructions. Cook according to your method, usually about 15-20 minutes on medium to high heat until the rice is tender and sticky. Once done, fluff the rice with a fork and keep it covered to maintain warmth.
Step 3: Make Dashi
While the rice cooks, pour 2 cups of water into a medium saucepan and bring it to a gentle simmer over medium heat. Add the instant dashi powder according to package instructions or use homemade dashi if you have it ready. Stir occasionally, and you’ll notice the beautiful umami aroma filling your kitchen in about 5 minutes.
Step 4: Sauté Onions
Add the sliced onions to the simmering dashi, cooking them gently for about 5-7 minutes until they soften and become translucent. This will enhance their sweetness and release wonderful flavors into the broth. Stir occasionally to ensure they cook evenly without browning.
Step 5: Add Chicken
Next, introduce the chicken pieces into the pot with the softened onions. Cook the chicken in the dashi for approximately 5-8 minutes until it turns tender and fully cooked, stirring gently to coat the chicken in the flavorful broth. You’ll know it’s done when the chicken is no longer pink in the center.
Step 6: Incorporate Eggs
While the chicken cooks, crack 2 fresh eggs into a bowl and whisk until just combined for a fluffy texture. Once the chicken is fully cooked, pour the eggs slowly over the chicken mixture in the pot. Cover with a lid and let it steam for about 2-3 minutes on low heat, allowing the eggs to set into a silky custard.
Step 7: Serve
To serve your Ultimate Oyakodon, spoon a generous amount of the chicken and egg mixture over a bowl of fluffy rice. Drizzle some of the dashi broth from the pot over the top for added flavor, ensuring each bite is bursting with savory goodness. Garnish with green onions for a fresh touch if desired.
Ultimate Oyakodon Recipe Variations
Feel free to get creative with your Ultimate Oyakodon; it’s a dish that welcomes all sorts of delicious adaptations!
-
Vegetarian: Substitute chicken with firm tofu for a plant-based twist. Just sauté it until golden brown for added flavor and texture.
-
Extra Veggies: Add in peas, spinach, or bell peppers to boost nutrition and color. Toss them in with the onions for a vibrant dish that’s as beautiful as it is tasty.
-
Spicy Kick: For some heat, sprinkle chili flakes or drizzle sriracha over the top before serving. The combination of flavors with a bit of spice can elevate your Oyakodon experience to new heights.
-
Broth Variations: Swap the dashi for other broth options like chicken or vegetable stock to customize the flavor. Each broth will lend a different character, inviting a bit of culinary exploration.
-
Savory Herbs: Incorporate fresh herbs, such as cilantro or scallions, to brighten the dish. They add freshness and complement the savory elements beautifully.
-
Umami Bomb: Mix in a splash of miso paste into your broth for an intense umami flavor that will take your dish to the next level. It’s a small change that makes a big difference!
-
Sweet Layers: Instead of sugar, try using agave syrup or maple syrup for a natural sweetness. The rich flavors will interact wonderfully with the savory notes.
This Ultimate Oyakodon recipe is only the beginning; you might want to check out delightful pairings like Fudgy Brownies for dessert or team it up with our savory Crab Crunchies Snack to round out your meal. Enjoy your culinary adventure!
Storage Tips for Ultimate Oyakodon
Fridge: Store leftovers in an airtight container for up to 2 days. This preserves the flavor and texture of the chicken and eggs.
Freezer: For longer storage, freeze the chicken and egg mixture without the rice for up to 2 months. When ready to enjoy, thaw in the fridge overnight before reheating.
Reheating: Gently reheat the Oyakodon on the stovetop over low heat or in the microwave, adding a splash of dashi or water to maintain moisture and the creamy egg texture.
Room Temperature: It’s best to avoid leaving Oyakodon out at room temperature for more than 2 hours to prevent any food safety issues.
What to Serve with Ultimate Oyakodon
Elevate your dining experience by pairing this comforting bowl of Japanese goodness with delightful side dishes and drinks.
-
Crispy Tempura: Lightly battered and fried vegetables or shrimp, providing a crunchy contrast to the creamy Oyakodon.
-
Miso Soup: A warm bowl of this traditional soup adds umami depth and warmth, beautifully complementing the flavors of your rice bowl.
-
Japanese Pickles: Known as tsukemono, these tangy, crunchy pickled veggies offer a refreshing balance that cuts through the richness of the dish.
-
Steamed Broccoli: Tender, vibrant broccoli adds a nutritious element, enhancing the meal’s color and providing a slight bitter contrast.
-
Sake or Japanese Beer: Sipping on a chilled sake or a light beer enhances the overall experience, harmonizing perfectly with your Oyakodon.
-
Green Salad: A fresh salad with a sesame dressing brings a crisp and light texture, refreshing the palate between bites of the rich rice bowl.
-
Mochi Ice Cream: For dessert, this velvety treat offers a sweet and chewy finish, rounding off the meal with delightful flavors.
Expert Tips for the Ultimate Oyakodon Recipe
-
Perfect Egg Texture: Whisk the eggs just until combined to achieve a light and fluffy texture when cooked. Overmixing can lead to a dense outcome.
-
Avoid Overcooking: Keep a close eye on the eggs while steaming. Overcooking can result in a rubbery texture—aim for that creamy custard finish.
-
Use a Lid: Cover the pot while the eggs cook. This steams them gently, ensuring they set beautifully without needing to be stirred.
-
Taste as You Go: Always taste your dashi broth and adjust sweetness with sugar and mirin to ensure the right balance in your Ultimate Oyakodon.
-
Ingredient Quality Counts: Fresh, high-quality ingredients make a noticeable difference in flavor and texture, accentuating the comforting essence of this dish.
Make Ahead Options
This Ultimate Oyakodon recipe is a lifesaver for busy cooks looking to save time without compromising flavor! You can prep the chicken and onions up to 24 hours in advance by slicing them and storing them in an airtight container in the refrigerator. Additionally, you can rinse and soak the rice ahead of time, keeping it in cold water until you’re ready to cook. When you’re ready to enjoy your meal, simply follow the recipe from the sautéing step. Just remember to whisk your eggs right before pouring them into the pot to maintain their fluffy texture. Preparing in advance makes mealtime a breeze, ensuring you can serve a delicious, comforting dish with minimal effort!
Ultimate Oyakodon Recipe FAQs
What type of chicken should I use for Oyakodon?
Absolutely! I recommend using boneless, skinless chicken thighs for their tenderness and flavor. They cook evenly and absorb the delicious broth beautifully, providing a moist texture that’s essential for this comforting dish.
How should I store leftover Oyakodon?
Leftovers can be stored in an airtight container in the fridge for up to 2 days. Just make sure to keep the rice separate if possible, as this helps maintain the quality. Reheat gently to preserve the silky egg texture, adding a splash of dashi or water if needed.
Can I freeze Oyakodon?
Very! For longer storage, I suggest freezing just the chicken and egg mixture (without the rice) for up to 2 months. To freeze, let it cool completely, then place it in a freezer-safe container. When you’re ready to enjoy, thaw it overnight in the fridge and reheat gently.
How do I know if my eggs are overcooked?
One of the key aspects of Oyakodon is achieving that creamy custard texture. If your eggs look rubbery or dry, they’ve likely been overcooked. To avoid this, steam them until just set—2 to 3 minutes is usually perfect. Keep a close eye as they cook!
Can this recipe be adapted for dietary restrictions?
Absolutely! If you’re looking for a vegetarian version, simply substitute chicken with firm tofu and enhance the veggie count by adding peas or spinach. You can also adjust the sweetness and sodium levels by using less sugar or low-sodium soy sauce to cater to specific dietary needs.
What rice works best for Oyakodon?
Short-grain Japanese rice is preferred for its sticky texture that complements the dish perfectly. It provides a wonderful base to carry the tender chicken and silky eggs. If you can’t find it, sushi rice is a good alternative, providing similar characteristics.
Ultimate Oyakodon Recipe: Cozy Comfort in a Rice Bowl
Ingredients
Equipment
Method
- Slice the onion and chicken into bite-sized pieces, and rinse the rice until the water runs clear.
- Cook the rice in a rice cooker or saucepan according to instructions, about 15-20 minutes.
- Simmer water in a saucepan, add dashi and stir for about 5 minutes.
- Sauté onions in dashi for 5-7 minutes until translucent.
- Add chicken to the pot and cook for 5-8 minutes until fully cooked.
- Whisk eggs and pour over chicken, cover and steam for 2-3 minutes.
- Serve chicken and egg mixture over rice, drizzle with dashi broth.