

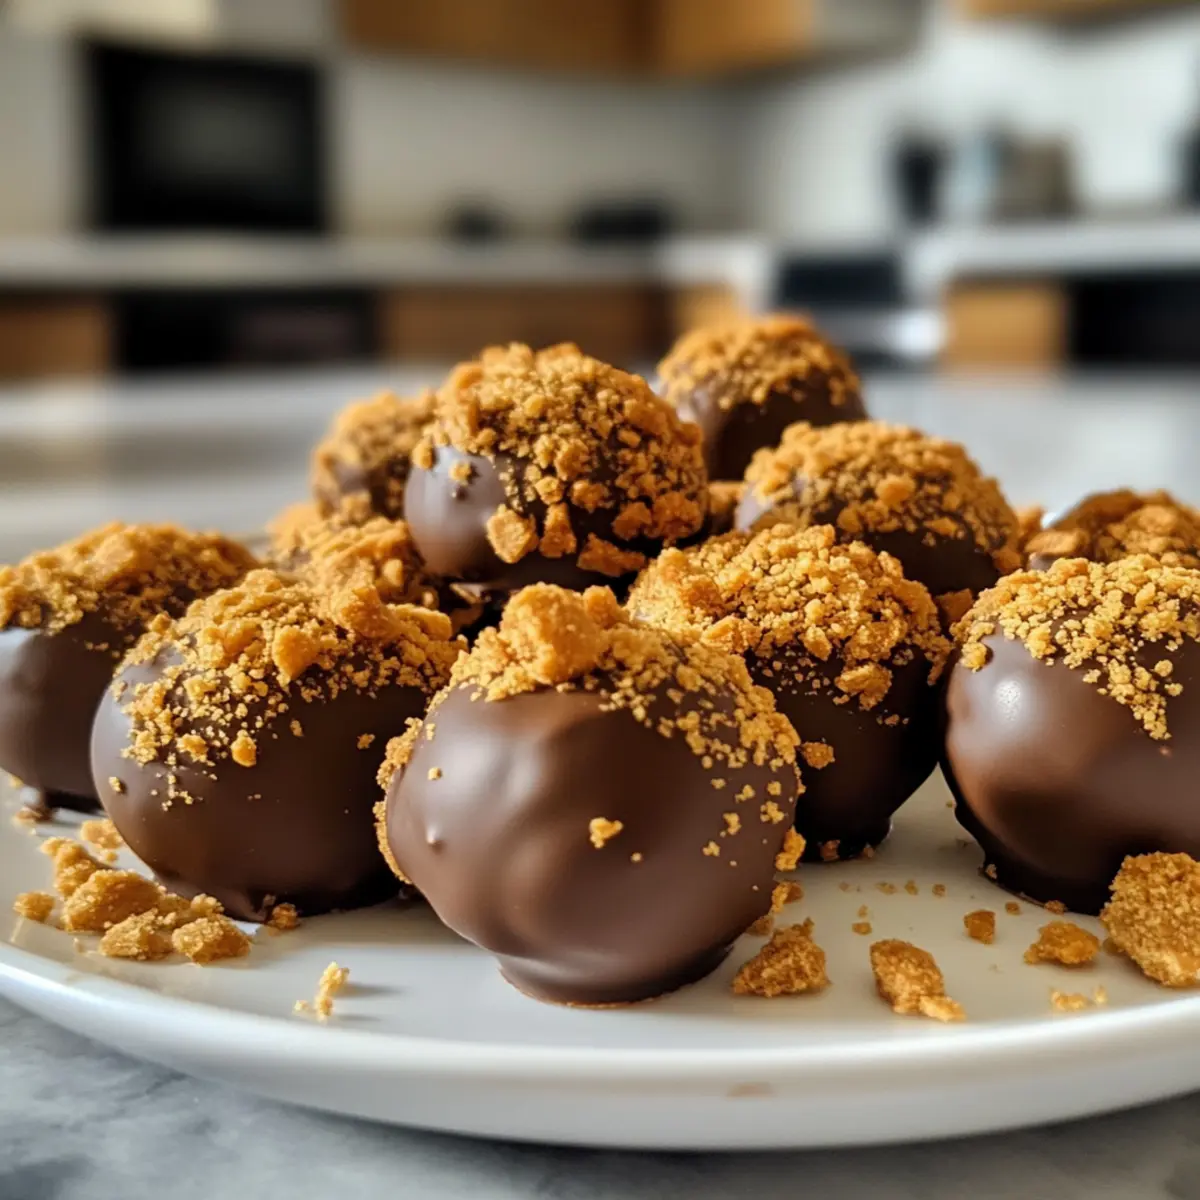
As I sat on my kitchen counter, a light breeze wafted through the open window, carrying with it a hint of sweetness that made my heart leap. That’s when I knew it was time to create something special—right then and there, the idea of making my easy no-bake Biscoff Truffles came to mind. These little cookie balls are a dreamy fusion of crunchy Biscoff cookies and creamy spread, all wrapped in silky chocolate. They come together in just 25 minutes, making them the perfect treat for spontaneity or planned gatherings alike. Not only are they a crowd-pleaser, but they also satisfy my sweet tooth without the need for an oven. You won’t believe how simple they are! Curious about how to bring this chocolatey delight to life? Let’s dive in!
Why Are Biscoff Truffles So Irresistible?
Decadent Flavors: The combination of crunchy Biscoff cookies and creamy cookie butter creates a unique dessert experience that will have you craving more.
No-Bake Convenience: These truffles come together in just 25 minutes, making it easy to whip up a delightful treat whenever the mood strikes.
Versatile Treat: Whether for a dinner party or a cozy night in, these easy no-bake delights are perfect for any occasion. You can even customize them by trying different cookie butters!
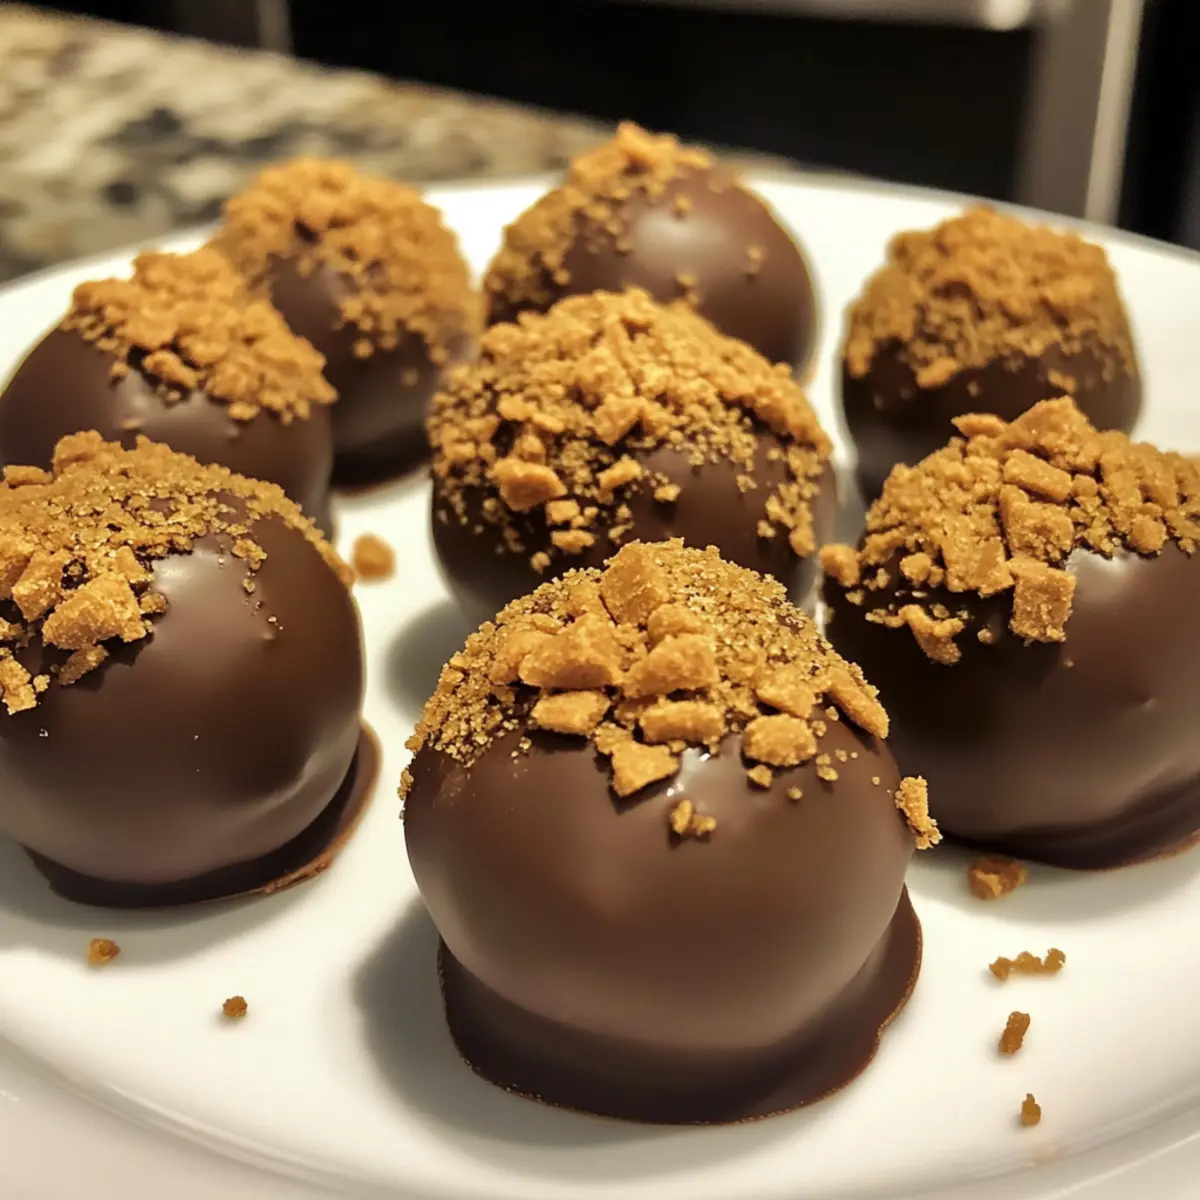
Impressive Presentation: Dipped in golden chocolate and garnished with crumbled cookies, these truffles look as amazing as they taste—perfect for impressing guests.
Quick to Satisfy: With every bite, you dive into creamy bliss accented by a satisfying crunch, making them a go-to cure for any sweet tooth.
Store-Worthy: These truffles store beautifully, allowing you to prepare them ahead. Just check out our storage tips for guidance on keeping them fresh!
Biscoff Truffle Ingredients
• Here’s what you’ll need for these delicious Biscoff Truffles!
For the Truffles
- Biscoff Cookies – Provides the base flavor and texture; can substitute with any similar speculoos cookies.
- Biscoff Spread – Adds richness and enhances the Biscoff flavor; use other cookie butters if unavailable.
- Cream Cheese (softened) – Binds ingredients together for a creamy texture; can be replaced with mascarpone for a richer taste.
For the Coating
- Gold Chocolate – Used for coating truffles, offering a sweet finish; any type of chocolate can be used based on preference.
For Garnish
- Additional Biscoff Spread & Crumbled Cookie – Adds extra flavor and texture on top; garnishing is optional but enhances presentation.
Step‑by‑Step Instructions for Biscoff Truffles
Step 1: Combine Ingredients
In a mixing bowl, combine 1 cup of finely ground Biscoff cookies, ½ cup of Biscoff spread, and 4 ounces of softened cream cheese. Use a spatula or your hands to mix everything together until the mixture is smooth and well blended, with no lumps. This should take about 2-3 minutes. The warm, creamy texture will signal that you’re ready to move on.
Step 2: Form Truffles
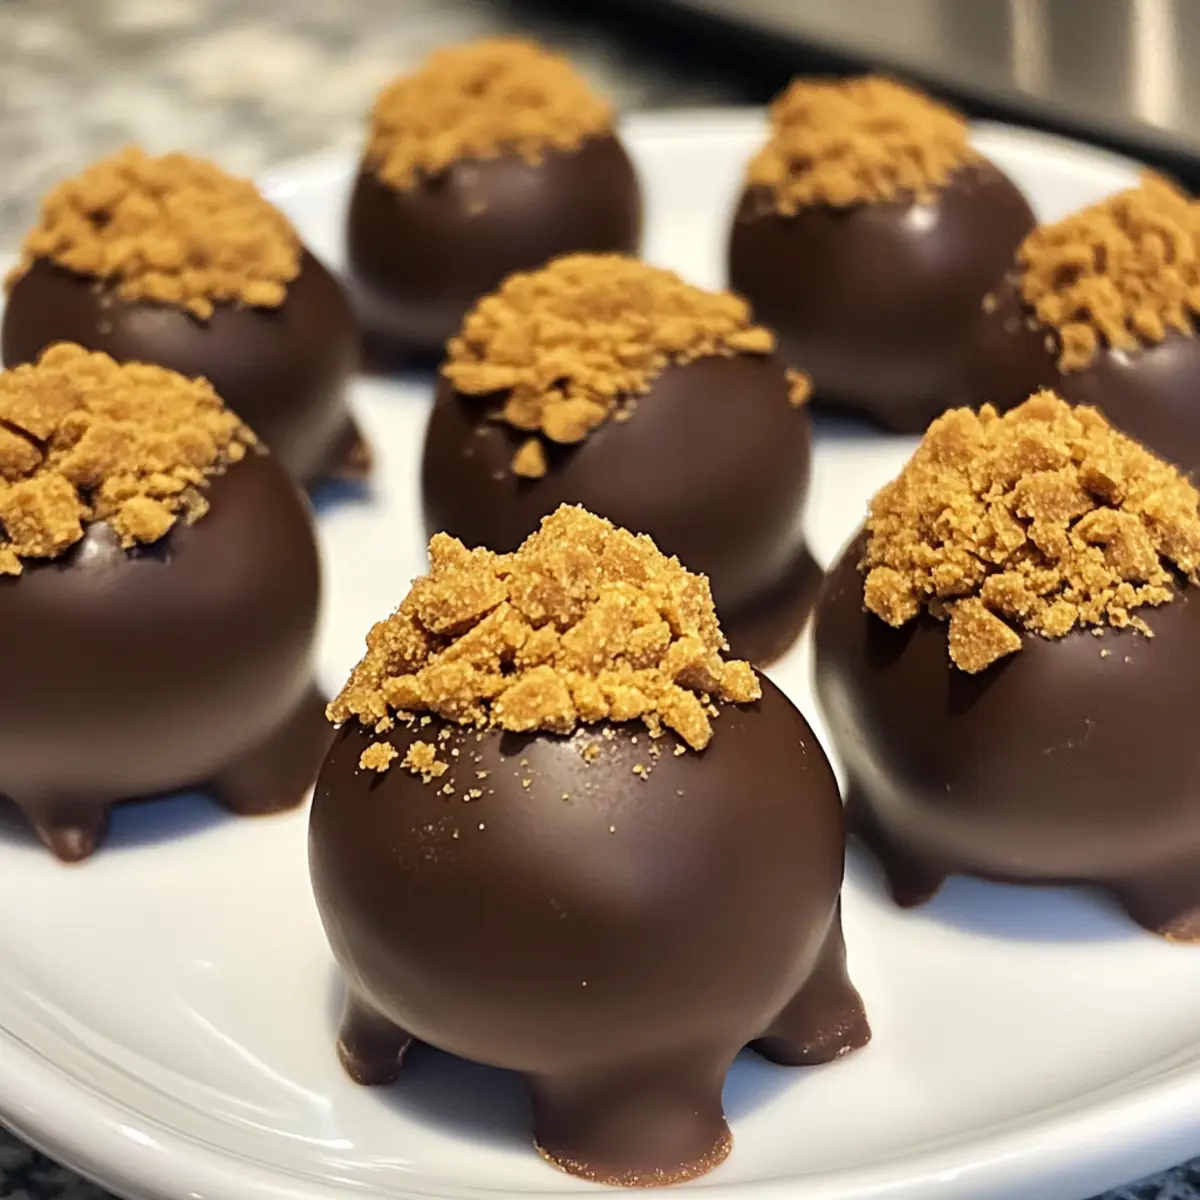
With your hands, scoop out portions of the Biscoff mixture and roll them into small balls, about 1 inch in diameter. Ensure they are uniform in size for even coating and presentation. Place each ball carefully onto a parchment-lined baking sheet. Once done, admire your perfectly rounded Biscoff truffles before proceeding to the next step!
Step 3: Melt Chocolate
In a microwave-safe bowl, add 8 ounces of gold chocolate and heat it in the microwave at 30-second intervals. Stir the chocolate after each interval until it is completely melted and smooth, which may take about 1-2 minutes. Be sure to keep an eye on it to avoid burning. Once melted, you’ll have a luscious coating ready for your truffles.
Step 4: Coat Truffles
Using a fork, dip each Biscoff truffle into the melted chocolate, ensuring it’s fully coated. Allow any excess chocolate to drip off back into the bowl. Return each coated truffle to the parchment-lined sheet. This step will make your truffles look stunningly indulgent once the chocolate sets!
Step 5: Garnish Truffles
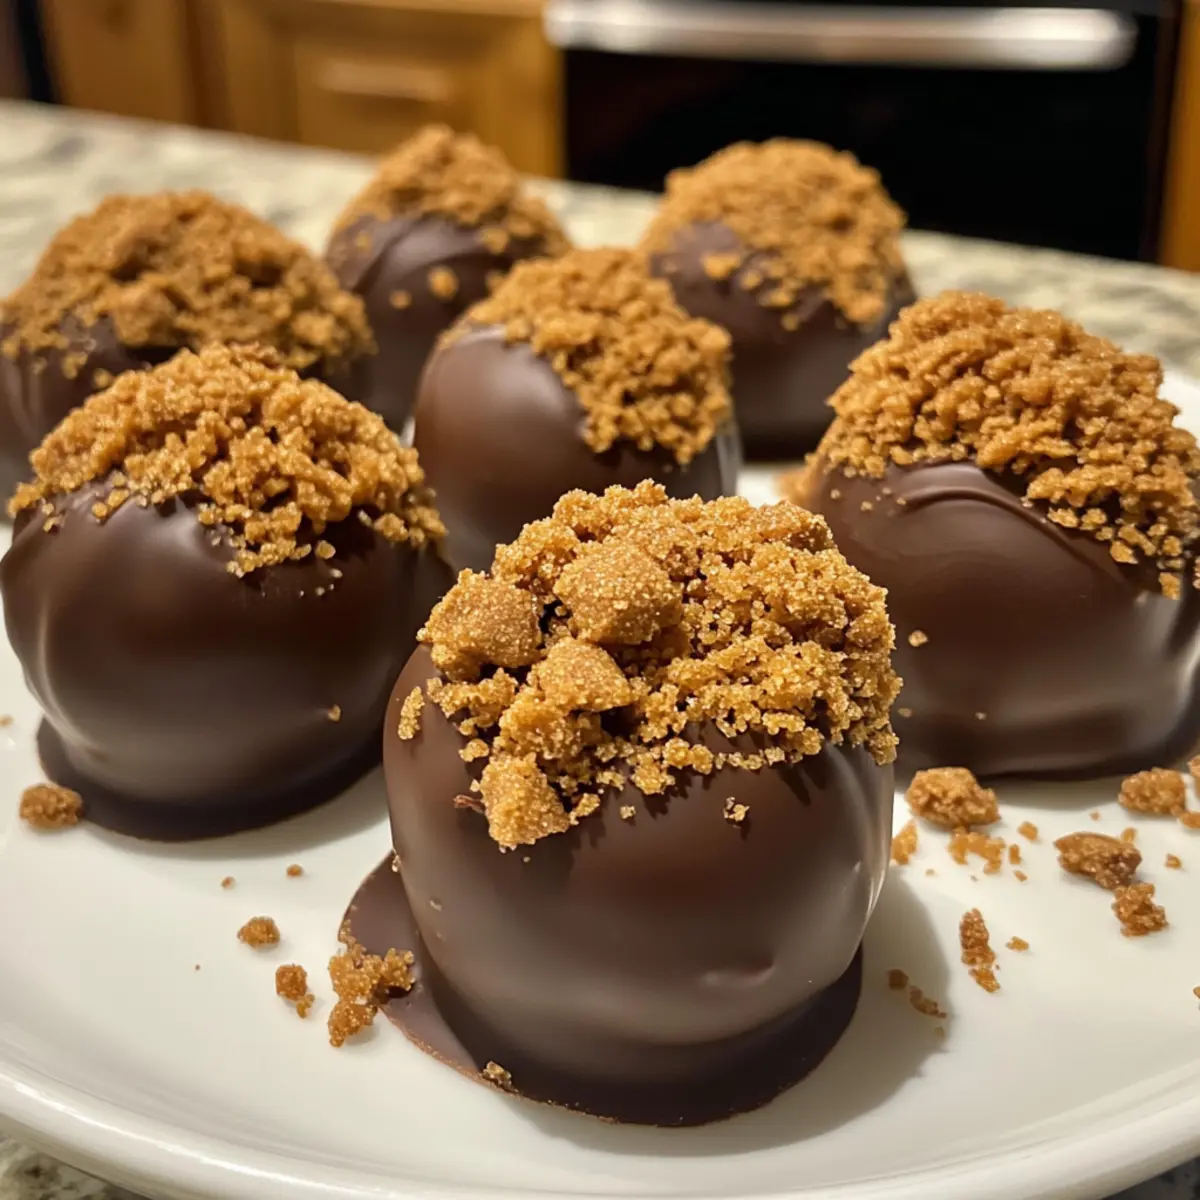
For a touch of elegance, sprinkle crumbled Biscoff cookies on top of the chocolate-coated truffles before the chocolate sets. This adds an extra layer of flavor and texture to your Biscoff truffles that will delight anyone who tries them. You’ll want to work quickly, as the chocolate should still be slightly wet.
Step 6: Chill to Set
Refrigerate the truffles on the baking sheet for about 15-30 minutes, or until the chocolate coating is fully set. When the truffles are firm to the touch, they will be ready to serve. Keep an eye on them—this short chilling time helps achieve that perfect, rich texture we love in our Biscoff truffles!
What to Serve with Decadent Biscoff Truffles?
Treat yourself to an unforgettable dessert experience that pairs beautifully with a variety of delightful accompaniments.
-
Fresh Berries: The tartness of strawberries or raspberries balances the sweetness of the truffles, providing a refreshing contrast in flavor.
-
Coffee: Rich, aromatic coffee enhances the dessert’s flavors, making it a perfect match to savor together after dinner.
-
Vanilla Ice Cream: Creamy vanilla ice cream pairs gorgeously with these decadent bites, adding a soothing chill to the rich chocolate and cookie flavors.
-
Dark Chocolate Sauce: Drizzling warm dark chocolate sauce over the truffles creates a decadent indulgence that chocolate lovers will adore.
-
Sparkling Wine: A bubbly sparkling wine adds a celebratory touch, while the bubbles cleanse the palate and enhance the chocolate experience.
-
Nutty Caramel Sauce: A drizzle of nutty caramel complements the crunch of Biscoff cookies beautifully, enriching every bite with buttery goodness.
-
Cheesecake Dip: A creamy cheesecake dip acts as a delightful contrast, and its luscious texture makes each bite of truffle even more enjoyable.
-
Mint Tea: The refreshing notes of mint tea cleanse the palate and add a delightful herbal touch that pairs nicely with the cookie-infused richness.
Make Ahead Options
These Biscoff Truffles are perfect for busy cooks who want to save time! You can prepare the truffle mixture up to 24 hours in advance by combining the ground Biscoff cookies, Biscoff spread, and cream cheese, then storing it in an airtight container in the refrigerator. Additionally, you can roll the truffles into balls up to 3 days prior and refrigerate them until ready to coat. To maintain their quality, ensure they are sealed well to prevent drying out. When you’re ready to enjoy your no-bake delights, simply follow the final steps of melting the chocolate and dipping the truffles—resulting in a delicious treat with minimal effort!
Biscoff Truffles Variations & Substitutions
Feel free to get creative and customize these truffles to make them even more delightful!
-
Dairy-Free: Substitute cream cheese with a plant-based cream cheese for a dairy-free version without sacrificing creaminess.
This option opens up a world of rich flavors while catering to those with dietary restrictions. -
Nutty Twist: Add chopped hazelnuts or almonds into the mixture for a nutty crunch.
The added texture will elevate your truffles from simple to sensational! -
Chocolate Options: Instead of gold chocolate, use dark or white chocolate for the coating.
Each type brings a new flavor profile, allowing you to tailor the sweetness to your preference. -
Spiced Flavor: Incorporate a dash of cinnamon or nutmeg into the mix for a warming spice.
This twist brings a cozy, holiday-like feeling to your delicious treats. -
Cookie Swap: Experiment by replacing Biscoff cookies with Oreos for a completely different flavor.
Trust me, this classic swap will lead to a delightful surprise you won’t soon forget! -
Extra Sweetness: For a sweeter touch, swirl in a bit of caramel sauce or dulce de leche into the mixture.
This will bring an irresistible layer of flavor that creates a truly decadent experience. -
Coffee Infusion: Mix in a teaspoon of espresso powder for a coffee-infused delight.
The subtle coffee flavor enhances the Biscoff beautifully and adds a touch of sophistication! -
Layered Truffles: Use a combination of cookie butters like peanut butter or nutella alongside the Biscoff spread for depth.
Experimenting with different flavors makes every bite a delightful surprise!
These Biscoff Truffle variations are not just fun but a wonderful way to explore new tastes and textures. For more ideas on serving these delicious bites, don’t miss checking out our serving suggestions that elevate the experience!
Expert Tips for Biscoff Truffles
-
Room Temperature Cream Cheese: Make sure your cream cheese is at room temperature for easier mixing; this will help create a smooth truffle mixture.
-
Careful Melting: When melting the chocolate, do it in 30-second intervals while stirring frequently to avoid overheating and burning.
-
Uniform Sizing: Roll your truffles into uniform 1-inch balls to ensure even coating and a beautiful presentation when finished.
-
Quick Garnishing: Sprinkle the crumbled Biscoff cookies on top of the truffles while the chocolate is still wet for better adhesion and an eye-catching look.
-
Chill Properly: Allow the truffles to chill until the chocolate is set—about 15-30 minutes; this step is crucial for that velvety finish you crave in every bite.
How to Store and Freeze Biscoff Truffles
Room Temperature: Store leftover Biscoff truffles in an airtight container at room temperature for up to 3 days; avoid direct sunlight to maintain their freshness.
Fridge: For optimal flavor, keep truffles in a sealed container in the fridge for up to 2 weeks; let them come to room temperature before serving for the best texture.
Freezer: Arrange truffles on a baking sheet until solid, then transfer to a freezer-safe container for up to 3 months; thaw overnight in the fridge before indulging.
Reheating: These truffles are best enjoyed chilled; there’s no need to reheat, as the cold creaminess enhances their luscious flavor.
Biscoff Truffles Recipe FAQs
What type of Biscoff cookies should I use?
Absolutely use original Biscoff cookies for the best flavor! If they’re not available, you can substitute with any similar speculoos cookies. Just look for those with a crunchy texture and unique spice profile to mimic that delightful Biscoff essence.
How should I store leftover Biscoff truffles?
For optimal freshness, keep your truffles in a sealed container in the fridge for up to 2 weeks. Before serving, take them out and let them sit at room temperature for about 15-20 minutes; this will enhance their creamy texture, making each bite divine!
Can I freeze Biscoff truffles?
Yes, you can! To freeze, arrange the truffles on a baking sheet in a single layer and place them in the freezer until solid. Then, transfer them to a freezer-safe container, where they can stay fresh for up to 3 months. When you’re ready to enjoy them, simply thaw them overnight in the fridge.
What if my chocolate seizes while melting?
If you find your chocolate seizing or becoming grainy, don’t panic! Start by adding a small teaspoon of vegetable oil or shortening and stir it in. This can help to reinstate that smooth, luscious consistency. Always melt chocolate at lower temperatures and stir frequently to prevent this from happening.
Are Biscoff truffles safe for those with allergies?
While Biscoff truffles are delicious, they do contain gluten from the cookies and dairy from the cream cheese. If you’re making these truffles for someone with allergies, consider using gluten-free cookie options and alternative cream cheese like cashew or soy-based varieties. Always check ingredient labels for specific allergens to ensure safety.
Irresistible Biscoff Truffles: Easy No-Bake Bliss
Ingredients
Equipment
Method
- In a mixing bowl, combine 1 cup of finely ground Biscoff cookies, ½ cup of Biscoff spread, and 4 ounces of softened cream cheese. Mix until smooth.
- Scoop out portions and roll them into 1-inch balls. Place on a parchment-lined baking sheet.
- Melt 8 ounces of gold chocolate in a microwave-safe bowl at 30-second intervals until smooth.
- Dip each truffle into the melted chocolate and return to the baking sheet.
- Sprinkle crumbled Biscoff cookies on top of the truffles while the chocolate is still wet.
- Refrigerate for 15-30 minutes until the chocolate coating is set.