

“Crispy on the outside, creamy on the inside” could describe many comforting dishes, but today, it perfectly captures the magic of these Stuffed Mashed Potato Nests. As I prepared to host friends for a cozy gathering, I stumbled upon this ingenious twist on traditional mashed potatoes that has since become a must-have on my dinner table. Packed with cheesy goodness, savory bacon, and vibrant green onions, these delightful nests offer a playful presentation that makes them a standout side dish. Not only are they incredibly satisfying, but they’re also make-ahead and freezer-friendly, allowing you to streamline your hosting preparations. What could be better than delicious comfort food that can be prepped in advance and enjoyed with ease? Join me as we dive into the delicious world of these crispy stuffed wonders—your loved ones will thank you for it! Are you ready to elevate your next meal with this heartwarming recipe?
Why Are Stuffed Mashed Potato Nests Amazing?
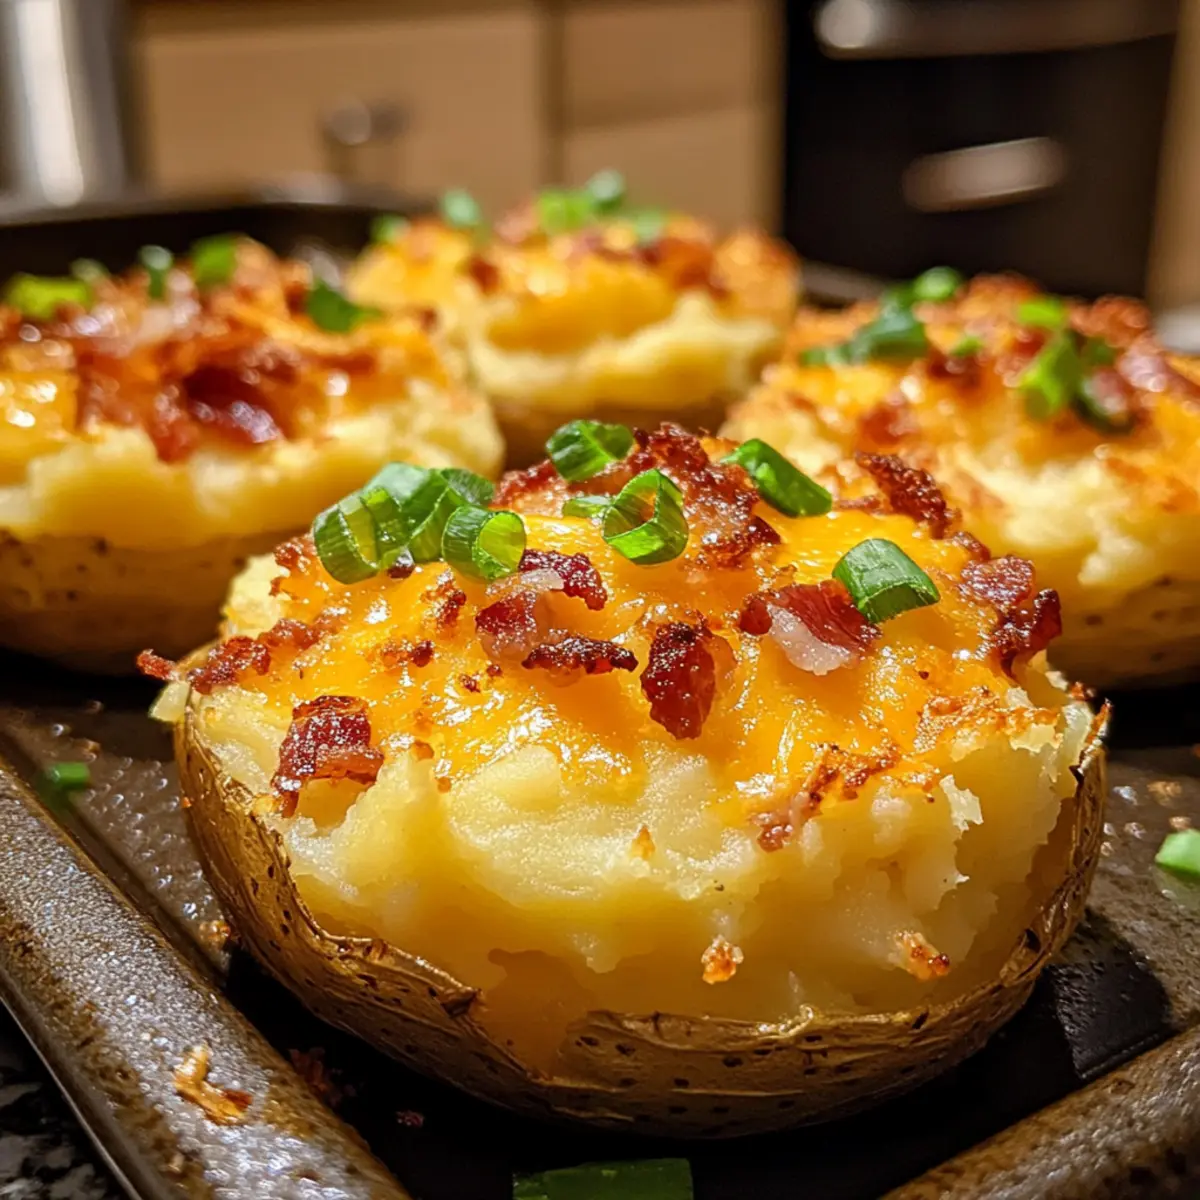
Comfort Food Reinvented: These Stuffed Mashed Potato Nests transform humble ingredients into a standout dish. Their golden, crispy exterior pairs perfectly with a creamy and savory filling, inviting everyone to indulge.
Make-Ahead Marvel: Prepare the potato mixture a day in advance, and you can assemble the nests just before baking. This helps save time and stress, perfect for last-minute entertaining!
Freezer-Friendly: Bake extra nests and freeze them for later. When you need a quick meal, simply reheat in the oven; they will retain their delightful crunch!
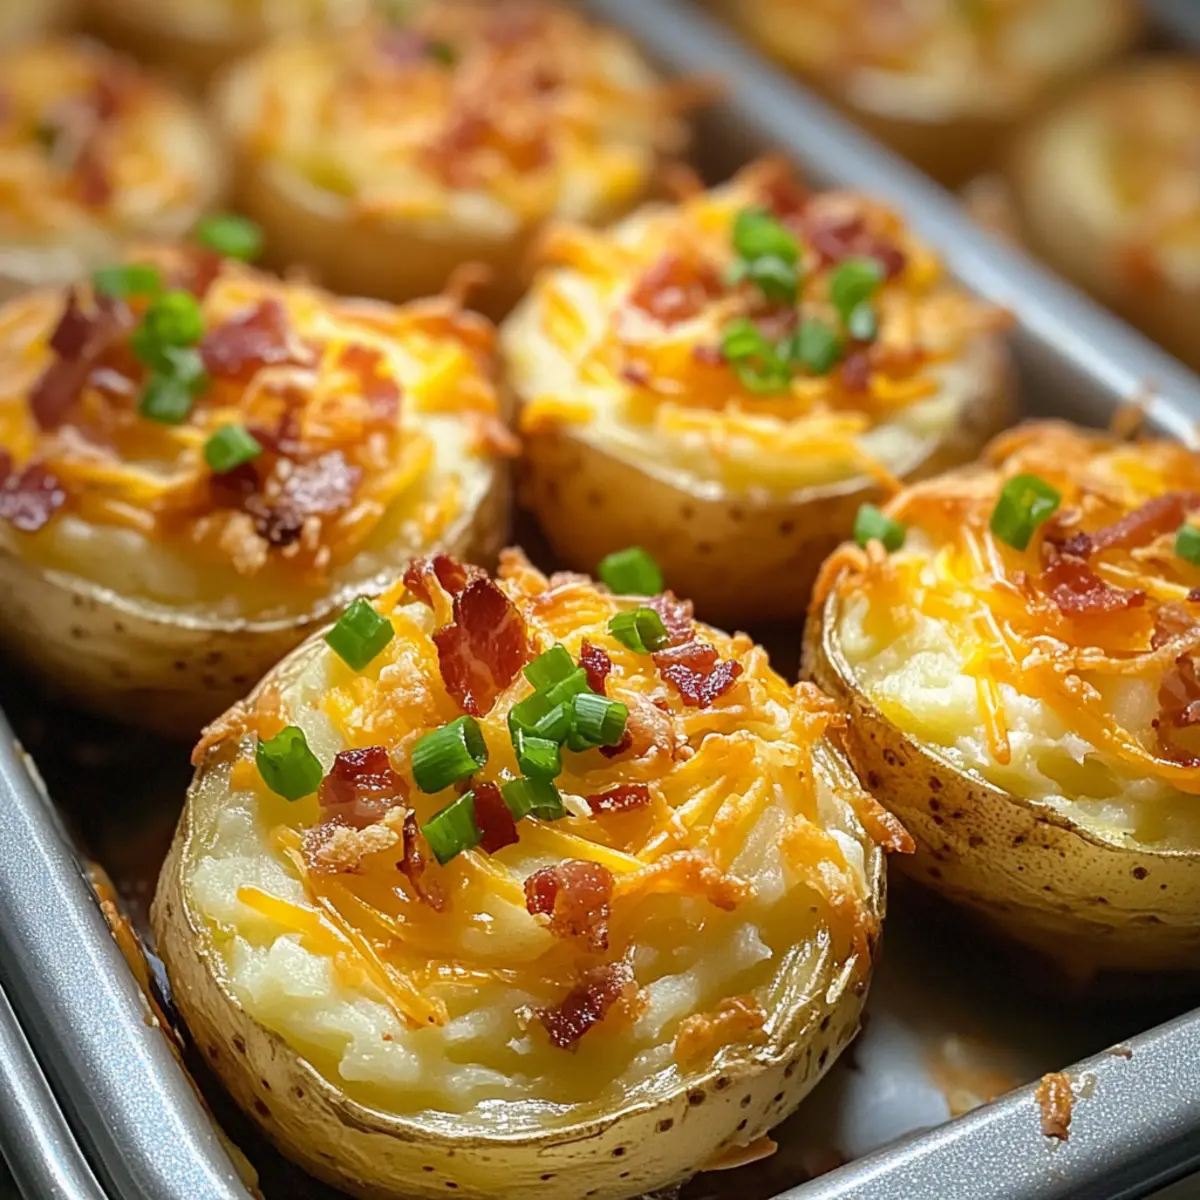
Crowd-Pleasing Appeal: These nests are not only fun to eat but visually stunning, making them perfect for gatherings, like a casual get-together or holiday feast.
Versatile Variations: Feel free to customize your filling by swapping in your favorite ingredients. Whether adding sautéed vegetables or different cheeses, these nests never get old!
Try them alongside dishes like Garlic Rosemary Smashed potatoes or as an exciting side to Buffalo Chicken Stuffed peppers for an unforgettable meal experience!
Stuffed Mashed Potato Nests Ingredients
For the Nests
• Potatoes – Russet or Yukon Gold provides the best creamy texture for your nests.
• Butter – Adds richness; can be substituted with olive oil for a dairy-free option.
• Milk – Ensures creaminess; can be replaced with almond milk or any non-dairy version.
• Salt – Enhances flavor in the mashed potatoes; adjust to taste.
• Pepper – Adds a hint of warmth to the dish; fresh ground is best.
For the Filling
• Cheddar Cheese – Adds a gooey, savory flavor; swap with mozzarella for a milder option.
• Bacon – Delivers smoky, salty goodness; use sautéed mushrooms for a vegetarian twist.
• Green Onions – Offers freshness; can be substituted with chives for a similar taste.
These delicious Stuffed Mashed Potato Nests are sure to elevate your next meal!
Step‑by‑Step Instructions for Stuffed Mashed Potato Nests
Step 1: Preheat and Prepare
Begin by preheating your oven to 400°F (200°C), ensuring your kitchen warms up for delicious baking. While the oven heats, gather a large pot and bring salted water to a boil. This step is crucial for cooking the potatoes evenly, so make sure the water is bubbling before adding in your peeled and cubed russet or Yukon Gold potatoes.
Step 2: Boil and Mash Potatoes
Once the water is boiling, carefully add your potato cubes. Cook them for about 15-20 minutes, or until they are fork-tender and easily mashed. Drain the potatoes well, then return them to the pot. Mash them with butter, milk, salt, and pepper until the mixture is smooth and creamy, avoiding over-mashing to keep a perfect texture.
Step 3: Mix in the Filling Ingredients
Allow the mashed potatoes to cool slightly for about 5 minutes. Then, stir in the shredded cheddar cheese, crispy bacon bits, and chopped green onions until everything is well combined. This savory filling is the heart of your Stuffed Mashed Potato Nests, so ensure it’s thoroughly mixed to distribute the flavors evenly.
Step 4: Form the Nests
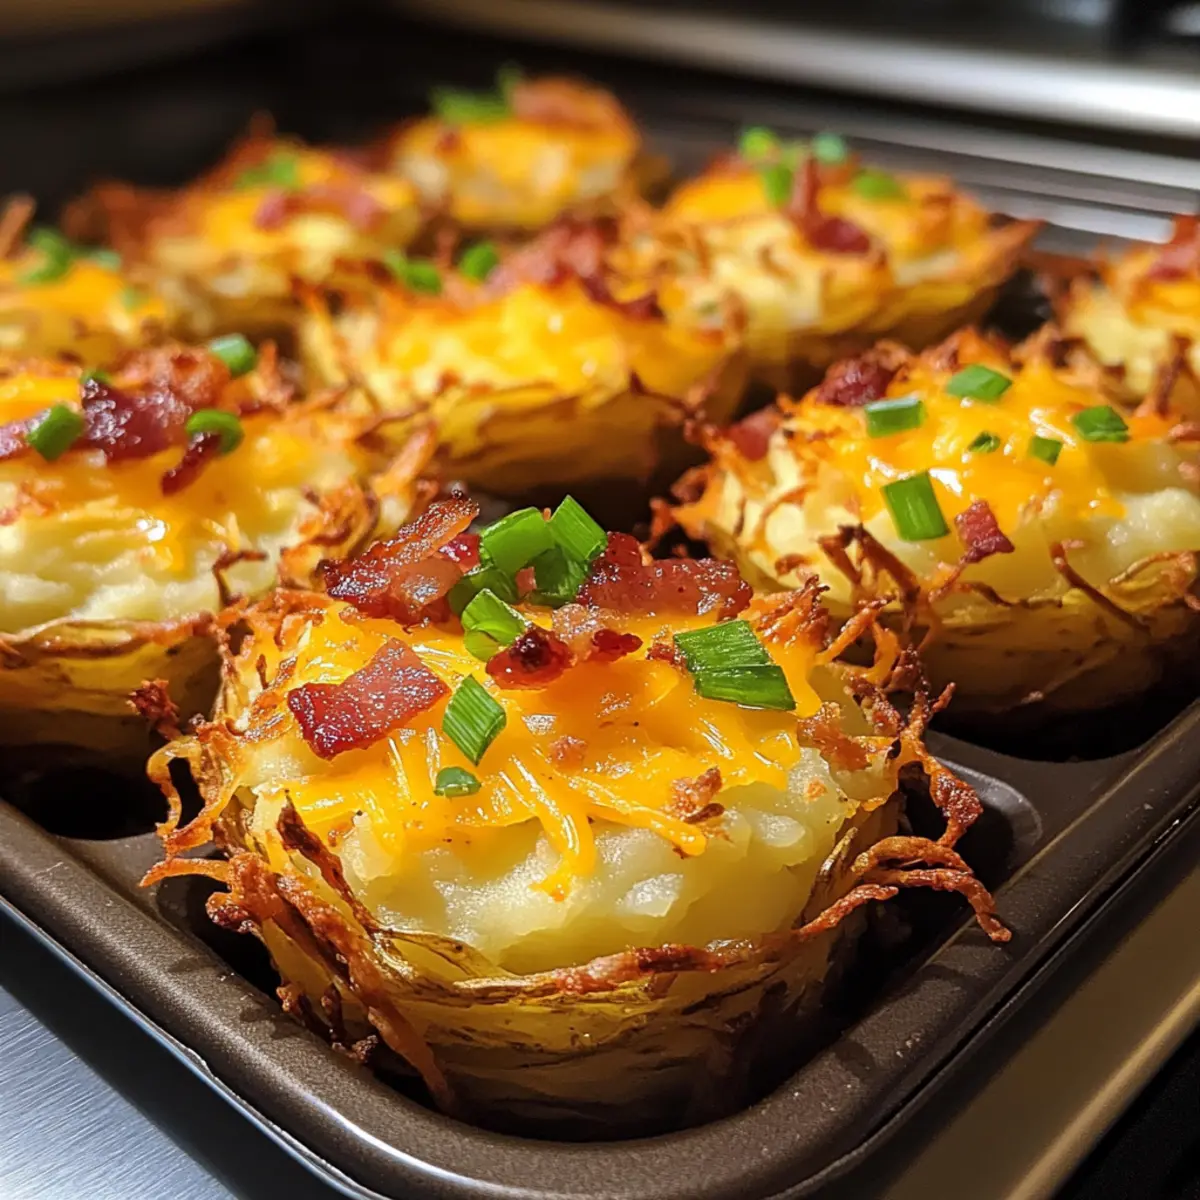
Prepare a greased muffin tin, as this will hold your nests beautifully. Using a spoon or cookie scoop, take a generous portion of the mashed potato mixture and press it into each muffin cup, creating an indentation in the center for the filling. The nests should appear rounded on top, ready to crisp up in the oven.
Step 5: Bake the Nests
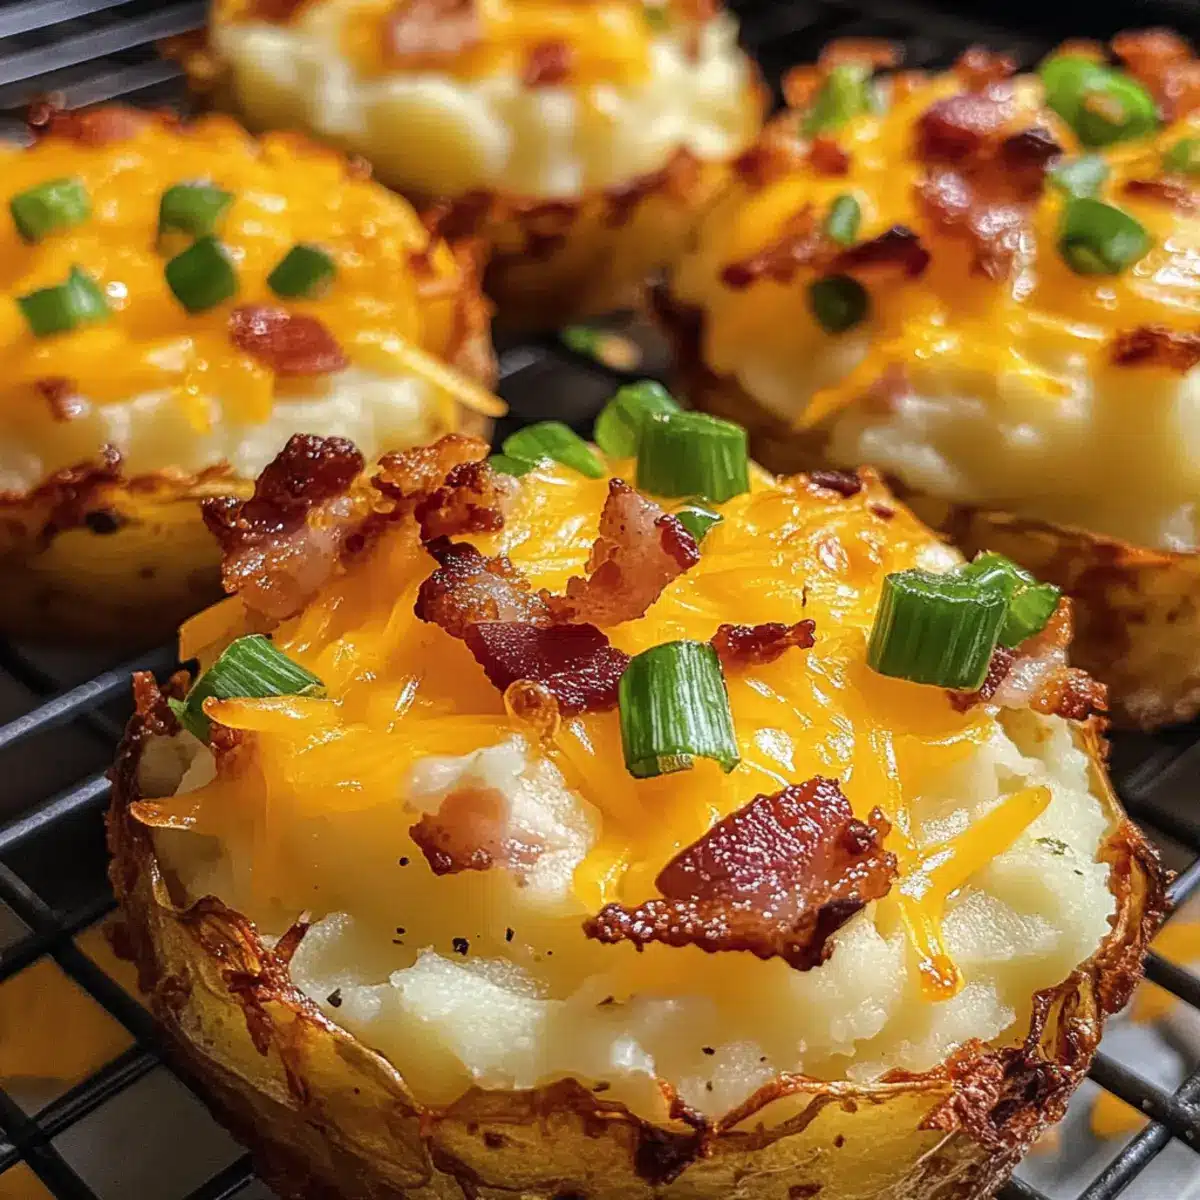
Place the muffin tin in the preheated oven and bake for about 20-25 minutes. You’ll know the Stuffed Mashed Potato Nests are ready when the edges turn golden brown, and the top slightly puffs. The delicious aroma in your kitchen will be a clear sign that comfort food is on its way!
Step 6: Cool and Serve
Once baked, let the nests cool in the tin for a few minutes, allowing them to set. Carefully use a flexible spatula to gently lift each nest out of the muffin tin. Serve them warm, delighting your family and friends with these charming Stuffed Mashed Potato Nests that perfectly blend crispiness and creamy goodness.
What to Serve with Crispy Stuffed Mashed Potato Nests
Elevate your dining experience with delightful sides that perfectly complement the flavors of these golden, crispy nests.
-
Crispy Green Salad: A refreshing salad adds crunchy texture and brightness. Tossed greens with a tangy vinaigrette balance the richness of the nests beautifully.
-
Sour Cream Dip: This creamy dip offers a cooling contrast to the crispy potato nests. A dollop on top adds a delightful blend of flavors, enhancing your comfort food experience.
-
Roasted Vegetables: Seasoned with herbs, roasted vegetables can bring a hearty, earthy flavor alongside your nests. Carrots and Brussels sprouts roast beautifully and provide vibrant colors to your plate.
-
Garlic Bread: Pairing garlic bread with your nests creates a comforting meal feel. The buttery, crispy bread is perfect for sopping up any extra filling from your nests.
-
Grilled Chicken: A simple grilled chicken business can elevate this dish from side to main. Its smoky flavor complements the savory fillings superbly, making it a satisfying combo.
-
Sweet Corn Casserole: This sweet and creamy side dish adds a delightful contrast. It enhances the comfort food vibes and offers a delicious, nostalgic flavor profile.
Explore different beverages to accompany your meal; a crisp white wine or a homemade apple cider can perfectly tie everything together. Whatever you choose, your cozy gathering will be complete!
Stuffed Mashed Potato Nests Variations
Explore the exciting ways to customize your stuffed nests, tailored to your taste buds!
-
Dairy-Free: Use almond milk and substitute butter with olive oil for a creamy, rich base without dairy.
You won’t miss the creaminess, as the olive oil provides a lovely flavor. -
Vegetable Boost: Add sautéed spinach or red bell peppers to the filling for a nutrition-packed twist.
This not only enhances the flavor but also adds vibrant color to your nests. -
Spicy Kick: Mix in diced jalapeños or a sprinkle of chili flakes to amp up the heat.
The warm, spicy notes will make these nests a standout at any gathering! -
Cheese Variations: Swap out cheddar for pepper jack or feta cheese to change the flavor profile dramatically.
Each cheese brings its unique character, making the nests feel fresh every time. -
Bacon Alternatives: For a vegetarian option, use sautéed mushrooms or smoked paprika to achieve a savory taste without meat.
This gives a hearty flavor that everyone will love, regardless of their diet. -
Herb-infused: Mix in fresh herbs like parsley or dill to add aromatic depth to the filling.
Fresh herbs not only elevate the taste but also brighten the presentation of your nests. -
Sweet Potato Twist: Swap regular potatoes for sweet potatoes for a naturally sweet variant that pairs well with spices.
Sweet and savory come together beautifully in these nests, perfect for fall gatherings.
Make these delightful variations your own, and consider serving them alongside a comforting dish like Hearty Potato Kielbasa soup or a scrumptious Ground Beef Potato taco bowl for a hearty spread!
Expert Tips for Stuffed Mashed Potato Nests
-
Use Quality Potatoes: Choose russet or Yukon Gold potatoes for the best creamy texture in your nests. Avoid waxy varieties, which can lead to a gummy consistency.
-
Perfectly Seasoned: Don’t skimp on salt and pepper in your mashed potatoes. Well-seasoned stuffed mashed potato nests elevate the overall flavor, ensuring each bite is delightful.
-
Cool Before Mixing: Allow your mashed potatoes to cool slightly before mixing in cheese and other ingredients. This helps prevent the cheese from melting too quickly, creating a well-distributed filling.
-
Grease Muffin Tins Well: Ensure your muffin tins are adequately greased to avoid sticking. Consider using a non-stick spray or brush melted butter in the cups before filling.
-
Flexible Spatula Trick: Use a flexible spatula to gently lift the nests out of the muffin tin after baking. This helps maintain their shape and prevents breakage.
-
Customize the Filling: Feel free to experiment with ingredients in your filling—different cheeses or even sautéed veggies can create uniquely delicious stuffed mashed potato nests!
Make Ahead Options
These Stuffed Mashed Potato Nests are perfect for meal prep enthusiasts! You can prepare the potato mixture up to 24 hours in advance, storing it in an airtight container in the refrigerator. The nests can also be formed and refrigerated overnight, but be sure to cover them tightly to prevent browning. When you’re ready to bake, simply preheat your oven and pop the nests in, baking for about 20-25 minutes until golden and crispy. This makes dinner not just easier, but ensures your delicious Stuffed Mashed Potato Nests taste just as amazing even after being prepped ahead! Enjoy the convenience of having a comforting dish ready to go on busy nights!
How to Store and Freeze Stuffed Mashed Potato Nests
Fridge: Store baked Stuffed Mashed Potato Nests in an airtight container for up to 3 days. Reheat in the oven at 350°F (175°C) for about 10-15 minutes to restore crispiness.
Freezer: Freeze nests after baking in a single layer before transferring them to an airtight container. They keep well for up to 3 months; reheat straight from the freezer for 25-30 minutes at 400°F (200°C).
Make-Ahead: Prepare the potato mixture up to 24 hours in advance. Store it in the fridge before forming the nests and baking, saving you time on busy days.
Reheating: For best results, reheat in the oven instead of the microwave. This method ensures your Stuffed Mashed Potato Nests maintain their delightful crunch while warming through.
Stuffed Mashed Potato Nests Recipe FAQs
What kind of potatoes are best for stuffed mashed potato nests?
Absolutely! For the best flavor and texture, I recommend using russet or Yukon Gold potatoes. These varieties have the perfect starch content to create creamy, fluffy mashed potatoes without becoming gummy.
How should I store leftover stuffed mashed potato nests?
After cooling, store your baked Stuffed Mashed Potato Nests in an airtight container in the refrigerator. They will remain delicious for up to 3 days. When reheating, place them in a preheated oven at 350°F (175°C) for about 10-15 minutes to regain their original crispiness.
Can I freeze stuffed mashed potato nests?
Absolutely! To freeze, first allow the baked nests to cool completely. Then, place them in a single layer on a baking sheet and freeze until solid. Transfer them to an airtight container or freezer bag for storage. They can be frozen for up to 3 months. When ready to enjoy, reheat straight from the freezer at 400°F (200°C) for 25-30 minutes.
What should I do if my mashed potatoes are gluey?
To avoid a gluey texture, ensure you don’t over-mash your potatoes. I suggest using a potato masher instead of an electric mixer. Also, make sure you’re using the right type of potato—russet or Yukon Gold are best. If your mixture becomes gluey, try adding a bit more butter or milk to help balance the texture.
Are there any dietary considerations for serving stuffed mashed potato nests?
Very! These nests can easily be adapted for various dietary needs. For a vegetarian option, simply omit the bacon or replace it with sautéed mushrooms. Additionally, you can substitute butter with olive oil and regular milk with a non-dairy alternative to make them dairy-free. Always check for allergies related to cheese or the other ingredients before serving to your guests!
Delicious Stuffed Mashed Potato Nests for Cozy Comfort Food
Ingredients
Equipment
Method
- Preheat the oven to 400°F (200°C) and bring salted water to a boil in a large pot.
- Add peeled and cubed potatoes to the boiling water and cook for 15-20 minutes until fork-tender.
- Drain the potatoes and mash them with butter, milk, salt, and pepper until smooth.
- Allow mashed potatoes to cool slightly, then stir in cheese, bacon, and green onions.
- Grease a muffin tin and press the potato mixture into each cup, creating an indentation for filling.
- Bake for 20-25 minutes, until edges are golden brown and tops puff slightly.
- Let cool in the tin for a few minutes before gently lifting out with a spatula.