

Introduction to Classic Rice Krispies Treats
There’s something magical about the simplicity of Classic Rice Krispies Treats. Growing up, I remember the sweet aroma wafting through the kitchen as my mom whipped up a batch. It was a quick solution for busy days, a delightful treat that brought smiles to our faces. With just a handful of ingredients, these treats are not only easy to make but also a fantastic way to impress your loved ones. Whether you’re hosting a gathering or just need a sweet pick-me-up, this recipe is your go-to. Let’s dive into the world of gooey marshmallows and crispy cereal!
Why You’ll Love This Classic Rice Krispies Treats
Classic Rice Krispies Treats are the ultimate dessert for anyone short on time but big on flavor. They come together in just 20 minutes, making them perfect for last-minute cravings or unexpected guests. The combination of buttery marshmallows and crispy cereal creates a delightful texture that’s hard to resist. Plus, they’re a hit with kids and adults alike, ensuring smiles all around. Who wouldn’t love a treat that’s both nostalgic and delicious?
Ingredients for Classic Rice Krispies Treats
Gathering the right ingredients is the first step to creating your Classic Rice Krispies Treats. Here’s what you’ll need:
- Unsalted butter: This adds richness and helps bind the marshmallows and cereal together.
- Mini marshmallows: The star of the show! They melt down to create that gooey, sweet goodness.
- Rice Krispies cereal: This provides the signature crunch and texture that makes these treats so delightful.
- Vanilla extract (optional): A splash of this adds a warm, aromatic flavor that enhances the overall taste.
- Pinch of salt (optional): Just a hint can balance the sweetness and elevate the flavors.
For those looking to mix things up, consider adding chocolate chips, sprinkles, or dried fruit for extra flavor and texture. You can find the exact quantities for each ingredient at the bottom of the article, ready for printing!
How to Make Classic Rice Krispies Treats
Making Classic Rice Krispies Treats is as easy as pie—well, easier! Follow these simple steps, and you’ll have a batch of gooey goodness ready in no time. Let’s get started!
Step 1: Melt the Butter and Marshmallows
Begin by grabbing a large saucepan. Over low heat, melt the unsalted butter. It should be bubbling gently, not boiling. Once the butter is melted, toss in the mini marshmallows. Stir continuously until they’re completely melted and smooth. If you’re feeling adventurous, add a splash of vanilla extract and a pinch of salt for that extra flavor boost. Trust me, it makes a difference!
Step 2: Combine with Rice Krispies
Now, it’s time to bring in the star of the show—Rice Krispies cereal! Remove the saucepan from heat and quickly add the cereal to the melted marshmallow mixture. Stir it all together until every piece of cereal is coated in that sweet, sticky goodness. This is where the magic happens, so make sure you mix well!
Step 3: Prepare the Baking Dish
Grab a 9×13-inch baking dish and grease it with butter or non-stick spray. This step is crucial to prevent sticking. Once greased, pour the Rice Krispies mixture into the dish. Use a spatula or your hands (damp hands work wonders here) to press it down evenly. You want it compact, but not too squished. This ensures your treats hold together nicely!
Step 4: Cool and Cut the Treats
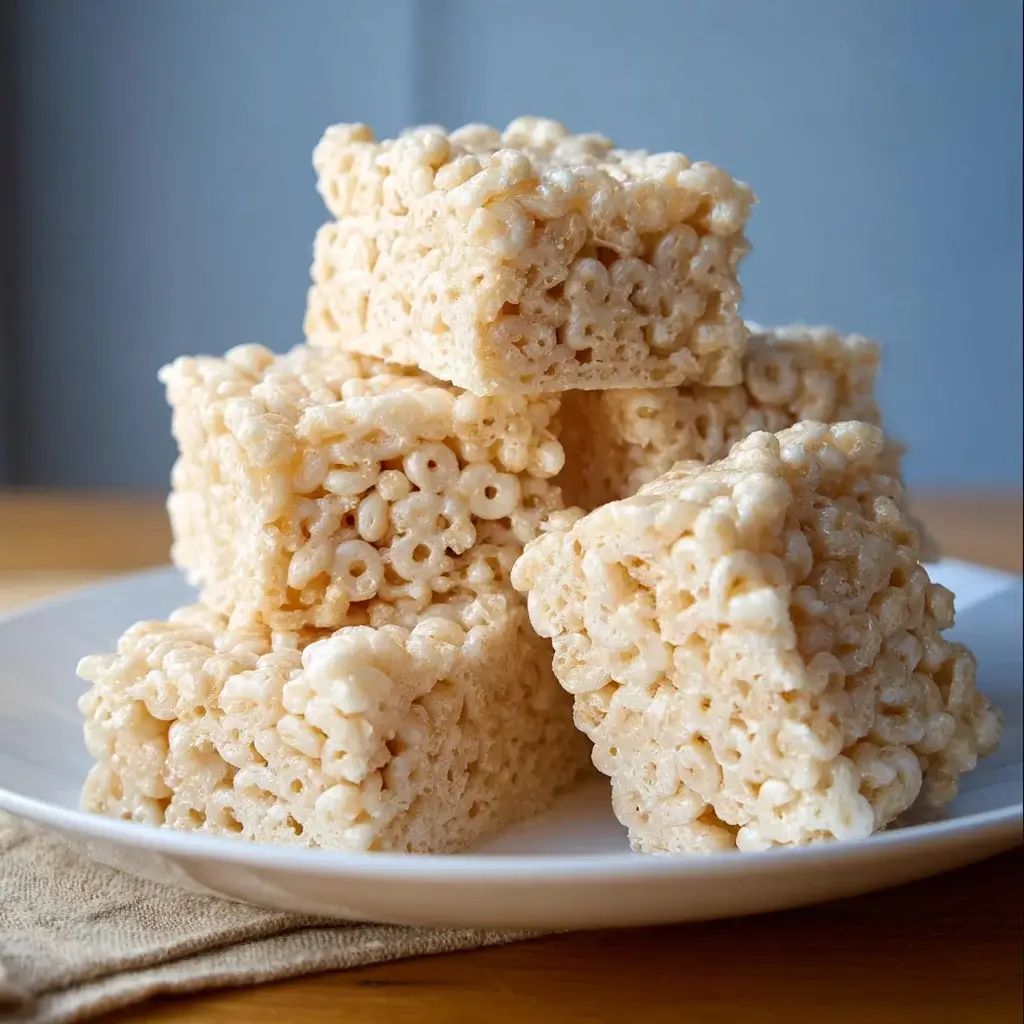
Patience is key! Allow the treats to cool at room temperature for about 30 minutes. This waiting game is worth it. Once they’re set, take a sharp knife and cut them into squares. Serve them up and watch the smiles appear. You’ve just created a classic dessert that’s sure to impress!
Tips for Success
- Use fresh marshmallows for the best texture and flavor.
- Grease your hands or spatula to prevent sticking when pressing the mixture into the dish.
- Don’t overheat the marshmallows; low and slow is the way to go.
- For a fun twist, mix in your favorite add-ins like nuts or candy.
- Store leftovers in an airtight container to keep them fresh.
Equipment Needed
- Large saucepan: A heavy-bottomed pot works well if you don’t have a saucepan.
- Spatula: A wooden spoon can also do the trick for mixing.
- Baking dish: Any 9×13-inch dish will suffice; just ensure it’s greased.
- Measuring cups: Use any standard measuring tools for accuracy.
Variations
- Chocolate Lovers: Drizzle melted chocolate over the cooled treats or mix in chocolate chips before pressing into the dish for a rich twist.
- Nutty Delight: Add 1/2 cup of chopped nuts like almonds or pecans for a crunchy texture and added flavor.
- Fruity Fun: Toss in dried fruits such as cranberries or raisins for a chewy surprise in every bite.
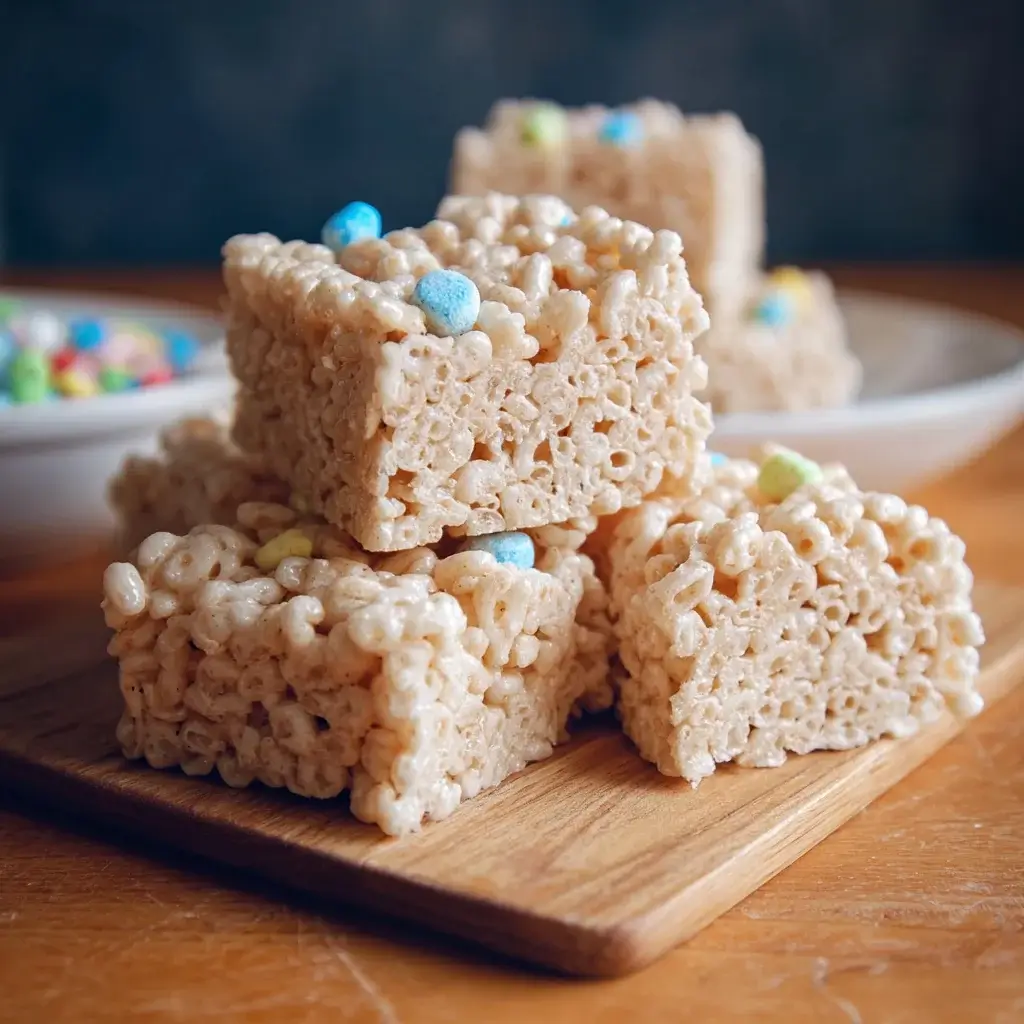
- Colorful Sprinkles: Mix in colorful sprinkles to make these treats festive for parties or celebrations.
- Gluten-Free Option: Substitute Rice Krispies with gluten-free cereal to accommodate dietary needs without sacrificing taste.
Serving Suggestions
- Pair your Classic Rice Krispies Treats with a glass of cold milk for a nostalgic experience.
- Serve them alongside fresh fruit for a balanced snack.
- For a fun presentation, stack them on a colorful plate and sprinkle with extra toppings.
- Wrap individual treats in cellophane for a delightful party favor.
FAQs about Classic Rice Krispies Treats
As you embark on your journey to create Classic Rice Krispies Treats, you might have a few questions. Here are some common queries that can help you along the way:
Can I use regular marshmallows instead of mini marshmallows?
Absolutely! Regular marshmallows work just fine. Just cut them into smaller pieces to ensure they melt evenly.
How should I store leftover Rice Krispies Treats?
Store them in an airtight container at room temperature. They’ll stay fresh for about a week, but I doubt they’ll last that long!
Can I make these treats ahead of time?
Yes! You can make them a day in advance. Just keep them stored properly, and they’ll be ready to enjoy when you are.
What can I add to make them more exciting?
Consider adding chocolate chips, nuts, or dried fruit for a fun twist. The possibilities are endless!
Are Classic Rice Krispies Treats gluten-free?
They can be! Just make sure to use gluten-free Rice Krispies cereal to accommodate dietary restrictions.
Final Thoughts
Creating Classic Rice Krispies Treats is more than just a cooking task; it’s a delightful experience that brings back cherished memories. The joy of melting marshmallows and mixing in that crispy cereal is a simple pleasure that anyone can enjoy. Whether you’re making them for a family gathering or just to satisfy a sweet tooth, these treats are sure to bring smiles. Plus, the versatility of this recipe means you can customize it to your heart’s content. So, roll up your sleeves, gather your ingredients, and let the nostalgia and sweetness fill your kitchen!
Classic Rice Krispies Treats: Discover the Easy Recipe!
Ingredients
Method
- In a large saucepan over low heat, melt the butter. Once melted, add the mini marshmallows and stir continuously until completely melted and smooth. If using, stir in the vanilla extract and a pinch of salt for added flavor.
- Remove the saucepan from heat and quickly add the Rice Krispies cereal. Stir until the cereal is evenly coated with the marshmallow mixture.
- Grease a 9x13-inch baking dish with butter or non-stick spray. Pour the mixture into the dish and press it down evenly with a spatula or your hands (damp hands work best to prevent sticking).
- Allow the treats to cool at room temperature for about 30 minutes before cutting them into squares.
- Serve and enjoy your delicious Rice Krispies treats!
Nutrition
Notes
- For a chocolate twist, drizzle melted chocolate over the cooled treats or mix in chocolate chips before pressing into the dish.
- Add 1/2 cup of mini chocolate chips, sprinkles, or dried fruit to the mixture for extra flavor and texture.