

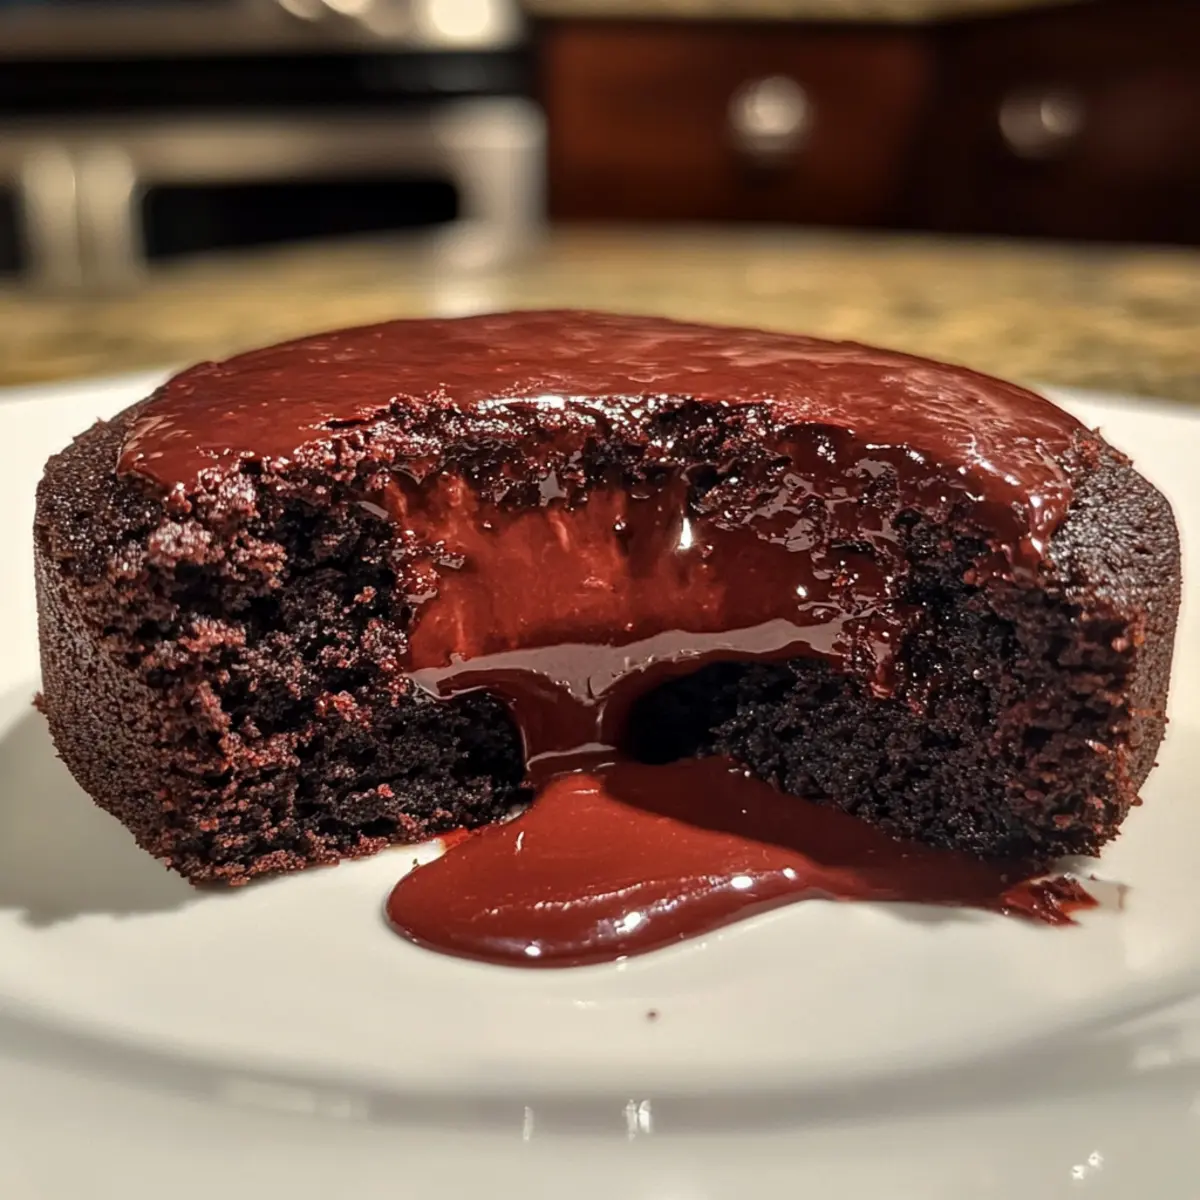
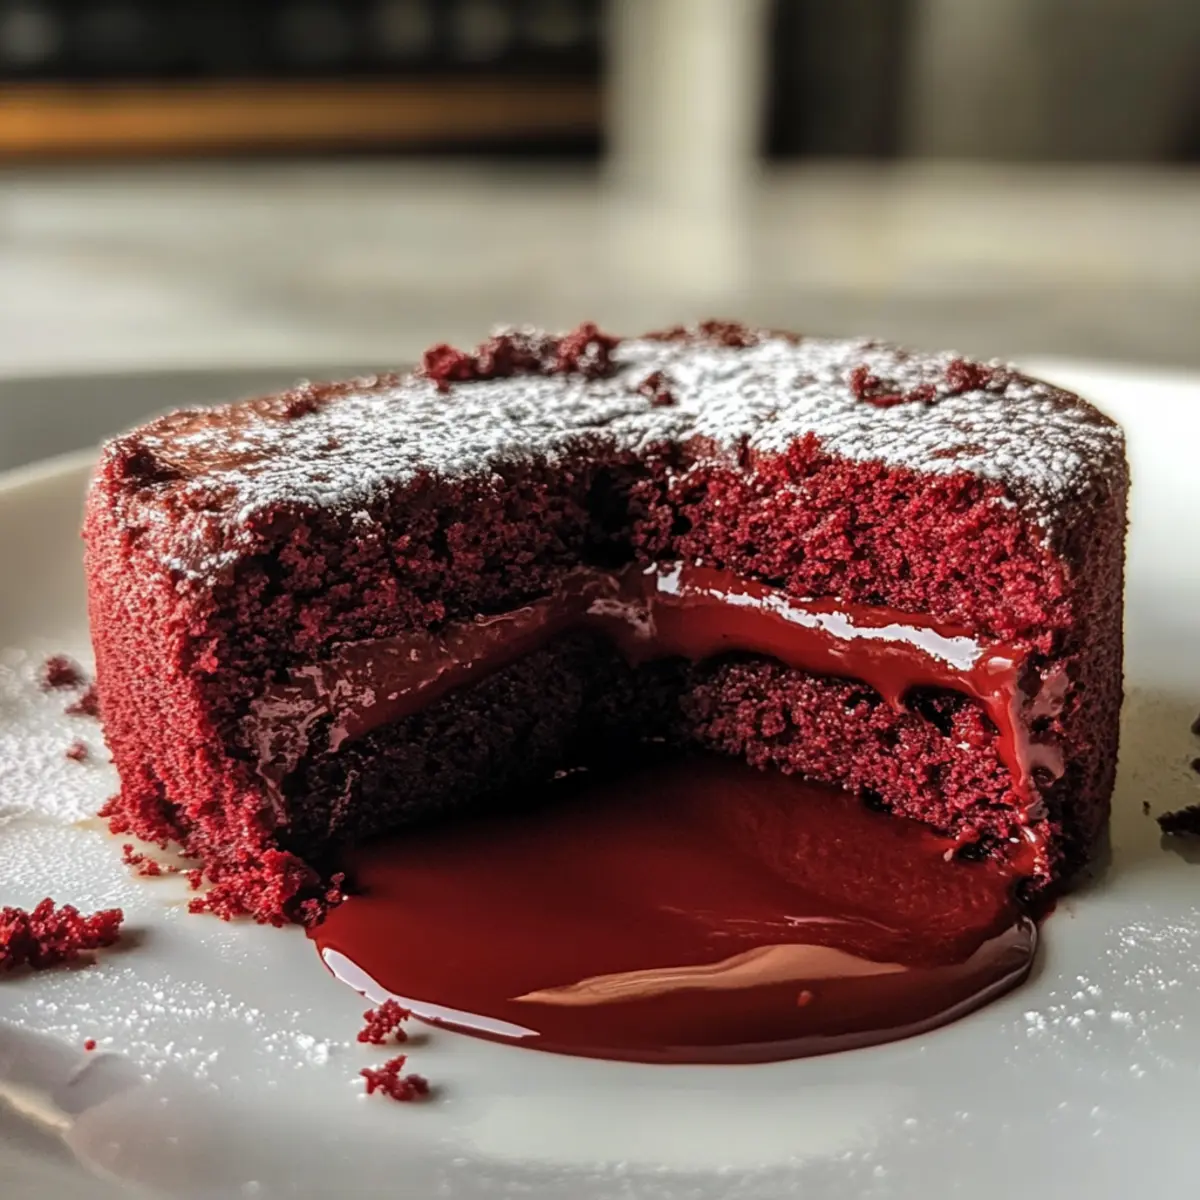
As a wave of anticipation washes over me, I pull my Red Velvet Molten Lava Cake from the oven, the aroma wrapping around my kitchen like the warmest hug. This dessert isn’t just a feast for the eyes with its striking crimson hue; it boasts a heart of gooey chocolate that promises to impress at any gathering. What I love most about my Red Velvet Molten Lava Cake is how simple it is to whip up, making it perfect for a cozy night in or a special celebration. Its velvety texture is not only irresistible but also a delightful way to treat yourself or make someone feel special. Curious about how this stunning treat comes together? Let’s dive into the recipe!
Why is Red Velvet Molten Lava Cake special?
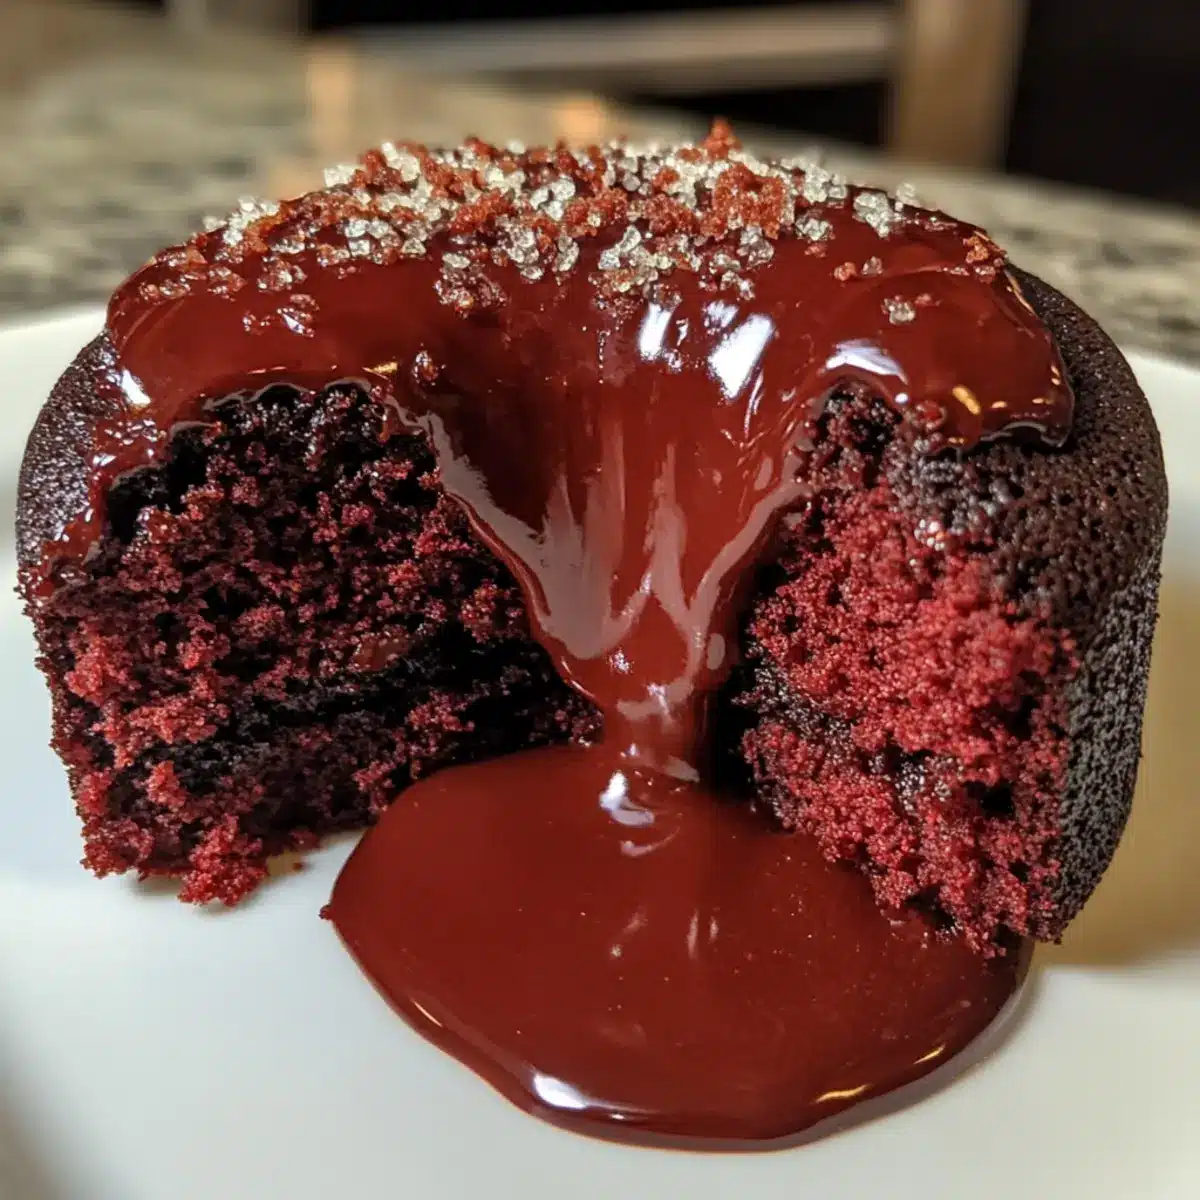
Irresistible, the luxurious blend of red velvet and molten chocolate creates a unique dessert experience. Effortlessly Elegant, you can impress guests with minimal effort—perfect for any occasion. Gooey Surprise, that molten center awaits to wow anyone who takes a bite. Versatile Treat, dress it up with ice cream or fresh berries for added flair. Whether it’s a cozy night in or a festive gathering, this cake is the ultimate crowd-pleaser that everyone will love! Don’t miss trying it alongside other delightful desserts like my Patriotic Poke Cake or Buttermilk Pancakes for a complete treat experience!
Red Velvet Molten Lava Cake Ingredients
For the Batter
- Butter – Adds richness and moisture; you can use dairy-free butter for a vegan option.
- Bittersweet Chocolate – Creates the molten center, providing essential flavor; opt for dairy-free chocolate for a vegan twist.
- Granulated Sugar – Sweetens the batter; while no direct substitutions exist, coconut sugar can be a healthier alternative.
- Eggs & Egg Yolks – Provide structure and richness for a tender, fudgy texture; no substitutes are recommended for the best results.
- Vanilla Extract – Enhances the flavor profile; almond extract can be substituted for a different taste.
- Red Food Coloring or Beet Juice – Imparts that signature red color; beet juice is a natural way to avoid artificial dyes.
- All-Purpose Flour – Forms the cake structure; gluten-free flour can be used for a gluten-free option.
- Cocoa Powder – Adds depth of flavor; regular unsweetened cocoa powder works best, as Dutch-processed can alter taste slightly.
- Salt – Balances sweetness and enhances flavor.
Optional Additions
- Cream Cheese – Adds a tangy contrast; feel free to dot some in the centers for an extra layer of flavor.
- Powdered Sugar – For dusting before serving, adding a sweet touch to the presentation.
Now that you have the ingredients, let’s get ready to create this beautiful and decadent Red Velvet Molten Lava Cake that will surely steal the show!
Step‑by‑Step Instructions for Red Velvet Molten Lava Cake
Step 1: Prepare Ramekins
Begin by greasing four 6-ounce ramekins with butter, ensuring every surface is covered to prevent sticking. Then, dust each ramekin with cocoa powder, shaking out the excess. This step is crucial for your Red Velvet Molten Lava Cake to slide out beautifully after baking.
Step 2: Melt Ingredients
In a microwave-safe bowl, combine butter and chopped bittersweet chocolate. Heat in 30-second increments, stirring thoroughly in between, until the mixture is completely smooth and glossy. This melting process should take about 1-2 minutes total, creating a rich base for your cake batter.
Step 3: Whisk Eggs
In a medium bowl, add the eggs, egg yolks, and granulated sugar. Using a whisk, beat the mixture until it becomes thick, pale, and fluffy, usually around 2-3 minutes of vigorous mixing. This aeration will help achieve that tender texture in the Red Velvet Molten Lava Cake.
Step 4: Incorporate Colors
Once your egg mixture is ready, add in the vanilla extract and red food coloring (or beet juice if you prefer). Gently whisk again until the color is evenly distributed, making sure to create that signature vibrant red hue. This step is vital for both appearance and flavor enhancement.
Step 5: Combine Mixtures
Take the melted chocolate mixture and gradually whisk it into the egg mixture. Stir until the batter is smooth and well-blended, ensuring no lumps remain. This unification will ensure that your Red Velvet Molten Lava Cake has a rich, creamy consistency that bakes evenly.
Step 6: Fold in Dry Ingredients
Sift together the flour, cocoa powder, and salt in a separate bowl to remove any lumps. Gently fold this dry mixture into the wet ingredients using a spatula until just combined. Be careful not to overmix, as this could affect the cake’s texture and lead to a less than perfect lava consistency.
Step 7: Fill Ramekins
Spoon half of the red velvet batter into each prepared ramekin, filling them about halfway. If desired, add a small dot of cream cheese in the center of each, then cover with the remaining batter until almost full. This layering is essential to achieve that delightful molten center.
Step 8: Bake
Preheat your oven to 425°F (220°C) and carefully place the filled ramekins on a baking sheet. Bake them for 12-13 minutes, keeping a close eye on them. The edges should appear set while the centers remain jiggly—this is your cue that the Red Velvet Molten Lava Cake is ready to come out.
Step 9: Cool & Serve
Once baked, let the ramekins cool for just 1 minute to allow the cakes to set slightly. Then, gently run a thin knife around the edges before inverting each ramekin onto a plate. Serve immediately to experience the glorious molten chocolate surprise that lies within.

What to Serve with Red Velvet Molten Lava Cake
Elevate your dessert experience by pairing this warm, gooey delight with scrumptious sides and drinks that accentuate its richness.
-
Vanilla Bean Ice Cream: The creamy, cold ice cream contrasts beautifully with the warm lava cake, creating a heavenly bite. A scoop of rich ice cream melting over the warm cake elevates each spoonful to a new level of indulgence.
-
Fresh Berries: Mixed berries, like raspberries or strawberries, add a pop of freshness that cuts through the richness. Their natural tartness balances the sweet, decadent flavors perfectly.
-
Chocolate Sauce: A drizzle of chocolate sauce enhances the molten center and adds a touch of luxe. This extra layer of chocolate is a delight for true chocolate lovers.
-
Whipped Cream: Light and airy whipped cream complements the cake’s richness, allowing the bold flavors to shine through. It adds a festive flair, making your dessert presentation even more appealing.
-
Mint Leaves: A few fresh mint leaves sprinkled on top can add a refreshing element, elevating the visual appeal and enhancing the flavors. Their vibrant green contrasts wonderfully with the deep red of the cake.
-
Coffee: A strong cup of coffee pairs beautifully, enhancing the dessert’s chocolate notes while providing a delightful contrast. The bitterness of coffee complements the sweetness, making it a truly balanced experience.
-
Wine Pairing: Consider a dessert wine, like a sweet red or sparkling wine, which can nicely accompany the cake’s rich flavors. Sipping wine with each bite adds sophistication to your dessert experience.
Serving your Red Velvet Molten Lava Cake with these delicious sides will transform an already extraordinary dessert into a memorable culinary indulgence!
Expert Tips for Red Velvet Molten Lava Cake
- Perfect Baking Time: Aim for 12-13 minutes in the oven. Watch closely; overbaking is the enemy that turns gooey centers into cake!
- Chill Before Baking: If prepping in advance, chill the filled ramekins before baking. This helps maintain that luscious molten center when baked.
- Use Quality Chocolate: Choose a good quality bittersweet chocolate for the best flavor. It crucially affects the richness of your Red Velvet Molten Lava Cake.
- Don’t Skip the Butter: Proper greasing of ramekins with butter is key to ensuring the cakes release easily. Dusting with cocoa powder will help too!
- Slice with Care: When serving, use a sharp knife to gently cut through the cake. This preserves the gooey center that everyone adores.
Make Ahead Options
Preparing your Red Velvet Molten Lava Cake in advance is a fantastic way to save time for busy weeknights or special occasions. You can prepare the batter up to 24 hours ahead of time; simply fill your greased ramekins and cover them tightly with plastic wrap to prevent drying out. For an even longer option, freeze the unbaked cakes for up to 3 months—just thaw in the refrigerator overnight before baking. When you’re ready to serve, remove the ramekins from the fridge or freezer, let them sit at room temperature for about 15 minutes, then bake as directed. This method ensures your cakes will be just as delicious and gooey when served!
Storage Tips for Red Velvet Molten Lava Cake
Fridge: Store leftover Red Velvet Molten Lava Cake in an airtight container for up to 2 days. Best enjoyed warm, so consider reheating before serving.
Freezer: If you want to keep it longer, unbaked batter can be frozen in ramekins for up to 3 months. Simply thaw in the refrigerator before baking, adding a few extra minutes to the cook time.
Reheating: Reheat individual servings in the microwave for about 10-15 seconds or until warmed through to revive that gooey center.
Room Temperature: Avoid leaving the cake at room temperature for more than 2 hours to ensure safety and maintain freshness.
Red Velvet Molten Lava Cake Variations
Feel free to get creative with your Red Velvet Molten Lava Cake, making each bite even more delightful!
-
Dairy-Free: Use dairy-free butter and chocolate to make this dessert suitable for vegan diets without sacrificing flavor. The gooey center remains just as luscious and delectable.
-
Cream Cheese Swirl: Dot a few spoonfuls of cream cheese in the center before topping with batter for a delightful tangy surprise. The contrast pairs beautifully with the rich chocolate!
-
Espresso Infusion: Add a teaspoon of instant espresso powder to the batter to elevate the chocolate flavor. It’s a simple twist that adds depth and sophistication to your lava cake.
-
Gluten-Free Option: Swap out all-purpose flour for a gluten-free blend. This ensures everyone can enjoy the deliciousness without worrying about gluten.
-
Mini Skillets: Bake the batter in individual cast iron skillets for a rustic, charming presentation. It also allows for easy serving and keeps warm longer at the table.
-
Raspberry Surprise: Add a few fresh or frozen raspberries into the center for a tart contrast to the sweet chocolate. The burst of fruitiness is simply irresistible!
-
Peanut Butter Center: For a nutty twist, spoon a little creamy peanut butter right into the middle before adding the rest of the batter. The combination of flavors is a match made in dessert heaven!
-
Spicy Heat: Sprinkle a pinch of cayenne pepper or your favorite chili powder in the batter for a surprising warmth that beautifully complements the sweetness.
These playful variations can change the way you and your loved ones experience this classic dessert! Pair it with a scoop of vanilla bean ice cream or fresh berries for a delightful contrast, and don’t forget to check out my Red White Blue Fruit Kabobs for another fun treat!
Red Velvet Molten Lava Cake Recipe FAQs
How do I choose ripe or high-quality ingredients for the cake?
Absolutely! For the butter, look for the freshest piece with a slight creaminess and no off-smells. The bittersweet chocolate should have a rich aroma and a smooth texture, free from bloom (white spots). When using eggs, choose large, fresh eggs with uncracked shells. For red food coloring, you can opt for high-quality gel for more vibrant color, or organic beet juice for a natural alternative without any artificial dyes.
What are the best storage methods for leftovers?
Very good question! Store any leftover Red Velvet Molten Lava Cake in an airtight container in the refrigerator. This keeps it fresh for up to 2 days. However, they are best when enjoyed warm, so I recommend reheating them slightly in the microwave for 10–15 seconds before serving to revive that luscious molten center.
Can I freeze the batter or baked cakes?
Yes! If you’d like to prep ahead, unbaked batter can be frozen in the ramekins for up to 3 months. Just wrap each ramekin tightly in plastic wrap and aluminum foil to prevent freezer burn. When you’re ready to bake, thaw them in the refrigerator for a few hours or overnight, then add an extra couple of minutes to the cook time for best results. Baked cakes can also be frozen, but for the best gooey texture, I recommend freezing the batter instead.
What can I do if my cakes don’t have a molten center?
A common hiccup with the Red Velvet Molten Lava Cake! Ensure you’re baking them for exactly 12-13 minutes. The cake should still jiggle in the center when you take them out of the oven. If they are overbaked, they can lose that gooey consistency. Another tip is to let them sit no longer than 1 minute before inverting—this allows them to remain soft inside.
Are there any dietary considerations I should keep in mind for this recipe?
Indeed! For those with egg allergies, unfortunately, traditional eggs provide necessary structure and texture, so substitutes like flax eggs may not yield the same results. However, for a vegan option, you can use dairy-free butter and chocolate! If you’re serving guests with gluten intolerance, using a quality gluten-free all-purpose flour works wonderfully. Always check labels for potential allergens like soy or nuts, especially in chocolate brands.
Irresistible Red Velvet Molten Lava Cake with Gooey Surprise
Ingredients
Equipment
Method
- Prepare Ramekins: Grease four 6-ounce ramekins with butter and dust with cocoa powder.
- Melt Ingredients: Combine butter and chopped bittersweet chocolate in a bowl and heat in increments until smooth.
- Whisk Eggs: Beat the eggs, egg yolks, and sugar until thick and fluffy, about 2-3 minutes.
- Incorporate Colors: Add vanilla extract and red food coloring, whisk gently.
- Combine Mixtures: Gradually whisk melted chocolate into the egg mixture until smooth.
- Fold in Dry Ingredients: Sift flour, cocoa powder, and salt together and fold into the wet mixture carefully.
- Fill Ramekins: Spoon half the batter into each ramekin, add cream cheese if desired, and cover with remaining batter.
- Bake: Preheat oven to 425°F (220°C) and bake for 12-13 minutes until edges are set.
- Cool & Serve: Let cool for 1 minute, run a knife around edges, invert onto plates, and serve immediately.