

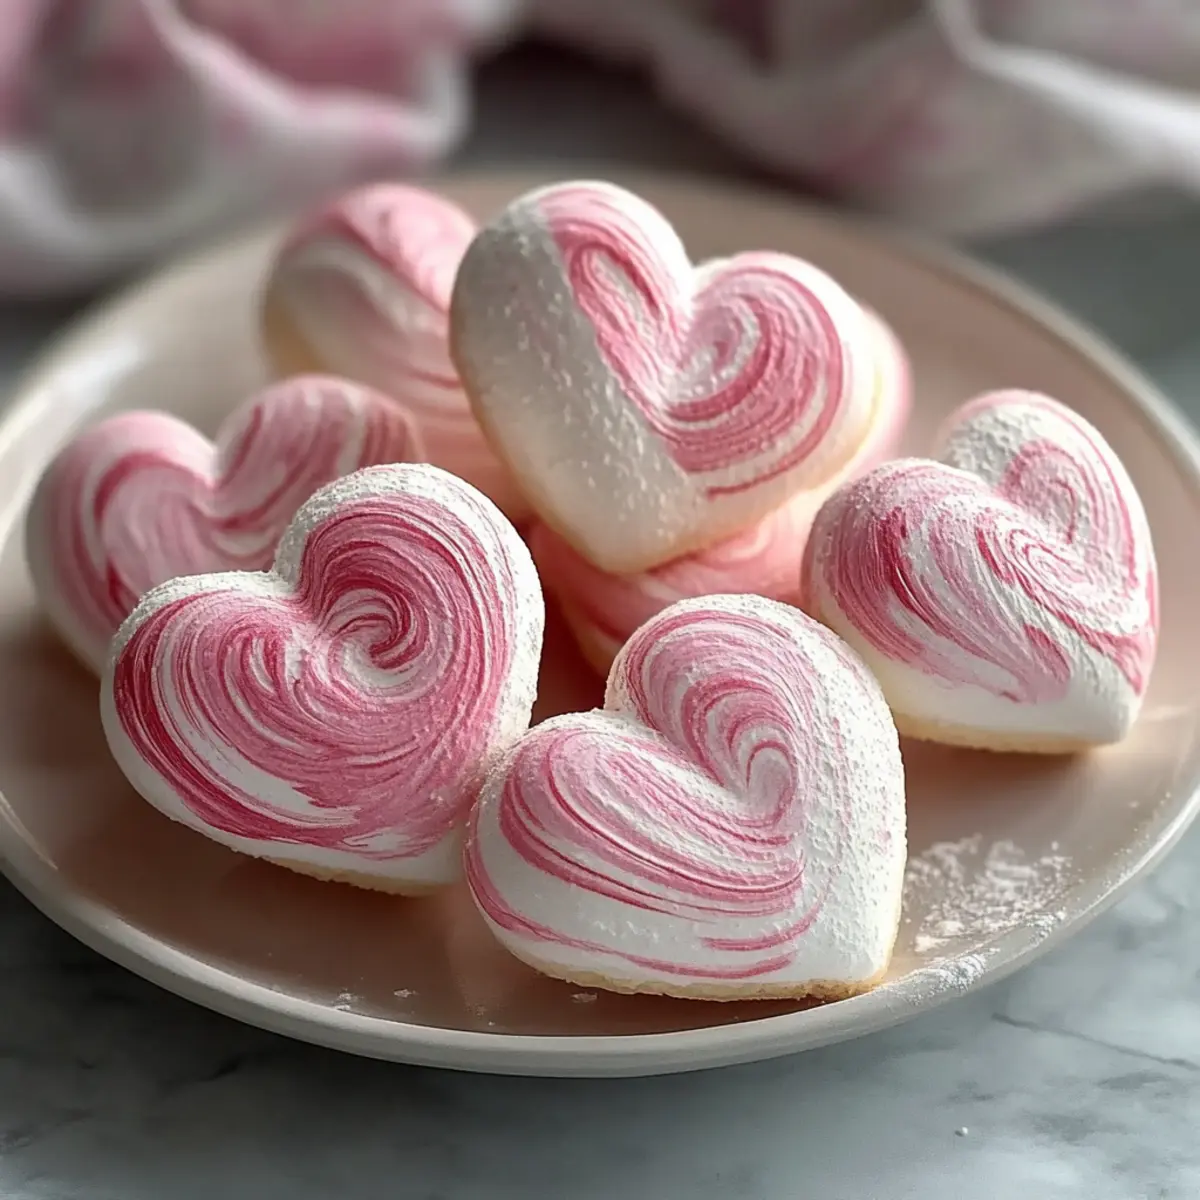
As I stood in my kitchen one sunny afternoon, the aroma of vanilla filled the air, whisking me away to a charming French patisserie. It was the perfect moment to whip up some Marbled Meringue Hearts, a delightful dessert that instantly elevates any occasion with its delicate beauty and playful swirls of pink. This gluten-free, low-fat treat is not only a feast for the eyes but also surprisingly easy to create—perfect for when you want to impress without spending hours in the kitchen. With a melt-in-your-mouth texture that feels like a sweet hug, these airy confections are a heartfelt way to celebrate love, whether on Valentine’s Day or just a Tuesday. Ready to learn how to craft these lovely hearts that will surely make someone smile?
Why Choose Marbled Meringue Hearts?
Whimsical Delight: These Marbled Meringue Hearts are a stunning treat that merges elegance with simplicity, perfect for any special occasion.
Gluten-Free: Everyone can enjoy these delightful desserts without worrying about dietary restrictions.
Quick to Make: With just a handful of ingredients and minimal effort, you’ll whip up these beautiful confections in no time.
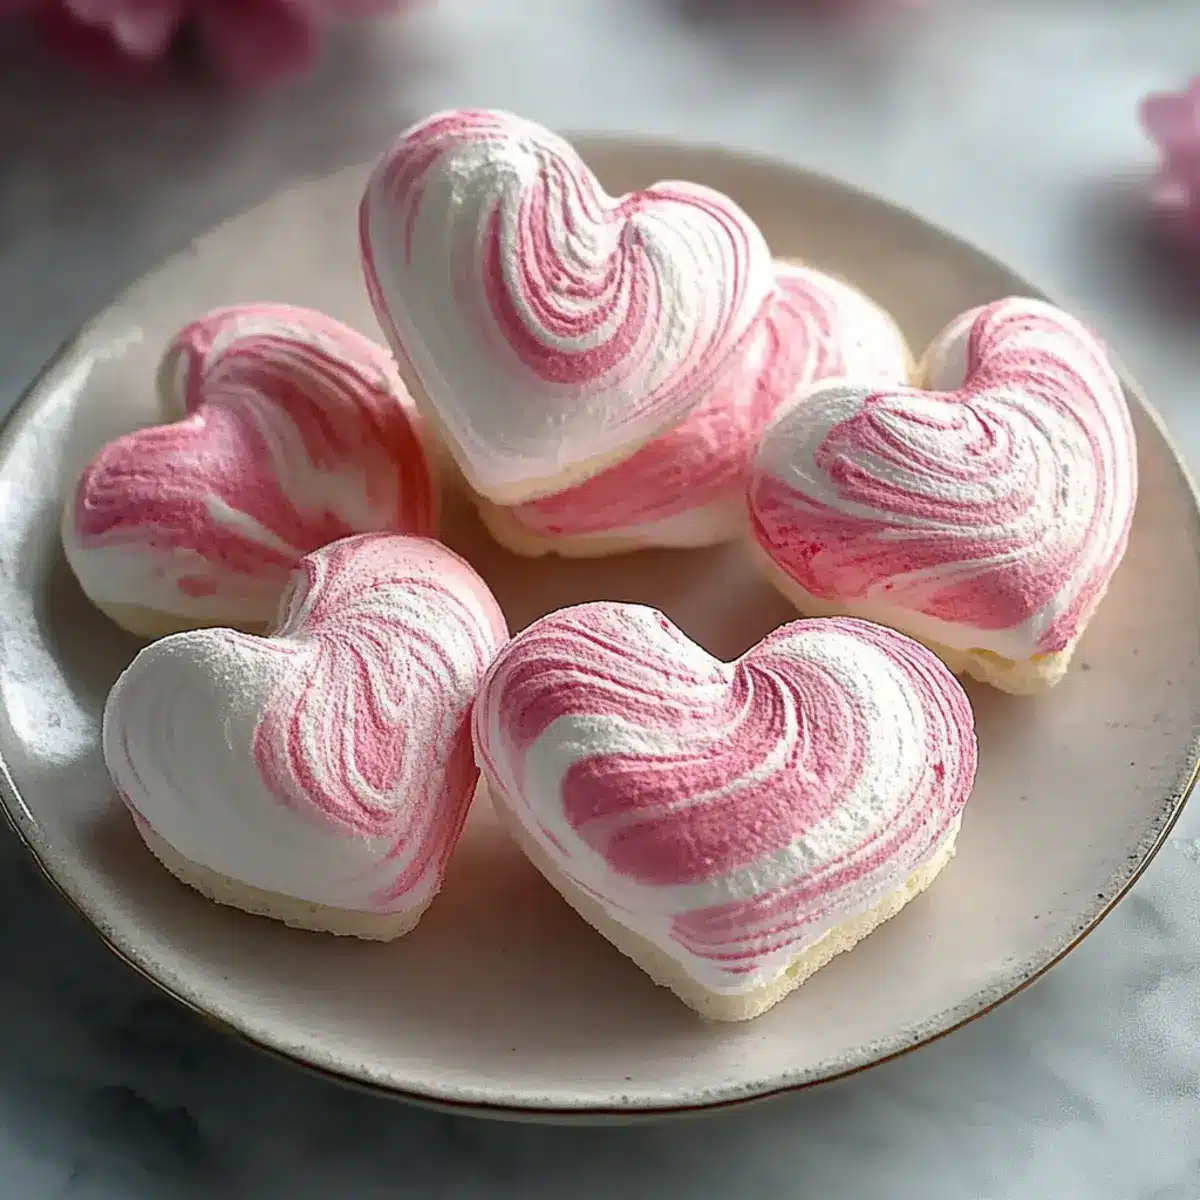
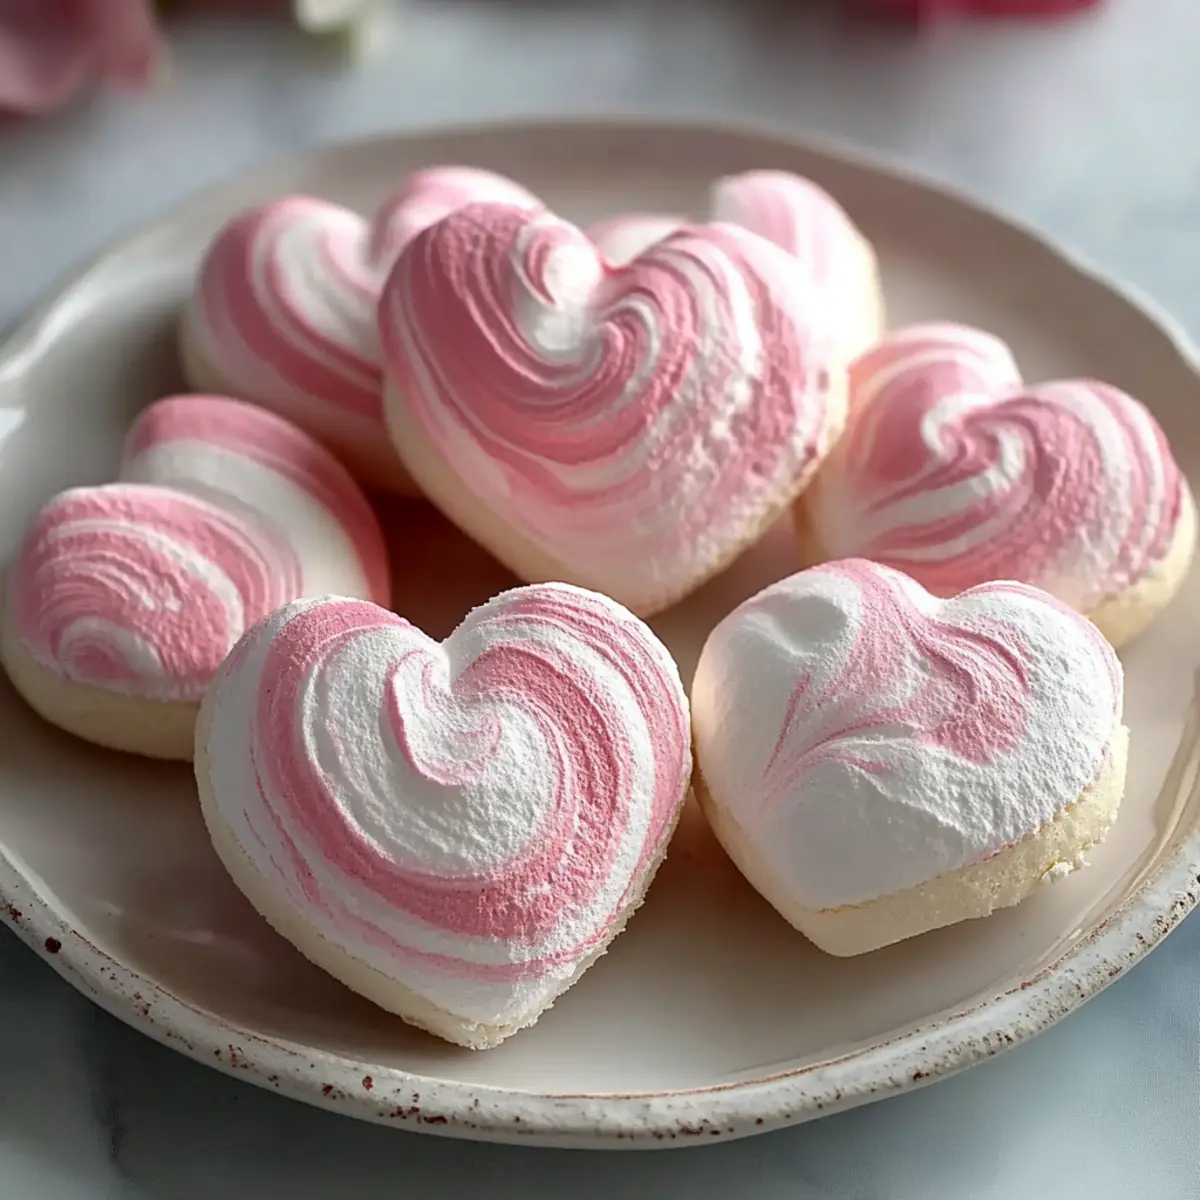
Visual Impact: The eye-catching pink swirls against a white backdrop make these meringues not just delicious but also a feast for the eyes—ideal for impressing guests!
Low-Calorie Indulgence: At around 27 calories each, you can satisfy your sweet tooth without guilt. For a cherry on top, pair them with homemade whipped cream or fresh berries for a delightful dessert experience. Try making these alongside classic meringue cookies for a fun baking session!
Marbled Meringue Hearts Ingredients
• Get ready to create these delightful meringues!
For the Meringue
- Egg Whites – Provides structure and aeration for the meringue; make sure they’re at room temperature for the best results.
- Vanilla Extract – Adds a lovely flavor to enhance sweetness; feel free to substitute with almond or peppermint extract for a twist.
- Cream of Tartar – Stabilizes the egg whites for a voluminous meringue; can be replaced with lemon juice or white vinegar if necessary.
- Sugar – Sweetens and adds a glossy finish; incorporate it gradually to maintain the meringue’s stability.
- Red Food Coloring – Creates those mesmerizing swirls in your meringue; this is optional if you prefer a plain version.
With these ingredients in hand, you’re ready to make your Marbled Meringue Hearts—a treat that brings heart and beauty to any table!
Step‑by‑Step Instructions for Marbled Meringue Hearts
Step 1: Prepare the Egg Whites
Start by letting your room-temperature egg whites sit in a clean mixing bowl for 30 minutes. This allows them to reach their peak volume when whipped. Make sure there are no traces of fat in the bowl, which can hinder the whipping process.
Step 2: Preheat the Oven
While the egg whites are resting, preheat your oven to a gentle 200°F (93°C). Line two baking sheets with parchment paper, ensuring they are smooth and flat. This will prevent the meringue from sticking and allow for easy removal once baked.
Step 3: Beat the Egg Whites
Add the vanilla extract and cream of tartar to the egg whites, then begin beating them at medium speed using an electric mixer. Continue whisking until soft peaks begin to form, which should take about 3-5 minutes. You’ll know they’re ready when the mixture is fluffy and holds a loose shape.
Step 4: Add Sugar Gradually
Increase the mixer speed to high and gradually add sugar one tablespoon at a time. Beat the mixture until it thickens, becomes glossy, and forms stiff peaks, about 5-7 minutes. The meringue should be shiny and hold its shape firmly, signaling it’s ready for the next step.
Step 5: Create the Marbled Effect
Remove 1/4 cup of the glossy meringue and place it in a small bowl. Add a few drops of red food coloring to this portion and gently fold it in. Be careful not to overmix; you want distinct pink swirls to form without completely blending into the white meringue.
Step 6: Pipe the Meringue Hearts
Transfer the marbled meringue mixture into a piping bag fitted with a large round tip. Pipe 2-inch heart shapes onto the prepared baking sheets, spaced about 2 inches apart. Use a gentle hand to create a lovely heart shape, which will puff up during baking, adding charm to your Marbled Meringue Hearts.
Step 7: Bake and Cool
Place the baking sheets in the preheated oven and bake for approximately 20 minutes. You’ll know they are done when the meringues feel crisp to the touch and can easily lift off the parchment. Once baked, turn off the oven and leave the meringues inside to cool completely—this helps them dry out beautifully without losing their texture.
Marbled Meringue Hearts Variations
Feel free to let your creativity shine and customize these delightful meringues to suit your taste or dietary needs!
-
Almond Extract: Swap vanilla for almond extract for a uniquely nutty flavor. This subtle change adds depth and a comforting warmth.
-
Cocoa Delight: Introduce unsweetened cocoa powder to half of the meringue for a chocolatey twist. The dark hue combined with pink swirls makes for a stunning contrast!
-
Natural Colors: Experiment with natural colorings like beet juice or spirulina powder for stunningly vibrant hues without artificial additives. Your meringues will have a beautifully rustic look!
-
Citrus Zest: Add a teaspoon of lemon or orange zest to the meringue for a refreshing citrusy kick. This bright twist complements the sweetness beautifully, creating a flavor harmony.
-
Herbal Infusion: Incorporate a touch of dried lavender or crushed mint leaves into the meringue to create an aromatic dessert. These flavors evoke a memory of spring and add a sophisticated touch.
-
Spiced Wonders: Mix in a pinch of cinnamon or ginger for a warm, spicy flavor that delights the senses. This is a perfect autumnal twist that pairs wonderfully with the airy texture.
-
Sugar Substitutes: If you’re looking to cut back on sugar, substitute it with a sugar alternative like erythritol or coconut sugar for a lower-calorie version. Remember to adjust the amount based on your chosen alternative for optimal sweetness.
By infusing these variations into your Marbled Meringue Hearts, you’ll create personalized treats that everyone will love. For an extra treat, consider pairing them with classic meringue cookies or serve alongside a dollop of fresh cream for a delightful dessert experience!
What to Serve with Marbled Meringue Hearts?
These delightful, airy confections pair beautifully with a variety of dishes, enhancing your dessert experience and making any occasion extra special.
-
Fresh Berries: Juicy strawberries or raspberries brighten the dish, adding a burst of tangy flavor that contrasts nicely with the sweet meringue.
-
Homemade Whipped Cream: Serve with a dollop of creamy, fluffy whipped cream for a luxurious touch that complements the lightness of the meringue.
-
Chocolate Sauce: Drizzling rich chocolate sauce over the meringue adds a decadent flair, giving a delightful interplay of textures with its creamy smoothness.
-
Fruit Sorbet: A scoop of raspberry or lemon sorbet offers a refreshing contrast, balancing the sweetness of the meringues and cleansing the palate.
-
Sparkling Wine: A glass of bubbly rosé or prosecco elevates the dessert experience, enhancing the romantic vibe perfect for special occasions.
-
Iced Coffee: The smooth, rich notes of iced coffee pair brilliantly, offering a delightful bitterness that offsets the sweetness of the meringues.
-
Chocolate-Covered Strawberries: The rich chocolate and luscious berry flavors are the perfect accompaniment, creating a luxurious dessert platter that dazzles guests.
-
Coconut Macaroons: These chewy treats bring an additional texture and flavor that harmonizes with the lightness of the meringue, making for an inviting dessert table.
-
Lavender Lemonade: A refreshing lavender-infused lemonade complements the light and airy nature of the meringues, creating a lovely and fragrant balance.
-
Mini Fruit Tarts: Their butter crust and creamy filling create a delightful contrast, enticing flavors that round out a beautiful dessert experience.
How to Store and Freeze Marbled Meringue Hearts
Room Temperature: Store your Marbled Meringue Hearts in an airtight container at room temperature for up to 2 weeks; this keeps them crisp and delightful.
Fridge: Avoid refrigeration as moisture can soften the meringues; the changes in humidity can ruin their texture.
Freezer: If you need to freeze them, place the meringues in a single layer in a freezer-safe container, separated by parchment paper. Use within 1 month for best quality.
Reheating: If they lose their crispness, re-dry in a low oven (200°F) for about 10 minutes to restore that delightful texture.
Expert Tips for Marbled Meringue Hearts
• Perfect Egg Whites: Ensure your egg whites are at room temperature, as they whip better, creating a more stable meringue for your hearts.
• Slow Sugar Addition: Add sugar gradually while beating; this helps maintain the structure and glossy finish of your Marbled Meringue Hearts.
• Humidity Awareness: Meringues can absorb moisture, so choose a dry day for baking. If they turn out chewy, you can dry them again in a low oven.
• Cooling is Key: Do not skip cooling the meringues in the turned-off oven—this step is crucial for achieving that delightful crispiness.
• Clean Tools Rule: Ensure all your mixing bowls and utensils are completely clean and free of grease, as even slight traces can prevent the egg whites from whipping properly.
Make Ahead Options
These Marbled Meringue Hearts are perfect for busy home cooks looking to save time while still impressing loved ones! You can prepare the meringue mixture up to 24 hours in advance; simply whip the egg whites and fold in the food coloring, then pipe the hearts onto baking sheets. Cover the prepared sheets tightly with plastic wrap or place them in an airtight container, refrigerating them until you’re ready to bake. When the moment arrives, just pop them in the preheated oven for about 20 minutes. This method ensures they remain just as delightful and airy when finished, giving you more time to enjoy special moments without sacrificing quality!
Marbled Meringue Hearts Recipe FAQs
How can I tell if my egg whites are ripe for whipping?
Absolutely! For the best results, make sure your egg whites are at room temperature as they whip more easily and achieve greater volume. Look for a clean bowl with no traces of fat or grease, as even the smallest amount can impede the whipping process. Let them sit for about 30 minutes to warm up.
How should I store my Marbled Meringue Hearts?
To keep your Marbled Meringue Hearts crisp, store them in an airtight container at room temperature for up to 2 weeks. Make sure they are completely cool before placing them in the container. Avoid refrigerating them, as the humidity can soften your lovely meringues.
Can I freeze Marbled Meringue Hearts?
Certainly! To freeze your meringues, place them in a single layer in a freezer-safe container, with parchment paper between layers to prevent sticking. They’ll keep well for up to 1 month. When you’re ready to enjoy, simply thaw them at room temperature—there’s no need for reheating!
What should I do if my meringue turns chewy or sticky?
If your meringues aren’t as crisp as you’d like, it may be due to humidity. If they feel chewy, try placing them back in a low oven set at 200°F for about 10 minutes. This can help dry them out and restore their delightful texture. Keep an eye on them to prevent browning!
Are Marbled Meringue Hearts safe for those with allergies?
These meringues are inherently gluten-free and low in fat, making them a great treat for those with dietary restrictions. However, always check the ingredients for potential allergens, especially when using substitutes or flavorings. If you have pets, remember that sweeteners like xylitol are toxic to dogs, so store these treats out of their reach.
What if my egg whites aren’t whipping well?
If your egg whites aren’t whipping properly, it could be due to lingering fat in your mixing bowl or on your beaters. Ensure that all tools are grease-free. Additionally, if you’re in a humid environment, it’s best to whip them on a dry day to achieve the desired volume. If you encounter difficulty, don’t be discouraged; start fresh with clean, dry tools!

Delightful Marbled Meringue Hearts for Your Sweet Moments
Ingredients
Equipment
Method
- Let egg whites sit in a clean mixing bowl for 30 minutes.
- Preheat oven to 200°F (93°C) and line baking sheets with parchment paper.
- Beat egg whites with vanilla extract and cream of tartar on medium speed until soft peaks form.
- Gradually increase speed to high and add sugar one tablespoon at a time until stiff peaks form.
- Remove 1/4 cup of meringue, add red food coloring, and gently fold it in.
- Pipe 2-inch heart shapes onto the baking sheets.
- Bake for approximately 20 minutes until crisp, then cool in the oven.