

As I rummaged through my pantry one lazy afternoon, I stumbled upon a bag of chickpea flour, an unassuming gem often overlooked. I couldn’t help but wonder—what delightful snack could I create? Enter the world of Baked Chickpea Chips! These little wonders not only bring a crunchy satisfaction at snack time but also cater to a variety of dietary preferences, being vegan, gluten-free, and oh-so-easy to whip up. With just a handful of simple ingredients, they’re perfect for after-school munching or movie night snacking, all while ditching the heavy, greasy chips that weigh you down. So grab your chickpea flour and let’s turn your kitchen into a haven of wholesome snacking—are you ready to discover your new favorite crunch?
Why Chickpea Chips Will Be Your New Favorite?
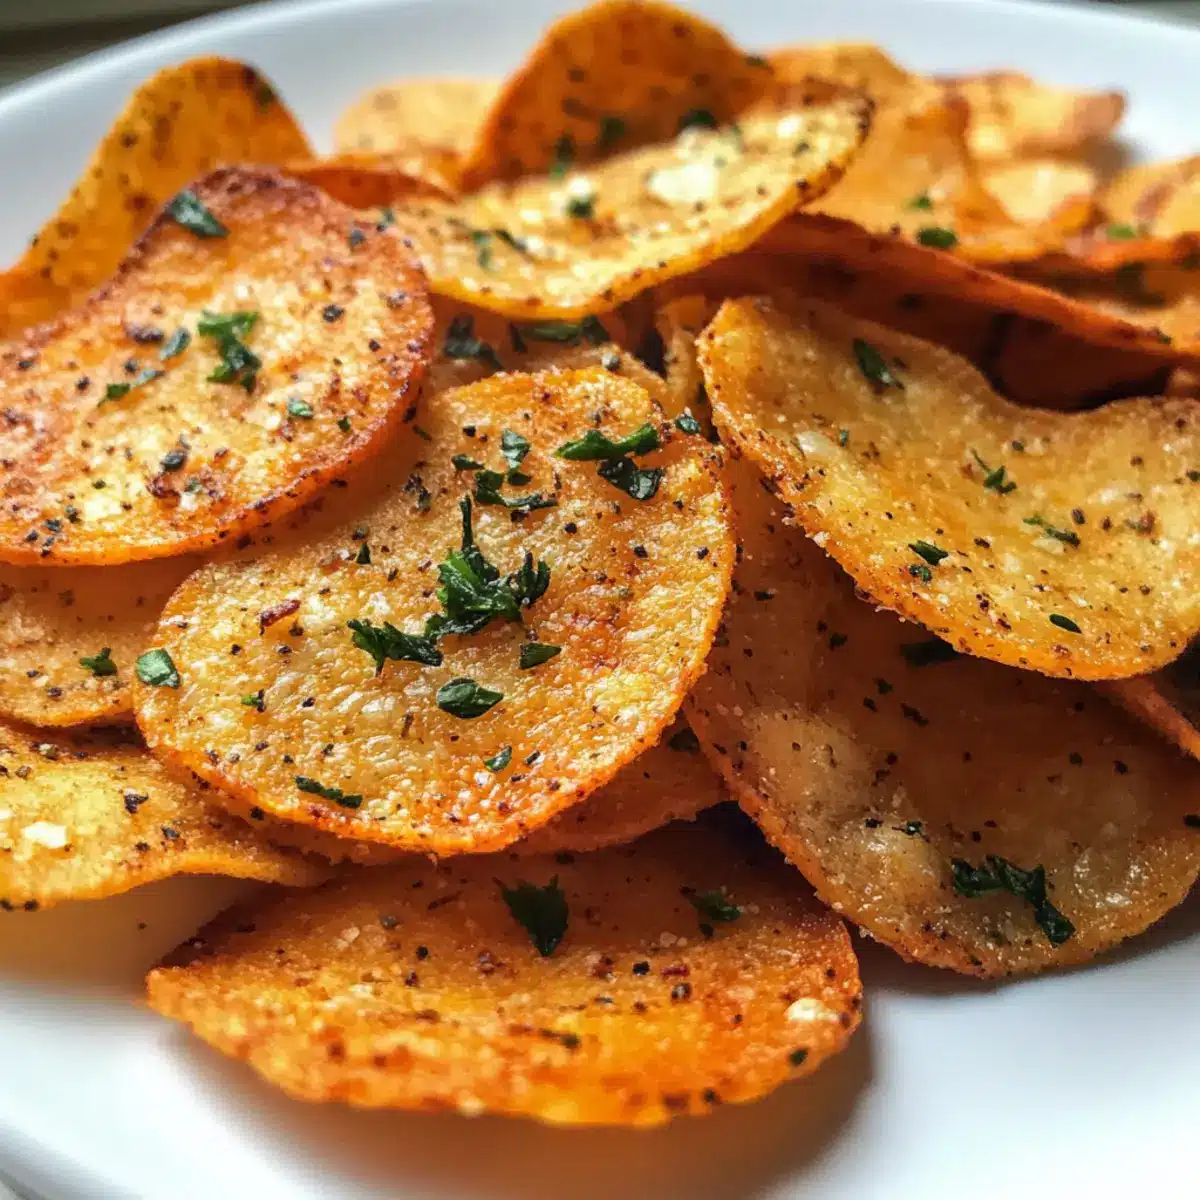
Crunchy, Guilt-Free Indulgence: Who doesn’t love a snack that satisfies without the guilt? These chickpea chips offer a crispy texture and nutty flavor, making them a perfect alternative to traditional snacks.
Quick & Easy: Whipping up these chips takes just minutes, bringing homemade joy to your snack time without the fuss.
Customizable Flavors: Get creative! Add herbs like rosemary or spices such as smoked paprika for a flavor explosion tailored to your taste.
Plant-Based Power: Packed with plant-based protein and fiber, these chips are not just tasty—they’re nutritious!
Perfect for Any Occasion: Whether you’re hosting a movie night or simply need a savory snack, these chips are sure to impress and please everyone at the table.
Need more inspiration? Try incorporating them into your next salad for an added crunch!
Chickpea Chips Ingredients
For the Batter
- Chickpea Flour – This is the primary ingredient, providing a nutty flavor and structure. For a twist, consider mixing half chickpea flour with half rice flour for varied texture.
- Water – Hydrates the chickpea flour to create the perfect batter. Aim for a smooth consistency to ensure even baking.
- Salt – Elevates the overall flavor of the chips. Feel free to adjust the amount based on personal taste or try adding various herb blends for unique profiles.
For Flavoring (Optional)
- Herbs/Spices – Infuse different flavors into your chips. Helpful suggestions include rosemary, garlic powder, smoked paprika, or chili flakes.
With these simple chickpea chips ingredients on hand, you’re one step closer to creating a satisfying, crunchy snack that everyone will love!
Step‑by‑Step Instructions for Crispy Baked Chickpea Chips
Step 1: Prep Batter
In a large mixing bowl, whisk together chickpea flour and water until fully combined, creating a smooth batter without lumps. Aim for a silky consistency that will spread easily on the baking sheet. This step will take about 2-3 minutes, and you’ll know it’s ready when the mixture flows steadily off the whisk.
Step 2: Prepare Baking Sheets
Preheat your oven to 400°F (200°C). While the oven warms up, line two baking sheets with parchment paper to ensure that your chickpea chips lift off easily after baking. This crucial step prevents sticking, allowing you to enjoy every crispy bite of your homemade chickpea chips without any hassle.
Step 3: Form Chips
Using a spoon or a small ladle, pour dollops of the batter onto the prepared parchment paper, about 2 inches apart. With the back of the spoon, gently spread each dollop into thin circles to achieve maximum crispness. The thinner you make them, the crunchier the chips will turn out—aim for a diameter of about 3 inches.
Step 4: Seasoning
Before baking, liberally sprinkle your chosen herbs and spices over the batter circles for an extra burst of flavor. Whether you opt for smoky paprika or fragrant rosemary, this step truly transforms your chickpea chips. Feel free to experiment with your favorite seasonings to create a customized snack that suits your palate.
Step 5: Bake
Carefully place the baking sheets in the preheated oven and bake for about 10-12 minutes. Watch for the edges to turn a beautiful golden brown, signaling they’re almost done. The chips should lift easily from the parchment once baked—this means they’re perfectly crisp and ready to come out.
Step 6: Cool & Crisp
Once baked, remove the chickpea chips from the oven and let them cool on the baking sheets for 15-20 minutes. Cooling them is essential, as it allows the chips to firm up and increases their crispness. Enjoy the delightful aroma wafting through your kitchen while they cool, as the anticipation builds for your tasty snack.
What to Serve with Crispy Baked Chickpea Chips?
Elevate your snacking experience with delightful pairings that complement the crispy allure of these healthy chips.
- Creamy Hummus: Its silky texture and rich flavor create a perfect contrast to the crunchiness of chickpea chips.
- Guacamole: The creamy avocado dip adds a fresh twist, enhancing the taste profile and keeping snack time exciting.
- Salsa: A burst of zesty flavors from a fresh salsa will keep your taste buds dancing while adding a refreshing element.
- Spicy Aioli: This tangy, garlicky dip will tantalize your palate, pairing beautifully with the delicate chickpea crunch.
- Greek Yogurt Dip: A cool, tangy yogurt dip brings a creamy balance, perfect for dunking and enjoying with every bite.
- Crispy Salads: Toss some chickpea chips into a mixed greens salad for added texture and a delightful crunch!
- Zesty Lemonade: This refreshing drink can brighten your snack time, cutting through the richness and enhancing the overall experience.
- Dark Chocolate Dipped: For a sweet finish, dip some chips in dark chocolate—it’s a surprising yet delightful pairing that satisfies sweet cravings.
These choices will ensure your chickpea chips are not just a snack but part of an enjoyable culinary experience!
Make Ahead Options
These Chickpea Chips are fantastic for meal prep! You can prepare the batter up to 24 hours in advance, storing it in the refrigerator to maintain freshness. Simply mix together the chickpea flour, water, and salt as instructed, then cover the bowl tightly. On the day you plan to bake, just stir the mixture to recombine before pouring it onto your prepared baking sheets. You can also form and season the chips, then place them on the parchment paper and refrigerate them for up to 3 days before baking. This way, when you’re ready to snack, all you need to do is pop them in the oven for about 10-12 minutes, and they’ll be just as delicious and crispy as if made fresh!
How to Store and Freeze Chickpea Chips
Room Temperature: Keep your chickpea chips in an airtight container at room temperature for up to 4 days to maintain their delightful crunch.
Fridge: While refrigeration is not necessary, you can store them in the fridge if you prefer, but they may lose some of their crispiness.
Freezer: For longer storage, freeze the chickpea chips by placing them in a single layer in a freezer-safe bag or container for up to 3 months.
Reheating: To restore crispiness, place previously frozen chickpea chips in a preheated oven at 350°F (175°C) for 5-7 minutes. Enjoy your healthy snack with a satisfying crunch!
Expert Tips for Chickpea Chips
-
Watch the Thickness: Thinner batter circles yield crispier chips. Aim for about 1/8 inch to ensure even baking and maximum crunch.
-
Even Mixing: Be sure to whisk the batter thoroughly to avoid lumps. A smooth batter guarantees a uniform texture in your chickpea chips.
-
Creative Seasoning: Experiment with herbs and spices for flavor. Consider trying nutritional yeast for a cheesy twist or sweet spices for a dessert option!
-
Cooling Time Matters: Allow the chips to cool completely on the baking sheet to enhance crispness. They continue to firm up as they cool.
-
Storage Savvy: Keep your chickpea chips in an airtight container to maintain freshness. If they get soft, re-crisp them in a hot oven for a few minutes.
Chickpea Chips: Fun and Flavorful Twists
Feel free to put your own spin on these delicious chickpea chips, making them even more delightful and uniquely yours!
- Spice It Up: Add cayenne pepper for a fiery kick. Just a pinch can elevate the flavor profile beautifully!
- Garlic Lover’s Dream: Mix in garlic powder for an aromatic twist that’ll keep garlic fans coming back for more. It’s a classic that never goes out of style!
- Cheesy Goodness: Incorporate nutritional yeast into the batter. This offers a cheesy flavor without any dairy, perfect for plant-based snackers. You can try blending a little with some savory herbs, and it will truly make your chips sing!
- Sweet Treat: For a unique dessert version, sprinkle in cinnamon and a touch of maple sugar. It transforms your savory snack into a sweet indulgence that’s perfect for satisfying that sugar craving!
- Mixed Herb Medley: Toss in a pinch of dried herbs like oregano or basil for an Italian spin. These fragrant herbs will tantalize your taste buds and create an aromatic snacking experience.
- Savory Smokiness: Add smoked paprika for a delightful depth of flavor that replicates a savory BBQ taste. The depth will take your chips to a whole new level!
- Nutty Delight: Blend in sesame seeds or chia seeds for an extra crunch and nutty flavor. Not only do they add texture, but they also give a nutritional boost!
- High-Protein Boost: Consider mixing in some protein powder for an energizing puff of nutrients. This can be especially useful if you’re looking for a snack that supports your active lifestyle.
Enjoy experimenting with these options to find your perfect combination. And if you’re looking for more ways to elevate flavors, check out our tasty suggestions for dips like hummus or a bright guacamole!
Crispy Baked Chickpea Chips Recipe FAQs
What kind of chickpea flour should I use?
Absolutely use finely ground chickpea flour, often labeled as besan. It’s the best choice for those lovely crispy baked chickpea chips. If you’re feeling adventurous, half chickpea flour and half rice flour can create a unique texture and flavor twist!
How long can I store my chickpea chips?
I recommend keeping your chickpea chips in an airtight container at room temperature for up to 4 days. This way, they maintain their delightful crunch. If they become soft, simply pop them in the oven for a few minutes to refresh their crispness!
Can I freeze chickpea chips?
Yes, you can freeze your chickpea chips! Place them in a single layer in a freezer-safe container or bag for up to 3 months. When you’re ready to enjoy them again, reheat in a preheated oven at 350°F (175°C) for about 5-7 minutes to restore that wonderful crunchy texture.
What can I do if my chickpea chips aren’t crispy?
Very! If your chickpea chips aren’t as crispy as you’d like, consider a couple of things. First, check that your batter is spread thin enough on the baking sheet—thinner equals crispier! Additionally, make sure they cool completely after baking, as they will continue to crisp up a bit during that time.
Are chickpea chips safe for those with allergies?
These chips are gluten-free and vegan, making them a great choice for most dietary restrictions! However, always double-check ingredient labels for any potential allergens like specific herbs or spices you decide to add. If you have any concerns, I suggest consulting with a healthcare professional before indulging.
Can I experiment with different flavors in chickpea chips?
The more, the merrier! Get creative by incorporating different herbs or spices—think smoked paprika, garlic powder, or even a sprinkle of nutritional yeast for a cheesy flavor! Just remember, a little goes a long way when it comes to seasoning; taste as you go!
Crispy Chickpea Chips: Easy, Healthy Vegan Snack Delight
Ingredients
Equipment
Method
- In a large mixing bowl, whisk together chickpea flour and water until fully combined, creating a smooth batter without lumps.
- Preheat your oven to 400°F (200°C) and line two baking sheets with parchment paper.
- Pour dollops of the batter onto the prepared parchment paper, about 2 inches apart, and spread each dollop into thin circles.
- Liberally sprinkle your chosen herbs and spices over the batter circles.
- Bake for about 10-12 minutes until the edges turn golden brown.
- Once baked, let the chips cool on the baking sheets for 15-20 minutes.