

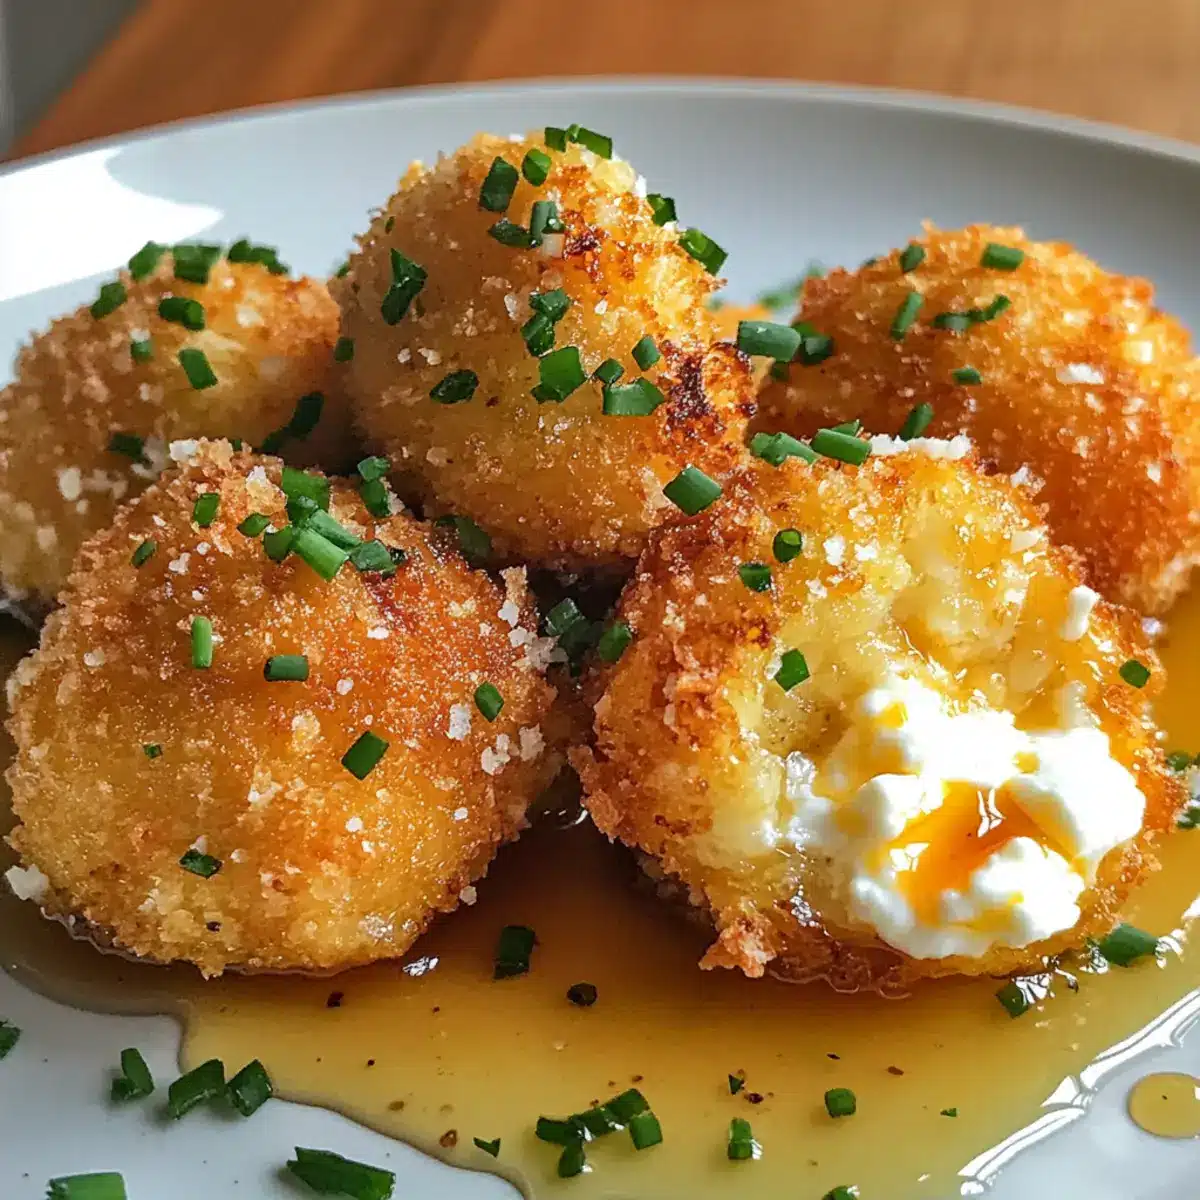
As I wandered through the bustling farmer’s market, a lingering aroma caught my attention—crispy, savory, and a touch sweet. It was a delightful reminder of the irresistible Crispy Goat Cheese Poppers with Honey I had tried at a friend’s gathering. These little bites are an absolute game-changer, transforming goat cheese into melty morsels with a crunchy exterior that impresses every time. Not only are they a fantastic crowd-pleaser for parties, but they also offer a comforting twist on your usual appetizer fare. Drizzled with luscious honey and sprinkled with fresh chives, the flavor combination is an enchanting dance of savory and sweet. Whether you’re hosting a gathering or simply treating yourself to a cozy night in, your taste buds are in for a real treat. Curious how to recreate these delightful bites at home? Let’s dive into the delicious details!
Why is this recipe a must-try?
Easy to Make: With simple steps and just a few ingredients, these poppers come together effortlessly, making them perfect for novice and experienced cooks alike.
Savory-Sweet Delight: The combination of creamy goat cheese and a honey drizzle offers an exceptional balance that will have your guests coming back for more.
Versatile Serving Options: Pair them with crackers, salads, or pasta to elevate your dishes, or keep them as a standalone snack for a cozy night in.
Crowd-Pleaser: These crispy bites have universal appeal, ensuring that they’re a hit at any gathering, making entertaining a breeze!
Quick Cook Time: Midweek craving? These poppers can be ready in just a short while—perfect for a delicious weeknight treat or last-minute party prep.
For more delicious appetizer ideas, check out my recipes for Grilled Honey BBQ Bacon Chicken Kabobs and Honey Garlic Shrimp that will impress everyone at your table!
Crispy Goat Cheese Poppers with Honey Ingredients
For the Breading
• All-Purpose Flour – Coating for the cheese; can substitute with gluten-free flour for a gluten-free version.
• Black Pepper – Adds seasoning to the flour; adjust according to taste.
• Large Egg – Acts as a binder for the coating; no direct substitute, but an egg replacement can be used for vegan diets.
• Kosher Salt – Enhances overall flavor; feel free to use sea salt as an alternative.
• Panko Breadcrumbs – Provides a delightful crunch; regular breadcrumbs can work if panko isn’t accessible.
For the Poppers
• Soft Goat Cheese (11 oz. log) – The star ingredient; creamy and tangy, though cream cheese can be a substitute if you prefer a milder taste.
• Cooking Oil (e.g., grapeseed, canola, or vegetable oil – 2 cups) – Essential for frying; choose an oil with a high smoke point.
For the Topping
• Honey (1 Tbsp) – Drizzled over the poppers for a sweet contrast that perfectly complements the cheese; maple syrup can be a tasty alternative.
• Minced Fresh Chives (2 Tbsp) – Adds a wonderful freshness and color to your dish; consider green onions as a substitute if necessary.
These Crispy Goat Cheese Poppers with Honey are the perfect addition to your next gathering, certain to amaze your friends and family!
Step‑by‑Step Instructions for Crispy Goat Cheese Poppers with Honey
Step 1: Prepare the Bread Coating
In a medium bowl, combine all-purpose flour and black pepper, mixing well. In a separate bowl, whisk together one large egg, kosher salt, and two tablespoons of water until fully blended. This will create your egg wash, essential for helping the coating adhere to your crispy goat cheese poppers.
Step 2: Set Up the Breadcrumb Station
Pour panko breadcrumbs into another bowl, creating a designated area for the final coating step. Make sure your workspace is organized, as this will streamline the process of breading your poppers. Having everything ready will allow you to efficiently assemble these delightful bites with ease.
Step 3: Form the Goat Cheese Balls
Take an 11 oz. log of soft goat cheese and roll it into 24 bite-sized balls, approximately one tablespoon each. Aim for uniform size to ensure even cooking. Setting aside your formed cheese balls will prepare them for the breading process, bringing you one step closer to enjoying these Crispy Goat Cheese Poppers with Honey.
Step 4: Bread the Cheese Balls
Coat each goat cheese ball first in the flour mixture, making sure they are fully covered. Next, dip them into the egg wash, allowing any excess to drip off. Finally, roll the balls in panko breadcrumbs until they are well-coated, creating that irresistible crispy outer layer.
Step 5: Freeze for Firmness
Place your coated cheese balls on a baking sheet and freeze for about 20 minutes, or until they are firm. This chilling step is crucial for ensuring that your poppers maintain their shape while frying, so don’t skip it!
Step 6: Heat the Oil
In a deep saucepan, pour in about 2 cups of cooking oil and heat it over medium-high heat until it reaches 350°F. A thermometer is ideal here, as maintaining the right temperature is essential for achieving that golden, crispy exterior on your poppers without them absorbing too much oil.
Step 7: Fry in Batches
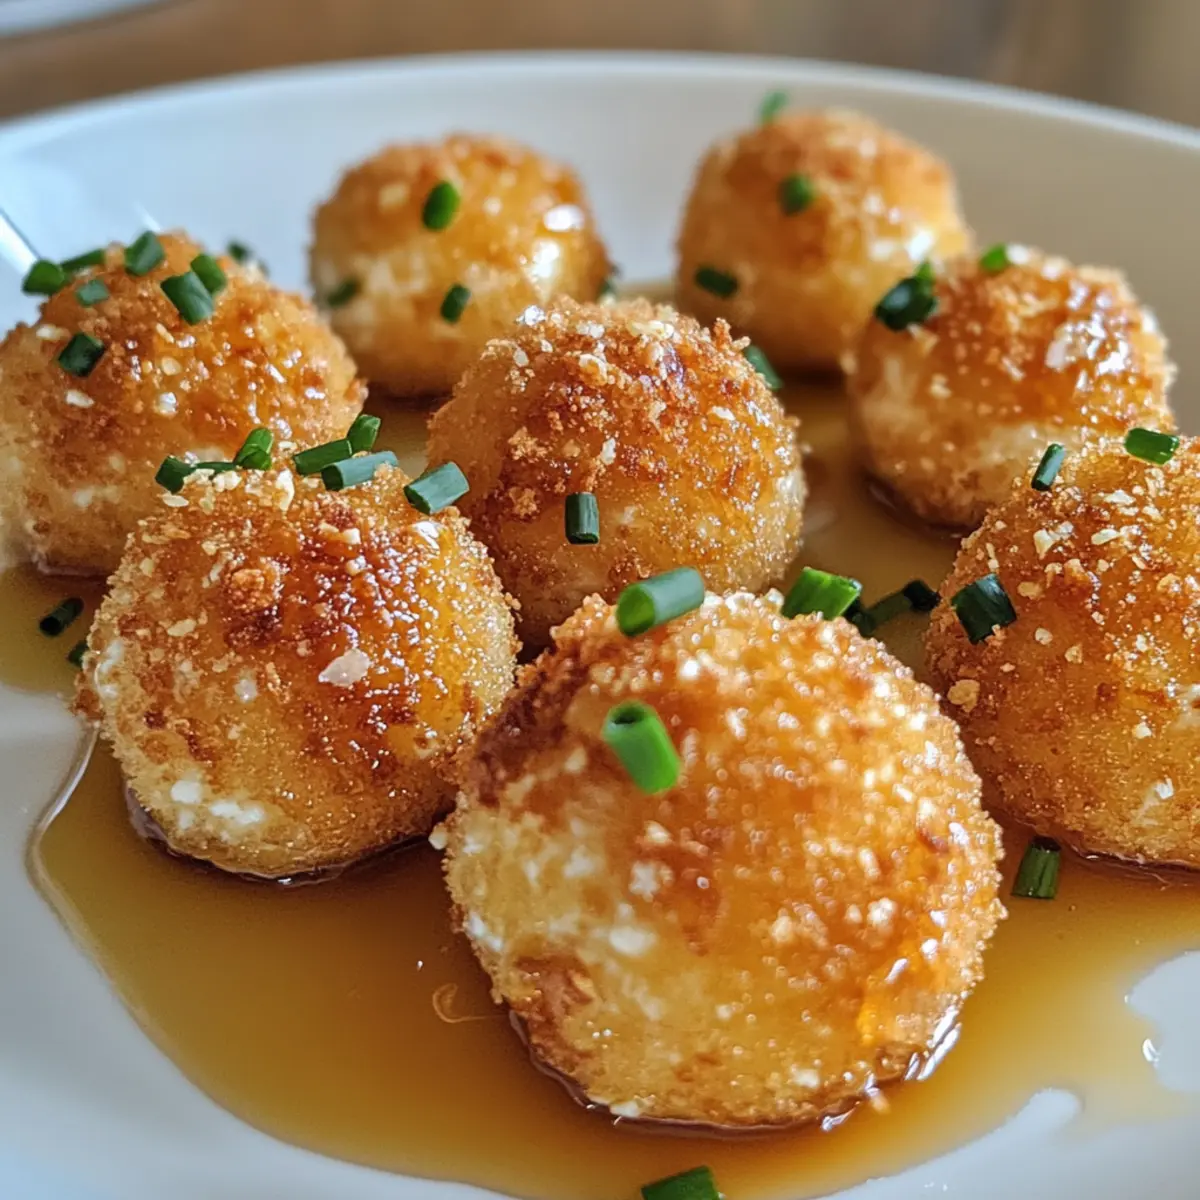
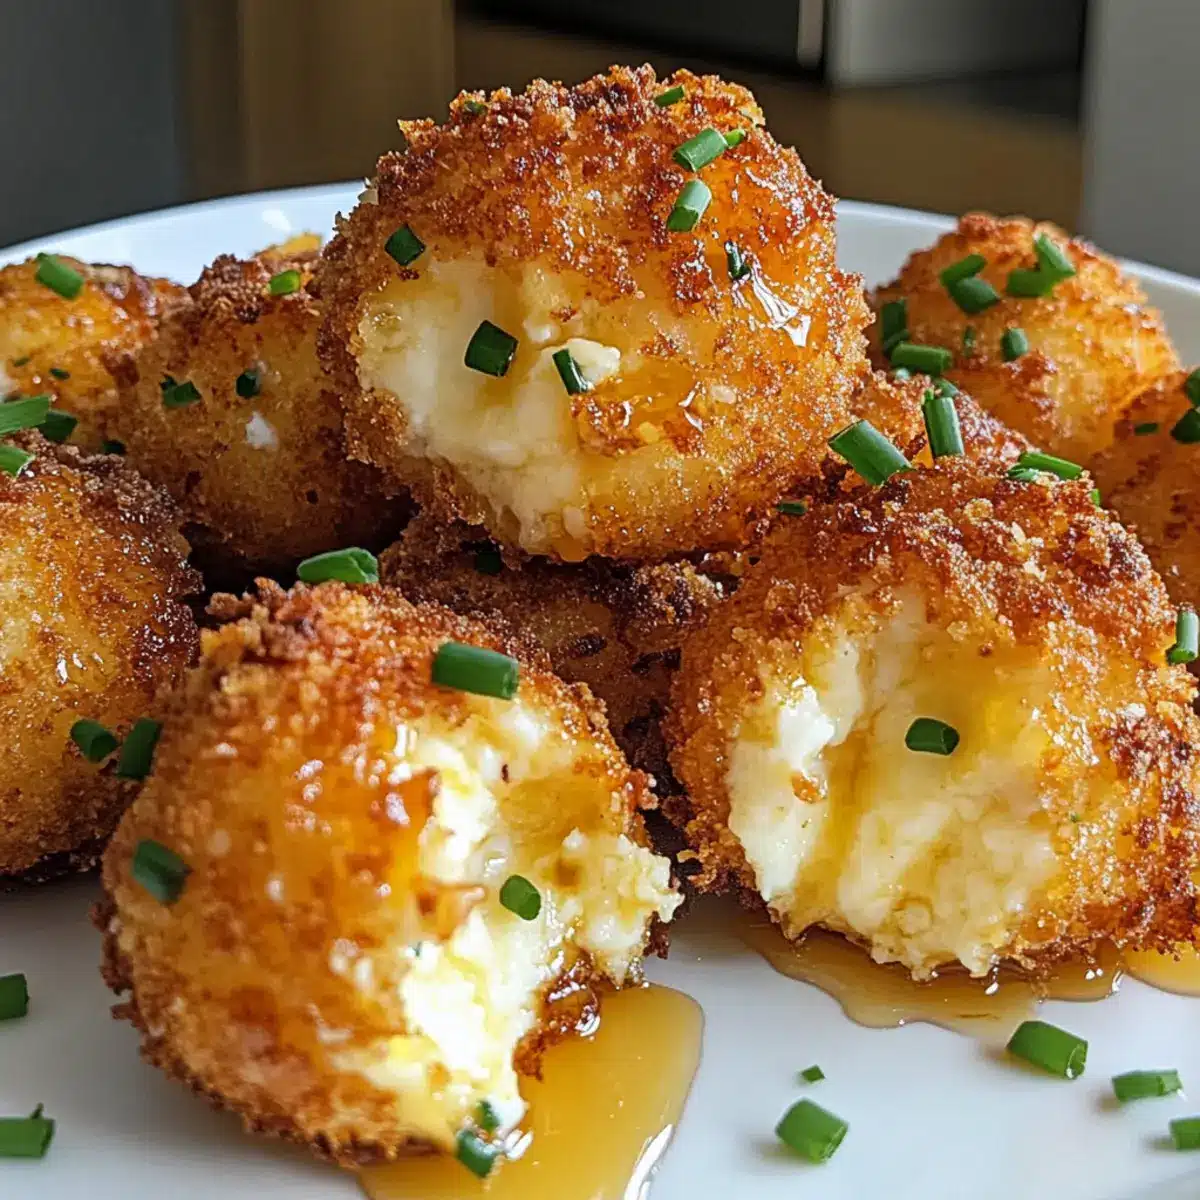
Once the oil is hot, carefully lower the cheese balls into the oil in small batches to prevent crowding. Fry them for 1 to 2 minutes, until they turn a beautiful golden brown. Watch them closely, as the goal is a perfectly crisp exterior while the cheese inside melts.
Step 8: Drain and Ready to Serve
Using a slotted spoon, remove the fried poppers from the oil and transfer them to a plate lined with paper towels. This will help absorb any excess oil, keeping your crispy goat cheese poppers deliciously light and not greasy.
Step 9: Drizzle and Garnish
Finally, drizzle honey over the warm poppers and sprinkle with minced fresh chives for a vibrant touch. This finishing step adds a delightful sweetness that perfectly complements the savory flavor of the goat cheese, making your crispy goat cheese poppers an unforgettable treat!

Make Ahead Options
These Crispy Goat Cheese Poppers with Honey are a fantastic choice for meal prep, saving you time on busy weeknights! You can prepare the cheese balls up to 24 hours in advance by breading them, then placing them on a baking sheet and refrigerating. To maintain their crispness, make sure to avoid stacking them. When you’re ready to serve, simply fry the poppers straight from the fridge—no need to thaw. Fry them in batches for 1 to 2 minutes until golden brown, then drizzle with honey and sprinkle with chives for that freshly made taste. This way, you can enjoy warm, crispy bites with minimal effort on the day of your event!
Storage Tips for Crispy Goat Cheese Poppers with Honey
Room Temperature: Enjoy your crispy goat cheese poppers immediately after frying for the best flavor and texture. They are at their crunchiest right out of the oil!
Fridge: Store any leftover cooked poppers in an airtight container in the fridge for up to 2 days. They are best eaten fresh but can still be enjoyed cold or at room temperature.
Freezer: If you have uncooked poppers, freeze them on a baking sheet for 20 minutes, then transfer to a sealable bag for up to 2 months. Fry from frozen without thawing for an easy, delightful appetizer.
Reheating: For the best results, reheat cooked poppers in a preheated oven at 375°F for about 5-7 minutes to restore crispiness before serving again.
What to Serve with Crispy Goat Cheese Poppers with Honey
Indulging in these delightful bites is only the beginning; let’s craft a perfect meal experience together!
-
Creamy Garlic Mashed Potatoes: The smooth, buttery texture of juicy mashed potatoes balances the crunchy poppers beautifully, creating a comforting side that pairs perfectly.
-
Fresh Arugula Salad: A peppery arugula salad tossed in a light vinaigrette adds a refreshing crunch, cutting through the richness of the goat cheese while enhancing the dish’s flavor profile.
-
Savory Charcuterie Board: Pair with sliced salami, olives, and assorted cheeses to create a stunning display. The diversity of flavors makes each bite a gourmet experience.
-
Roasted Vegetables: Colorful roasted seasonal veggies not only provide crunch but also a delightful sweetness that complements the savory poppers beautifully. Their natural flavors elevate your meal.
-
Sliced Baguette: Lightly toasted pieces of baguette serve as the perfect vessel for enjoying the poppers. They add a nice crunch and soak up the honey drizzle beautifully.
-
Sparkling Wine: A crisp sparkling wine enhances the savory-sweet interplay of the goat cheese and honey, making it an elegant accompaniment for a celebratory touch.
-
Dark Chocolate Tart: End the night with a decadent dark chocolate tart. Its richness balances the flavors of the poppers, leaving a sweet and satisfying finish to your gathering.
Crispy Goat Cheese Poppers with Honey Variations
Feel free to mix things up and put your unique spin on these delightful bites!
-
Gluten-Free: Use a gluten-free flour blend and gluten-free breadcrumbs to cater to your dietary needs. The crunch and flavor remain fabulous!
-
Spicy Kick: Add crushed red pepper flakes to the panko breadcrumbs for a subtle heat that balances the sweetness of the honey. This version can truly bring some excitement to the table!
-
Herb-Infused: Mix fresh herbs like thyme or oregano into the breadcrumbs for added depth and flavor. Imagine the fragrant aroma that will entice your guests!
-
Savory-Sweet Version: Try swapping honey for balsamic glaze to create a tangy twist that complements the goat cheese beautifully. This sweet and savory combination will definitely leave everyone intrigued!
-
Cheese Varieties: For a different flavor profile, substitute goat cheese with feta cheese or a soft cream cheese. Each will bring its own unique taste while keeping that creamy texture.
-
Crunchy Additions: Toss in chopped nuts like walnuts or pecans into your breadcrumbs for a delightful crunch and nutty flavor. This variation adds a lovely texture contrast, making every bite exciting!
-
Sweet Alternative: Use maple syrup instead of honey for an entirely new pour that adds a rich sweetness, transforming the poppers into a sweet delight perfect for brunch gatherings.
-
Mini Skewers: Transform these poppers into fun mini skewers by alternating fried cheese balls with cherry tomatoes and fresh basil for a colorful appetizer display. Presenting it this way creates a lovely visual feast!
These Crispy Goat Cheese Poppers with Honey are not just great as they are; they can be tailored to suit different tastes, so experiment away! If you’re looking for more delightful ideas, don’t miss my recipes for Grilled Honey Glazed Carrots and Beef and Cheese Roll-Ups that will surely impress your guests.
Expert Tips for Crispy Goat Cheese Poppers
Use Chilled Cheese: Keep the goat cheese cold to help it hold its shape during frying. Warm cheese can lose its form and make a mess!
Watch the Oil Temperature: Ensure your oil is at 350°F. If it’s too hot, your poppers will burn; too cold will leave them greasy. Use a thermometer for accuracy!
Don’t Crowd the Pan: Fry the poppers in small batches to maintain oil temperature. Overcrowding leads to lower heat and soggy coatings.
Consider the Freezing Step: Freezing the breaded balls for 20 minutes is key! This helps them to firm up, preventing any cheese melt during frying.
Serve Immediately: For the best experience, serve your Crispy Goat Cheese Poppers with Honey hot and fresh. They lose their crunch when left to sit!
Experiment with Flavors: Feel free to spice things up! Adding herbs or spices to the breadcrumbs can elevate the flavor of your poppers even further.
Crispy Goat Cheese Poppers with Honey Recipe FAQs
How do I select the best goat cheese for this recipe?
Absolutely! Look for a soft goat cheese log that is creamy and smooth, which will melt beautifully when fried. Avoid cheese with dark spots or rigid textures, as this might indicate aging that can affect flavor and creaminess. Freshness is key for the best taste.
How long can I store my cooked goat cheese poppers?
Cooked Crispy Goat Cheese Poppers with Honey can be stored in an airtight container in the fridge for up to 2 days. They are best enjoyed right away while hot and crispy, but if you have leftovers, you can still savor them cold or at room temperature.
What’s the best way to freeze uncooked goat cheese poppers?
To freeze your prepared but uncooked poppers, place them on a baking sheet lined with parchment paper and freeze for about 20 minutes, or until firm. Once firm, transfer them to a resealable freezer bag. They can be stored for up to 2 months! You can fry them straight from frozen—just increase the frying time by an extra minute or two.
How can I troubleshoot if my poppers turn out greasy?
Very! If your poppers are greasy, it typically means that the oil wasn’t hot enough when they were fried. Make sure your oil reaches 350°F before adding the cheese balls, and fry in small batches to maintain oil temperature. Also, be sure to let the fried poppers drain on paper towels to absorb excess oil.
Can my pets eat goat cheese?
While small amounts of goat cheese can be safe for most dogs, be cautious with allergies and lactose intolerance. Always consult your veterinarian before introducing new foods to their diet to ensure it’s safe and healthy for them.
Can I make these poppers gluten-free?
Absolutely! To make Crispy Goat Cheese Poppers with Honey gluten-free, simply substitute the all-purpose flour and panko breadcrumbs with gluten-free versions available on the market. Enjoy everyone’s favorite without losing any of that delightful crunch!
Crispy Goat Cheese Poppers with Honey for Unforgettable Nights
Ingredients
Equipment
Method
- In a medium bowl, combine all-purpose flour and black pepper. In a separate bowl, whisk together the egg, kosher salt, and two tablespoons of water.
- Pour panko breadcrumbs into another bowl, organizing your workspace for breading.
- Roll the goat cheese into 24 bite-sized balls, about one tablespoon each.
- Coat each cheese ball in flour, then dip into the egg wash, and finally roll in panko breadcrumbs.
- Freeze the coated balls on a baking sheet for about 20 minutes until firm.
- Heat 2 cups of cooking oil in a deep saucepan over medium-high heat until it reaches 350°F.
- Fry the cheese balls in small batches for 1-2 minutes until golden brown.
- Remove fried poppers from the oil with a slotted spoon and place on paper towels to drain excess oil.
- Drizzle honey over the warm poppers and sprinkle with minced chives.