

Introduction to No-Bake Cookies and Cream Cheesecake Cups
There’s something magical about desserts that require no baking.
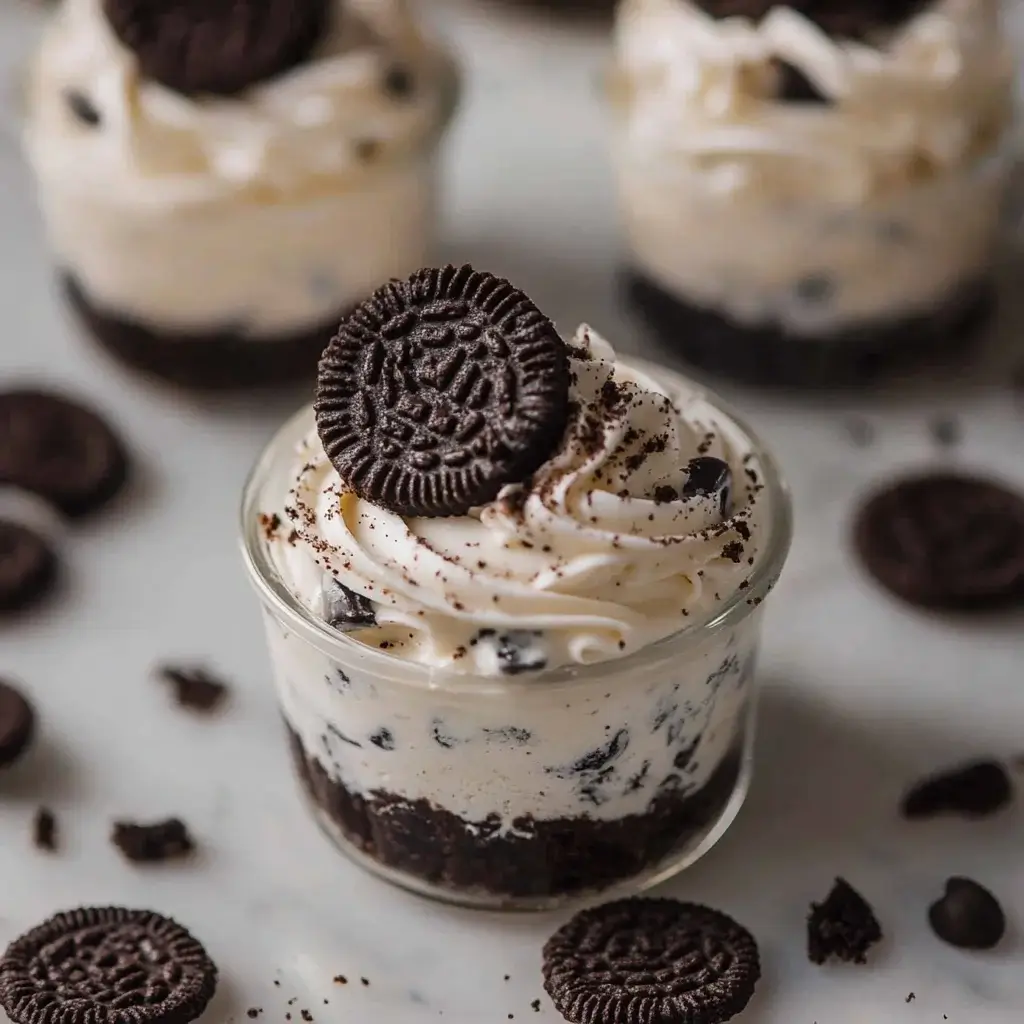
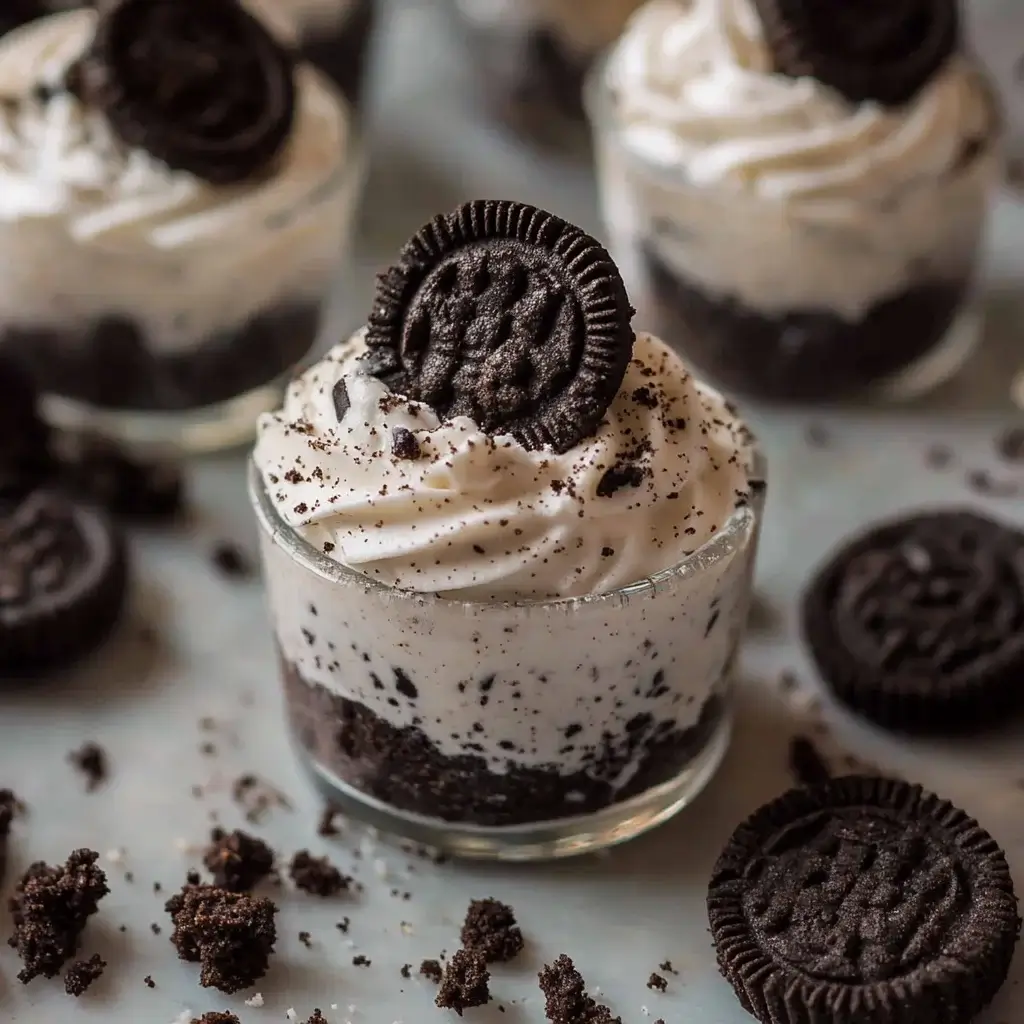
No-Bake Cookies and Cream Cheesecake Cups are a delightful treat that brings together creamy cheesecake and crunchy chocolate cookie crust in a way that feels indulgent yet effortless.
Whether you’re racing against the clock after a long day or looking to impress friends at a gathering, these little cups are your secret weapon.
They’re quick to whip up and even easier to enjoy.
Trust me, once you take that first bite, you’ll understand why these cheesecake cups are a must-try!
Why You’ll Love This No-Bake Cookies and Cream Cheesecake Cups
These No-Bake Cookies and Cream Cheesecake Cups are a game-changer for dessert lovers.
They come together in a flash, making them perfect for busy weeknights or last-minute gatherings.
The rich, creamy filling paired with the crunchy cookie crust creates a delightful contrast that will have everyone coming back for seconds.
Plus, there’s no oven required, so you can keep your kitchen cool while still serving up something spectacular!
Ingredients for No-Bake Cookies and Cream Cheesecake Cups
Creating these No-Bake Cookies and Cream Cheesecake Cups is a breeze, especially with the right ingredients on hand.
Here’s what you’ll need:
- Crushed chocolate sandwich cookies: These are the backbone of your crust. Think Oreos or any similar brand for that perfect crunch.
- Unsalted butter: This helps bind the cookie crumbs together, giving your crust that rich flavor.
- Cream cheese: The star of the show! Softened cream cheese provides that creamy, dreamy texture we all love in cheesecake.
- Powdered sugar: This sweetens the filling without the graininess of granulated sugar, ensuring a smooth finish.
- Vanilla extract: A splash of vanilla adds depth and enhances the overall flavor of the cheesecake.
- Heavy whipping cream: Whipped to perfection, this ingredient lightens the cheesecake filling, making it airy and delightful.
- Additional crushed chocolate sandwich cookies: For topping, these add a nice crunch and visual appeal.
- Chocolate sauce: Optional, but a drizzle of chocolate sauce takes these cups to the next level of indulgence.
For exact measurements, check the bottom of the article where you can find everything listed for easy printing.
Gather these ingredients, and you’re well on your way to creating a dessert that’s sure to impress!
How to Make No-Bake Cookies and Cream Cheesecake Cups
Making No-Bake Cookies and Cream Cheesecake Cups is as easy as pie—well, easier actually!
Follow these simple steps, and you’ll have a delicious dessert ready to impress in no time.
Step 1: Prepare the Cookie Crust
Start by grabbing a medium bowl.
Combine the crushed chocolate sandwich cookies with the melted butter.
Mix them together until the crumbs are evenly coated.
This mixture should feel like damp sand.
Now, take your serving cups and divide the cookie mixture among them.
Press down gently to form a solid crust at the bottom of each cup.
This step is crucial; a well-formed crust will hold everything together beautifully!
Step 2: Make the Cheesecake Filling
In a large mixing bowl, beat the softened cream cheese with an electric mixer.
You want it to be smooth and creamy—no lumps allowed!
Once it’s looking good, add in the powdered sugar and vanilla extract.
Mix until everything is well combined.
The filling should be sweet and velvety, making your taste buds dance with anticipation.
Step 3: Whip the Cream
Now, let’s lighten things up!
In a separate bowl, whip the heavy cream until stiff peaks form.
This means when you lift the beaters, the cream should hold its shape.
Be careful not to over-whip; you want it fluffy, not grainy.
This whipped cream will add that airy texture to your cheesecake filling.
Step 4: Combine and Fill
Gently fold the whipped cream into the cream cheese mixture.
Use a spatula and be careful not to deflate the whipped cream.
You want to keep that lightness!
Once fully incorporated, spoon the cheesecake filling over the cookie crusts in your cups.
Smooth the tops with a spatula for a polished look.
Step 5: Add Toppings and Chill
Now for the fun part—toppings!
Sprinkle the remaining crushed chocolate sandwich cookies on top of each cheesecake cup.
If you’re feeling extra indulgent, drizzle some chocolate sauce over them.
This adds a beautiful finish and a touch of sweetness.
Finally, refrigerate the cups for at least two hours to set.
This chilling time is essential; it allows the flavors to meld and the cheesecake to firm up.
Tips for Success
- Make sure your cream cheese is at room temperature for easy mixing.
- Don’t over-whip the heavy cream; stop when stiff peaks form.
- Use a spatula to gently fold in the whipped cream to maintain fluffiness.
- Chill the cheesecake cups for at least two hours for the best texture.
- Feel free to customize toppings with your favorite candies or fruits!
Equipment Needed
- Mixing bowls: A medium and a large bowl will do the trick. Any size works, just ensure they’re sturdy.
- Electric mixer: A hand mixer is perfect, but a whisk can work if you’re feeling strong!
- Spatula: Essential for folding and smoothing the cheesecake filling.
- Serving cups: Use any small cups or jars; they add a personal touch.
Variations
- Peanut Butter Twist: Add 1/2 cup of creamy peanut butter to the cheesecake filling for a nutty flavor that pairs perfectly with chocolate.
- Minty Fresh: Incorporate 1/2 teaspoon of peppermint extract into the filling for a refreshing mint chocolate experience.
- Fruit Fusion: Top with fresh berries or sliced bananas for a fruity contrast that brightens the dessert.
- Gluten-Free Option: Use gluten-free chocolate sandwich cookies to make this dessert suitable for those with gluten sensitivities.
- Vegan Version: Substitute cream cheese with vegan cream cheese and use coconut cream instead of heavy whipping cream for a plant-based delight.
Serving Suggestions
- Pair these cheesecake cups with a scoop of vanilla ice cream for an extra creamy treat.
- Serve alongside fresh fruit, like strawberries or raspberries, to add a refreshing contrast.
- For drinks, consider a rich coffee or a sweet dessert wine to complement the flavors.
- Present in clear cups to showcase the beautiful layers and textures.
FAQs about No-Bake Cookies and Cream Cheesecake Cups
Can I make No-Bake Cookies and Cream Cheesecake Cups ahead of time?
Absolutely! These cheesecake cups are perfect for making in advance. Just prepare them, chill for at least two hours, and they’ll be ready to serve when you are. They can even be stored in the fridge for up to three days!
What can I use instead of cream cheese?
If you’re looking for a substitute, try using mascarpone cheese for a similar creamy texture. For a lighter option, Greek yogurt can work, but it will change the flavor slightly. Just make sure it’s thick and not too tangy.
How do I store leftovers?
Store any leftover No-Bake Cookies and Cream Cheesecake Cups in an airtight container in the refrigerator. They’ll stay fresh for a few days, but trust me, they won’t last long!
Can I freeze these cheesecake cups?
Yes, you can freeze them! Just make sure to cover them well. When you’re ready to enjoy, let them thaw in the fridge overnight for the best texture.
What can I add to the filling for extra flavor?
Feel free to get creative! Adding a splash of almond extract or a tablespoon of cocoa powder can enhance the flavor. You can also mix in crushed candies or chocolate chips for added texture and sweetness.
Final Thoughts
Creating No-Bake Cookies and Cream Cheesecake Cups is more than just whipping up a dessert; it’s about crafting a moment of joy.
Each layer tells a story, from the crunchy cookie crust to the creamy filling that melts in your mouth.
These little cups are perfect for sharing, sparking laughter, and making memories with friends and family.
Whether it’s a casual weeknight or a special occasion, they bring a touch of indulgence without the fuss.
So, roll up your sleeves, gather your ingredients, and let the sweet magic unfold in your kitchen!
No-Bake Cookies and Cream Cheesecake Cups are delicious!
Ingredients
Method
- In a medium bowl, combine the crushed chocolate sandwich cookies and melted butter. Mix until the crumbs are evenly coated.
- Divide the cookie mixture evenly among serving cups, pressing down gently to form a crust at the bottom of each cup.
- In a large mixing bowl, beat the softened cream cheese with an electric mixer until smooth and creamy.
- Add the powdered sugar and vanilla extract to the cream cheese, mixing until well combined.
- In a separate bowl, whip the heavy cream until stiff peaks form.
- Gently fold the whipped cream into the cream cheese mixture until fully incorporated.
- Spoon the cheesecake filling over the cookie crusts in the cups, smoothing the tops with a spatula.
- Top each cheesecake cup with the remaining crushed chocolate sandwich cookies and drizzle with chocolate sauce if desired.
- Refrigerate for at least 2 hours to set before serving.
Nutrition
Notes
- For a lighter version, use reduced-fat cream cheese and whipped topping.
- Add a layer of chocolate ganache on top for an extra chocolatey flavor.