

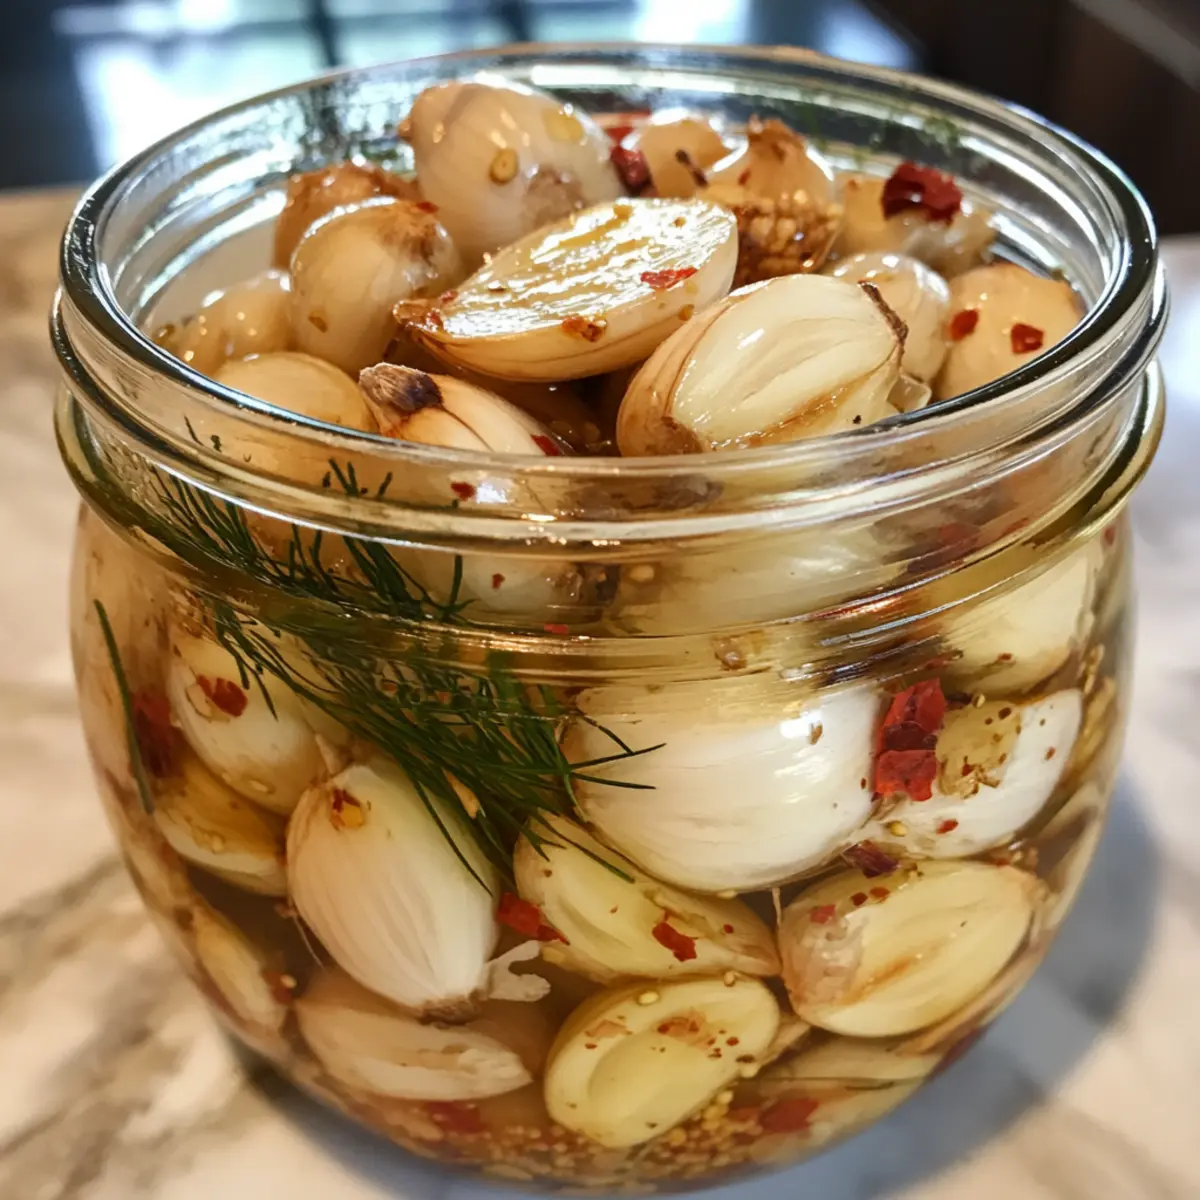
Did you know that a simple garlic bulb can be transformed into a culinary delight with just a few easy steps? With this pickled garlic recipe, I’ll show you how to turn those sharp, pungent cloves into sweet and tangy bites that complement a range of dishes. This quick, no-canning-required method is not only beginner-friendly but also results in versatile pickles that elevate salads, sandwiches, and cheese boards. Just imagine the satisfaction of having homemade pickled garlic on hand, ready to add a burst of flavor to your meals for up to three months! So, are you ready to embark on this delightful pickling adventure?
Why is Pickled Garlic a Must-Try?
Bold flavors: Transform ordinary garlic into a tangy taste sensation that enhances any dish!
Easy preparation: This quick refrigerator method requires no complex canning skills, making it perfect for beginners or busy cooks.
Versatile addition: Use pickled garlic to elevate salads, sandwiches, or cheese boards, adding that extra zing.
Customize your taste: Personalize your pickles with flavors like spicy red pepper flakes or sweet mustard seeds.
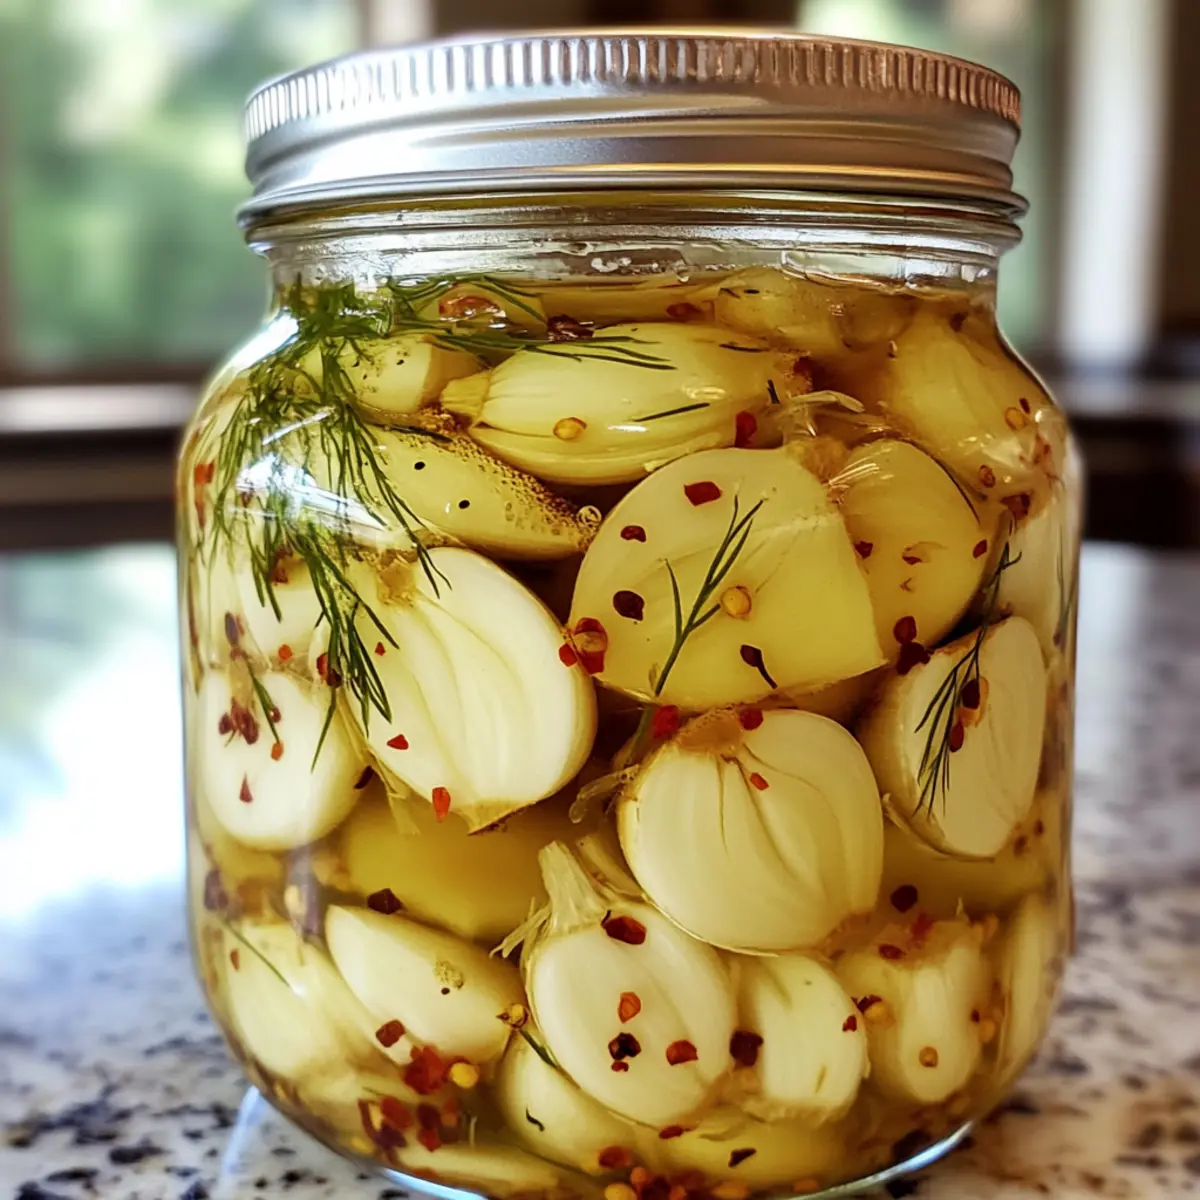
Long-lasting joy: Enjoy your homemade creation for up to three months, ensuring that flavor is always at your fingertips! Whether you pair it with Garlic Butter Shrimp or add it to a cheese platter, this pickled garlic recipe is guaranteed to impress.
Pickled Garlic Recipe Ingredients
For the Garlic
• Garlic Cloves – Fresh, firm cloves ensure the best flavor; aim for 1 pound (40-50 cloves).
For the Brine
• Vinegar – Use distilled white vinegar (5% acidity) for a neutral flavor; apple cider can add a touch of sweetness.
• Water – Balances the acidity of the vinegar; equal parts with vinegar works perfectly.
• Salt – Pickling salt is recommended to enhance flavor and help preserve without cloudiness.
• Sugar – Optional; adjust 1-2 tablespoons based on your sweetness preference for this pickled garlic recipe.
For Flavor Enhancements
• Spices/Herbs – Add black peppercorns, red pepper flakes, dill, or bay leaves to personalize your pickles.
• Optional Extras – For a unique twist, experiment with fresh herbs like thyme or rosemary, or up the heat with jalapeños.
Step‑by‑Step Instructions for Easy Refrigerator Pickled Garlic: Sweet and Tangy Cloves
Step 1: Prepare Garlic
Start by peeling approximately 1 pound of fresh garlic cloves. You can easily speed up the peeling process by placing the cloves in a bowl, covering with another bowl, and shaking vigorously for about 30 seconds. Discard any damaged cloves and set the peeled garlic aside, ready for pickling.
Step 2: Make Brine
In a medium saucepan, combine 1 cup of distilled white vinegar and 1 cup of water to create a tangy brine. Add 1-2 tablespoons of pickling salt and optional sugar for sweetness, adjusting to personal taste. Heat the mixture over medium-high heat until it reaches a gentle boil, stirring occasionally until the salt and sugar are fully dissolved.
Step 3: Pack Jars
While the brine heats, sterilize your glass jars by washing them in hot, soapy water or running them through a dishwasher cycle. Pack the peeled garlic cloves tightly into the sterilized jars, leaving about half an inch of space at the top. If desired, sprinkle in your chosen spices and herbs to enhance the flavor of your pickled garlic.
Step 4: Pour Brine
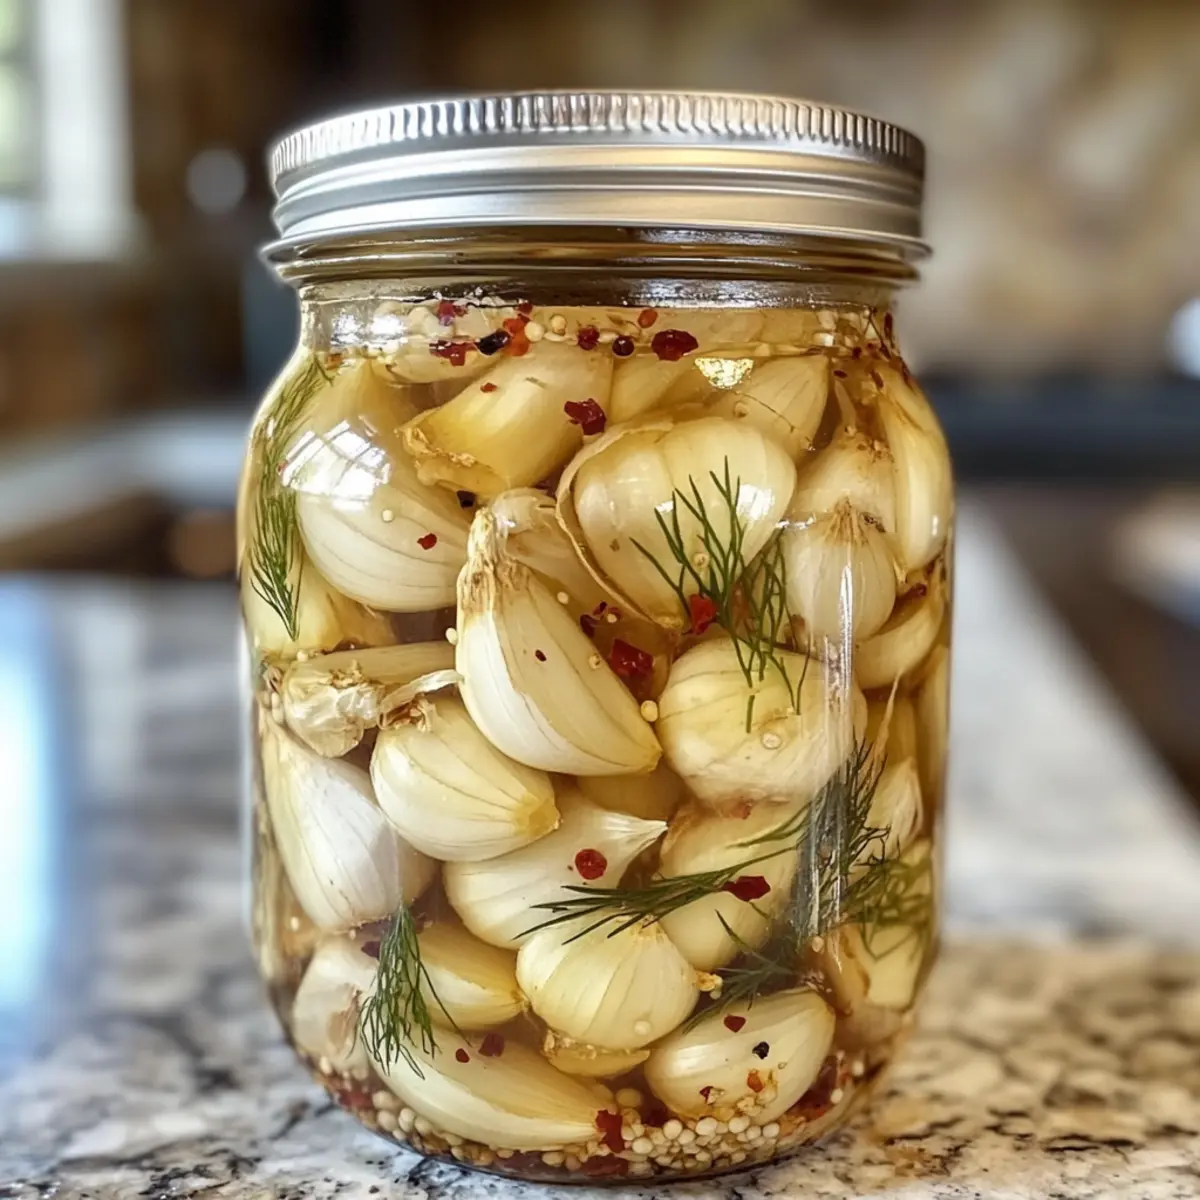
Once the brine is boiling, carefully pour it over the packed garlic in each jar, ensuring that the cloves are completely submerged. Be sure to wipe any spills on the rims with a clean cloth before sealing the jars with their lids to keep the pickles fresh and crisp.
Step 5: Cool & Store
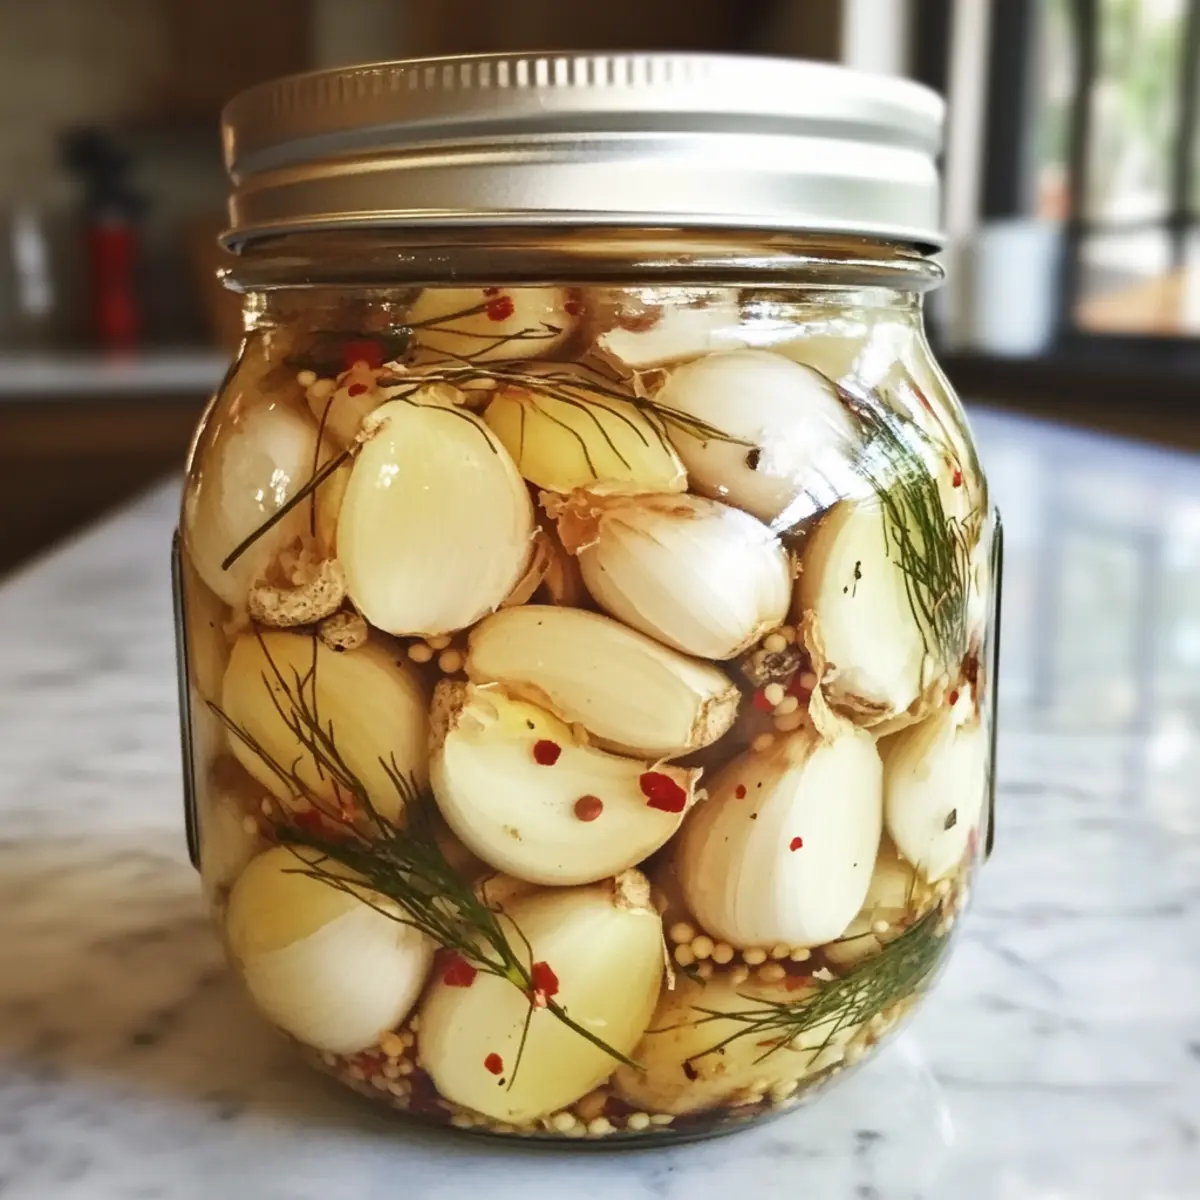
After sealing, allow the jars to cool down to room temperature, which typically takes about 30 minutes. Once cooled, place the jars in the refrigerator and let them rest for at least a week to allow the flavors to meld, extending the shelf life up to three to four months in your fridge. Enjoy the bold flavors of your homemade pickled garlic in various dishes!
How to Store and Freeze Pickled Garlic
Fridge: Store your pickled garlic in the refrigerator for optimal freshness; it will last up to three to four months if correctly sealed.
Airtight Containers: Use sterilized glass jars with tight-fitting lids to keep the pickled garlic protected from contamination and maintain its tangy flavor.
Reheating: There’s no need to reheat pickled garlic, just enjoy it cold! Add it straight to salads, sandwiches, or cheese boards for a burst of flavor.
Freezer (not recommended): While you can freeze the pickles, it’s best to enjoy them fresh. If necessary, use a freezer-safe container, but expect a change in texture upon thawing.
Make Ahead Options
These Easy Refrigerator Pickled Garlic cloves are perfect for meal prep enthusiasts! You can peel the garlic, pack it into jars, and prepare the brine up to 24 hours in advance. Just refrigerate the packed garlic and brine separately to maintain their freshness and avoid any flavor loss. When you’re ready to finish up, simply heat the brine, pour it over the garlic, seal the jars, and let them cool before refrigerating. This way, you’ll have zesty pickled garlic ready to enhance your meals whenever you need it! Enjoy the satisfaction of homemade goodness without the last-minute rush.
What to Serve with Easy Refrigerator Pickled Garlic?
Indulge in delightful pairing ideas that showcase the vibrant flavors of your homemade pickled garlic and create a feast for the senses.
- Creamy Mashed Potatoes: The velvety texture and rich taste make for a perfect complement to the tangy kick of pickled garlic.
- Grilled Vegetable Platter: Charred, seasonal veggies add a smoky depth that balances the bright tang of the garlic beautifully.
- Charcuterie Board: Mix pickled garlic with meats and cheeses for a mouthwatering medley that elevates your entertaining experience.
- Fresh Green Salad: Toss your favorite greens with a light vinaigrette and add sliced pickled garlic for a punchy pop of flavor.
- Garlic Butter Shrimp: Pair your pickled garlic with buttery shrimp to enhance the umami notes in a delicious seafood feast.
- Crusty Bread: Dip slices of warm, crusty bread into olive oil and sprinkle with pickled garlic for a delightful appetizer!
- Spicy Pickle Martini: Create a bold cocktail by infusing your martini with pickled garlic brine for a unique twist.
- Cheese Fondue: Dip crunchy bread or veggies into creamy cheese paired with the tangy essence of pickled garlic.
- Sweet Fruit Salad: Combining pickled garlic with sweet fruits can create an intriguing contrast that surprises and delights your palate.
Pickled Garlic Recipe Variations
Feel free to unleash your creativity and customize this recipe to suit your taste buds!
-
Spicy Kick: Add jalapeños or red pepper flakes for a fiery twist that ignites your palate. Perfect for those who thrive on a little heat!
-
Sweet and Tangy: Incorporate mustard seeds and increase the sugar for a delightful bread-and-butter style pickle that shines in sandwiches or salads.
-
Herb-Infused: Toss in fresh herbs like thyme or rosemary for a fragrant touch that elevates your pickled garlic to gourmet status.
-
Smoky Flavor: Add a few drops of liquid smoke or smoked paprika to the brine for an unexpected, savory depth that pairs well with grilled dishes.
-
Citrusy Zing: Infuse some lemon or lime zest into the brine for a refreshing citrusy note that balances the tanginess beautifully.
-
Asian Flair: Use rice vinegar and include some sesame seeds or soy sauce for a unique twist that perfectly complements Asian-inspired dishes.
-
Garlicky Goodness: Add a sprinkle of roasted garlic powder for a more pronounced garlic flavor that is perfect alongside your favorite protein-packed meals.
-
Savory Sweetness: Incorporate honey or maple syrup instead of sugar for a natural sweetness, enhancing the deliciously tangy profile while keeping it refined.
Now that you have these variations at your fingertips, you can easily personalize your pickled garlic to complement your dishes! Whether you choose to accentuate it with a spicy or sweet twist, just imagine serving your homemade pickled garlic alongside a dish like Garlic Butter Shrimp, and watch your culinary creations shine!
Expert Tips for Pickled Garlic Recipe
• Fresh is Best: Always use fresh, firm garlic cloves without blemishes for the sweetest and most vibrant pickled garlic flavor.
• Vinegar Matters: Choose vinegar with at least 5% acidity for safety—distilled white or apple cider vinegar work great.
• Keep It Cool: Never let your garlic sit at room temperature; always refrigerate to maintain flavor and safety.
• Check for Mold: If you notice any mold or foam, use a clean spoon to remove it; rotating the garlic can help prevent contamination.
• Blanching Tip: Blanch garlic briefly before pickling to avoid blue or green discoloration caused by sulfur reactions.
With these expert tips, your pickled garlic recipe will be a delightful success!
Pickled Garlic Recipe FAQs
What type of garlic should I use for pickling?
Absolutely! For the best results, choose fresh, firm garlic cloves that are free from any dark spots or sprouting. These will provide a vibrant flavor and a nice texture for your pickled garlic.
How long can I store my pickled garlic in the refrigerator?
Very! Your pickled garlic will stay fresh in the refrigerator for up to three to four months if stored correctly. Just make sure to use sterilized glass jars with tight-fitting lids for optimal preservation.
Can I freeze pickled garlic?
Not ideally! While you can freeze pickled garlic, I wouldn’t recommend it due to the change in texture. If you must, place them in a freezer-safe container, leaving some space for expansion. Thawing may alter their crunchiness, but they can still be used in cooked dishes.
What should I do if my pickled garlic turns blue or green?
Don’t worry! This discoloration can happen due to sulfur reactions. To avoid it in the future, briefly blanch the garlic cloves in boiling water for about 30 seconds before pickling. This step can help prevent those interesting color changes while retaining the garlic’s flavor.
Can my pets eat pickled garlic?
No, definitely not! Garlic is toxic to pets, especially dogs and cats. So, it’s best to keep your homemade pickled garlic away from them. Always consider their dietary restrictions to ensure their health and safety.
What if I see mold on my pickled garlic?
If you notice any mold or foam (which can happen occasionally), remove it immediately with a clean spoon to avoid contamination. You can also rotate the garlic cloves within the jar to ensure they stay submerged in the brine, helping prevent mold growth. Keep the jars refrigerated and check them regularly to maintain a safe pickling environment.
Tangy Homemade Pickled Garlic Recipe for Flavor Lovers
Ingredients
Equipment
Method
- Peel approximately 1 pound of fresh garlic cloves. Discard any damaged cloves and set aside.
- In a medium saucepan, combine 1 cup of distilled white vinegar and 1 cup of water. Add 1-2 tablespoons of pickling salt and optional sugar, heating until a gentle boil.
- Sterilize glass jars and pack the peeled garlic cloves tightly, leaving about half an inch at the top. Sprinkle in chosen spices and herbs if desired.
- Pour the boiling brine over the packed garlic, ensuring cloves are submerged. Wipe any spills before sealing jars.
- Allow jars to cool to room temperature for about 30 minutes. Place in refrigerator and let rest for at least a week.