

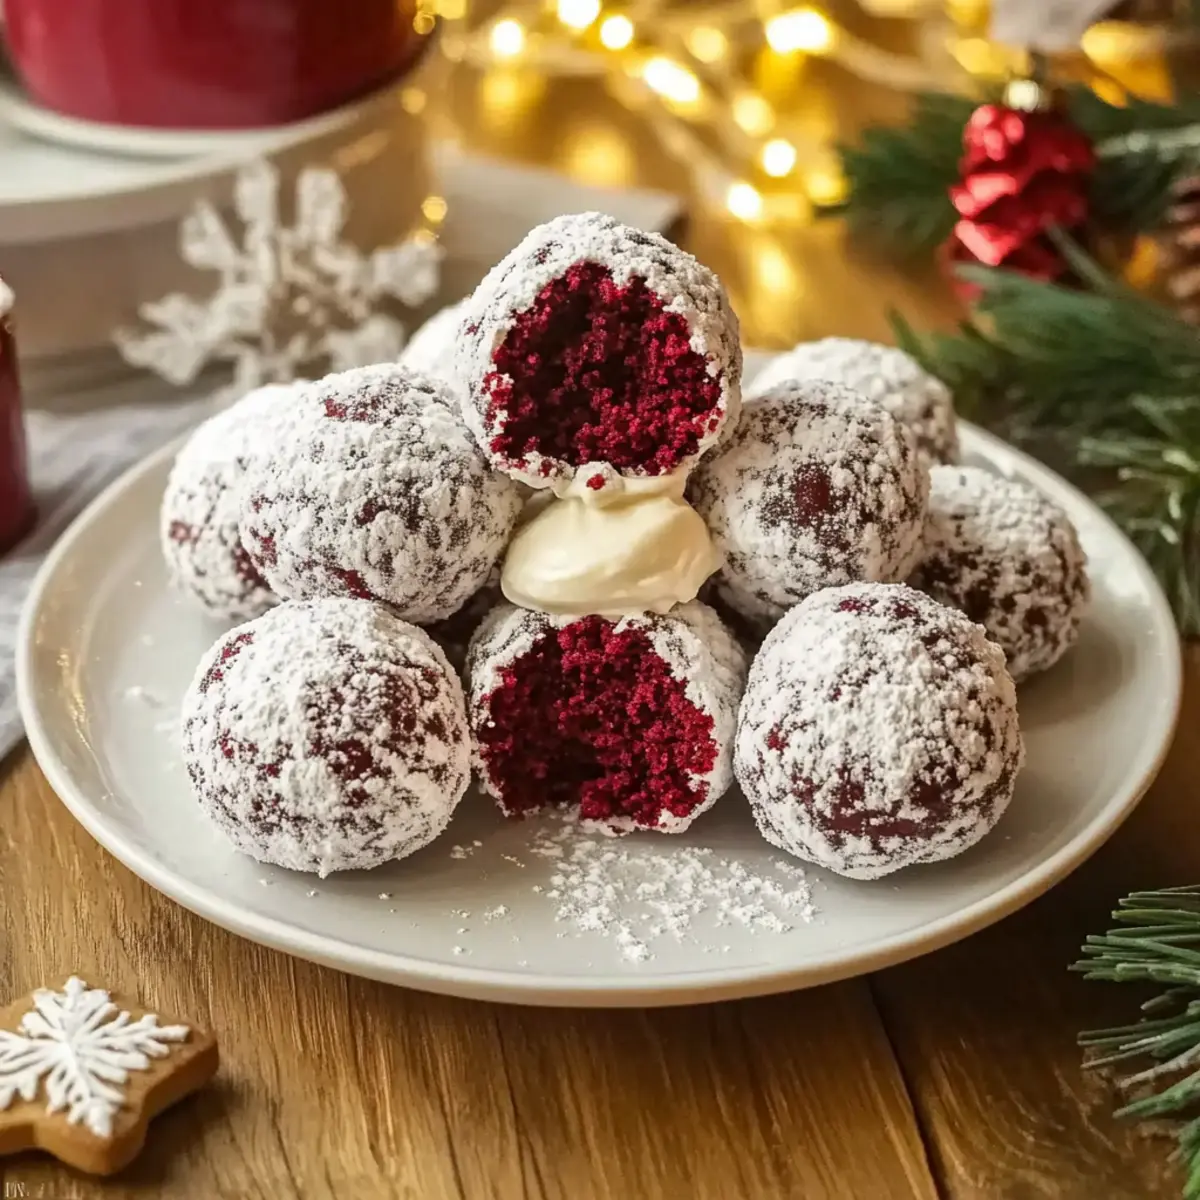
As I stood in my kitchen, the tantalizing aroma of baking cookies filled the air, instantly transporting me to cherished memories of festive gatherings. This season, I’m excited to share my favorite recipe for Red Velvet Snowball Cookies – a dazzling addition to any holiday cookie platter. Their rich cocoa flavor combined with a creamy center makes these treats not only scrumptious but also visually captivating. With their bright crimson hue and a generous dusting of powdered sugar, these cookies are not just a delight to eat but also make for delightful gifts or the perfect centerpiece for holiday gatherings. Plus, they’re incredibly easy to whip up, requiring simple ingredients and minimal fuss. Curious to see how these festive cream-filled delights come together? Let’s dive in!
Why Are Red Velvet Snowball Cookies So Loved?
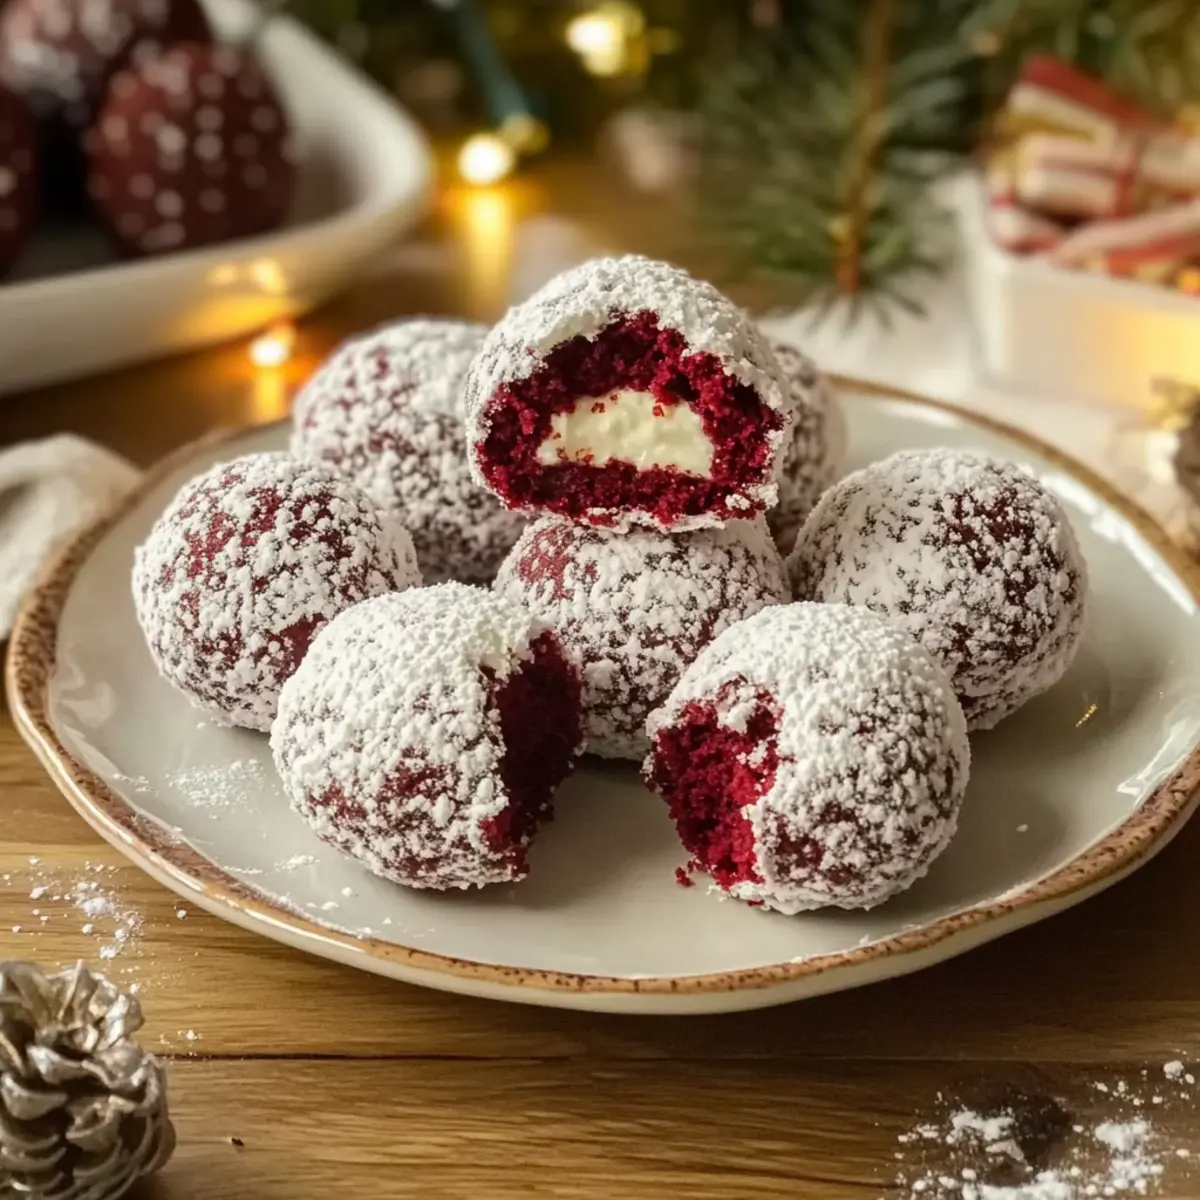
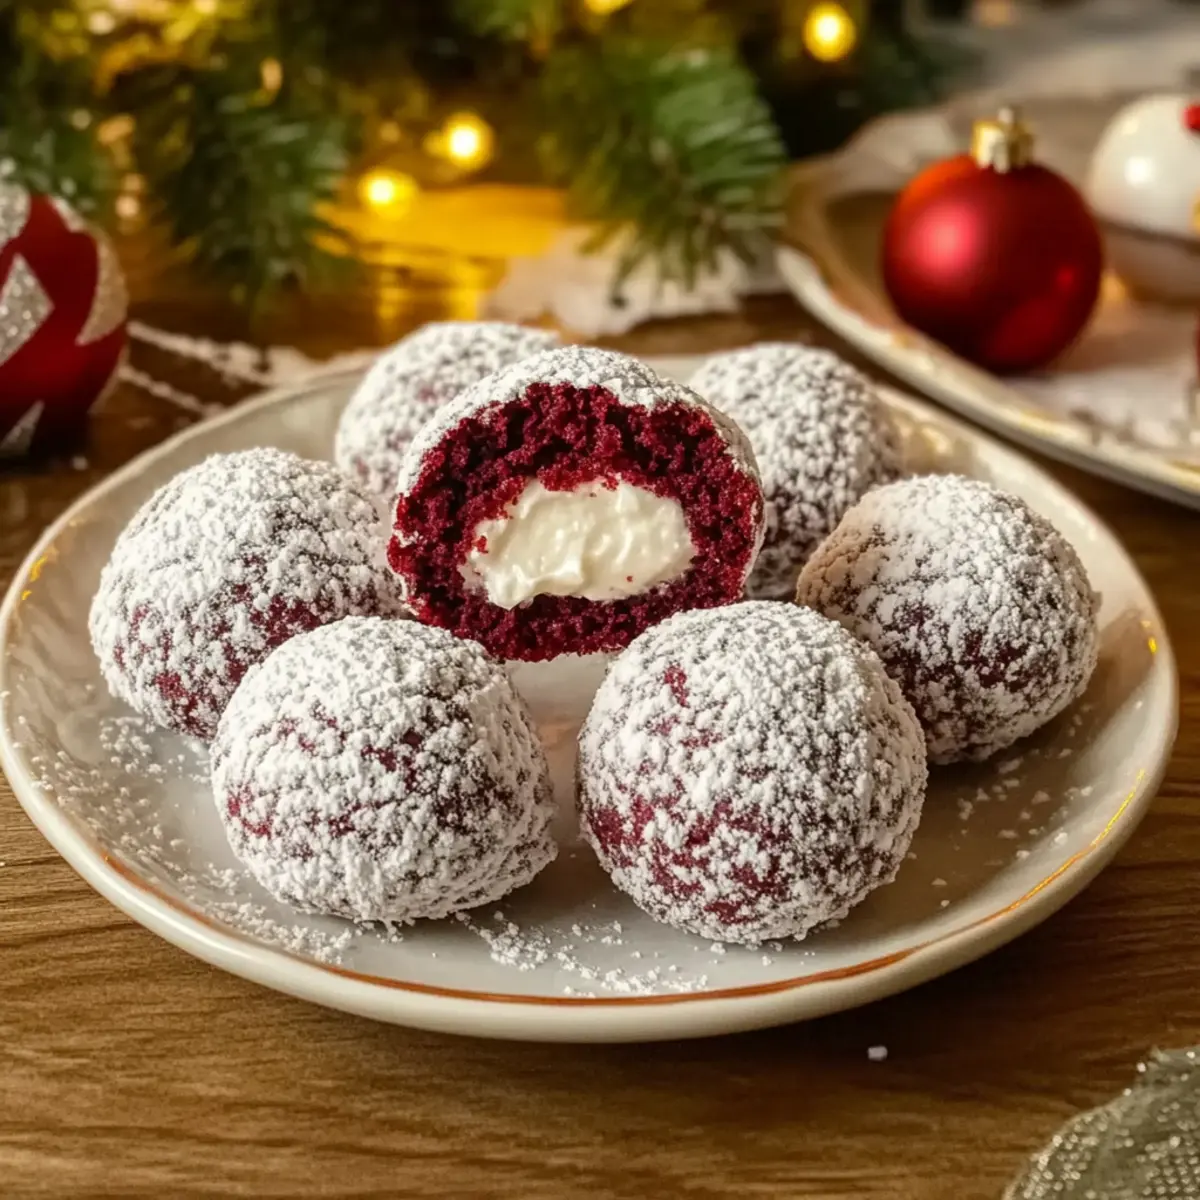
Colors That Captivate: Their striking red hue makes them a showstopper on any dessert table during the holiday season.
Delectable Taste: With a rich cocoa flavor and creamy filling, each bite offers a harmonious blend of sweetness and tang.
User-Friendly: Easy to prepare with common ingredients, these cookies are perfect for both novice and seasoned bakers.
Perfect for Gifting: Pack them in festive tins or on cookie trays for that thoughtful homemade touch—better than any store-bought treats!
Versatile Options: Want to switch it up? Try adding nuts or roll them in coconut for an exciting twist.
These Red Velvet Snowball Cookies are more than a treat; they bring a festive spirit that you and your loved ones will adore! If you love cookies, consider also trying some delightful Chocolate Cranberry Cookies or our festive Red White Blue Fruit Kabobs for your holiday gatherings!
Red Velvet Snowball Cookies Ingredients
• Here’s everything you need to create these festive treats that embody holiday cheer!
For the Cookie Dough
- Unsalted Butter – The base of buttery softness; use softened butter for a rich texture.
- Powdered Sugar – Provides subtle sweetness; reserve some for dusting after baking.
- Vanilla Extract – Adds depth; opt for pure vanilla for the best flavor.
- Red Food Gel Coloring – Gives the cookies their vibrant hue; gel helps maintain the dough’s moisture.
- All-Purpose Flour – Forms the structure; avoid adding too much to keep cookies light.
- Unsweetened Cocoa Powder – Imparts a mild chocolate flavor; essential for that classic red velvet profile.
- Salt – Enhances flavor balance; vital even in sweet treats.
- Finely Chopped Pecans (Optional) – Offers a nutty crunch; a traditional compliment in snowball cookies.
For the Cream Cheese Filling
- Cream Cheese – Creates the rich, tangy center; ensure it’s softened for easy mixing.
- Additional Powdered Sugar (for Filling) – Sweetens the cream cheese without running; key for the cookie’s shape.
With these ingredients at hand, you’re ready to craft your own batch of delightful Red Velvet Snowball Cookies that will surely wow your family and friends this holiday season!
Step‑by‑Step Instructions for Red Velvet Snowball Cookies
Step 1: Prepare the Cream Cheese Filling
In a small bowl, combine softened cream cheese, powdered sugar, and vanilla extract until smooth. Use a hand mixer for effortless blending, ensuring there are no lumps. Once mixed, scoop the filling into small balls, about one tablespoon each, and place on a parchment-lined tray. Freeze for 30 minutes to firm them up—this will make filling the cookies easier later on.
Step 2: Make the Cookie Dough
In a large mixing bowl, cream together softened unsalted butter and powdered sugar using an electric mixer until the mixture is light and fluffy—about 3-4 minutes. Then, add in vanilla extract and a few drops of red food gel coloring, mixing until you achieve a vibrant hue. The dough should be smooth and creamy, setting the stage for your delicious Red Velvet Snowball Cookies.
Step 3: Combine Dry Ingredients
In a separate bowl, whisk together all-purpose flour, unsweetened cocoa powder, and a pinch of salt until well combined. Gradually add this dry mixture to the creamed butter mixture, blending on low speed until just combined. Your dough should be soft yet slightly sticky. If desired, fold in finely chopped pecans for added texture and flavor that perfectly complements the red velvet profile.
Step 4: Chill the Dough
If your dough appears too soft to handle, wrap it in plastic wrap and refrigerate for 15-30 minutes until it firms up. This step is key for maintaining the shape of your cookies while baking. After chilling, it should be manageable to scoop and shape without losing form, setting you up for a successful baking experience.
Step 5: Shape the Cookies
Preheat your oven to 350°F (175°C) and line a baking sheet with parchment paper. Take about one tablespoon of dough and flatten it in your palm. Place a frozen cream cheese ball in the center, then fold the dough around it, sealing completely. Roll it into a smooth ball and place it on the baking sheet, ensuring there’s about an inch of space between each dough ball for even baking.
Step 6: Bake the Cookies
Bake the cookies in the preheated oven for 12-14 minutes, or until the tops are dry to the touch. Keep an eye on them; they should not spread much. Once baked, remove them from the oven and let them cool on the baking sheet for a few minutes before transferring them to a cooling rack. This lets them set beautifully while retaining their soft, fluffy interior.
Step 7: Cool and Dust
Once the cookies have cooled completely, it’s time to roll them in powdered sugar. Place powdered sugar in a shallow dish, then gently roll each cookie until they’re fully coated. This dusting not only adds sweetness but also enhances the snowy appearance of your Red Velvet Snowball Cookies, making them a festive treat for your holiday gatherings.

Red Velvet Snowball Cookies Variations
Get ready to unleash your creativity and elevate your Red Velvet Snowball Cookies with these fun twists!
-
Nutty Delight: Swap pecans for walnuts or almonds for a delightful crunch and a richer flavor profile. Nuts enhance the cookies’ texture and add a unique taste.
-
Coconut Bliss: Roll the cookies in shredded coconut after their initial bake for a tropical flair that pairs beautifully with the creaminess. Imagine each bite delivering a sweet, chewy surprise.
-
Spicy Kick: Add a pinch of cinnamon or cayenne pepper to your dough for an unexpected but delightful warm spice that adds depth. The warmth complements the chocolate nicely and will have your guests guessing.
-
Dairy-Free Option: Substitute cream cheese with a dairy-free cream cheese alternative. This makes the cookies accessible for friends with dietary restrictions without sacrificing flavor!
-
Chocolatey Indulgence: Mix in chocolate chips or chunks into the dough for those who crave extra chocolate goodness. It’s gooey, luscious, and elevates the cookies to another level of indulgence.
-
Fruity Filling: Replace traditional cream cheese filling with a fruit-flavored frosting, like strawberry or raspberry, for a sweet, tangy twist that brightens every bite. It adds a pop of color and flavor that’s perfect for summer gatherings.
-
Vegan Twist: Use vegan butter and an alternative egg substitute like flaxseed meal combined with water for a plant-based version that everyone can enjoy. They will still turn out soft and delicious!
These variations can easily be mixed and matched, giving you endless possibilities to explore while baking. And if you’re looking for more festive ideas, don’t miss our cozy Red White Blue Dirt Cups or our easy-to-make No Bake Cookies and Cream Cheesecake Cups this season!
What to Serve with Red Velvet Snowball Cookies
There’s nothing quite like the joy of serving a festive plate filled with treats, making holiday celebrations even more delightful.
- Creamy Hot Chocolate: A warm cup of rich hot chocolate complements the cookies’ flavors and adds to the cozy atmosphere of the season.
- Peppermint Bark: The festive combination of chocolate and mint offers a refreshing contrast, enhancing the overall dessert table appeal.
- Mini Cheesecakes: These indulgent bites add a different texture while the vanilla and cream flavors elevate the experience alongside the cookies.
- Spiced Nuts: The crunch and warmth from spiced nuts balance the soft, sweet cookies and provide a delightful textural variation.
- Gingerbread Cookies: Nothing says holiday cheer quite like a classic! The spicy flavor of gingerbread pairs wonderfully with the rich red velvet.
- Festive Fruit Punch: A light, fruity drink can cleanse the palate and refresh guests, complementing the sweet treat experience perfectly.
- Coconut Macaroons: Their chewy texture and coconut flavor provide a different bite, contrasting beautifully with the creamy-filled snowball cookies.
- Mulled Wine: For adults, this warm, spiced wine offers a comforting addition, wrapping up the festive atmosphere and perfectly pairing with sweet flavors.
Surprise your friends and family by offering these delightful treats alongside your enchanting Red Velvet Snowball Cookies!
Expert Tips for Red Velvet Snowball Cookies
-
Room Temperature Butter: Ensure your unsalted butter is softened to room temperature for smooth mixing and a rich texture in your dough.
-
Chill for Perfect Shape: If your dough is too soft, don’t skip chilling it! Refrigerate for at least 15-30 minutes to maintain the cookie shape during baking.
-
Use Gel Coloring: Opt for gel food coloring instead of liquid to keep the dough’s consistency intact; it won’t alter the moisture levels.
-
Warm Sugar Coating: Roll your cookies in powdered sugar while they are still warm from the oven for a better coating and sweetness retention.
-
Avoid Overmixing: When combining the dry ingredients with the butter mixture, mix just until combined to prevent the cookies from becoming dense.
-
Taste as You Go: Sample the cream cheese filling before sealing; it should be sweet and creamy, setting the perfect base for your Red Velvet Snowball Cookies!
Make Ahead Options
These Red Velvet Snowball Cookies are a fantastic option for busy home cooks looking to simplify holiday baking! You can prepare the cream cheese filling up to 3 days in advance; simply mix the softened cream cheese, powdered sugar, and vanilla, scoop it into balls, and store them in an airtight container in the refrigerator. Additionally, you can make the dough and refrigerate it for up to 24 hours before baking. Just remember to chill it again if it becomes too soft. When ready to bake, shape the cookies around the frozen filling and follow the usual baking instructions for delightful results. This way, you’ll have these festive treats ready in no time, making your holiday season a little less hectic!
Storage Tips for Red Velvet Snowball Cookies
Room Temperature: Keep cookies in an airtight container at room temperature for up to 2 days to maintain their softness and flavor.
Fridge: For a longer shelf life, refrigerate your cookies for up to 5-6 days due to the cream cheese filling. Layer them with parchment paper to prevent sticking.
Freezer: These Red Velvet Snowball Cookies can be frozen for up to 2 months. Place them in a single layer in an airtight container or freezer bag to preserve their texture.
Reheating: If you prefer warm cookies, reheat them in the oven at 300°F (150°C) for about 5-10 minutes to restore their softness!
Red Velvet Snowball Cookies Recipe FAQs
How do I choose the right cocoa powder for my cookies?
Absolutely! When selecting cocoa powder for your Red Velvet Snowball Cookies, opt for unsweetened cocoa to impart a mild chocolate flavor without overwhelming the sweetness. Look for a brand that is Dutch-processed if you prefer a rich, deep flavor, but regular unsweetened cocoa works beautifully as well.
How should I store leftover cookies?
Very! To keep your Red Velvet Snowball Cookies fresh, store them in an airtight container at room temperature for up to 2 days. If you need them to last longer, refrigerate them for 5-6 days, layering them with parchment paper to avoid sticking. Always ensure they are fully cooled before storing to maintain texture.
Can I freeze Red Velvet Snowball Cookies?
Absolutely! To freeze these delightful cookies, first let them cool completely. Then, arrange them in a single layer in an airtight container or freezer bag, ensuring they’re sealed tightly. They can be frozen for up to 2 months. For best results, thaw them overnight in the refrigerator before enjoying!
What should I do if my cookie dough is too sticky?
No problem! If your dough seems too sticky to handle, simply wrap it in plastic wrap and chill it in the refrigerator for 15-30 minutes. This will make it much easier to scoop and shape. Alternatively, you can lightly dust your hands and work surface with flour to help with handling without altering the dough too much.
Are these cookies suitable for people with allergies?
Very! If you or someone you’re baking for has allergies, be sure to check the ingredient labels carefully. The dough contains common allergens such as dairy and gluten. To make these cookies gluten-free, substitute the all-purpose flour with a gluten-free flour blend. For dairy allergies, you could explore using dairy-free cream cheese as a substitute!
Can I make these cookies ahead of time?
Absolutely! You can prepare the cream cheese filling a day before and keep it in the refrigerator. The cookie dough can also be made ahead; just refrigerate it overnight. When you’re ready, you can shape, bake, and enjoy your Red Velvet Snowball Cookies fresh for your holiday gatherings!
Red Velvet Snowball Cookies: Your New Holiday Obsession
Ingredients
Equipment
Method
- In a small bowl, combine softened cream cheese, powdered sugar, and vanilla extract until smooth. Scoop the filling into small balls and freeze for 30 minutes.
- In a large bowl, cream together softened butter and powdered sugar until light and fluffy. Add vanilla extract and red food gel coloring, mixing until smooth.
- In a separate bowl, whisk together flour, cocoa powder, and salt. Gradually add to the butter mixture until just combined. Fold in pecans if desired.
- Chill dough in plastic wrap for 15-30 minutes if too soft.
- Preheat oven to 350°F (175°C). Shape tablespoons of dough around frozen cream cheese balls and roll into balls.
- Bake for 12-14 minutes, until tops are dry. Cool on the baking sheet.
- Once cooled, roll cookies in powdered sugar until fully coated.