

As I stood by the stove, the sizzle of rice meeting hot oil created an enchanting melody that took me back to bustling streets of Japan. Crispy Yaki Onigiri Croustillants are not just snacks; they’re a warm hug on a plate—comfort food that marries crunch and tenderness in the most delightful way. This recipe is an easy-to-prepare gem, perfect for an afternoon nibble or a cozy dinner side. With vegetarian-friendly options and an allure that transforms simple ingredients into something special, you’ll find these crispy rice balls are bound to become a beloved addition to your homemade repertoire. Ready to savor those golden edges? Let’s get rolling!
Why Are Yaki Onigiri Croustillants Irresistible?
Comforting with every bite, these crispy yaki onigiri are the perfect fusion of crunchy exteriors and soft interiors, offering warmth and nostalgia to your snack table. Versatile options mean you can customize fillings like savory salmon or tangy umeboshi, catering to all taste preferences. Easy to prepare, even novice cooks will shine! Nostalgic opportunities are contained within, transporting you to Japanese street food vendors, delighting your senses. Serve them as appetizers or light lunches, and watch them disappear in no time!
Yaki Onigiri Croustillants Ingredients
For the Onigiri
• Short-grain Japanese rice – This is the essential foundation, giving onigiri its perfect chewy texture; ensure it’s freshly cooked and warm for easy shaping.
• Soy sauce – Adds a rich umami flavor and helps achieve a beautiful caramelization on the crust.
• Toasted sesame oil – A key ingredient that enhances the nutty flavor; using toasted over regular sesame oil makes a noticeable difference in taste.
• Neutral oil – Used for frying, it ensures a crisp finish without overshadowing the delicate flavors; vegetable oil is a great substitute.
For the Fillings
• Optional fillings (e.g., umeboshi, salmon) – Choose your favorite to suit your taste; these can elevate the flavor profile of your yaki onigiri croustillants.
For Garnishing
• Sesame seeds – Sprinkle for an added crunch and visual appeal; they pair beautifully with the savory elements.
• Chives or seaweed – Either can add a lovely burst of color and freshness to your presentation.
With these ingredients, embarking on your crispy yaki onigiri adventure will be straightforward and satisfying!
Step‑by‑Step Instructions for Yaki Onigiri Croustillants
Step 1: Prepare the Rice
Begin by cooking short-grain Japanese rice according to package instructions until tender, then allow it to cool slightly—aim for warm but not hot. This warmth helps the rice stick together as you mold your yaki onigiri croustillants. Make sure to keep it covered to prevent drying out while you prep the next ingredients.
Step 2: Shape the Onigiri
Wet your hands and sprinkle a pinch of salt to prevent sticking. Take about ½ cup of warm rice and mold it into a triangle or ball shape, pressing firmly to ensure it holds together. If you’d like a burst of flavor, incorporate your chosen filling, such as umeboshi or grilled salmon, right into the center as you shape the rice.
Step 3: Mix the Glaze
In a small mixing bowl, combine soy sauce and toasted sesame oil to create a flavorful glaze. Stir until well blended, allowing the rich umami and nutty flavors to meld together. This will enhance the outer crust of your yaki onigiri croustillants, giving them a delicious caramelized exterior once cooked.
Step 4: Heat the Skillet
Place a non-stick or cast-iron skillet over medium heat, allowing it to preheat for about 2 minutes. Once hot, pour in a tablespoon of neutral oil, ensuring it coats the bottom evenly. This is essential for achieving that perfect crispy finish, so watch for the oil to shimmer before moving to the next step.
Step 5: Cook the Onigiri
Carefully place the shaped onigiri in the skillet, making sure not to overcrowd them—leave space for even cooking. Cook for 3-4 minutes on one side until golden brown and crispy. As they cook, listen for a satisfying sizzle, signaling that the outer layer is getting crunchy while the inside remains warm and tender.
Step 6: Glaze and Finish Cooking
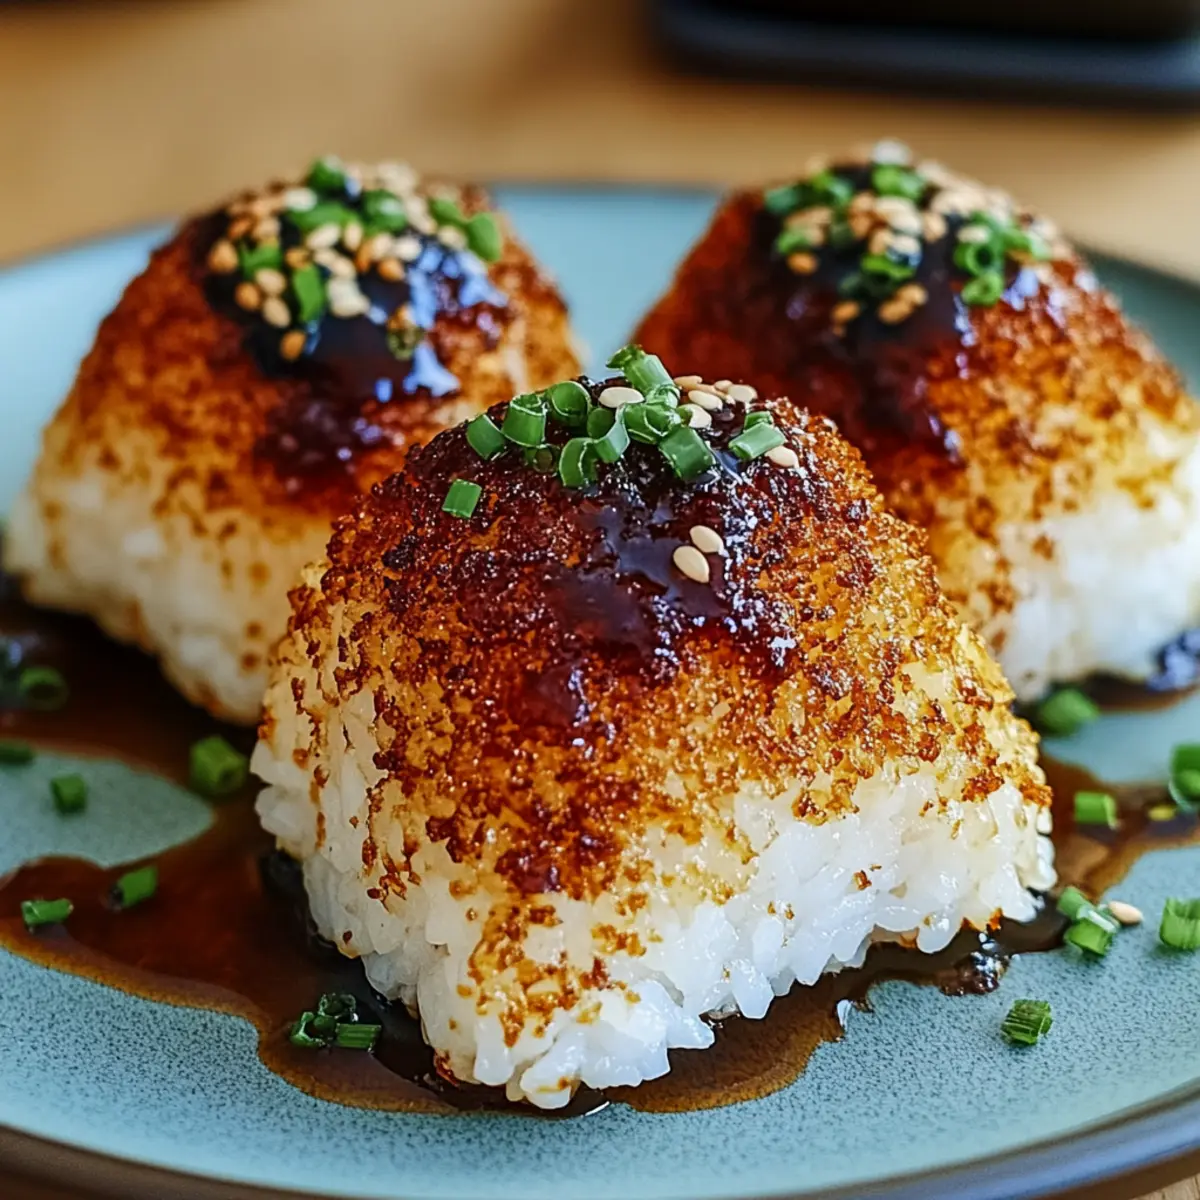
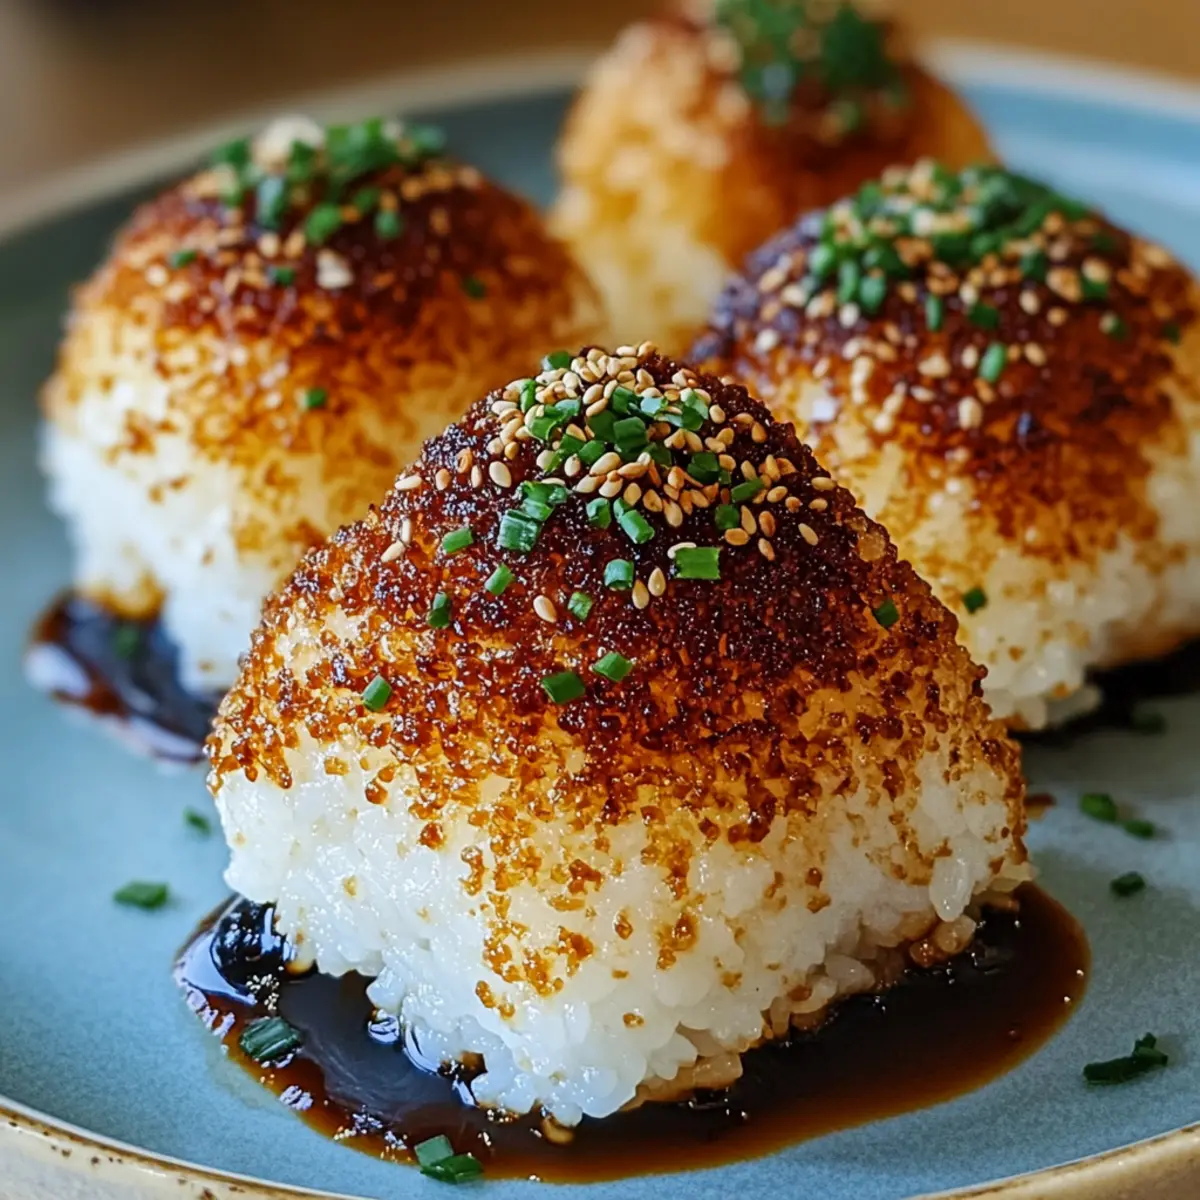
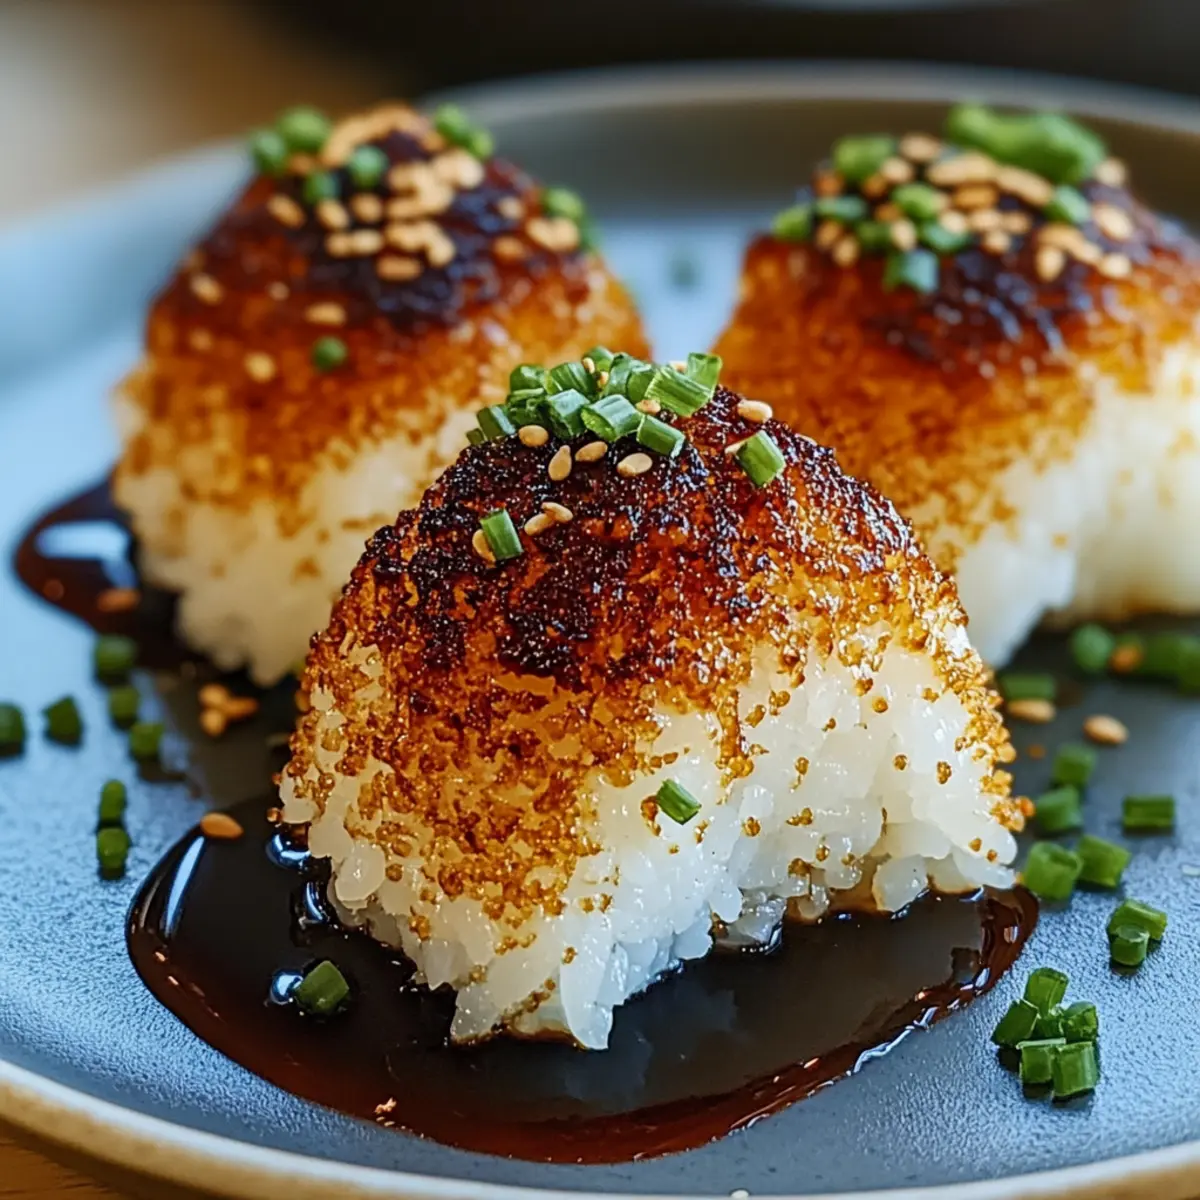
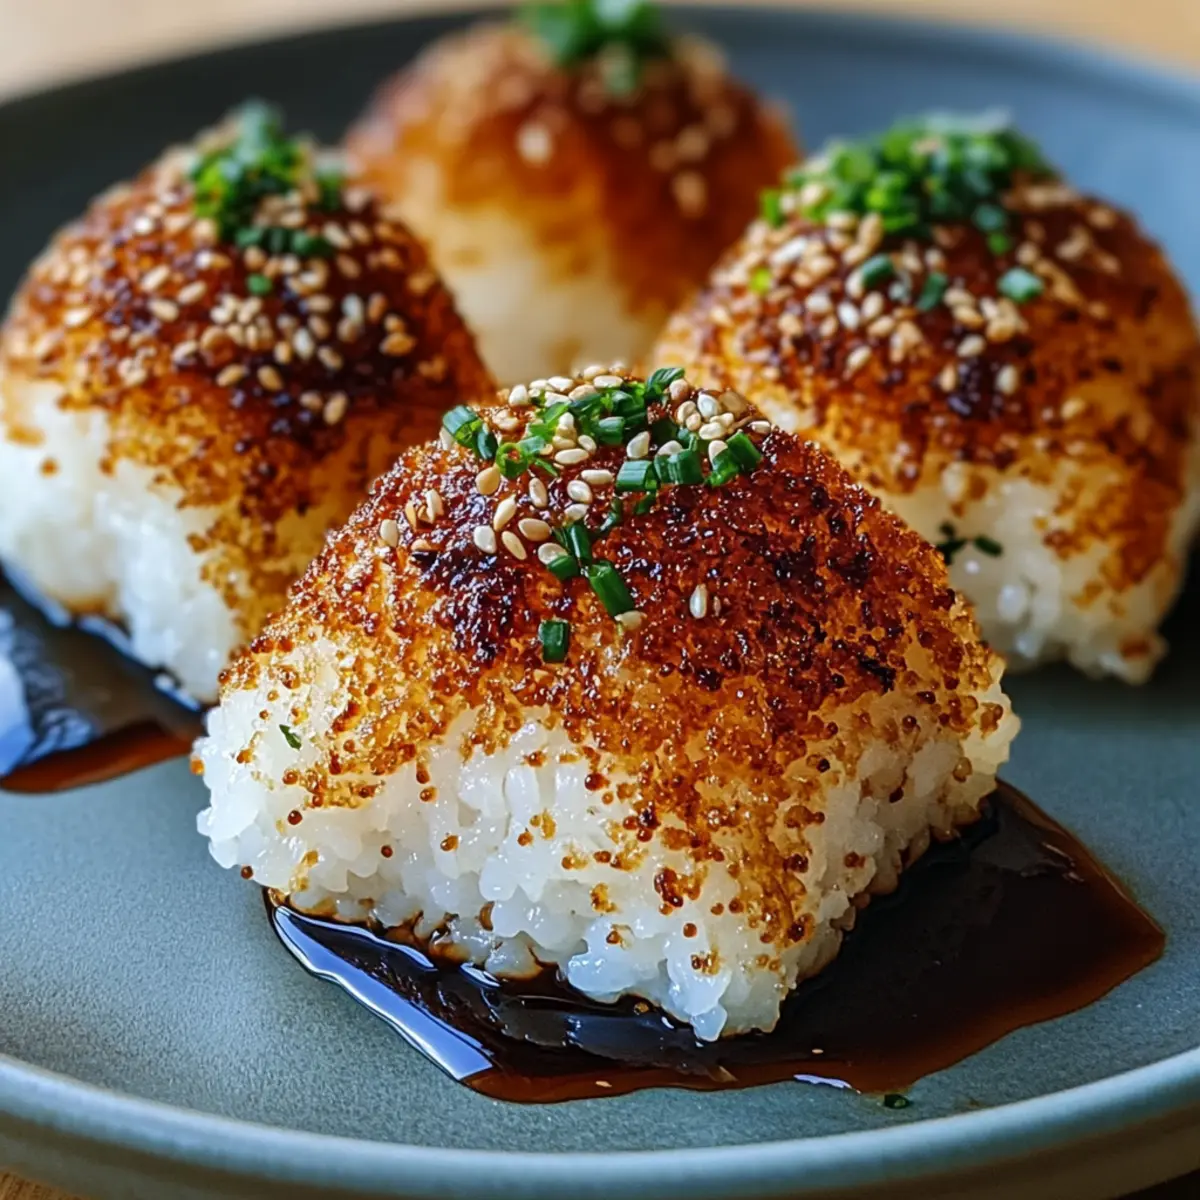
Once the first side is crispy, flip the onigiri and brush a generous amount of the soy-sesame glaze over the cooked side. Allow them to cook for an additional 3-4 minutes, brushing the glaze on the second side as well. The goal is to achieve a beautifully caramelized crust, so look for a deep golden color to indicate they’re ready.
Step 7: Serve and Garnish
When the yaki onigiri croustillants are perfectly crispy on both sides, remove them from the skillet and place them on a serving plate. For an appealing presentation, sprinkle sesame seeds and finely chopped chives or pieces of seaweed on top. Serve immediately while they’re warm, allowing everyone to savor the delightful textures and flavors.
Expert Tips for Yaki Onigiri Croustillants
Warm Rice: Ensure your rice is slightly warm when shaping. Cold rice can lead to crumbling, making it difficult to form sturdy yaki onigiri.
Don’t Overcrowd: Cooking in batches is key. Crowding the pan can result in uneven crispiness, so give each piece ample space.
Perfect Glaze: Brush the glaze on the onigiri while they cook, allowing the flavors to seep in and create a flavorful caramelized crust.
Use Quality Oil: Opt for high-quality neutral oil for frying. It enhances the crispy texture without interfering with the delicious flavors of your yaki onigiri croustillants.
Experiment with Fillings: Don’t hesitate to explore different fillings. Try various combinations to find your favorite, adding creativity to this traditional snack!
Make Ahead Options
These Crispy Yaki Onigiri Croustillants are perfect for meal prep enthusiasts looking to save time on busy weeknights! You can prepare the rice and shape the onigiri up to 24 hours in advance. Just ensure to keep the formed onigiri covered with plastic wrap to prevent them from drying out. Store them in the refrigerator and, when ready to enjoy, heat a non-stick skillet on medium heat with a splash of oil. Cook the onigiri for about 3-4 minutes per side until they’re golden and crispy, then brush with your soy-sesame glaze. This way, you’ll have restaurant-quality snacks ready to serve with minimal effort!
Yaki Onigiri Croustillants Variations
Feel free to get creative with these recipe ideas and make this delightful dish truly your own!
- Dairy-Free: Use vegetable oil instead of butter if you want to keep it vegan-friendly, and enjoy guilt-free crispy bites.
- Spicy Kick: Mix a teaspoon of sriracha or your favorite chili paste into the soy-sesame glaze for a heat boost that’ll get your taste buds dancing.
- Texture Twist: Consider using quinoa instead of rice for an unexpected crunch, adding a unique texture and flavor profile to your onigiri.
- Herbed Delight: Incorporate fresh herbs like chopped cilantro or basil into the rice for a refreshing twist that adds brightness to each bite.
- Umami Explosion: Swap out the soy sauce for a mushroom soy sauce to deepen the umami flavor, making your yaki onigiri utterly irresistible.
- Sweet Glaze: Consider drizzling honey or maple syrup before serving for a sweet-savory experience that’s simply delightful—perfect for those who love contrasting flavors!
- Loaded Fillings: Mix in finely chopped green onions, carrots, or bell peppers into the rice mixture before shaping for an extra splash of color and nutrients.
- Asian Fusion: Try using kimchi as a filling to bring a tangy, spicy Korean twist that complements the crispy texture beautifully!
The variations are endless! As you experiment, you might want to check out our delicious teriyaki sauce recipe for a mouthwatering glaze option. Your crispy yaki onigiri can become not just a snack, but a canvas for culinary creativity!
What to Serve with Crispy Yaki Onigiri Croustillants
Elevate your dining experience by pairing these delightful snacks with flavorful companions that enhance their natural charm.
- Miso Soup: A warm bowl of miso soup complements the crispy texture, providing comforting savory flavors that balance the onigiri’s crunch.
- Pickled Vegetables: The tangy crunch of pickled vegetables, like tsukemono, offers a refreshing contrast, cleansing the palate with each bite.
- Edamame: These lightly salted green beans add a protein punch and a delightful pop that’s perfect when enjoyed alongside your crispy bites.
- Seaweed Salad: A refreshing seaweed salad, drizzled with sesame oil, brings oceanic vibes and a crisp texture that harmonizes with the onigiri.
- Teriyaki Chicken Skewers: Juicy chicken skewers glazed in teriyaki sauce add a deliciously sweet and savory note, enhancing the umami experience.
- Sake or Green Tea: Pair your crispy yaki onigiri with a chilled glass of sake or a warm cup of green tea to elevate the meal with authentic Japanese flavors.
- Fruit Sorbet: For dessert, a light fruit sorbet provides a sweet, refreshing finish, perfect for cleansing the palate after the rich flavors of yaki onigiri.
How to Store and Freeze Yaki Onigiri Croustillants
Fridge: Store leftover yaki onigiri croustillants in an airtight container for up to 1 day. The texture will soften, but you can revive their crispiness when reheating.
Freezer: For longer storage, wrap each onigiri tightly in plastic wrap and then place them in a freezer bag. They can be frozen for up to 2 months.
Reheating: To restore crispness, reheat frozen or refrigerated yaki onigiri croustillants in a skillet over medium heat for about 3-5 minutes per side, ensuring they are heated through.
Avoid Moisture: When storing, make sure the onigiri cool completely before wrapping. Excess moisture can lead to sogginess, affecting the delicious texture of your yaki onigiri croustillants.
Yaki Onigiri Croustillants Recipe FAQs
How do I select the best rice for yaki onigiri?
Absolutely! When choosing rice for yaki onigiri, opt for short-grain Japanese rice. Look for grains that are plump and well-polished; this type of rice possesses the ideal stickiness to hold together nicely when shaped. Make sure to cook it until tender and warm to maximize its texture.
What’s the best way to store leftover yaki onigiri croustillants?
To store your leftovers, place them in an airtight container in the fridge for up to 1 day. Keep in mind that the texture will become softer, but don’t worry! You can refresh their crispness by reheating them in a skillet for about 3-5 minutes on each side.
Can I freeze yaki onigiri croustillants?
Yes, you can! For freezing, individually wrap each onigiri tightly in plastic wrap, then place them in a freezer bag. They can be stored like this for up to 2 months. When you’re ready to enjoy them, reheat directly from the freezer in a skillet for about 5-7 minutes per side, ensuring they reheat through and regain their crunchy exterior.
What if my onigiri crumbles while shaping?
If your onigiri is crumbling, it might be because the rice is too cool. Make sure it’s slightly warm when shaping to help it stick together. If it’s already cooled, consider reheating it in the microwave for about 30 seconds before trying to mold it again. Additionally, ensure you’re pressing firmly enough while shaping!
Are yaki onigiri croustillants suitable for vegetarians?
Very! This recipe is vegetarian-friendly, and you can adapt it further with various fillings to suit your dietary preferences. Options like pickled vegetables or tofu work beautifully, allowing you to customize your onigiri while keeping them deliciously meat-free.
How can I achieve the crispiest exterior for my onigiri?
To achieve the perfect crispy exterior, avoid overcrowding your skillet while cooking, as this can cause steam and prevent that delightful crunch. Cook them in batches, allowing space around each piece. Also, brushing the soy-sesame glaze on during cooking not only adds flavor but helps achieve that beautifully caramelized crust!
Crispy Yaki Onigiri Croustillants: Your New Favorite Snack
Ingredients
Equipment
Method
- Begin by cooking short-grain Japanese rice according to package instructions until tender, then allow it to cool slightly.
- Wet your hands and sprinkle a pinch of salt. Take about ½ cup of warm rice and mold it into a triangle or ball shape.
- In a small mixing bowl, combine soy sauce and toasted sesame oil to create a glaze.
- Preheat a non-stick skillet over medium heat for about 2 minutes and add neutral oil.
- Carefully place the molded onigiri in the skillet and cook for 3-4 minutes on one side until golden brown.
- Flip the onigiri and brush with the soy-sesame glaze. Cook for an additional 3-4 minutes.
- Remove from skillet, garnish with sesame seeds and chives or seaweed, and serve warm.