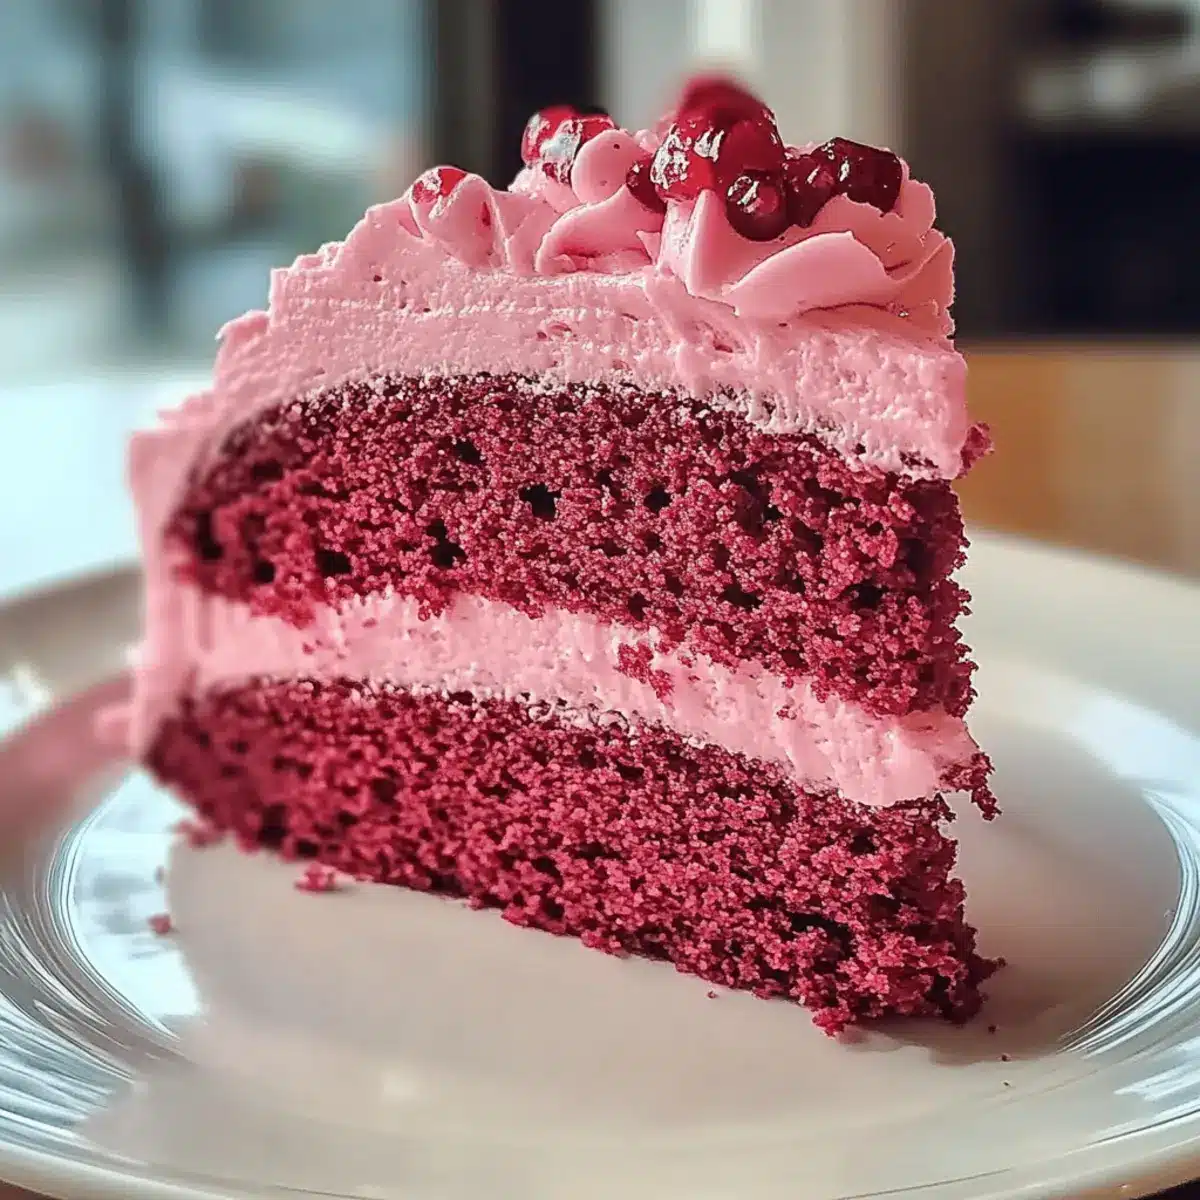
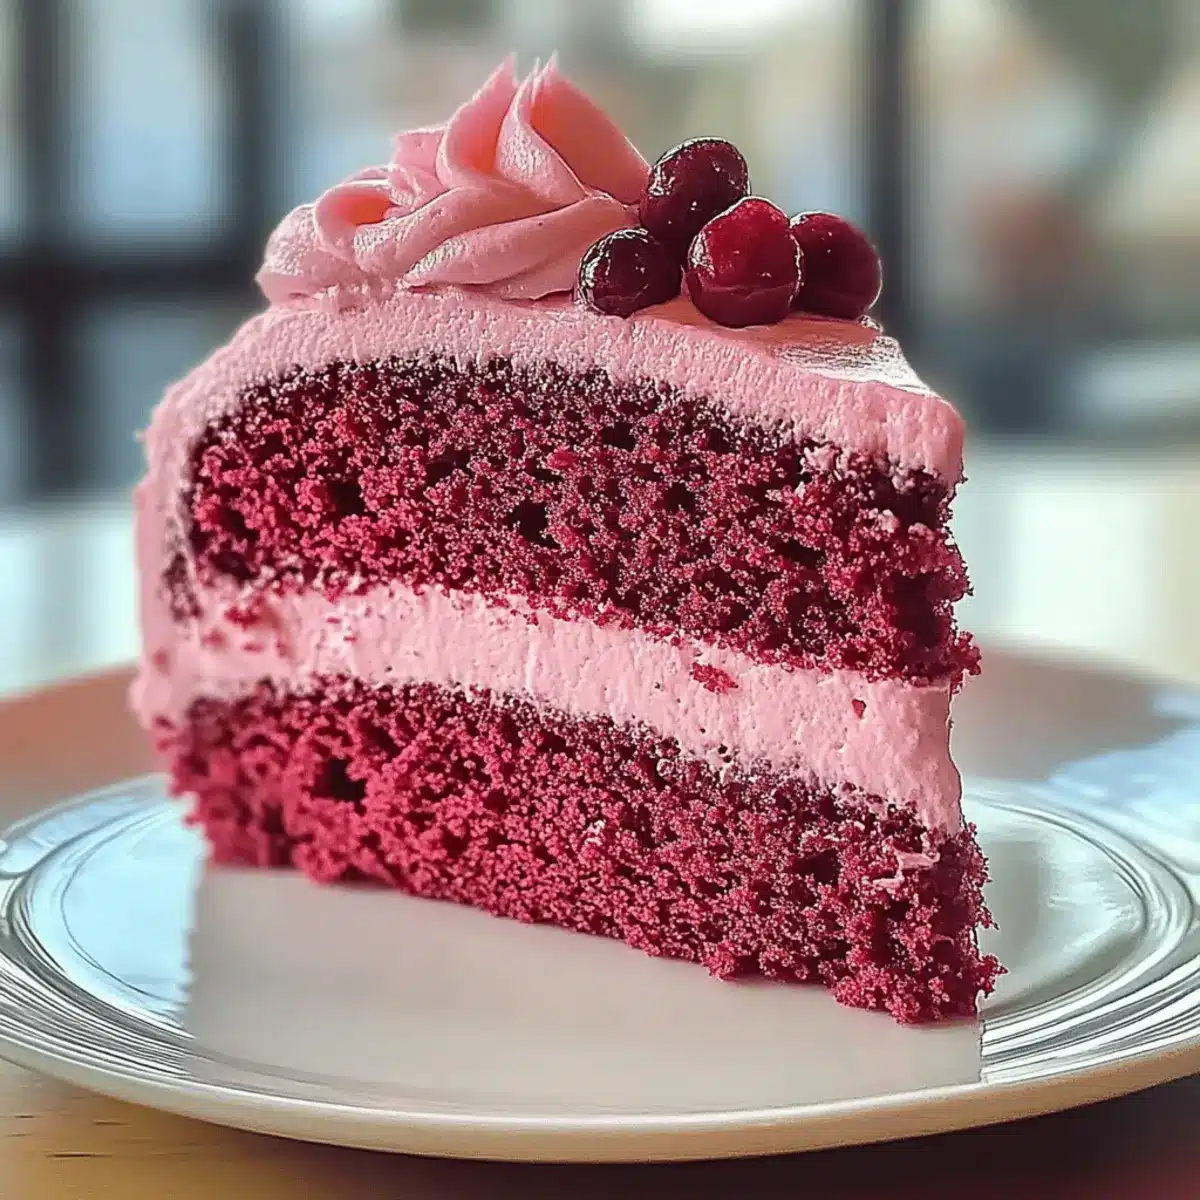
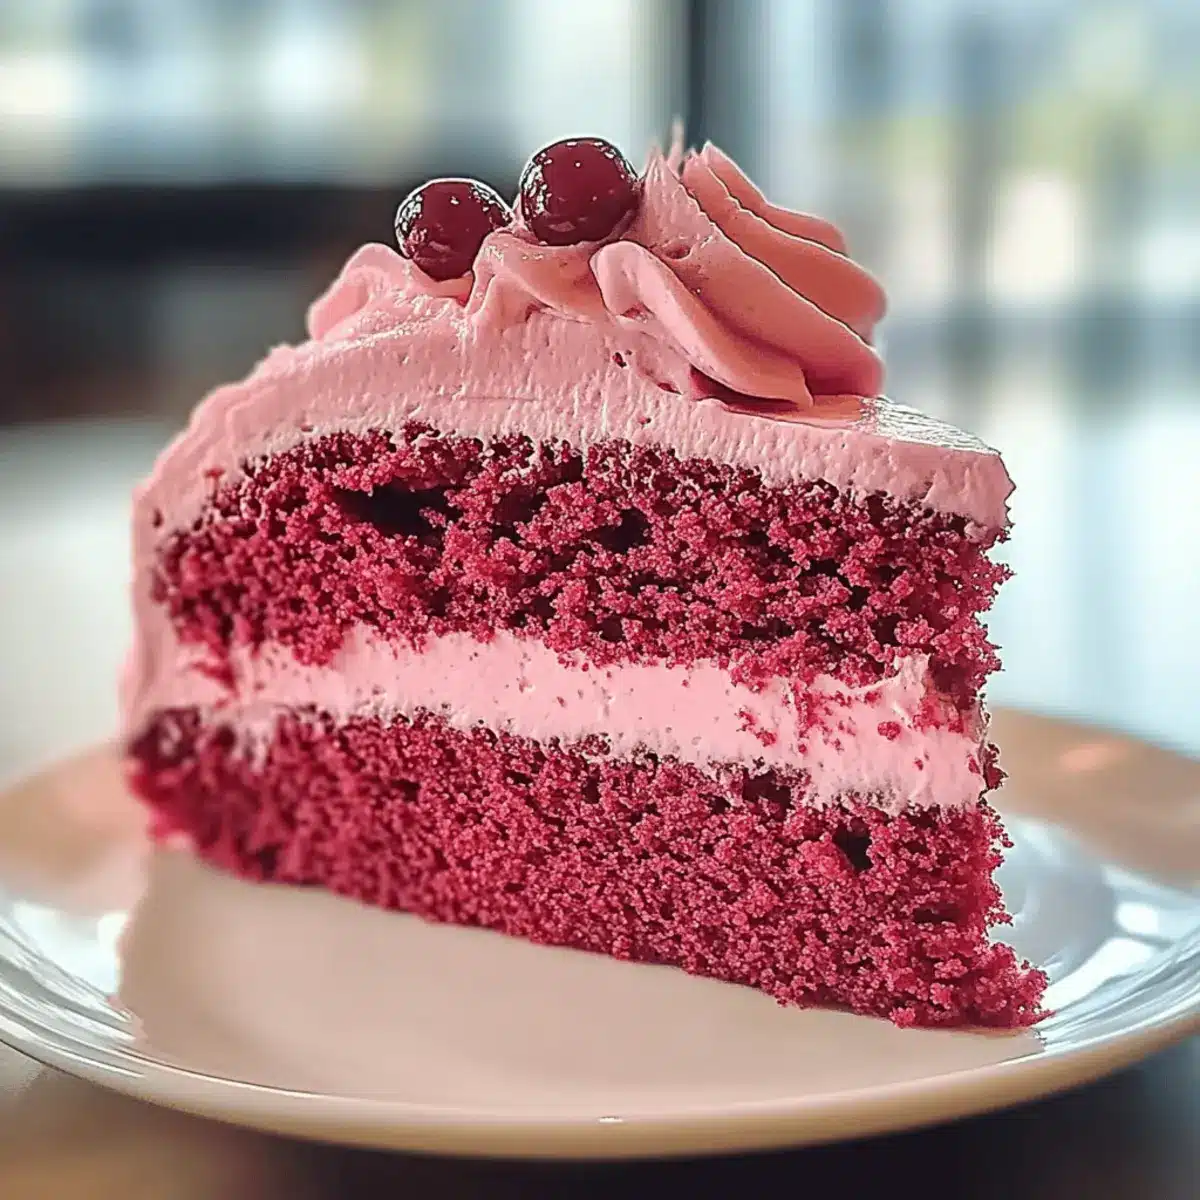
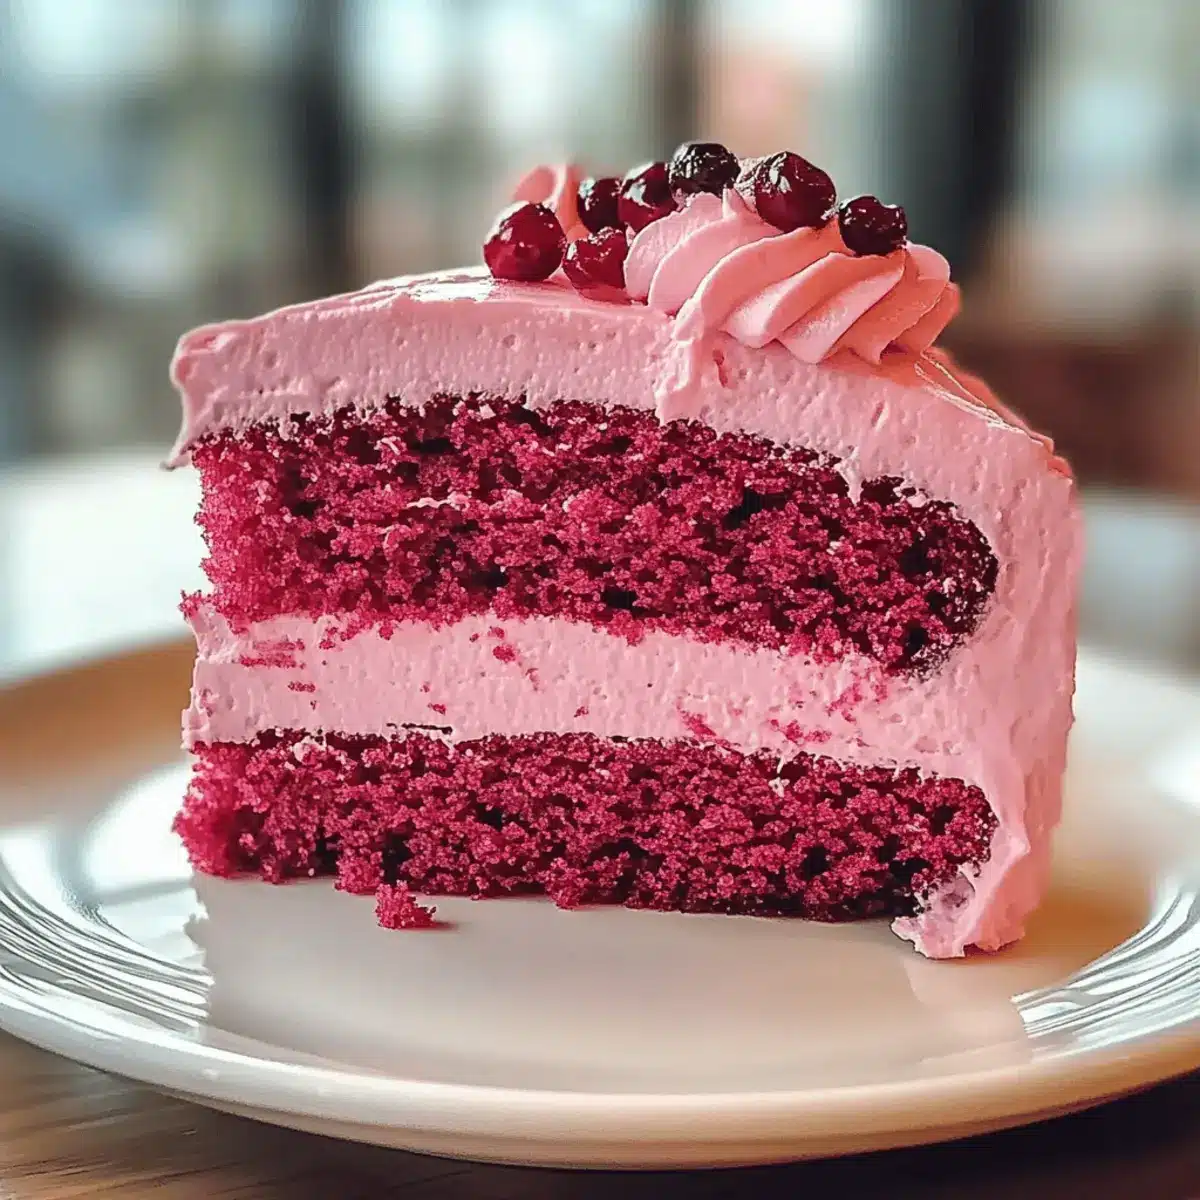
The aroma of freshly baked cake filled my kitchen, instantly transporting me back to joyous family gatherings. Nothing says “celebration” like a Mother’s Day Pink Velvet Cake, and trust me, this one is a showstopper! With its fluffy texture and charming pink hue, this cake is not only visually stunning but also wonderfully moist and flavorful—making it the perfect treat to honor the special women in our lives. What’s even better? You can whip it up quickly, and it’s a delightful crowd-pleaser that will have your loved ones asking for seconds! Ready to bake something that will create unforgettable memories at your next gathering? Let’s dive into this deliciously sweet journey together!

Why is Pink Velvet Cake So Special?
Irresistible Color: The vibrant pink hue will amaze your guests, making every slice a visual treat.
Fluffy Texture: Achieve a soft, airy cake that melts in your mouth, ensuring it’s a hit at gatherings.
Quick to Prepare: Enjoy the simplicity of whipping up this cake in no time—perfect for busy bakers.
Versatile Variations: Try substituting with yogurt or adding almond extract for unique twists, catering to all tastes.
Crowd-Pleasing Flavor: Delight your family and friends with the rich chocolate and vanilla notes that compliment any celebration.
You won’t want to miss serving this stunning cake, especially alongside treats like Strawberry Cheesecake Bars or Cookies Cream Cheesecake for an impressive dessert spread.
Mother’s Day Pink Velvet Cake Ingredients
For the Cake
- Cake Flour – A crucial ingredient for structure and light texture; substitute with all-purpose flour for a denser cake.
- Granulated Sugar – Sweetens and adds moisture to the cake; no substitutions recommended.
- Cocoa Powder – Infuses a rich chocolate flavor; using Dutch-processed cocoa enhances the taste even more.
- Baking Powder – Essential for rise; ensure it’s fresh for best results.
- Salt – Balances sweetness and enhances overall flavors.
- Unsalted Butter – Adds richness; can be substituted with vegan butter for a dairy-free option.
- Eggs – Provides structure and moisture; must be at room temperature for the best incorporation.
- Buttermilk – Creates a tender crumb; yogurt is a suitable substitute.
- Vanilla Extract – Enhances the overall flavor; pure extract is recommended for the best results.
- Red Food Coloring – Achieves the iconic pink color without changing the flavor; gel coloring is suggested for vibrancy.
For the Frosting
- Cream Cheese – Provides creaminess and an irresistible tang; softening it first will help for a smooth frosting.
- Powdered Sugar – Adds sweetness and helps achieve the perfect consistency for frosting.
- Vanilla Extract – A dash enhances the frosting’s flavor; use pure for the best taste.
- Heavy Cream – Adds richness and a lighter texture to the frosting; use full-fat for best results.
Whip up this Mother’s Day Pink Velvet Cake, and watch it turn any ordinary occasion into an extraordinary celebration!
Step‑by‑Step Instructions for Mother’s Day Pink Velvet Cake
Step 1: Preheat Oven
Begin by preheating your oven to 350°F (175°C). While the oven warms up, prepare two 9-inch round cake pans by greasing them with unsalted butter and dusting with flour. This ensures your Mother’s Day Pink Velvet Cake will release easily after baking, promoting a beautiful finish.
Step 2: Mix Dry Ingredients
In a medium-sized mixing bowl, whisk together the cake flour, cocoa powder, baking powder, and salt. Take your time to combine these dry ingredients well—this foundation will contribute to the cake’s fluffy texture. Aim for a uniform mixture, ensuring there are no lumps of cocoa that could affect flavor and color.
Step 3: Cream Butter and Sugar
In a large mixing bowl, beat together the softened unsalted butter and granulated sugar using an electric mixer on medium speed for about 3 minutes. Your mixture should become light and fluffy, showcasing a pale yellow color that signals it’s well aerated. This step is crucial for ensuring a tender crumb in your Pink Velvet Cake.
Step 4: Incorporate Eggs
Add the eggs to your butter and sugar mixture one at a time. After each addition, beat well until the mixture is fully incorporated. This should take about 30 seconds per egg. By allowing each egg to blend in before adding the next, you’ll enhance the structure of the cake, resulting in a moist and cohesive batter.
Step 5: Combine Wet Ingredients
Stir in the buttermilk, vanilla extract, and red food coloring until fully combined. The mixture should have a smooth consistency and vibrant pink hue. This step not only adds moisture but also ensures that the signature color of the Mother’s Day Pink Velvet Cake comes to life, giving it that eye-catching look.
Step 6: Fold in Dry Mix
Gradually add your dry ingredient mixture to the wet mixture, folding gently with a spatula. Do this until just combined, ensuring your batter remains airy and smooth without any lumps. This delicate folding technique retains the lightness you want, resulting in a beautifully fluffy cake structure.
Step 7: Bake
Divide the batter evenly between the prepared cake pans. Place them in the preheated oven and bake for 25-30 minutes. To check for doneness, insert a toothpick into the center; it should come out clean or with a few moist crumbs. The cakes should also spring back when lightly pressed.
Step 8: Cool Cakes
Once baked, allow the cakes to cool in the pans for about 10 minutes. Afterward, carefully transfer them to wire racks to cool completely. This cooling process is vital, as it stabilizes the cake’s structure and avoids any melting when you add the luscious cream cheese frosting later on.
Step 9: Frosting
Prepare your cream cheese frosting by beating room-temperature cream cheese with powdered sugar and a splash of vanilla extract until smooth and creamy. Once your cakes are completely cool, generously spread frosting between the layers and on top, letting it cascade down the sides for a beautifully decadent finish to your Mother’s Day Pink Velvet Cake.

How to Store and Freeze Mother’s Day Pink Velvet Cake
- Room Temperature: Keep leftover slices in an airtight container at room temperature for up to 3 days while maintaining moisture and flavor.
- Fridge: If you want to extend its freshness, refrigerate the cake for up to a week, ensuring it’s well-covered to prevent drying out.
- Freezer: For longer storage, freeze wrapped slices of the Mother’s Day Pink Velvet Cake in plastic wrap and foil for up to 3 months.
- Reheating: To enjoy frozen slices, thaw them overnight in the fridge, and reheat gently in the microwave for a few seconds if you prefer a warm treat.
Mother’s Day Pink Velvet Cake Variations
Feel free to get creative with your Mother’s Day Pink Velvet Cake—it’s all about personal touches and delightful twists that make it even more special!
-
Dairy-Free: Swap unsalted butter for vegan butter and use almond milk instead of buttermilk for a delicious dairy-free version.
-
Nutty Delight: Add a splash of almond extract to the batter for a subtly nutty flavor that elevates the cake experience.
-
Fruity Topper: Top the frosted cake with fresh strawberries or raspberries. Their tartness pairs beautifully with the sweet cream cheese frosting.
-
Chocolate Lovers: Drizzle melted dark chocolate over the frosted cake for an indulgent finish that adds richness and elegance.
-
Citrus Zing: Incorporate lemon zest into the batter for a refreshing citrus twist that brightens the flavors—perfect for spring gatherings!
-
Layered Flavor: Bake two layers of pink velvet and one layer of traditional vanilla cake. Alternating layers create a lovely striped effect and flavor blend.
-
Spicy Kick: Add a pinch of cayenne pepper or chili powder to the frosting for a surprising heat that contrasts beautifully with the sweetness.
-
Sugar-Free Option: Use a sugar substitute like erythritol in place of granulated sugar for a lighter version that still satisfies your sweet tooth.
With these variations in mind, you can transform your cake into something wonderfully unique and fit for any celebration! If you love baking, you might also enjoy making a splendid Patriotic Poke Cake or trying your hand at these sumptuous Buttermilk Pancakes for a breakfast treat!
Make Ahead Options
These Mother’s Day Pink Velvet Cakes are perfect for meal prep enthusiasts! You can bake the cake layers up to 3 days in advance and store them tightly wrapped in plastic wrap at room temperature to retain moisture. The cream cheese frosting can also be prepared up to 24 hours ahead—just keep it refrigerated in an airtight container. When it’s time to serve, simply allow the frosting to come to room temperature before spreading it between the layers and on top, ensuring a creamy texture. This planning will not only save time on busy baking days but will also keep your cake just as delicious and delightful for your special gathering!
What to Serve with Mother’s Day Pink Velvet Cake
The perfect Mother’s Day Pink Velvet Cake deserves equally delightful companions to elevate your celebration experience.
-
Fresh Strawberries: Their sweet and slightly tart flavor contrasting with the cake’s richness adds a refreshing touch. Plus, the vibrant red will complement the pink beautifully!
-
Vanilla Ice Cream: Creamy and cool, a scoop of vanilla ice cream balances the cake’s sweetness while enhancing its decadent texture. The combination makes each bite downright heavenly.
-
Sparkling Lemonade: This fizzy, citrusy drink brings a refreshing brightness that cuts through the rich layers of cake, ensuring every slice feels light and joyful.
-
Chocolate-Covered Almonds: The crunch of these sweet treats pairs wonderfully with the soft cake texture while adding elements of surprise and flavor to every bite.
-
Fluffy Whipped Cream: A dollop of freshly whipped cream will add a luxurious creaminess that enhances the cake’s texture, making for an indulgent dessert experience.
-
Buttercream Cookies: Soft, colorful cookies provide a delightful contrast to the cake while maintaining a playful, celebratory vibe—perfect for guests of all ages.
-
Lavender Infused Iced Tea: A floral tea beautifully complements the whimsical nature of the cake and adds an extra level of sophistication and flavor to your gathering.
-
Mini Fruit Tarts: These bite-sized delights bring freshness and a sweet crunch, enhancing the overall dessert experience and making your platter more enticing.
Embrace the celebration and create sweet memories with these fantastic pairings!
Expert Tips for Mother’s Day Pink Velvet Cake
-
Room Temperature Eggs: Ensure your eggs are at room temperature for better mixing. Cold eggs can lead to a dense batter, so plan ahead!
-
Gentle Mixing: Avoid over-mixing the batter after adding dry ingredients. This can result in a tough cake; mix until just combined for a fluffy texture.
-
Use Gel Coloring: Opt for gel food coloring instead of liquid. It gives a vibrant pink hue without changing the cake’s moisture content or flavor.
-
Watch the Bake Time: Keep an eye on the cake during baking. Every oven is different; check for doneness a few minutes early to avoid dry layers.
-
Cool Completely: Allow the cakes to cool entirely before frosting. Frosting warm cakes can melt your cream cheese frosting, resulting in a gooey mess.
These tips will help you nail the perfect Mother’s Day Pink Velvet Cake, making your celebration even sweeter!

Mother’s Day Pink Velvet Cake Recipe FAQs
How do I choose ripe ingredients for this cake?
Absolutely! Selecting ripe, high-quality ingredients is key. For the best results, make sure your eggs are fresh and at room temperature to incorporate well into the batter. When it comes to buttermilk, look for a carton with a recent expiration date. Using fresh, high-quality ingredients elevates the flavor and texture of your Mother’s Day Pink Velvet Cake.
How should I store the Mother’s Day Pink Velvet Cake?
For sure! Store leftover slices in an airtight container at room temperature for up to 3 days. This keeps the cake moist and flavorful. If you want it to last longer, refrigerate your cake for up to a week, ensuring it’s tightly covered to prevent drying out.
Can I freeze pieces of the Mother’s Day Pink Velvet Cake?
Very much so! Freezing is a great option for long-term storage. Simply wrap slices tightly in plastic wrap and then in aluminum foil to avoid freezer burn. This way, your cake can be enjoyed for up to 3 months. When you’re ready to enjoy, just thaw overnight in the fridge, and reheat gently in the microwave for a few seconds if you’d like it warm.
What if my cake doesn’t rise properly?
No worries! If your cake didn’t rise well, it could be due to using expired baking powder. Always double-check that it’s fresh before baking. Additionally, did you fold the dry ingredients gently into the wet mix? Over-mixing can create a dense cake. If you’re unsure, stick to the folding technique I shared for light, fluffy layers.
Can I make any substitutions for dietary considerations?
Certainly! If you need a dairy-free option, you can substitute the unsalted butter with vegan butter and use non-dairy yogurt in place of buttermilk. Just be cautious about checking for allergens in your chosen alternatives. For example, ensure your powdered sugar is allergy-friendly if you’re sensitive to certain ingredients.
How can I adjust the sweetness of the cake?
Of course! If you prefer a less sweet version of the Mother’s Day Pink Velvet Cake, consider reducing the amount of granulated sugar by about 1/4 cup. This way, your cake will still maintain its lovely texture while catering to those who enjoy less sweetness. Just remember, the frosting will still add some sweetness, so it balances well.

Mother’s Day Pink Velvet Cake: Sweet Celebration Delight
Ingredients
Equipment
Method
- Preheat oven to 350°F (175°C). Grease two 9-inch round cake pans with unsalted butter and dust with flour.
- In a medium bowl, whisk together cake flour, cocoa powder, baking powder, and salt.
- In a large bowl, beat softened butter and sugar with an electric mixer on medium speed for about 3 minutes until light and fluffy.
- Incorporate eggs one at a time, beating well after each addition.
- Stir in buttermilk, vanilla extract, and red food coloring until fully combined.
- Gradually add dry mixture to wet mixture, folding gently until just combined.
- Divide batter evenly between prepared cake pans and bake for 25-30 minutes.
- Let cakes cool in pans for 10 minutes, then transfer to wire racks to cool completely.
- Prepare cream cheese frosting by beating cream cheese with powdered sugar and vanilla until smooth. Frost the cooled cakes.

