

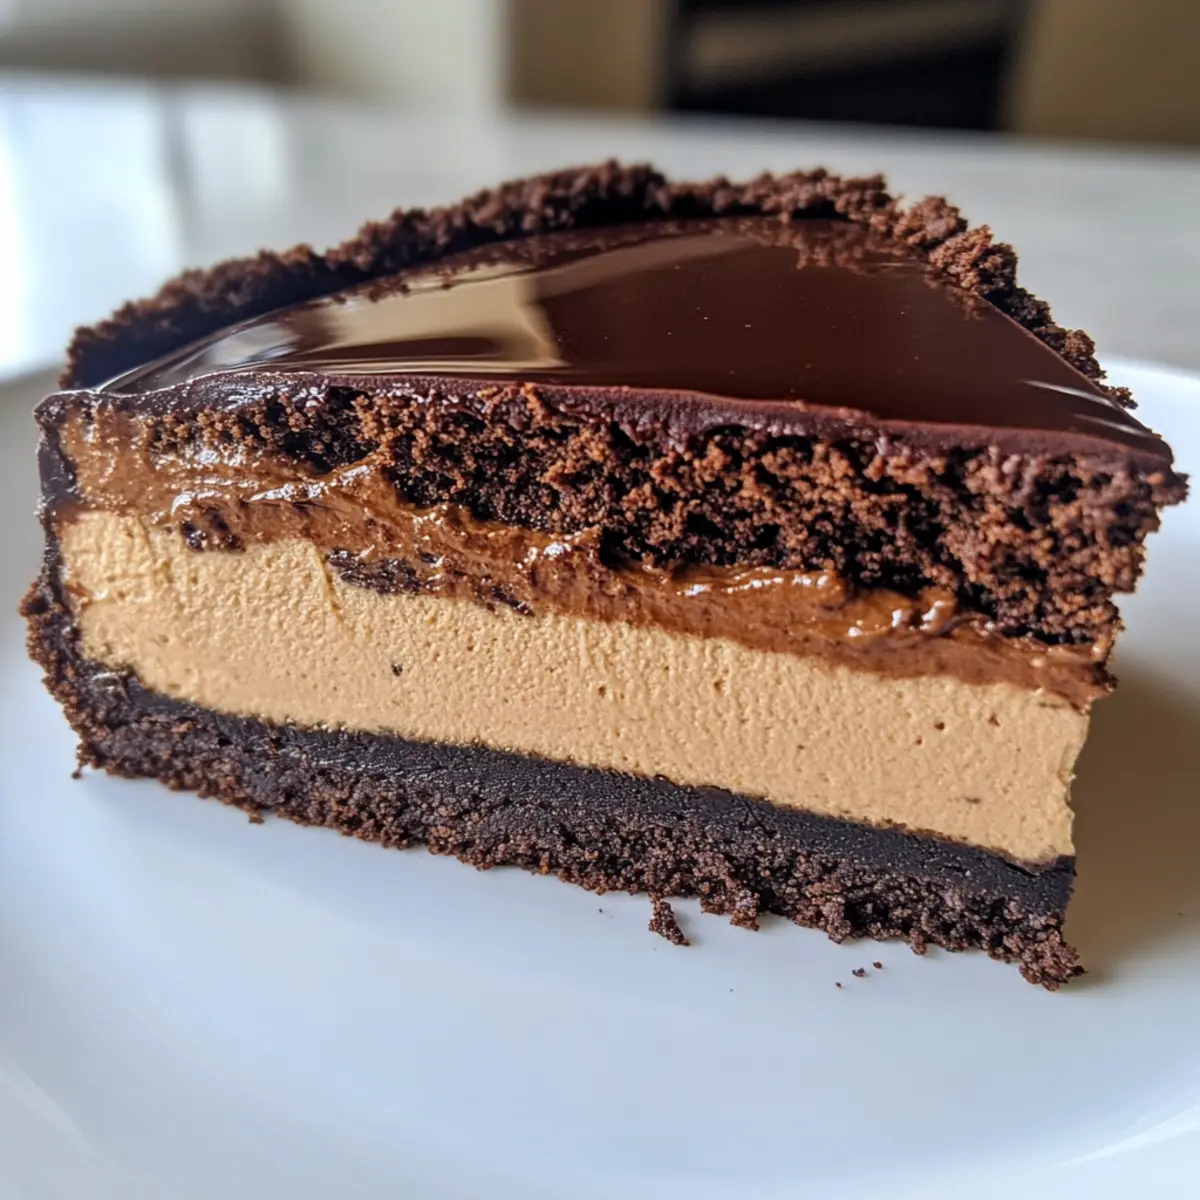
As I stirred the silky cheesecake filling for my latest creation, I caught a whiff of robust espresso mingling with sweet chocolate. This Decadent No-Bake Espresso Cheesecake is the perfect solution when you’re craving something indulgent yet effortless. With a buttery Oreo crust that’s gluten-free-friendly and a rich ganache topping, this recipe is easy to whip together, making it an ideal choice for both casual family dinners and elegant gatherings. Plus, it requires no baking—who could resist such a tempting treat on a warm day? Let’s dive into this delightful dessert that promises to wow your friends and family; I bet they won’t even believe you made it at home! What’s your favorite way to enjoy coffee-flavored treats?

Why is This Espresso Cheesecake Irresistible?
Decadent Creaminess: The rich, silky texture of this cheesecake will have you swooning with every bite. It’s a luxurious dessert that tastes as good as it looks!
No-Bake Convenience: Perfect for those hot days when turning on the oven seems daunting, this no-bake recipe saves time without sacrificing flavor.
Crowd-Pleasing Treat: Impress your guests at any gathering, from casual family dinners to sophisticated get-togethers. Pair it with a side of fresh whipped cream like in my popular Cookies Cream Cheesecake for an extra special touch!
Versatile Variations: Want to mix things up? Try adding a layer of chocolate syrup or experimenting with flavored whipped creams—imaginative toppings that take this dessert to the next level.
Guilt-Free Indulgence: With an Oreo crust that can be made gluten-free, this dessert is a delicious solution that caters to different dietary needs. Savor every luxurious bite!
Espresso Cheesecake Ingredients
For the Crust
• Oreo Cookies – This forms the perfect crust base, but you can substitute with gluten-free chocolate cookies for a delicious alternative.
• Unsalted Butter – Binds the crust together, and margarine can be used as a dairy-free option.
For the Cheesecake Filling
• Cream Cheese – Provides that essential creamy texture; using softened cream cheese is key for smooth mixing.
• Confectioners’ Sugar – Adds sweetness and smoothness; granulated sugar can work in a pinch but may alter the texture.
• Espresso Powder – Infuses the cheesecake with that delightful coffee flavor, or use instant coffee granules if you’re in a hurry.
• Heavy Cream – This adds richness and aids in achieving the perfect whipped texture; half-and-half is a lighter alternative but will affect creaminess.
For the Ganache Topping
• Dark Chocolate – The star of the ganache, lending that deep chocolate flavor; feel free to use milk chocolate for a sweeter finish.
Enjoy crafting your Espresso Cheesecake Recipe, a treat that balances bold flavors with a creamy texture!
Step‑by‑Step Instructions for Espresso Cheesecake Recipe
Step 1: Prepare the Crust
Start by crushing Oreo cookies into fine crumbs using a food processor or a resealable bag and a rolling pin. Melt 5 tablespoons of unsalted butter and mix it with the crushed cookies until well combined. Press this mixture evenly into the bottom of a springform pan to create a firm base, using the back of a measuring cup for an even layer. Chill in the refrigerator for 10 minutes while you prepare the filling.
Step 2: Make the Cheesecake Filling
In a mixing bowl, beat 16 ounces of softened cream cheese with 1 cup of confectioners’ sugar and 2 tablespoons of espresso powder until smooth and creamy, usually about 2-3 minutes. In a separate bowl, whip 1 cup of heavy cream on high speed until stiff peaks form, then gently fold it into the cream cheese mixture. Be careful not to overmix, as the cheesecake filling for your Espresso Cheesecake should remain light and airy.
Step 3: Assemble Cheesecake
Once your cheesecake filling is ready, pour it over the chilled Oreo crust, smoothing the top with a spatula to create an even surface. Cover the springform pan tightly with plastic wrap and place it in the refrigerator to set for at least 4 hours, or overnight if you can wait! This allows the flavors to meld beautifully while achieving the perfect texture.
Step 4: Prepare Ganache
When the cheesecake is almost set, heat 6 ounces of dark chocolate and 1/2 cup of heavy cream in a small saucepan over low heat. Stir continuously until the chocolate melts and the mixture becomes smooth and glossy, which should take about 2-3 minutes. Remove from heat and let it cool slightly, ensuring it’s still pourable but not hot.
Step 5: Chill
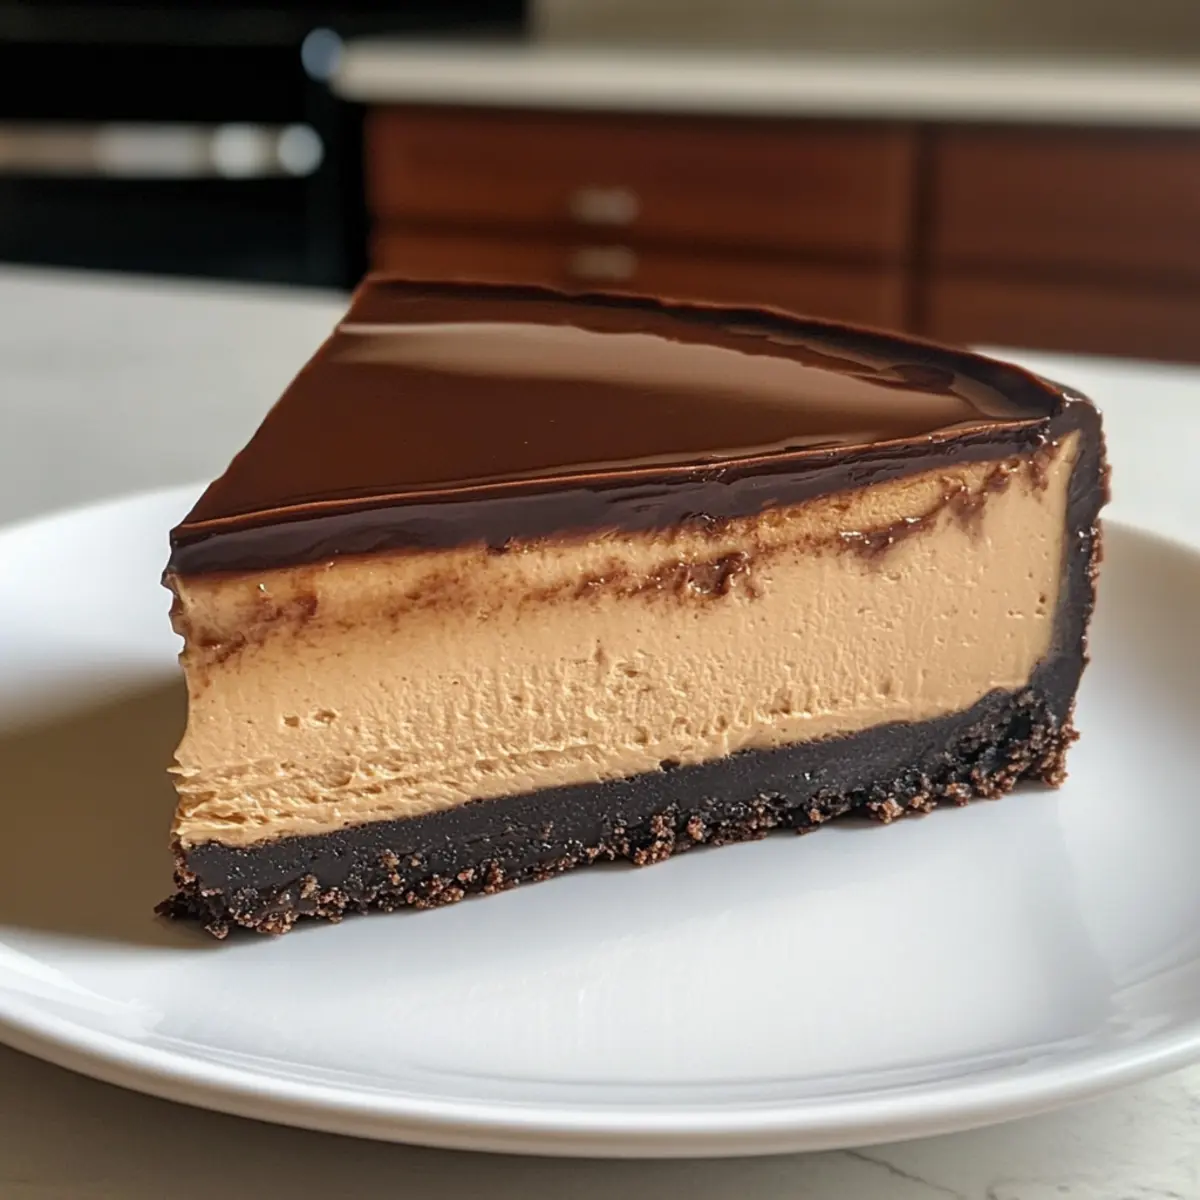
Once the ganache is ready, pour it over the set cheesecake layer, spreading it gently to cover the entire surface. Return the cheesecake to the refrigerator for an additional hour so the ganache solidifies. After this time, your decadent Espresso Cheesecake will be ready to slice and serve, featuring a luscious chocolate topping that complements the rich coffee flavor perfectly.
Espresso Cheesecake Recipe Variations
Feel free to explore your creativity with this delightful recipe and tailor it to your taste buds!
-
Dairy-Free: Swap cream cheese and heavy cream for coconut cream and a dairy-free cream cheese alternative for a luscious, vegan-friendly version.
-
Flavor Boost: Add 1 teaspoon of vanilla extract to the cheesecake filling for a hint of warmth that harmonizes beautifully with the espresso.
-
Textural Twist: Experiment with a crust made from crushed almonds or hazelnuts instead of Oreos for a nutty flavor and delightful crunch.
-
Decadent Layer: Drizzle a layer of caramel sauce between the cheesecake and ganache for an extra indulgent touch.
-
Chocolate Lovers: Incorporate chocolate chips into the cheesecake filling for delightful pockets of chocolate in every bite.
-
Spicy Kick: Add a dash of cinnamon or a pinch of cayenne pepper into the filling for a surprising and tasty warmth that complements the espresso.
-
Cold Brew Variation: Use cold brew coffee instead of espresso powder to create a smoother coffee flavor that works especially well for warm days.
-
Fancy Topping: Top your cheesecake with caramelized nuts or fresh berries, which add a pop of color and freshness alongside the rich ganache.
These variations are just suggestions, but feel free to customize them even further. If you’re in the mood for a no-bake chocolate delight, consider trying my Strawberry Cheesecake Bars next! Or, for a different kind of rich dessert, you might love the Cookies Cream Cheesecake. Enjoy making this recipe uniquely yours!
Make Ahead Options
These Espresso Cheesecake Recipe preparations are perfect for home cooks looking to save time on busy days! You can prepare the Oreo crust and fill it with the cheesecake mixture up to 24 hours in advance, then refrigerate it. Just cover the springform pan tightly with plastic wrap to ensure it remains fresh and creamy. If you’re in a pinch, you can also make the chocolate ganache up to 3 days prior; simply store it in an airtight container in the refrigerator. When it’s time to serve, pour the ganache over the cheesecake, and allow it to chill for an hour to ensure the ganache sets beautifully. This make-ahead approach offers the same decadent taste without the last-minute rush, making your dessert experience as enjoyable as possible!
Expert Tips for Espresso Cheesecake
• Crust Perfection: Press the cookie crust firmly using the back of a measuring cup. This prevents crumbling and ensures a stable base for your Espresso Cheesecake.
• Avoid Air Bubbles: Be gentle when mixing the cheesecake filling; overbeating can introduce air bubbles, leading to cracks during setting.
• Cool Your Ganache: Allow the ganache to cool slightly before pouring it over the cheesecake. This tip ensures a smooth, glossy finish without melting the filling.
• Chill Longer: For the best flavor and texture, refrigerate the cheesecake overnight if possible. This allows the flavors to meld beautifully and gives it a perfect set.
• Presentation Tip: For an elegant touch, garnish your cheesecake with chocolate shavings or cocoa powder right before serving, enhancing both flavor and appearance.
What to Serve with Decadent No-Bake Espresso Cheesecake?
Delightful pairings elevate this creamy dessert, creating a harmonious meal that your loved ones will cherish.
-
Fresh Whipped Cream: Light and airy, it adds a sweet touch that perfectly enhances the rich flavor of the cheesecake. A dollop on each slice transforms every bite into a cloud of sweetness.
-
Espresso or Coffee: Brew a cup of your favorite espresso or rich coffee for a perfect contrast to the cheesecake’s sweetness. The bitterness cuts through the creaminess, making each mouthful balanced and delightful.
-
Chocolate-Covered Espresso Beans: For an added crunch and an extra jolt of coffee flavor, sprinkle a few on top or serve on the side. Their boldness beautifully complements the cheesecake’s indulgence.
-
Fruit Compote: A fresh berry or cherry compote provides a tart contrast, elevating the rich cheesecake flavors. The acidity from the fruit adds a refreshing note that brightens each bite.
-
Cocoa Powder Dusting: Sprinkle unsweetened cocoa powder atop the cheesecake for an understated garnish that enhances both visual appeal and deepens the chocolate flavor.
-
Vanilla Ice Cream: A scoop of vanilla ice cream brings in a creamy coldness that mellows the espresso kick. Plus, its sweetness balances out the rich layers for a complete dessert experience.
-
Nutty Biscotti: Serve these crunchy delights alongside the cheesecake. Dipping them into your espresso or coffee adds a delightful textural contrast, perfect for snackers.
-
Chocolate Mint Tea or Mojito: A refreshing mint-infused drink can cleanse the palate and invigorate your senses, making it an ideal companion for this decadent dessert.
Indulge in these harmonious pairings as you celebrate the delightful flavors of this Espresso Cheesecake Recipe!
How to Store and Freeze Espresso Cheesecake
Fridge: Store your leftover espresso cheesecake in an airtight container for up to 3 days. This will keep the flavors fresh and the texture creamy.
Freezer: You can freeze the cheesecake for up to 1 month. Wrap it tightly with plastic wrap and then aluminum foil to prevent freezer burn. Thaw in the refrigerator before serving.
Serving After Storing: After refrigerating, allow the cheesecake to sit at room temperature for about 15-20 minutes for the best texture. This helps in maintaining that luscious creamy feeling when served.
Preventing Moisture: To avoid moisture buildup, consider placing a paper towel at the top of the storage container. This will help absorb excess moisture while the cheesecake is stored in the refrigerator.
Espresso Cheesecake Recipe FAQs
How do I choose the right espresso powder?
Absolutely! For the best flavor, look for high-quality espresso powder specifically labeled for baking, as it will provide a richer coffee taste. If you can’t find espresso powder, instant coffee granules can be a good substitute. Just make sure to use a strong brew to ensure your cheesecake is packed with that delightful coffee flavor.
How should I store leftovers?
You can store any leftover espresso cheesecake in an airtight container in the refrigerator for up to 3 days. This keeps it fresh and creamy! If you’re worried about moisture, placing a paper towel at the top of the container can help absorb excess moisture during storage.
Can I freeze the espresso cheesecake?
Yes! You can absolutely freeze your espresso cheesecake for up to 1 month. Wrap it tightly in plastic wrap followed by aluminum foil to prevent freezer burn. To serve, simply thaw it in the refrigerator overnight, helping to retain its creamy texture for the ultimate indulgence.
What can I do if my cheesecake cracks during the setting process?
Very! If your cheesecake develops cracks, don’t worry! This can often happen if the filling is overbeats, introducing air bubbles. To prevent this, mix gently and ensure you don’t overwhip the cream. If it already has cracks, consider adding chocolate shavings on top or serving it with a delicious sauce to disguise any imperfections.
Are there any dietary considerations I should keep in mind?
Absolutely! For gluten-sensitive individuals, simply swap the regular Oreo cookies for gluten-free chocolate cookies to maintain that delicious crust. Also, if you need a dairy-free option, margarine can replace the butter, and there are dairy-free cream cheeses available. Just be sure to read labels to avoid any unwanted allergens!
How long does it take for the cheesecake to set properly?
For optimal results, I recommend refrigerating your cheesecake for at least 4 hours to allow it to set. However, letting it chill overnight not only enhances the flavors but also ensures a perfect texture. Just imagine it—you take it out, slice it, and every bite is both creamy and dreamy!
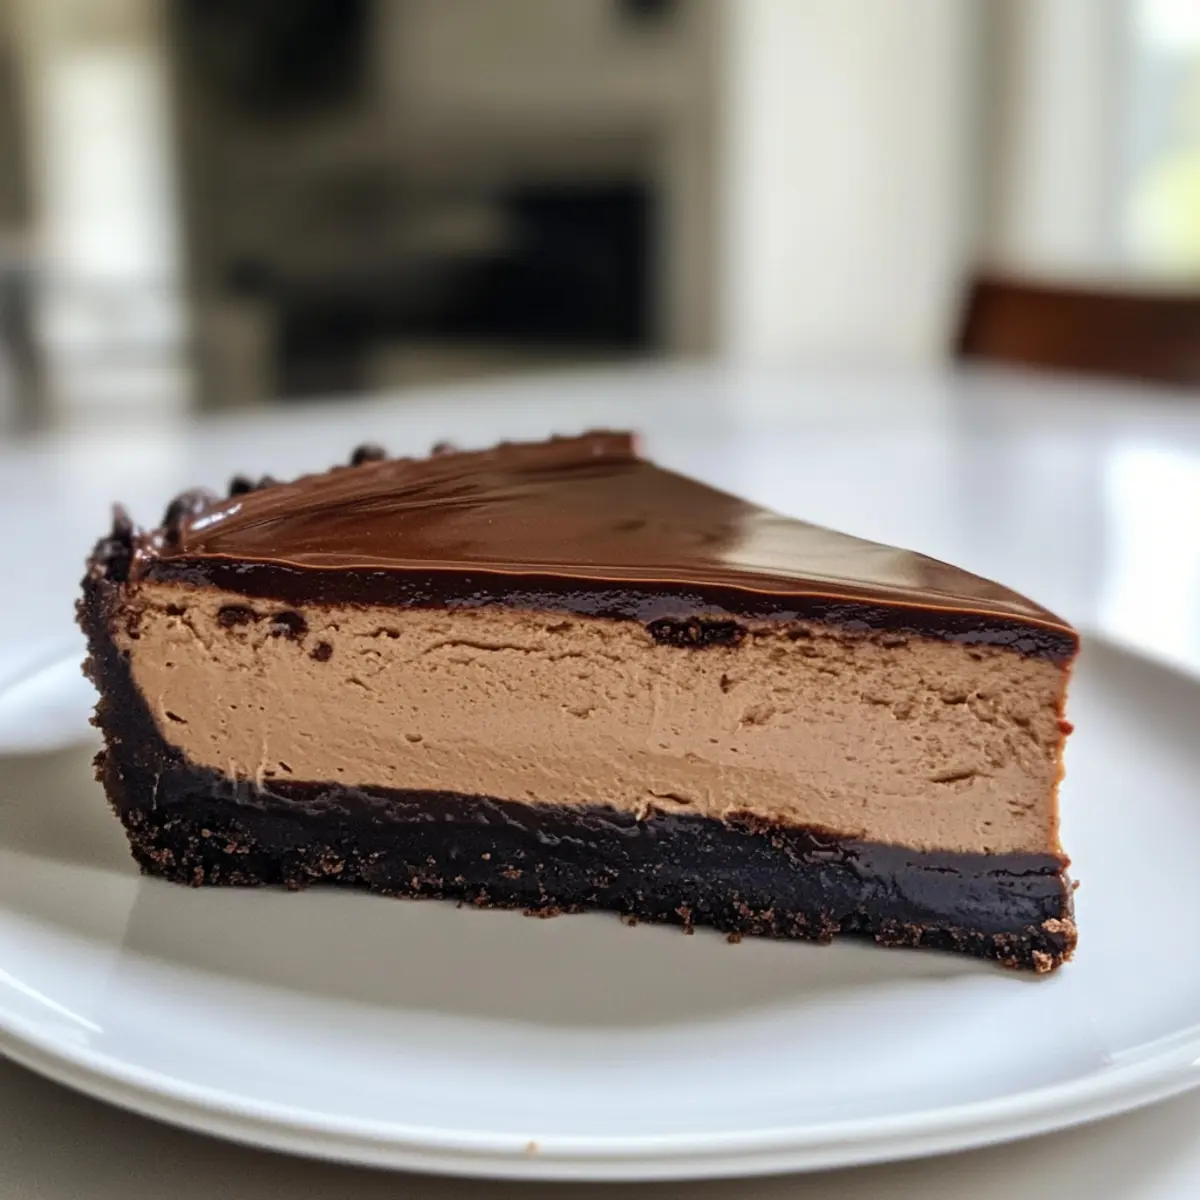
Creamy Espresso Cheesecake Recipe That Steals the Show
Ingredients
Equipment
Method
- Crush Oreo cookies into fine crumbs and mix with melted butter. Press into the bottom of a springform pan and chill for 10 minutes.
- Beat cream cheese with confectioners' sugar and espresso powder until smooth. Whip heavy cream and fold gently into the mixture.
- Pour cheesecake filling over the crust, smooth the top, and refrigerate for at least 4 hours.
- Heat dark chocolate and heavy cream in a saucepan, stirring until melted. Let cool slightly before pouring over the cheesecake.
- Refrigerate the cheesecake for an additional hour after adding ganache to allow it to set.