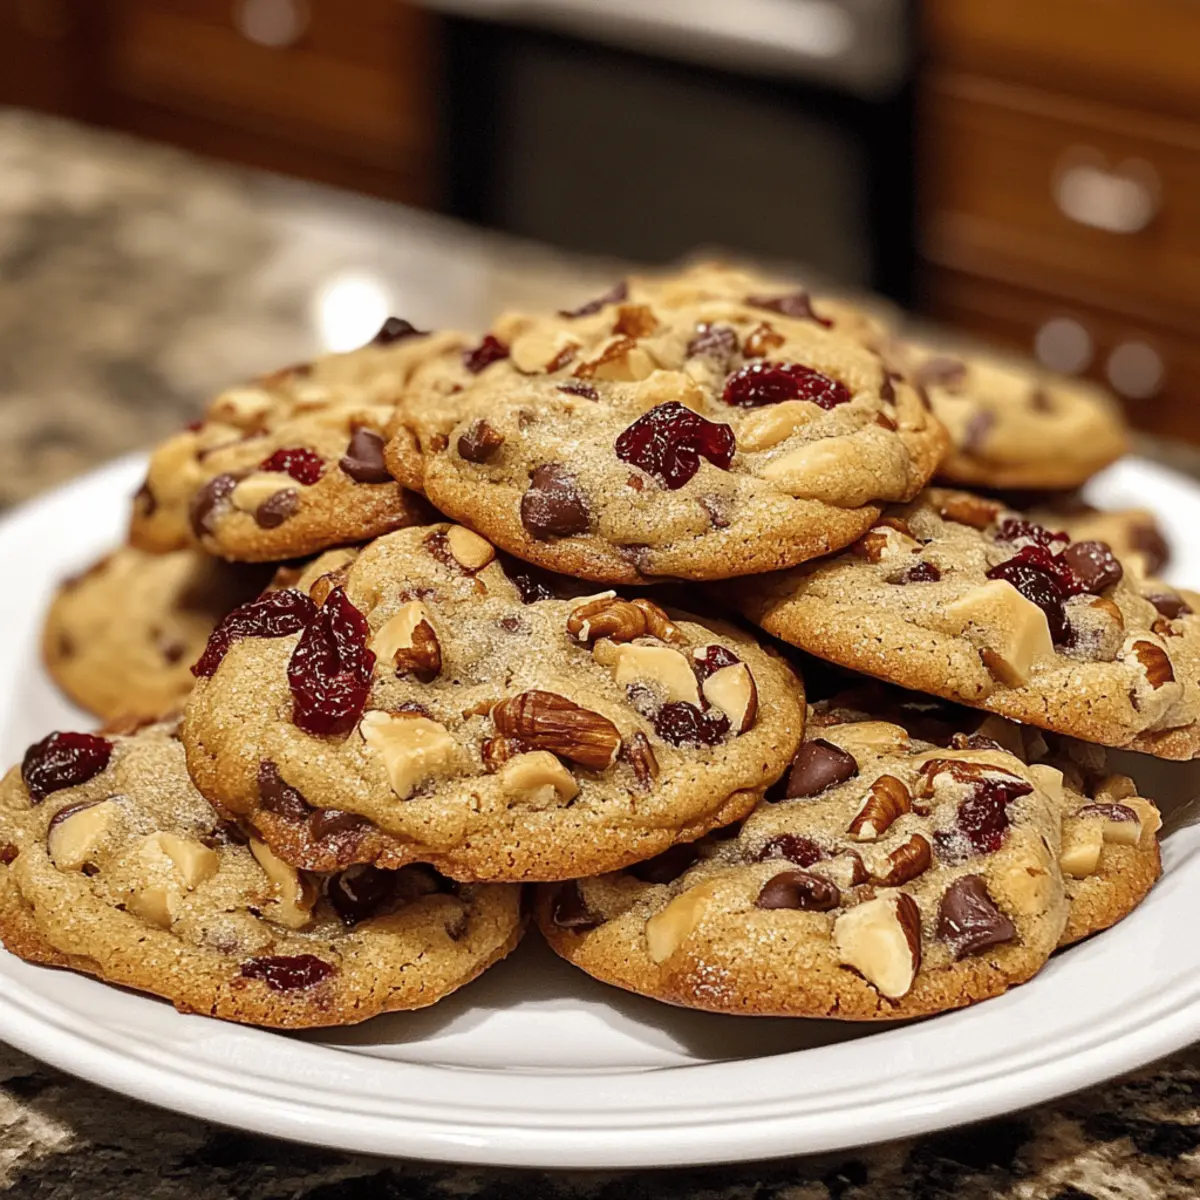
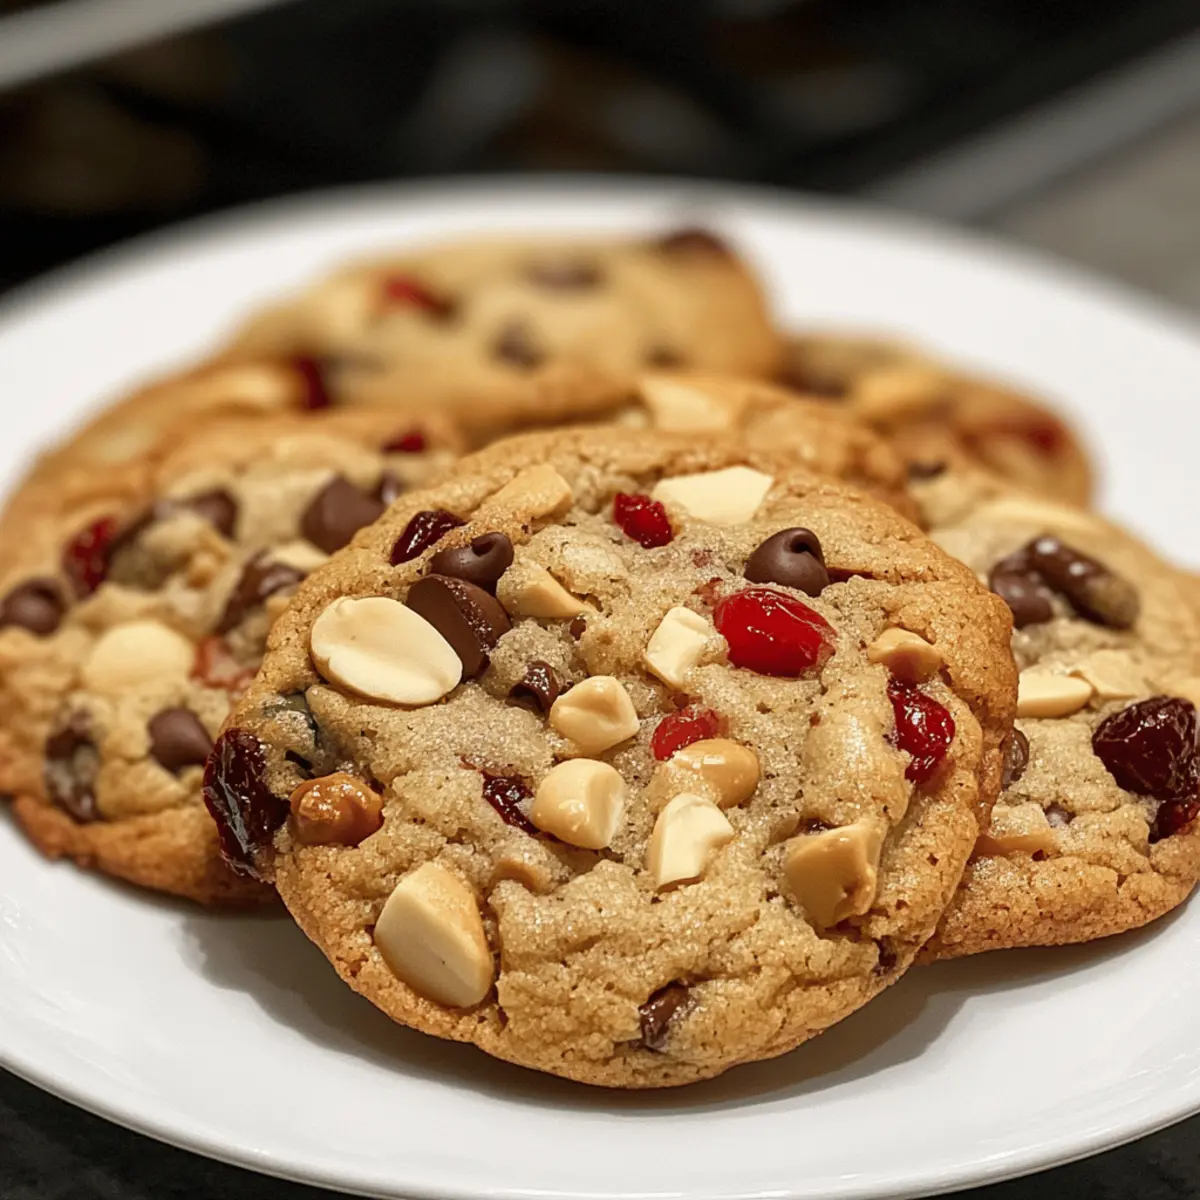
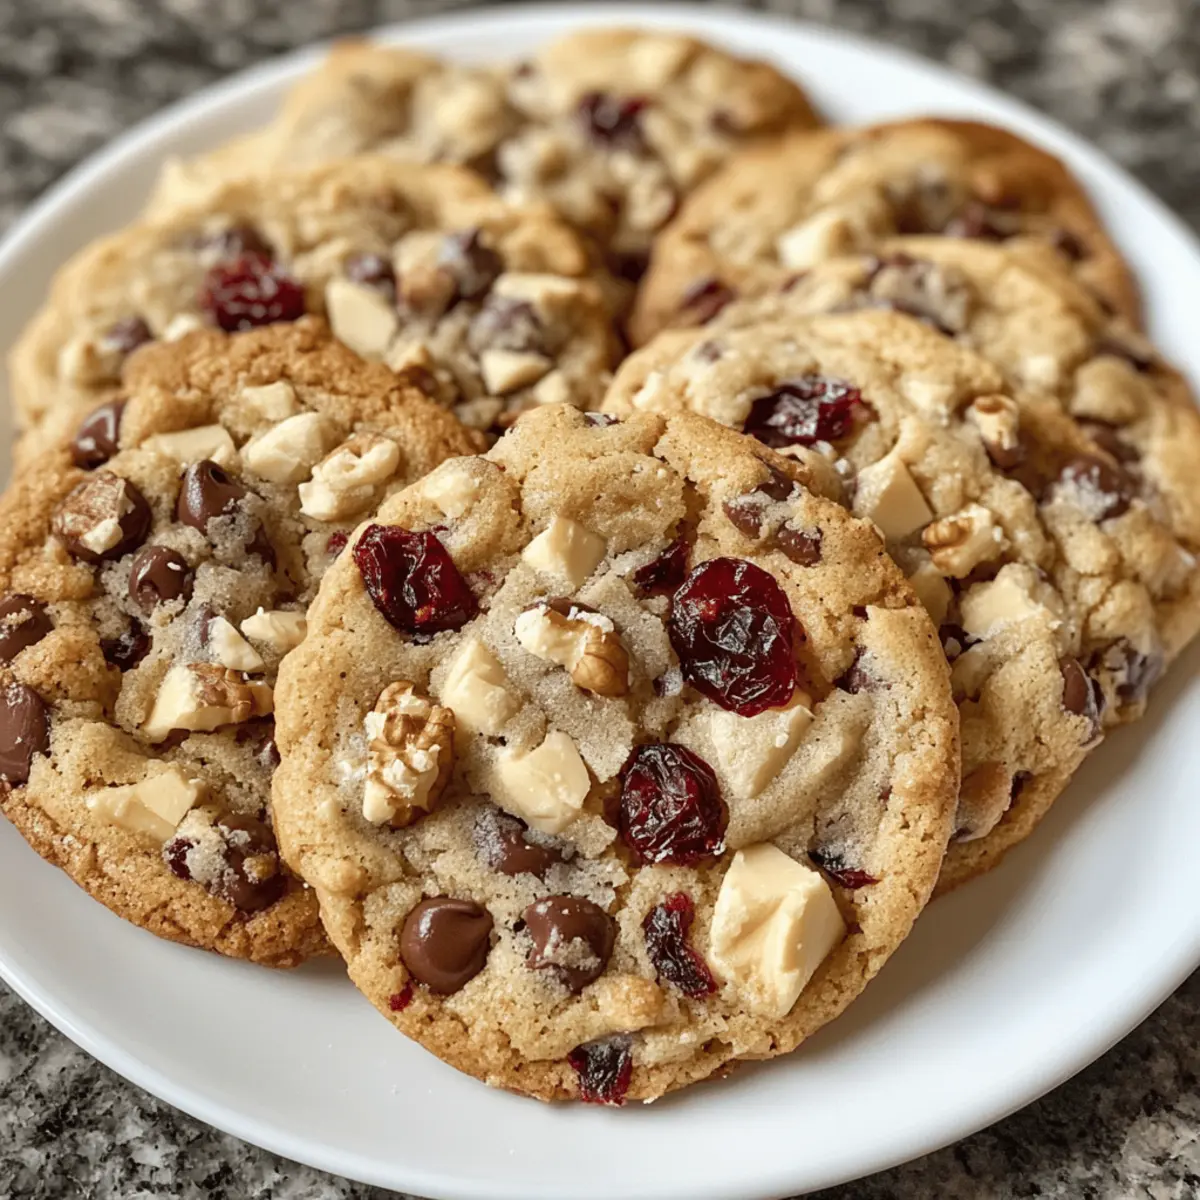
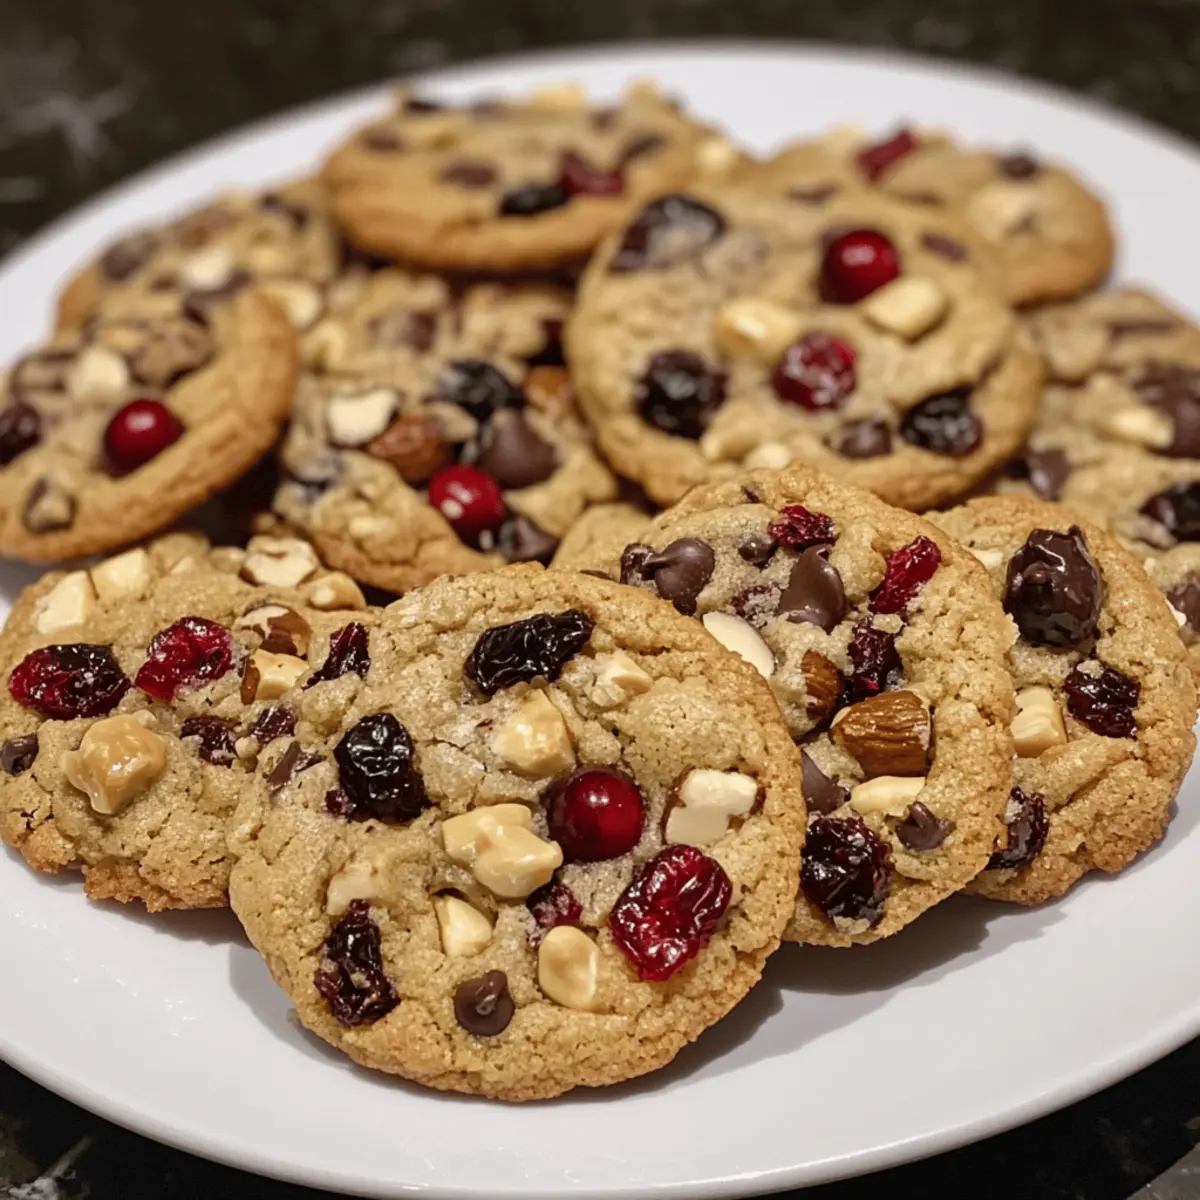
As I stood in my kitchen, the scent of melted butter and sugar wafting around me, it hit me: there’s something magical about creating Christmas Kitchen Sink Cookies. These delightful bites are a celebration of adaptability, letting your favorite ingredients shine while allowing creativity to take center stage. What’s more? They’re incredibly easy to whip up, perfect for both seasoned bakers and those new to the kitchen. These versatile treats not only fill your home with festive cheer but also double as an exceptional gift for loved ones. So, grab your mixing bowl and let’s dive into the world of customizable cookie bliss. What unique combination will you create for this holiday season?

Why Are These Cookies So Special?
Versatility at its finest: These Christmas Kitchen Sink Cookies allow you to mix and match ingredients, ensuring everyone finds their favorite combination. Easy to Make: With simple steps, you won’t need to be a baking pro to impress your friends and family. Perfect for Gifting: Pack them in a festive tin, and you have a heartfelt gift that’s sure to bring a smile. Rich, Chewy Texture: Experience the delightful contrast of a soft, chewy center with a crisp edge. Looking for more sweet inspiration? Try out my Chocolate Cranberry Cookies or whip up some delicious Bake Cookies Cream for a treat everyone will love this holiday!
Christmas Kitchen Sink Cookies Ingredients
For the Dough
- Flour – Provides structure for these Christmas Kitchen Sink Cookies, with all-purpose flour being the preferred choice.
- Sugar – Sweetens the cookies and helps achieve a lovely golden color; consider using brown sugar for added moisture.
- Butter – Ensures a rich, tender texture; softened butter blends easily, and vegan butter works as a great substitute.
- Eggs – Binds the ingredients together and adds moisture; use room temperature eggs for the best results.
For the Mix-Ins
- Chocolate Chips – Adds a sweet, chocolaty bite; feel free to choose dark, milk, or white chocolate chips.
- Nuts (e.g., walnuts, pecans) – Provides a delightful crunch; customize with your favorite nuts or leave them out for a nut-free version.
- Oats – Contributes a hearty texture and chewiness; you can swap these for shredded coconut for a tropical twist.
- Dried Fruit (optional) – Enhances sweetness and adds chewiness; cranberries and raisins are fantastic options.
For Garnishing (optional)
- Sea Salt Flakes – A sprinkle of sea salt on top adds an extra depth of flavor; it balances the sweetness perfectly.
- Sprinkles – For festive cheer, throw in some seasonal sprinkles to elevate the celebratory vibe of your cookies.
Step‑by‑Step Instructions for Christmas Kitchen Sink Cookies
Step 1: Preheat the Oven
Begin by preheating your oven to 350°F (175°C). This step ensures that your Christmas Kitchen Sink Cookies will bake evenly and develop that lovely golden color. While the oven warms up, gather your baking sheets and line them with parchment paper, readying your space for the delightful cookie dough.
Step 2: Combine Dry Ingredients
In a large mixing bowl, whisk together 2 cups of all-purpose flour, 1 teaspoon of baking soda, and ½ teaspoon of salt, ensuring there are no lumps. These dry ingredients provide the structure for your cookies. Set this bowl aside, as you’ll soon be incorporating it into your wet mixture, creating a well-balanced cookie dough.
Step 3: Cream Butter and Sugars
In another mixing bowl, use an electric mixer to cream together 1 cup of softened butter, ¾ cup of granulated sugar, and ¾ cup of brown sugar until the mixture is light and fluffy, about 2-3 minutes. The softened butter will blend beautifully, creating a rich, decadent base for your Christmas Kitchen Sink Cookies, inviting that mouthwatering flavor.
Step 4: Add Eggs and Vanilla
Once your butter and sugars are fluffy, add in 2 large room temperature eggs and 1 teaspoon of vanilla extract. Beat the mixture until smooth and well combined, ensuring that the eggs incorporate fully. This step adds moisture and richness to your cookie dough, making every bite a delightful treat.
Step 5: Mix Wet and Dry Ingredients
Gradually add the dry flour mixture to the wet mixture, gently stirring with a spatula or wooden spoon until just combined. Be careful not to overmix; the goal is a thick, cohesive dough for your Christmas Kitchen Sink Cookies. As the ingredients come together, you’ll see the wonderful consistency forming.
Step 6: Fold in the Mix-Ins
Now it’s time to customize your cookies! Fold in 1 cup of chocolate chips, 1 cup of oats, ¾ cup of chopped nuts, and any additional mix-ins like dried fruit. Stir gently to ensure even distribution throughout the dough, allowing each bite of your cookies to be packed with texture and flavor.
Step 7: Scoop the Cookie Dough
Using a cookie scoop or tablespoon, drop rounded spoonfuls of dough onto the lined baking sheets, spacing them about 2 inches apart. This spacing is important to allow the cookies to spread while baking, creating those lovely golden edges and chewy centers that make your Christmas Kitchen Sink Cookies irresistible.
Step 8: Bake the Cookies
Place the baking sheets in the preheated oven and bake for 10-12 minutes. Keep an eye on them; you’ll know they’re done when the edges are golden brown while the centers look slightly underbaked. This ensures that you achieve that perfect chewy texture that’s so beloved in these festive treats.
Step 9: Cool and Enjoy
Once baked, remove the cookies from the oven and allow them to cool on the baking sheets for 5 minutes. Then, carefully transfer them to wire racks to cool completely. As they cool, the magic of the Christmas Kitchen Sink Cookies will unfold, leaving your kitchen filled with delightful aromas and your heart filled with joy.

Expert Tips for Christmas Kitchen Sink Cookies
- Soften Butter Properly: Ensure your butter is just soft enough to blend easily. If it’s too melted, your cookies may turn out greasy.
- Don’t Overmix: Mix until combined; overmixing can create tough cookies. Keep that dough gentle for the best Christmas Kitchen Sink Cookies!
- Experiment with Add-Ins: Feel free to swap out chocolate chips for butterscotch or add spices like cinnamon. Make them your own!
- Cool Before Storing: Always let cookies cool completely before transferring to an airtight container. This helps maintain their chewy texture.
- Chill the Dough: For a deeper flavor and firmer texture, chill the dough for 30 minutes before baking. It’s worth the wait!
- Watch the Baking Time: Keep a close eye on the cookies during the last few minutes of baking. Slightly underbaked cookies will give that perfect chewy bite.
How to Store and Freeze Christmas Kitchen Sink Cookies
Room Temperature: Store your cookies in an airtight container at room temperature for up to one week to keep them fresh and chewy.
Fridge: If you prefer a longer shelf life, you may refrigerate the cookies for up to 2 weeks, ensuring they’re well-wrapped to prevent dryness.
Freezer: For longer storage, freeze the cookies in a single layer on a baking sheet, then transfer to a zip-top bag for up to 3 months. Thaw at room temperature before enjoying.
Reheating: To restore the warmth and chewiness, microwave an individual cookie for about 10-15 seconds, or place them in a preheated oven at 350°F (175°C) for 5 minutes.
Make Ahead Options
These Christmas Kitchen Sink Cookies are a fantastic option for meal prep, saving you precious time during the busy holiday season! You can prepare the cookie dough up to 24 hours in advance; simply scoop the dough onto your lined baking sheets, cover tightly with plastic wrap, and refrigerate. This not only enhances the flavor but also helps maintain that rich, chewy texture. If you’re looking to extend the prep, you can freeze the dough for up to 3 months. When you’re ready to bake, just preheat your oven, and add a couple of extra minutes to the baking time for frozen dough. With this simple prep, you can enjoy fresh-baked Christmas Kitchen Sink Cookies with minimal fuss!
Christmas Kitchen Sink Cookies Variations
Feel free to get creative with these delightful cookies and customize them to fit your holiday cravings!
-
Nut-Free:
Substitute nuts with sunflower or pumpkin seeds for a crunchy texture without the allergens. These seeds add a delightful nuttiness without overpowering the sweetness! -
Chocolate Twist:
Try swapping chocolate chips for butterscotch or peanut butter chips for a unique twist. Each cookie bite will surprise your taste buds in the best way! -
Spice it Up:
Add a teaspoon of cinnamon or nutmeg to your dough for a warm, festive flavor. These spices bring a sense of holiday cheer and warmth to each bite. -
Coconut Craze:
For a tropical flair, replace oats with shredded coconut. This gives your cookies a chewy texture and a hint of paradise in every bite. The combination of coconut and chocolate is simply heavenly! -
Fruity Delight:
Incorporate dried mango or apricots instead of the usual cranberries or raisins. Their bright flavors will shine through and offer a delightful surprise in every bite. -
Gluten-Free Option:
Use a gluten-free flour blend instead of all-purpose flour. This way, everyone can enjoy your delicious cookies, regardless of dietary needs! -
Seasonal Cheer:
Top your baked cookies with a sprinkle of festive holiday sprinkles or edible glitter for that extra holiday sparkle. It’ll make your treats a feast for the eyes! -
Chocolate Drizzle:
Melt some chocolate and drizzle it over your cooled cookies for added decadence. This is perfect for those who can never have too much chocolate in their lives!
Looking for more sweet inspiration? You might also enjoy my Chocolate Cranberry Cookies or whip up some delicious Bake Cookies Cream. Happy baking!
What to Serve With Christmas Kitchen Sink Cookies?
Indulging in the festive joy of these kitchen sink cookies is just the beginning—pair them with delightful accompaniments to create a holiday feast.
-
Warm Hot Cocoa: The creamy chocolate flavor and warmth of cocoa perfectly complement the sweetness of these cookies, creating a cozy treat.
-
Vanilla Ice Cream: A scoop of vanilla ice cream adds a delightful creaminess, balancing the chewy texture and deepening the festive experience.
-
Milk: A classic pairing, chilled milk enhances the flavors of the cookies and brings a nostalgic touch to every bite.
-
Festive Fruit Salad: A mix of seasonal fruits like pomegranate, mandarin oranges, and apples adds freshness and brightens up the rich flavors of the cookies.
-
Spiced Chai Latte: The aromatic spices of chai pair beautifully with the sweet richness of the cookies, creating a harmonious holiday experience.
-
Nutty Candied Pecans: These crunchy, sweet nuts introduce a delightful texture while echoing the flavors found in the cookies.
-
Caramel Sauce: Drizzling warm caramel over the cookies will elevate them to a whole new indulgence, enhancing their festive delight.
-
Peppermint Bark: The crispness of peppermint bark offers a refreshing contrast to the cookies’ rich flavors, making your dessert spread even more festive.
-
Eggnog: Creamy and spiced, eggnog is the quintessential holiday drink that pairs flawlessly with the sweetness of Christmas Kitchen Sink Cookies for a delightful treat.

Christmas Kitchen Sink Cookies Recipe FAQs
What should I look for when selecting ingredients?
When picking ingredients for your Christmas Kitchen Sink Cookies, opt for fresh, quality items. For flour, all-purpose is ideal without need for substitutes. Choose butter that is soft, not overly melted, to ensure a perfect blend. When selecting chocolate chips, pick your favorite type—dark, milk, or even white chocolate work beautifully. If using dried fruits, make sure they are not too hard or dry, as this can affect the texture of your cookies.
How long can I store my cookies and what’s the best method?
Absolutely! Your cookies will stay fresh in an airtight container at room temperature for up to one week. For optimal freshness, consider wrapping each cookie individually if you plan to share them. You can also refrigerate them for up to 2 weeks, but ensure they’re well-covered to prevent them from drying out.
Can I freeze these cookies for later?
Yes, you can! To freeze your Christmas Kitchen Sink Cookies, start by placing them in a single layer on a baking sheet. Freeze until solid, then transfer the cookies to a zip-top bag or airtight container for up to 3 months. When you’re ready to enjoy, just thaw them at room temperature and you’re good to go! For a warm treat, heat in the microwave for 10-15 seconds or in the oven at 350°F (175°C) for about 5 minutes.
What if my cookie dough is too crumbly?
If you find your dough is too crumbly, don’t worry! This can happen if you accidentally added too much flour or not enough liquid. To remedy this, simply add a tablespoon of softened butter or a splash of milk gradually while mixing until the dough comes together nicely. Remember not to overmix—this can make your cookies tough!
Are there any allergy considerations I should be aware of?
Certainly! If you’re baking for friends or family with allergies, consider substituting or omitting ingredients. For a nut allergy, feel free to replace nuts with seeds, such as pumpkin or sunflower seeds. Additionally, using gluten-free flour in place of all-purpose flour is a great option for those with gluten sensitivities. Make sure to double-check labels on ingredients for potential allergens as well!
Can I use alternative sweeteners for these cookies?
Very! You can experiment with lower-sugar substitutes if you’re looking for healthier options. For instance, coconut sugar, honey, or maple syrup can be used in place of granulated sugar. Just keep in mind that these substitutes can slightly change the texture and moisture level of your Christmas Kitchen Sink Cookies, so adjust accordingly!

Festive Christmas Kitchen Sink Cookies for Sweet Holiday Joy
Ingredients
Equipment
Method
- Preheat the oven to 350°F (175°C) and line baking sheets with parchment paper.
- Whisk together the flour, baking soda, and salt in a large mixing bowl.
- Cream together the butter, granulated sugar, and brown sugar until light and fluffy.
- Add the eggs and vanilla extract, mixing until smooth.
- Gradually add the dry mixture to the wet mixture until just combined.
- Fold in the chocolate chips, oats, nuts, and any other mix-ins.
- Scoop rounded spoonfuls of dough onto the lined baking sheets, spacing them well.
- Bake for 10-12 minutes until the edges are golden brown.
- Let the cookies cool on the baking sheets for 5 minutes before transferring to wire racks.

