

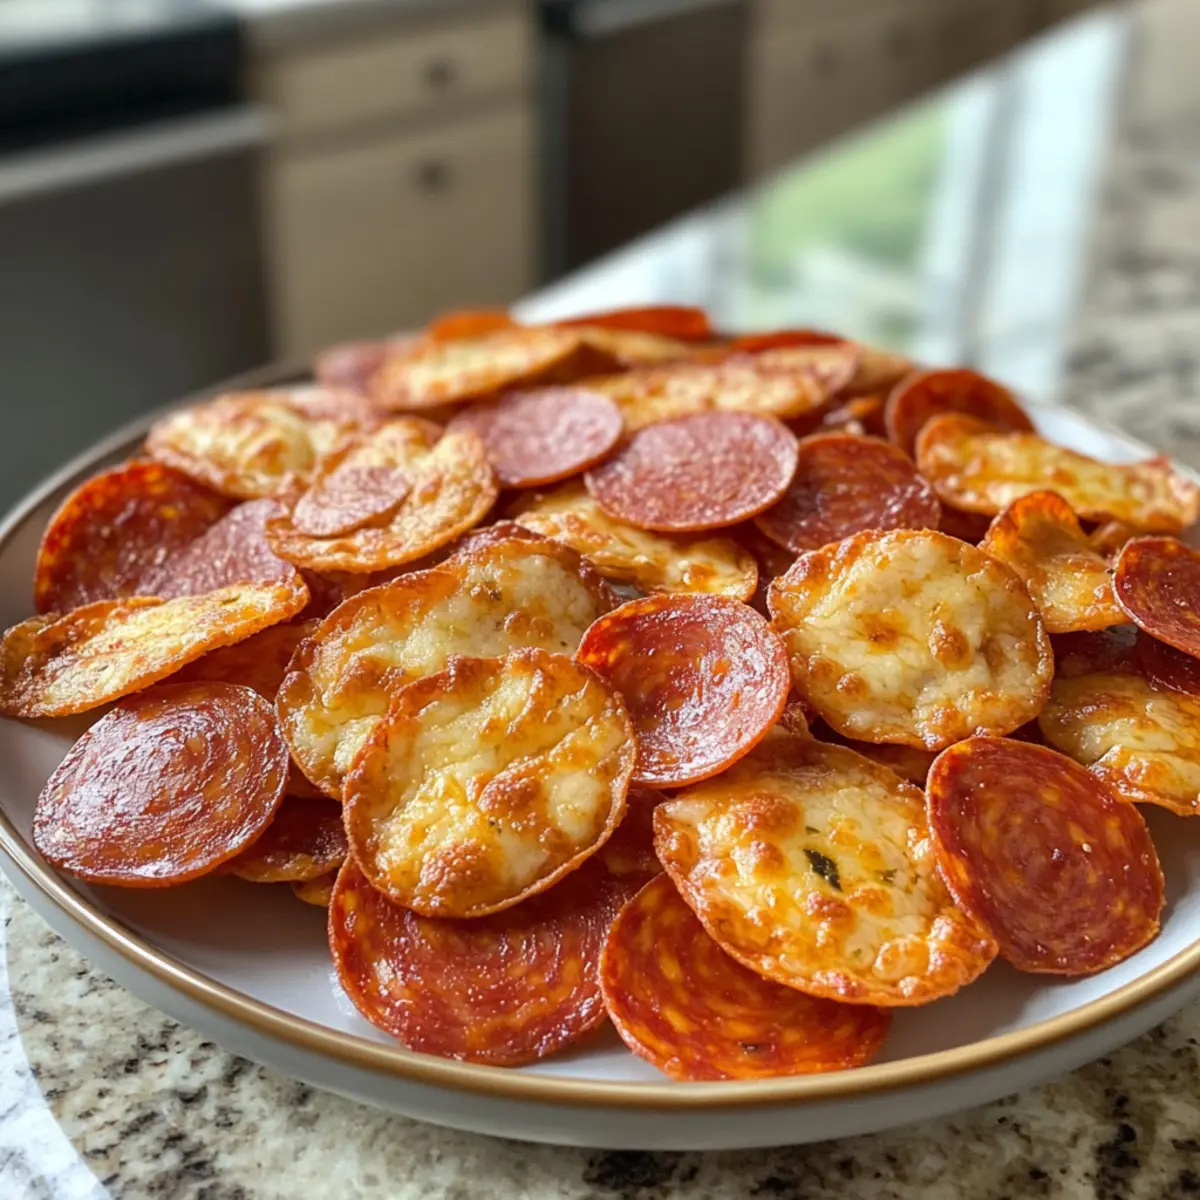
The moment the timer dings, I can hardly contain my excitement. The aroma of Keto Pepperoni Cheese Crisps fills the kitchen, transforming it into a haven of savory delight. These crispy snacks are not just easy to whip up—whether you choose to bake them, microwave, or fry in a skillet—they are also a satisfying low-carb alternative to those greasy chips we often reach for. I love that they combine the rich flavors of cheese with crispy pepperoni, creating bite-sized wonders that are perfect for munching anytime. Plus, they’re gluten-free and grain-free, making them a hit with everyone! Curious how to make these addictive little treats your new go-to snack? Let’s dive into the details!
Why are Keto Pepperoni Cheese Crisps amazing?
Crunchy Delights: These Keto Pepperoni Cheese Crisps offer a satisfying, crispy texture that’s reminiscent of your favorite chips but without the guilt.
Quick to Make: With multiple preparation methods available (oven, microwave, or skillet), these snacks can be ready in minutes—perfect for busy weeknights or spontaneous gatherings.
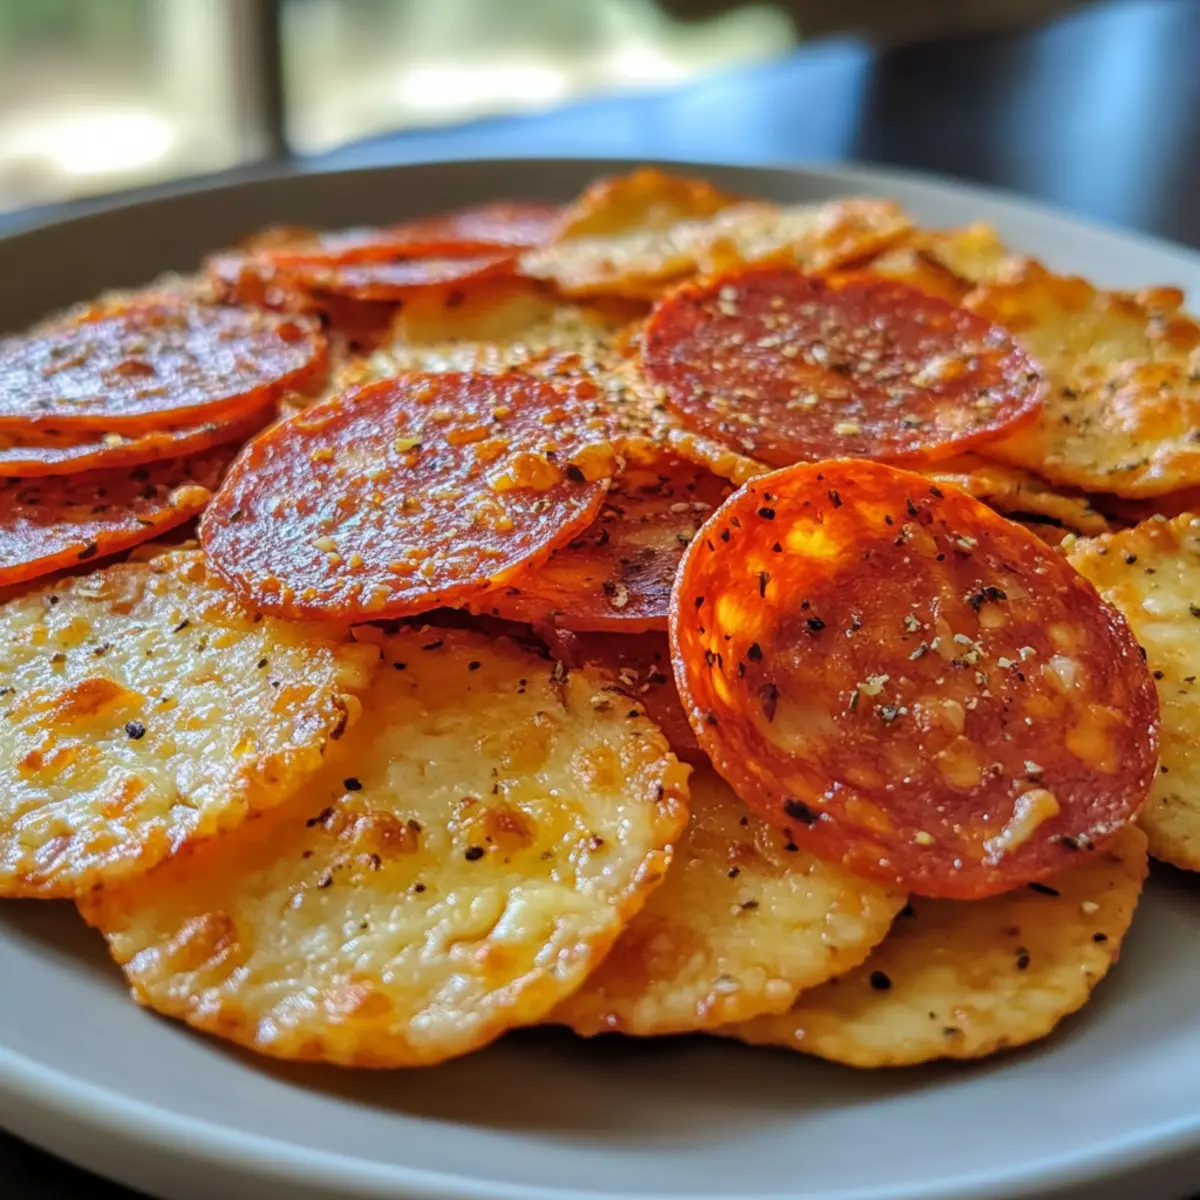
Flavorful Combinations: The savory mix of melted cheese and pepperoni provides robust flavor in each bite. Experiment with different cheese varieties or spices for a unique twist!
Diet-Friendly: Ideal for those on a keto or low-carb diet, they contain virtually zero net carbs and are gluten-free and grain-free.
Perfect for Sharing: Whether it’s movie night or a casual get-together, these crisps are bound to impress your friends and family. They also pair seamlessly with dips like guacamole or salsa for added enjoyment.
Check out this delightful Cheddar Mac Cheese for more delicious snack ideas!
Keto Pepperoni Cheese Crisps Ingredients
For the Cheese Crisps
• Cheddar Cheese – a classic choice that melts beautifully and provides a rich flavor.
• Mozzarella Cheese – offers a chewy texture and mild taste that blends perfectly with pepperoni.
• Parmesan Cheese – for a sharp, nutty taste that adds extra umami to your crisps.
For the Toppings
• Pepperoni Slices – these add a smoky, savory flavor; swap for salami or turkey slices for variety.
• Garlic Powder – enhances the flavor profile and pairs beautifully with the cheese.
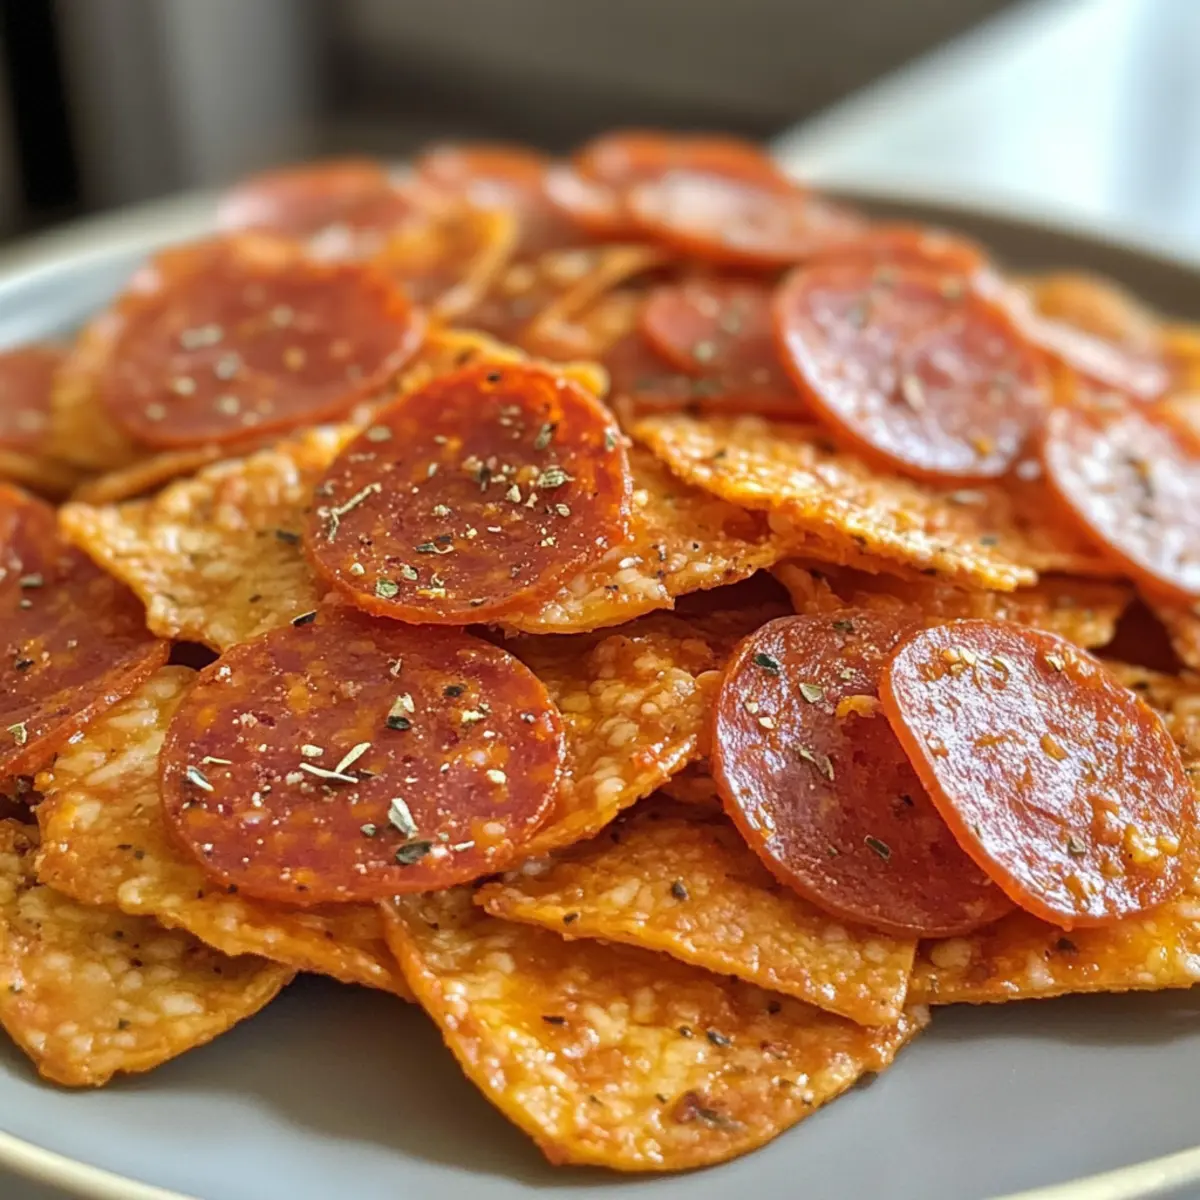
• Paprika – adds a subtle smoky kick, making the crisps even more delightful.
For Serving (Optional)
• Guacamole – a creamy dip that pairs excellently with the crunchy crisps.
• Salsa – add freshness and zest for a perfect bite-sized appetizer.
Get ready to whip up these lip-smacking Keto Pepperoni Cheese Crisps that will keep you coming back for more!
Step‑by‑Step Instructions for Keto Pepperoni Cheese Crisps
Step 1: Preheat the Oven
Begin by preheating your oven to 400°F (200°C). This temperature is perfect for achieving that crispy texture in your Keto Pepperoni Cheese Crisps. Ensure your oven is fully heated before moving on to the next step; this will help the cheese melt evenly and become golden brown.
Step 2: Prepare the Baking Sheet
Line a baking sheet with parchment paper to prevent sticking and make cleanup easier. Use this time to gather your shredded cheese and pepperoni slices, ensuring you have your cheese combinations ready—choose cheddar, mozzarella, or parmesan, depending on your taste preference.
Step 3: Form the Cheese Mounds
On the prepared baking sheet, scoop small, spaced-apart mounds of shredded cheese. Each mound should be about two tablespoons in size; this spacing allows the cheese to melt and spread without overlapping. Visualize about 2 inches between each mound for optimal crisping.
Step 4: Add the Pepperoni
Top each cheese mound with a slice of pepperoni, pressing it down slightly to secure it. The pepperoni will not only add delicious flavor but will also make for an attractive crispy snack. Feel free to sprinkle a pinch of garlic powder or paprika for added flavor before baking.
Step 5: Bake to Crisp Perfection
Place the baking sheet in the preheated oven and bake for 5 to 7 minutes. Keep a close eye on them; once the cheese melts and the edges turn golden brown, they are ready to come out. The delightful aroma will signal that your Keto Pepperoni Cheese Crisps are almost done!
Step 6: Cool on Baking Sheet
Remove the baking sheet from the oven and allow the crisps to cool for a few minutes directly on the parchment paper. This cooling stage is crucial, as it allows the crisps to harden and become wonderfully crunchy. Don’t rush this step; patience rewards you with the perfect texture.
Step 7: Remove and Serve
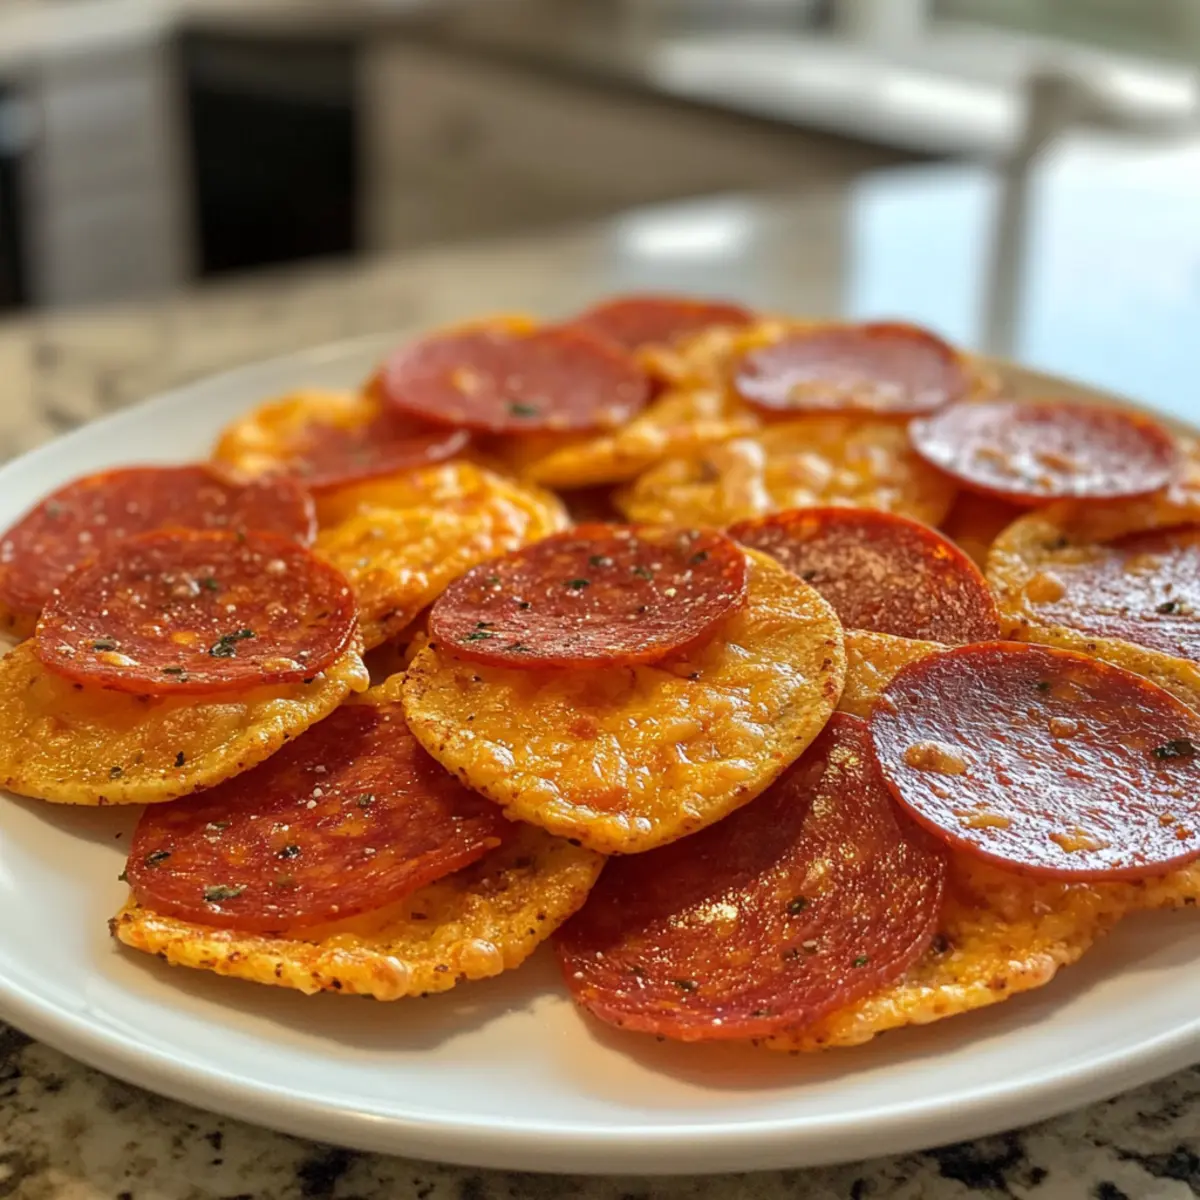
Carefully lift the cooled crisps from the parchment paper using a spatula. Transfer them to a serving platter or an airtight container. These Keto Pepperoni Cheese Crisps are now ready to be enjoyed alone or paired with your favorite dips, creating the perfect guilt-free snack for any occasion.
Tips for the Best Keto Pepperoni Cheese Crisps
-
Choose Quality Cheese: Select cheese with no fillers to achieve the crispiest texture. High-quality cheese melts evenly and enhances the flavor of your Keto Pepperoni Cheese Crisps.
-
Mind Your Portions: Be careful not to crowd the baking sheet. Each mound of cheese should have enough space to spread out and crisp up nicely, preventing soggy treats.
-
Cooling is Key: Allow the crisps to cool completely on the parchment paper. This step is vital for maintaining their crunch. Rushing will leave you with chewy snacks instead!
-
Experiment Wisely: Don’t be afraid to play with flavors by adding spices like garlic powder or herbs to the cheese before baking. Just remember, a little goes a long way in your Keto Pepperoni Cheese Crisps!
-
Storage Savvy: If you have leftovers, store them in an airtight container. Reheat briefly in the oven or microwave to bring back that beloved crunch when you’re ready to enjoy them again.
Make Ahead Options
These Keto Pepperoni Cheese Crisps are perfect for busy home cooks looking to save time! You can prepare the cheese mounds ahead of time, storing them in the refrigerator for up to 24 hours before baking. Simply follow the initial steps of forming the cheese mounds on parchment and topping with pepperoni, then cover with plastic wrap and refrigerate. When you’re ready to enjoy, preheat your oven, bake the crisps for 5-7 minutes until golden, and allow them to cool on the baking sheet for that extra crunch. This way, you’ll have a delightfully quick, low-carb snack ready with minimal effort!
What to Serve with Keto Pepperoni Cheese Crisps?
Elevate your snacking experience by pairing these crunchy delights with complementary flavors and textures that excite the palate.
-
Guacamole: This creamy dip adds a fresh twist, perfectly balancing the savory crunch of the crisps with its rich, smooth texture. A match made in snack heaven!
-
Salsa: A zesty and tangy salsa will brighten up your plate, creating a refreshing contrast that heightens the enjoyment of each bite. The fresh ingredients sing with every crunch.
-
Cheese Dip: Indulge in a warm cheese dip for an extra cheesy delight that takes your crispy treats to the next level. Not only does it add fun flavors, but it also intensifies that cheesy goodness!
-
Cauliflower Rice Salad: For a heartier side, serve a cool cauliflower rice salad loaded with veggies. Its crunch and freshness balance the richness of the crisps and keep the meal light yet satisfying.
-
Pepperoni and Cheese Platter: Extend the theme by presenting a platter filled with assorted cheeses, pepperoni, and olives. This not only pairs beautifully but also allows guests to create their perfect snack bites.
-
Sparkling Water or Iced Tea: Refresh your palate with a glass of sparkling water or a cool iced tea. The bubbly or tea flavors invigorate the senses and complement the overall enjoyment of your snacking experience.
How to Store and Freeze Keto Pepperoni Cheese Crisps
Airtight Container: Store the crisps in an airtight container at room temperature for up to 3 days. This keeps them fresh and crunchy, ready to satisfy your snack cravings.
Fridge: If you want to extend their shelf life, place the crisps in the fridge for up to a week, although this may slightly affect their crispness.
Freezer: For longer storage, freeze the crisps in a single layer inside an airtight bag or container for up to 2 months. When ready to enjoy, thaw them in the fridge and reheat in the oven for that fresh-out-of-the-oven taste.
Reheating: To restore the crunch of your Keto Pepperoni Cheese Crisps, reheat them in a preheated oven at 350°F for about 5 minutes, or microwave briefly at low power, watching carefully to avoid sogginess.
Keto Pepperoni Cheese Crisps Variations
Customize your Keto Pepperoni Cheese Crisps into delightful new treats that will surprise your taste buds!
-
Dairy-Free: Use dairy-free cheese alternatives to create a lactose-free version that still packs a crunch.
-
Spicy Kick: Add a sprinkle of crushed red pepper flakes to the cheese for those who love a little heat in their snacks. The balance of spicy and savory will have your taste buds dancing!
-
Herb-Infused: Incorporate dried herbs like oregano or basil into your cheese mixture for an Italian twist. The aroma while baking will transport you to your favorite Italian trattoria.
-
Cheese Variety: Combine different cheeses such as Gouda or pepper jack with mozzarella for a complex flavor profile. Each type will add its unique character to the crisps, making every bite a new experience.
-
Nutty Flavor: Sprinkle toasted sesame seeds on top before baking for added crunch and a nutty flavor. It’ll elevate your crisps from simple to sensational!
-
Sweet Treats: Drizzle melted dark chocolate on cooled crisps for an unexpected sweet-and-savory combination. It sounds unusual, but trust me; the chocolate pairs wonderfully with the pepperoni.
-
Vegetarian Option: Replace pepperoni with roasted red pepper slices or mushrooms for a savory veggie alternative that everyone will love. You’ll enjoy the same satisfying crunch minus the meat.
Consider pairing these tasty crisps with a refreshing guacamole or a zesty salsa. They make for an excellent complement to your homemade Cheeseburger Pockets Snack or alongside delightful Cookies Cream Cheesecake. Enjoy exploring these variations!
Keto Pepperoni Cheese Crisps Recipe FAQs
What type of cheese is best for Keto Pepperoni Cheese Crisps?
Absolutely! The best cheese for making these crisps includes cheddar, mozzarella, or parmesan. I recommend using cheese that’s free from fillers, as this helps achieve a beautiful, crisp texture. Cheddar provides a robust flavor, while mozzarella offers a delightful chewiness. Parmesan adds a sharp, nutty taste that elevates the crisps even further!
How should I store Keto Pepperoni Cheese Crisps?
Store your Keto Pepperoni Cheese Crisps in an airtight container at room temperature for up to 3 days. If you want to keep them fresh for a bit longer, they can be refrigerated for up to one week, although the texture might vary. Just ensure they’re completely cooled before sealing them up!
Can I freeze Keto Pepperoni Cheese Crisps?
Very! Freezing is a great option for these crisps. To freeze, arrange them in a single layer on a baking sheet and place them in the freezer until solid. Then, transfer the crisps to an airtight container or freezer bag, ensuring to remove as much air as possible. They’ll stay fresh for up to 2 months this way. When you’re ready to enjoy, just thaw in the fridge and reheat for that delightful crunch!
What can I do if my crisps are chewy instead of crunchy?
Oh no, nobody wants chewy crisps! If your Keto Pepperoni Cheese Crisps come out chewy, it could be due to overcrowding the baking sheet or not cooling them properly after baking. To fix this, try spacing your cheese mounds further apart next time, and give them ample time to cool on the parchment paper. This will allow the moisture to escape, ensuring a perfect crunch!
Are there any dietary considerations I should keep in mind?
Definitely! These Keto Pepperoni Cheese Crisps are gluten-free and grain-free, making them suitable for those on keto or looking to reduce carbs. If you or anyone you’re serving has dairy allergies, consider using dairy-free cheese alternatives, or simply enjoy the crisps without the cheese entirely. Always check labels for specific dietary needs!
Keto Pepperoni Cheese Crisps: Crunchy, Guilt-Free Snack Delight
Ingredients
Equipment
Method
- Preheat the oven to 400°F (200°C) to ensure crispy texture.
- Line a baking sheet with parchment paper.
- Scoop small, spaced-apart mounds of shredded cheese on the prepared baking sheet.
- Top each cheese mound with a slice of pepperoni and sprinkle with garlic powder and paprika.
- Bake for 5 to 7 minutes until the cheese melts and edges are golden brown.
- Allow the crisps to cool for a few minutes on the baking sheet before serving.
- Carefully lift the cooled crisps and transfer them to a serving platter or an airtight container.