

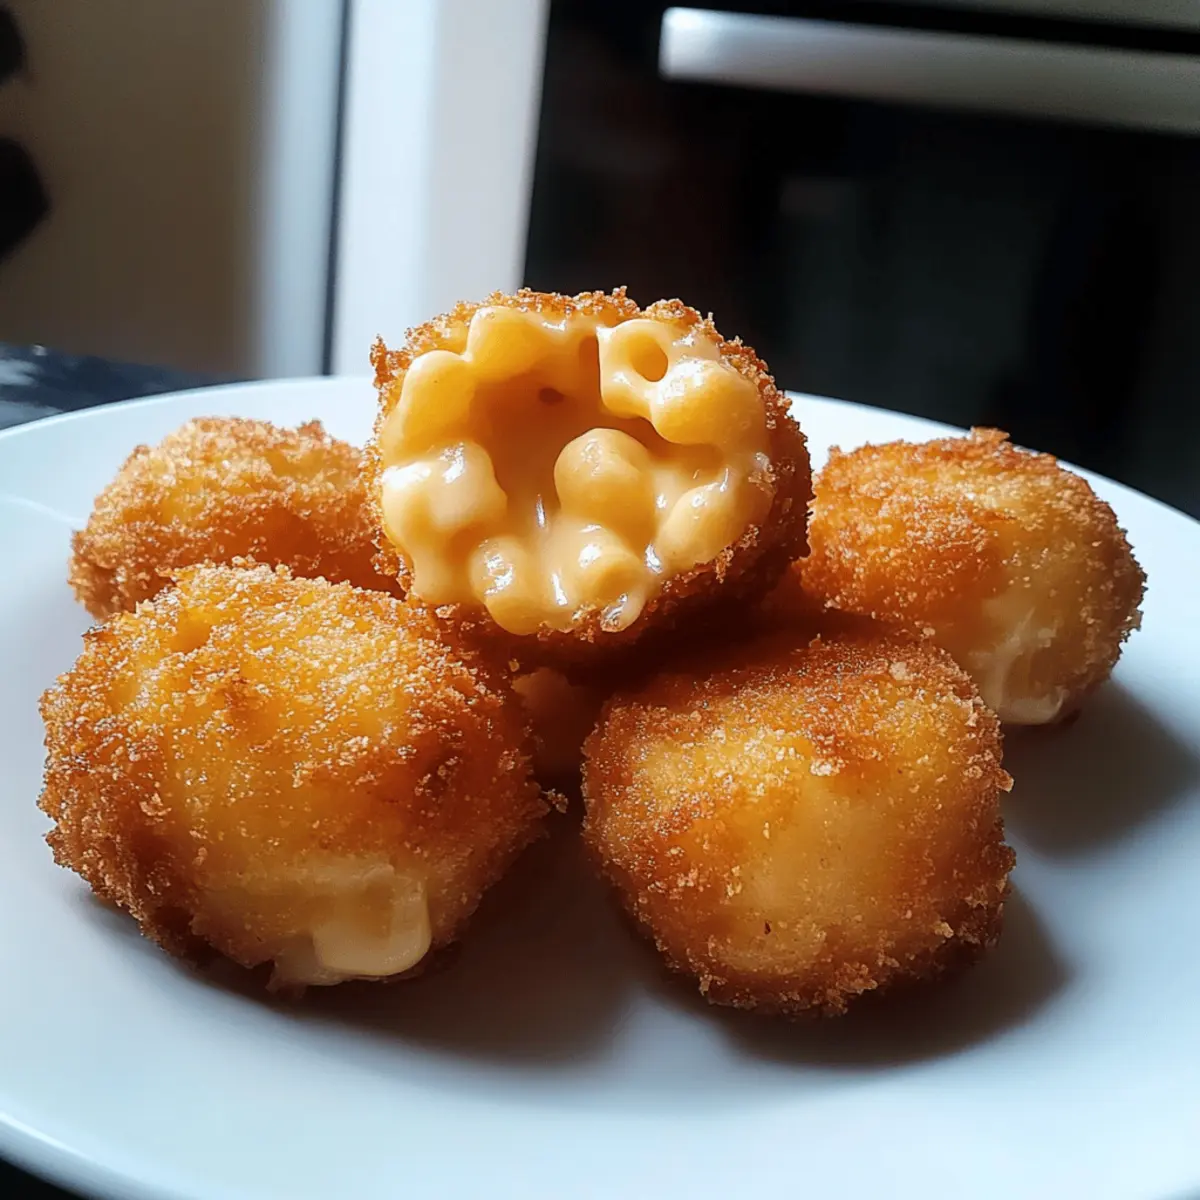
As I bit into the crispy exterior of a Fried Mac and Cheese Bite, the delightful crunch gave way to a creamy, cheesy center that instantly transported me to my favorite childhood comfort food moments. These little nuggets of joy are perfect as a party snack or a cozy appetizer—ideal for impressing friends and family. Not only are they quick to prepare, but they are also a fun twist on classic mac and cheese that will have everyone reaching for more. Plus, with easy gluten-free options, you can cater to all tastes while keeping everyone happy. Ready to uncover the secrets behind these delightful bites? Let’s dive in!
Why are Fried Mac and Cheese Bites irresistible?
Irresistible flavor: Indulging in these golden bites offers a rich explosion of cheesy goodness that’s hard to resist.
Quick preparation: With just a few straightforward steps, you can whip up these snacks in no time, perfect for any last-minute gathering.
Crowd-pleaser: Loved by both kids and adults, they are sure to be the star of your next party or game night.
Versatile pairings: Serve them with a variety of dipping sauces like marinara or spicy aioli to elevate the experience even further.
Gluten-free options: With ideal substitutions, everyone can enjoy these bites, making them a great choice for diverse gatherings.
For a delightful variation, consider making Cheddar Mac Cheese inspired dishes to satisfy those mac and cheese cravings!
Fried Mac and Cheese Bites Ingredients
For the Base
• Elbow Macaroni – The essential ingredient providing structure; feel free to swap in any pasta shape you prefer.
• Sharp Cheddar Cheese – Delivers rich flavor and creaminess; try aged gouda for a unique twist.
• Mozzarella Cheese – Ensures a gooey stretchiness; substituting with provolone offers a sharper taste.
• Butter – Forms the roux, adding richness; shortening works as a dairy-free option.
• All-Purpose Flour – Creates the roux for a smooth cheese sauce; use gluten-free flour for a gluten-free dish.
• Milk – Adds creaminess to the sauce; almond milk can substitute for a lactose-free choice.
• Salt and Pepper – Essential seasoning; mix in garlic powder or cayenne for added flavor.
For Breading
• All-Purpose Flour (for Breading) – Binds the breadcrumbs to bites; cornstarch is a great gluten-free alternative.
• Eggs – Help hold the breading together; for a vegan option, aquafaba works well.
• Breadcrumbs – Create the crispy outer layer; use gluten-free panko for a gluten-free version.
For Frying
• Vegetable Oil – Ideal for frying; olive oil can be a healthier alternative.
Step‑by‑Step Instructions for Fried Mac and Cheese Bites
Step 1: Cook the Macaroni
Start by boiling a pot of salted water. Once it reaches a rolling boil, add the elbow macaroni and cook until al dente, about 7-8 minutes. Drain the pasta in a colander and set it aside to cool slightly, ensuring it can absorb the creamy sauce later without becoming mushy.
Step 2: Make the Cheese Sauce
In a medium saucepan, melt 4 tablespoons of butter over medium heat. Whisk in 4 tablespoons of all-purpose flour, creating a roux, and cook until bubbly, about 1-2 minutes. Gradually pour in 2 cups of milk, whisking continuously until the mixture thickens, about 5-7 minutes, then stir in sharp cheddar and mozzarella until melted and smooth.
Step 3: Combine and Season
Once the cheese sauce is ready, pour it over the cooked macaroni in a large mixing bowl. Stir until every piece of pasta is cloaked in that cheesy goodness. Season with salt and pepper to taste. This combination will set the stage for your Fried Mac and Cheese Bites, bringing all those flavors together.
Step 4: Chill the Mixture
Spread the mac and cheese mixture evenly into a greased baking dish. Cover it with plastic wrap and refrigerate for about 2 hours, or until fully firm. Chilling is crucial as it helps the bites hold their shape during breading and frying, ensuring a perfect texture.
Step 5: Cut into Shapes
After chilling, remove the dish from the fridge. Use a sharp knife to cut the mac and cheese into bite-sized squares, or use cookie cutters for fun shapes. These little pieces will transform into delightful Fried Mac and Cheese Bites, ready to be breaded and fried.
Step 6: Prepare the Breading Station
Set up a breading station with three shallow bowls: one for flour, one for beaten eggs, and one for breadcrumbs. This setup allows for an efficient and mess-free way to coat each piece of mac and cheese. Make sure your hands are dry to avoid clumping during the breading process.
Step 7: Bread the Bites
Take each mac and cheese piece, dredge it in flour first, ensuring it’s fully coated. Dip it into the beaten eggs next, and finally roll it in breadcrumbs until completely covered. Repeat this process with all the pieces, which will help create a lovely crispy crust on your Fried Mac and Cheese Bites.
Step 8: Heat the Oil
In a large, deep skillet, pour in enough vegetable oil to cover the bottom by about an inch. Heat the oil over medium-high heat until it reaches 350°F (175°C). A slice of bread dropped into the oil should sizzle immediately, indicating it’s hot enough for frying.
Step 9: Fry the Bites
Carefully add the breaded mac and cheese bites to the hot oil in batches, making sure not to overcrowd the pan. Fry each batch for about 3-4 minutes per side, or until they are golden brown and crispy. Use a slotted spoon to flip them halfway through for even browning.
Step 10: Drain and Serve
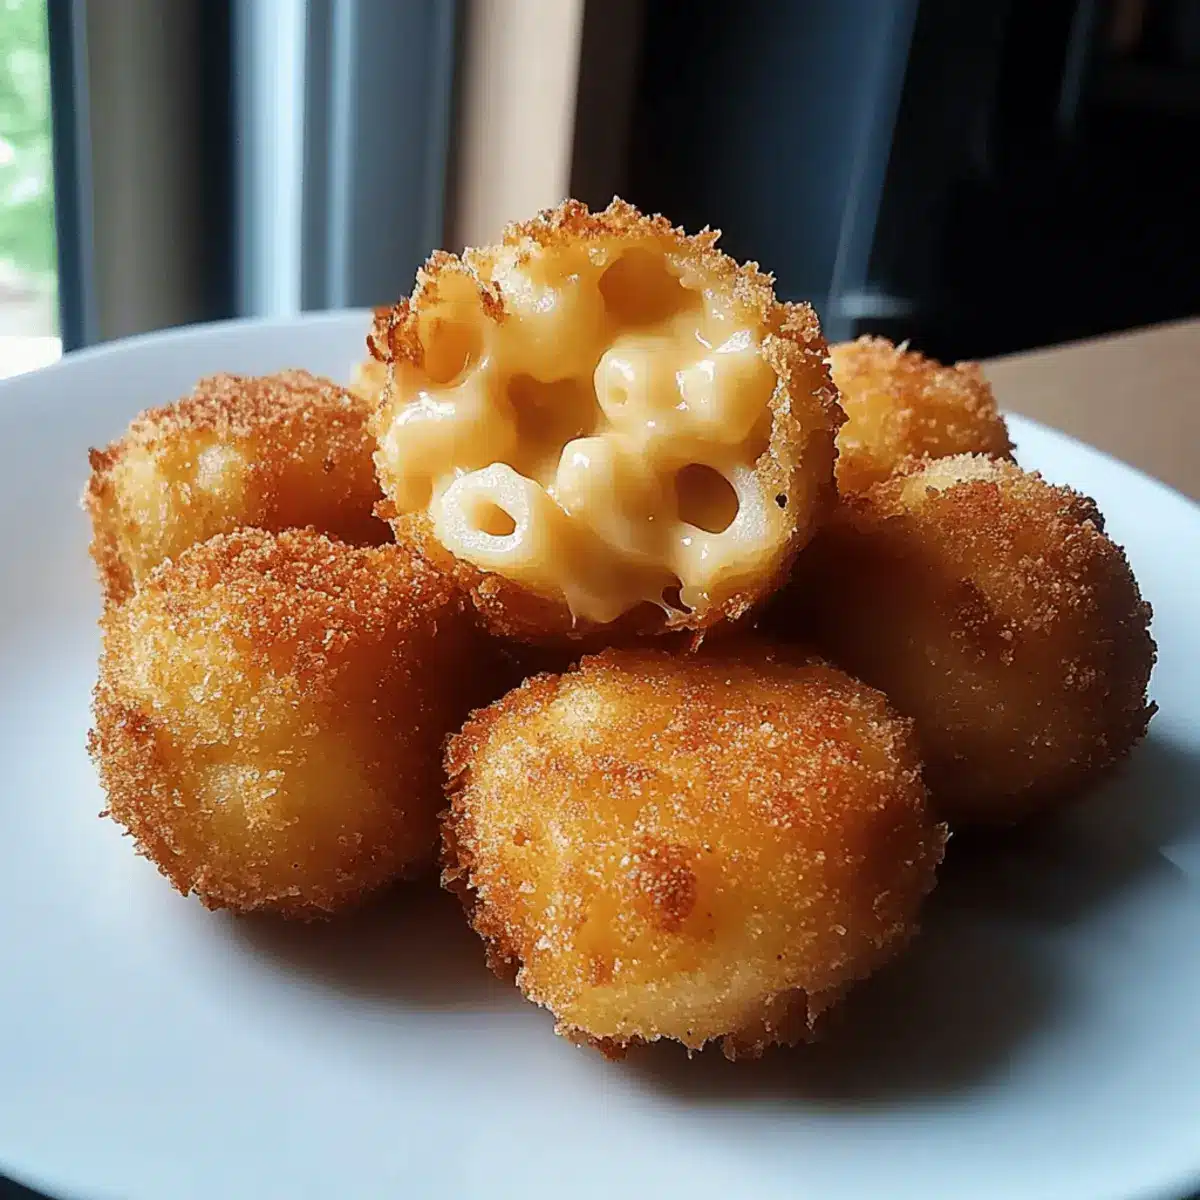
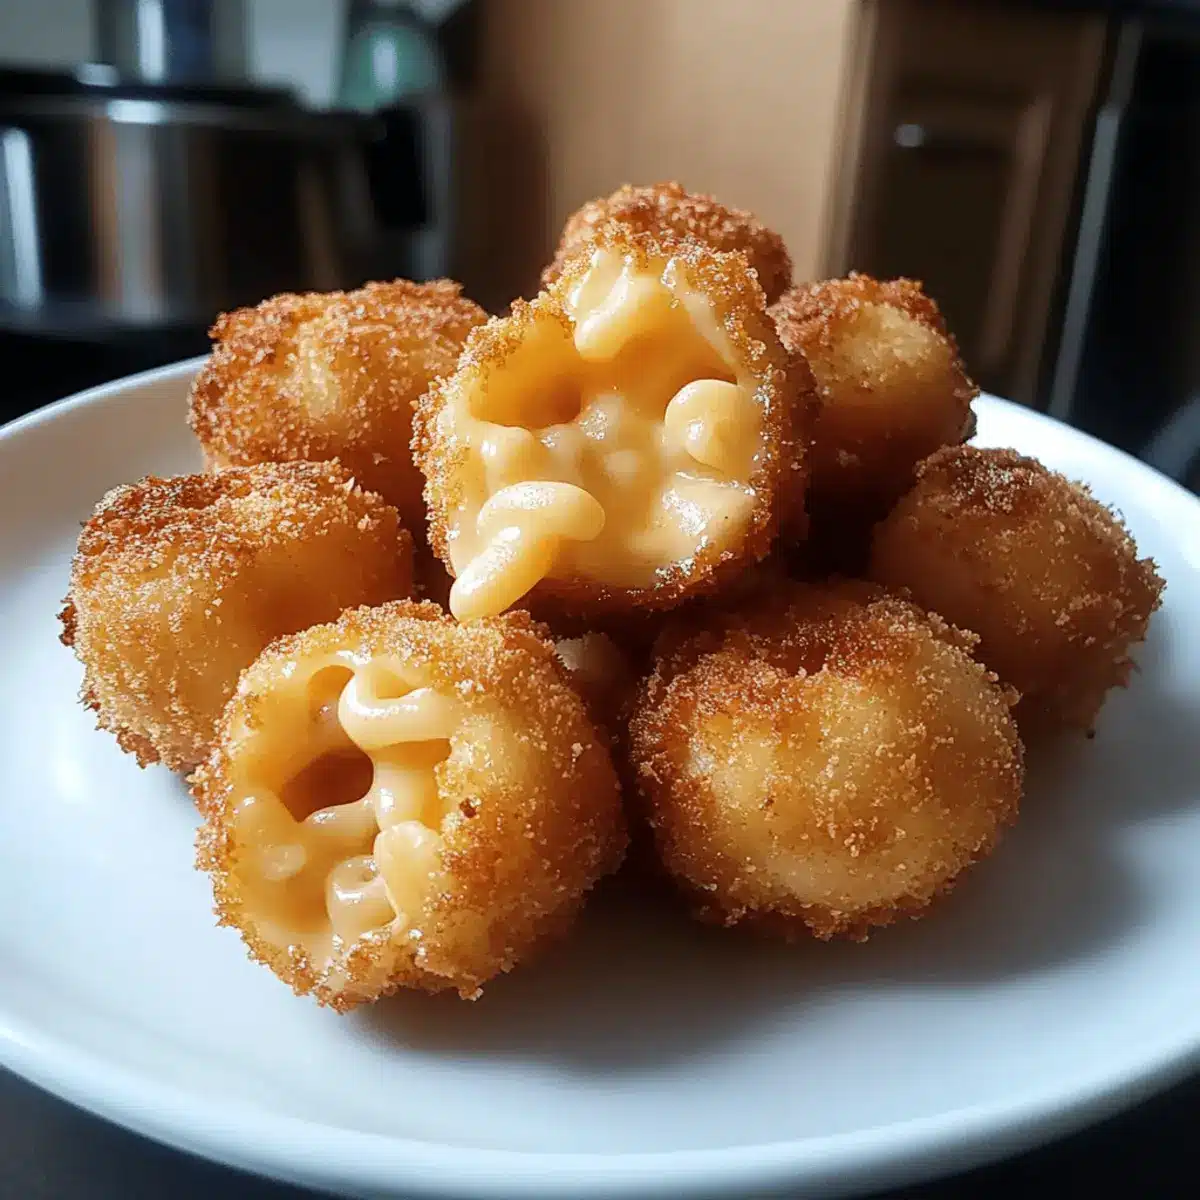
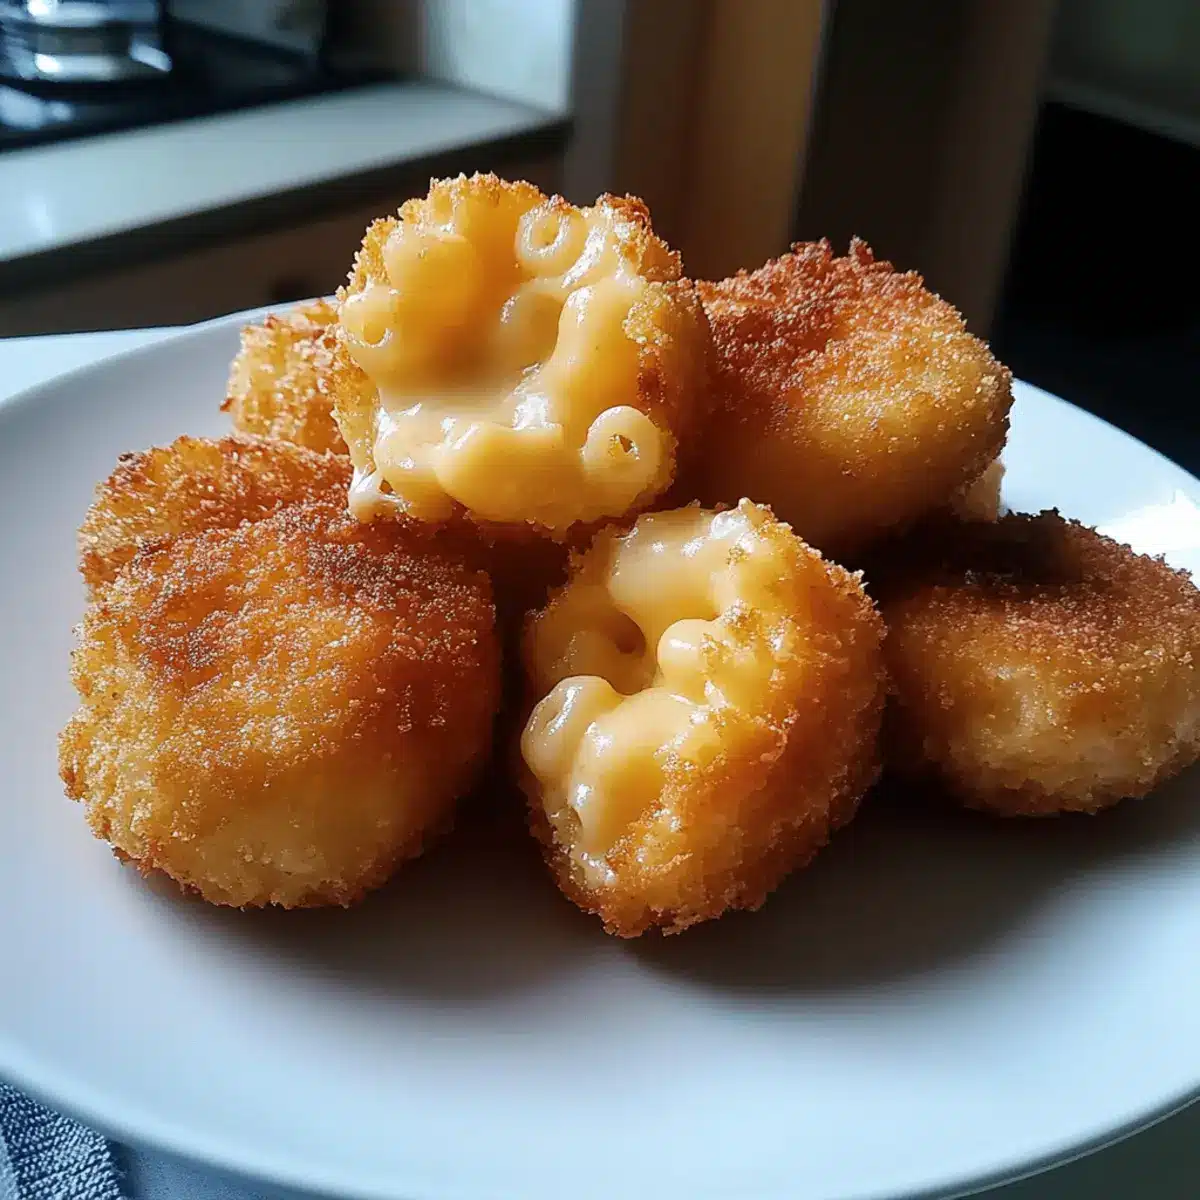
Once golden and crispy, remove the Fried Mac and Cheese Bites from the oil and place them on a paper towel-lined plate to drain any excess oil. Serve hot and enjoy them while they’re still warm, paired with your favorite dipping sauces for an irresistible snack experience!
What to Serve with Fried Mac and Cheese Bites?
These crispy, cheesy delights are just waiting for the perfect companions to create a truly memorable meal experience!
- Creamy Tomato Soup: A warm bowl of tomato soup provides delightful acidity that perfectly balances the richness of the bites. Dip them straight in for the ultimate comfort!
- Spicy Aioli: This zesty sauce adds a punch of flavor and creaminess that contrasts beautifully with the crunchy exterior. A little heat goes a long way!
- Fresh Garden Salad: Crisp greens with a tangy vinaigrette offer a refreshing contrast to the dense bites, creating a well-rounded plate bursting with texture.
- Garlic Butter Breadsticks: Soft and garlicky, these breadsticks bring a satisfying chewiness that complements the crunch of the Fried Mac and Cheese Bites. Enjoy the combo while warm!
- Honey Mustard Dipping Sauce: The sweet and tangy notes of honey mustard enhance the savory bites, making each dip a delicious surprise. Perfect for adventurous eaters!
- Bubbly Sparkling Cider: This refreshing drink cuts through the richness of the fried bites, pairing wonderfully with the meal while keeping the vibe celebratory and fun.
- Chocolate Chip Cookies: End on a sweet note with classic cookies that offer gooey chocolate and a soft texture, creating a delightful contrast to the crispy appetizer.
- Milkshake: A thick, creamy milkshake provides a delightful pairing that links nostalgic childhood memories with your adult culinary adventures—an indulgent treat to enjoy!
How to Store and Freeze Fried Mac and Cheese Bites
Fridge: Store leftover Fried Mac and Cheese Bites in an airtight container for up to 3 days to keep them fresh.
Freezer: For long-term storage, freeze the bites laid out in a single layer on a baking sheet, then transfer to a freezer bag. They’ll keep well for up to 2 months.
Reheating: To restore their crispy texture, reheat frozen bites straight from the freezer at 375°F (190°C) for about 15-20 minutes, flipping halfway through until heated through.
Preparation Tip: Ensure to chill the bites thoroughly before frying; this helps them maintain shape and enhances the overall experience of these delicious Fried Mac and Cheese Bites.
Make Ahead Options
Fried Mac and Cheese Bites are perfect for meal prep, allowing busy cooks to enjoy a delicious snack with minimal fuss. You can prepare the mac and cheese mixture up to 24 hours in advance; just refrigerate it in an airtight container until ready to use, ensuring it remains firm for cutting. Additionally, once shaped into bites, they can be coated in breadcrumbs and frozen for up to 3 months—just place them in a single layer on a baking sheet until frozen, then transfer to a freezer-safe bag. When you’re ready to serve, simply fry them straight from the freezer, adding an extra minute or two to the cooking time. This way, you achieve that crispy exterior and gooey interior effortlessly, making your gatherings stress-free!
Fried Mac and Cheese Bites Variations
Feel free to get creative and add your own twist to these delightful bites!
-
Bacon Boost: Mix in crispy, chopped bacon for a savory crunch that elevates the flavor.
-
Jalapeño Kick: Incorporate finely diced jalapeños for a spicy kick that warms up every bite. Spice lovers will rejoice!
-
Herb Infusion: Add fresh herbs like chives or parsley into the cheese sauce for an aromatic touch and a pop of color. This not only enhances the flavor but also makes the bites visually appealing.
-
Vegan Makeover: Use plant-based cheese and aquafaba instead of eggs for a fully vegan version without sacrificing taste. Everyone can enjoy these tasty treats!
-
Baked Version: For a healthier alternative, bake the breaded bites at 400°F (200°C) for around 20 minutes instead of frying. Crisp on the outside and cheesy inside—still irresistible!
-
Cheesy Swaps: Experiment with different cheese types like pepper jack or gouda for a unique flavor profile that speaks to your taste buds. Mixing cheeses can turn these bites into a gourmet treat.
While you savor these variations, don’t forget to try pairing your Fried Mac and Cheese Bites with some delectable dipping sauces, like marinara or ranch for a delightful snack experience. If you’re looking for more cheesy goodness, check out these tasty Cheeseburger Pockets Snack or a luscious Cookies Cream Cheesecake for dessert!
Expert Tips for Fried Mac and Cheese Bites
-
Chill for Success: Ensure your mac and cheese is well-chilled before cutting. This helps maintain shape during breading and frying, preventing a gooey mess.
-
Cheese Varieties: Don’t be afraid to experiment with different cheeses, like pepper jack for a spicy kick or gouda for extra richness. It adds depth to your Fried Mac and Cheese Bites!
-
Avoid Overcrowding: Fry in small batches to prevent overcrowding the pot. This ensures even cooking and that delightful crispiness you’re aiming for.
-
Perfect Breading Technique: Dry hands are key during the breading process. It helps prevent clumping, ensuring a beautiful, even layer of breadcrumbs on each bite.
-
Monitor Oil Temperature: Keep an eye on the oil temperature using a thermometer. If it’s too hot, the bites will burn; too low and they may absorb excess oil, becoming greasy.
Fried Mac and Cheese Bites Recipe FAQs
What kind of pasta should I use for Fried Mac and Cheese Bites?
Absolutely! While elbow macaroni is the traditional choice and provides a great structure, feel free to experiment with any pasta shape you like. Options like shells or penne can add an interesting twist while still being delicious!
How do I store and how long can I keep Fried Mac and Cheese Bites?
You can store leftover Fried Mac and Cheese Bites in an airtight container in the refrigerator for up to 3 days. Just make sure they are well-cooled before sealing to keep them fresh. For best results, reheat them in the oven rather than the microwave to restore that beloved crispiness!
Can I freeze these bites for later?
Yes, the freezing process is simple! Lay the breaded mac and cheese bites out on a baking sheet in a single layer until they’re solid, about 1-2 hours. Then, transfer them to a freezer bag or airtight container. They will maintain quality for up to 2 months. When you’re ready to enjoy, cook them directly from frozen by baking at 375°F (190°C) for about 15-20 minutes, flipping halfway through.
What should I do if my cheese sauce is too thick?
If your cheese sauce seems too thick, don’t worry! Simply add a splash of milk gradually while whisking it over low heat until it reaches the desired consistency. This technique helps smooth things out and ensures that the mac and cheese remains creamy and luscious.
Are Fried Mac and Cheese Bites suitable for people with gluten allergies?
Very much so! By using gluten-free pasta and substituting all-purpose flour in the breading with cornstarch or gluten-free breadcrumbs, you can easily make these bites suitable for those with gluten allergies. Just be sure to double-check all your ingredients to ensure they are gluten-free.
Can I make these bites vegan?
Absolutely! To make Fried Mac and Cheese Bites vegan, replace the cheeses with dairy-free alternatives, use plant-based milk like almond or oat milk, and opt for aquafaba instead of eggs for the breading. The result will still deliver a delightful taste and texture that everyone will enjoy!
Irresistible Fried Mac and Cheese Bites for Your Next Bash
Ingredients
Equipment
Method
- Start by boiling a pot of salted water. Once it reaches a rolling boil, add the elbow macaroni and cook until al dente, about 7-8 minutes. Drain the pasta in a colander and set it aside to cool slightly.
- In a medium saucepan, melt 4 tablespoons of butter over medium heat. Whisk in 4 tablespoons of all-purpose flour, creating a roux. Gradually pour in 2 cups of milk, whisking continuously until thickened. Stir in sharp cheddar and mozzarella until melted.
- Pour the cheese sauce over the cooked macaroni in a large mixing bowl. Stir until well combined, and season with salt and pepper to taste.
- Spread the mac and cheese mixture evenly into a greased baking dish. Cover with plastic wrap and refrigerate for about 2 hours, or until fully firm.
- Remove the dish from the fridge and cut the macaroni into bite-sized squares using a sharp knife.
- Set up a breading station with three shallow bowls: one with flour, one with beaten eggs, and one with breadcrumbs.
- Dredge each mac and cheese piece in flour, dip into eggs, and roll in breadcrumbs until covered.
- In a deep skillet, pour in vegetable oil to cover the bottom by about an inch. Heat until it reaches 350°F (175°C).
- Carefully add the breaded bites to hot oil in batches. Fry for about 3-4 minutes per side until golden brown and crispy.
- Remove the fried bites from the oil and place them on a paper towel-lined plate to drain. Serve hot with dipping sauces.