The first time I tasted candied orange peel, it was as if a burst of sunshine filled my mouth, transforming a simple orange into a delightful candy. This easy dessert not only offers a sweet and tangy flavor but also brings a touch of elegance to any occasion—whether you’re indulging yourself or crafting homemade gifts for loved ones. You’ll find that this recipe for Candied Orange Peel is not just about the delightful morsels themselves; it’s also an opportunity to embrace the joy of DIY cooking, with customizable options like rolling in sugar or dipping in rich chocolate. Plus, you can make it fit your dietary needs with alternative sweeteners. Are you ready to explore the sweet transformation of everyday oranges into a beautiful treat that will leave everyone asking for more?

Why Make Candied Orange Peel?
Delightful Texture: Each bite offers a chewy center paired with a crisp sugar crust, creating an irresistible treat.
Customizable Flavors: You can easily modify this recipe by using different citrus peels or experimenting with sweeteners like raw or monk fruit sugar.
Perfect for Gifting: These homemade candies make thoughtful presents that show you care, perfect for the holidays or special occasions.
Quick and Easy: In just a few simple steps, you can create gourmet-style treats right in your own kitchen, elevating your dessert game effortlessly.
Aromatic Bliss: Infusing with vanilla bean enhances that fragrant essence, turning the process into a delightful sensory experience.
Healthy Indulgence: With low-carb options available, you can enjoy this sweet treat without the guilt. Discover more about making delectable homemade candies that satisfy cravings in a fun-filled DIY session.
Candied Orange Peel Ingredients
For the Peels
• Oranges – Fresh fruit for candying; opt for organic since you will be consuming the peel.
• Water – Essential for boiling the peels to soften their texture.
For the Syrup
• Sugar – This sweetens and preserves the peels; any sugar works, but consider using raw or coconut for alternative flavors.
• Vanilla Bean (optional) – Adds a delightful aromatic infusion to the syrup for added depth in flavor.
For Coating (Optional)
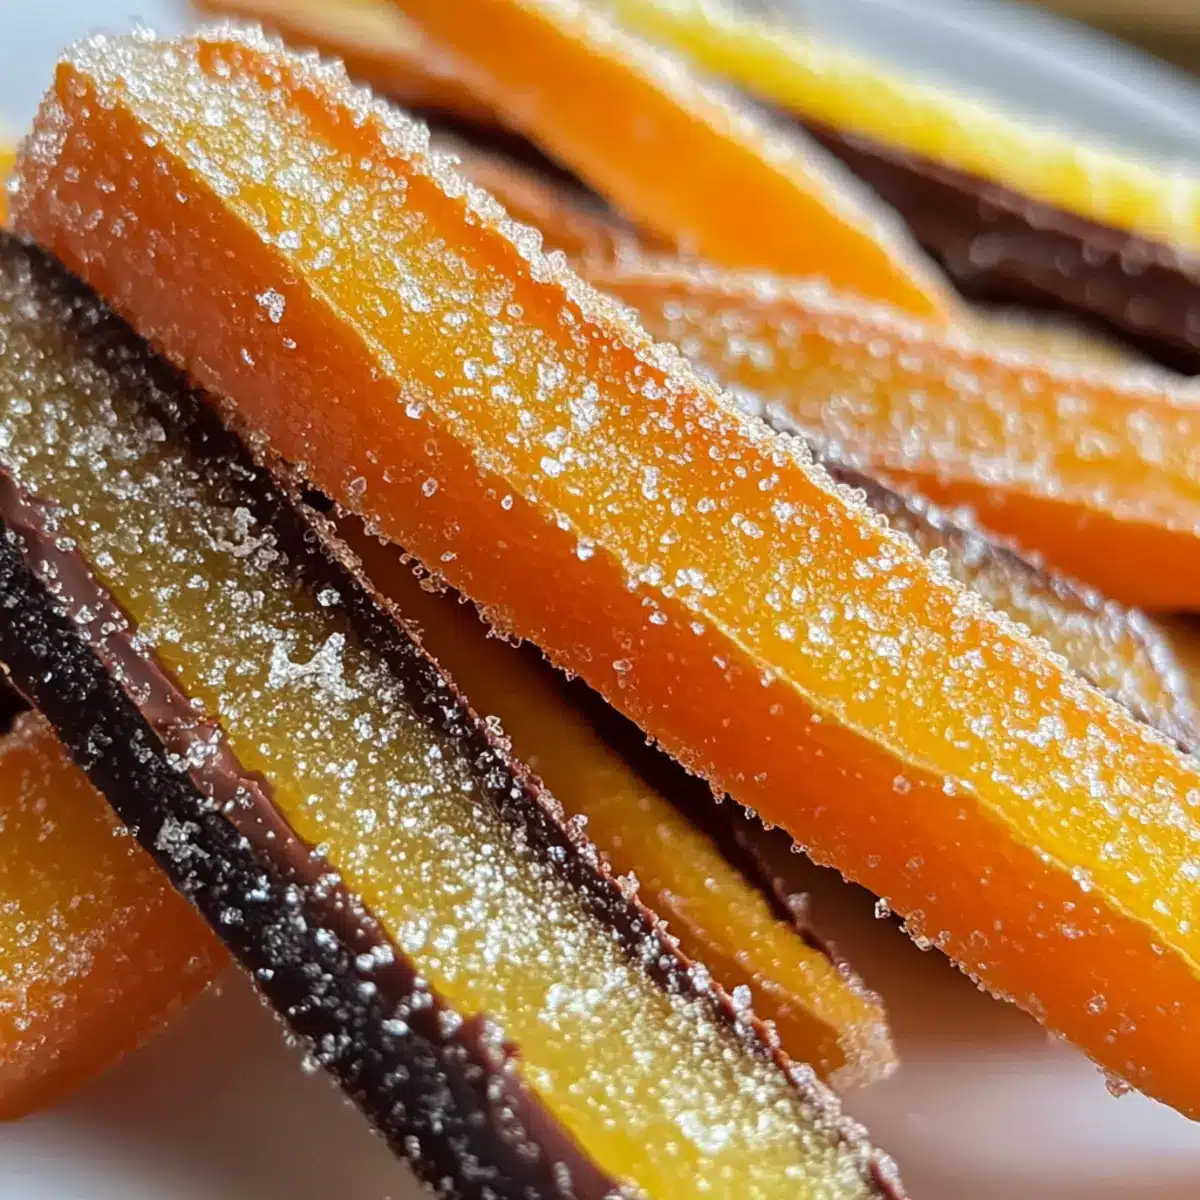
• Granulated Sugar – Roll the dried peels in sugar for a sweet crunch on each bite.
• Chocolate – Dip finished candied peels in melted chocolate to elevate the flavor and create a decadent treat.
This recipe for Candied Orange Peel is a simple yet elegant way to transform ordinary oranges into extraordinary sweets!
Step‑by‑Step Instructions for Candied Orange Peel
Step 1: Prepare Oranges
Begin by washing the organic oranges thoroughly using a vegetable brush to remove any residue. Cut off both ends of each orange, creating a stable base. Next, score the peel lengthwise in quarters, carefully slicing through the zest without puncturing the flesh. Remove the peel in sections, ensuring that larger pieces are intact for the candying process.
Step 2: Boil Peels
Place the strips of orange peel into a saucepan and cover them with water. Bring the water to a rolling boil over medium-high heat and then drain the peels in a colander. To reduce bitterness, repeat this boiling process two more times, ensuring the peels become softer and more palatable. This essential step enhances the flavor of your Candied Orange Peel.
Step 3: Make Syrup
After boiling, return the softened orange peels to the pot. Add an equal amount of water and sugar (along with the optional vanilla bean for extra flavor) to the pot. Heat this mixture until it reaches a boil, then reduce to low heat and let it simmer for 30 to 35 minutes. Stir occasionally, watching as the peels become translucent, absorbing the syrup.
Step 4: Cool Peels
Once the peels are delightfully translucent, remove the pot from the heat and allow the peels to cool in the syrup for an additional 5 minutes. This step helps them absorb more flavor. Carefully transfer the peels to a drying rack or parchment paper, allowing any excess syrup to drip off. This creates the perfect base for your homemade candied treat.
Step 5: Dry Time
Leave the orange peels to dry at room temperature for at least 8 hours, and ideally let them sit for 24 hours. You’ll know they’re ready when they feel tacky but firm to the touch. This drying process is crucial for achieving the proper texture in your Candied Orange Peel, ensuring a delightful chewiness and sugar coating that enhances the overall taste.
Step 6: Coating
In the final step, take the dried candied orange peels and either roll them in granulated sugar for a sweet crust or dip them into melted chocolate for a gourmet touch. If coating with chocolate, ensure the peels are completely cool before dipping. Once coated, set them aside on parchment paper to cool completely, allowing the chocolate to firm up nicely.

Expert Tips for Candied Orange Peel
• Choose Organic Oranges: Using organic oranges ensures that you’re not consuming any harmful pesticides from the peel, allowing for a safer and healthier treat.
• Repeat Boiling: Don’t skip the multiple boiling processes! This crucial step significantly reduces any bitterness and enhances the sweetness of your Candied Orange Peel.
• Syrup Consistency: Keep an eye on the syrup while simmering; if it seems too runny, increase the heat slightly to promote evaporation, ensuring the peels become perfectly translucent.
• Proper Drying Time: Be patient during the drying stage; allowing your peels to mesh with the syrup and dry thoroughly ensures a chewy texture and prevents stickiness.
• Coating Options: Experiment with different coatings; rolling in granulated sugar offers a crunchy finish, while chocolate dipping elevates your Candied Orange Peel to gourmet status!
Candied Orange Peel Variations & Substitutions
Feel free to explore these delightful variations and make this vibrant treat uniquely yours!
- Low-Carb Sweetener: Substitute regular sugar with monk fruit or erythritol for a guilt-free version without sacrificing sweetness.
- Citrus Blend: Mix different citrus peels like lemon or grapefruit for a refreshing twist on flavor. A medley of peels delivers an exciting zest and transforms your classic recipe into a vibrant experience.
- Spicy Kick: Sprinkle a pinch of cayenne pepper in the syrup for a surprising heat that elevates the sweet tanginess of your candied peels.
- Vanilla Bean Boost: Enhance the aroma by doubling the vanilla bean for a deeper, richer flavor profile that will delight the senses. Remember, the fragrance of vanilla infusing with citrus is absolutely heavenly!
- Chocolate Lover’s Dream: For an even more decadent treat, try using dark chocolate when dipping; the bittersweet notes perfectly contrast the sweetness of the peels.
- Herbal Infusion: Infuse the syrup with fresh mint or basil leaves while simmering for a refreshing herbal twist that brightens the flavor profile significantly.
- Sugar Options: Experiment with flavored sugars like lavender or citrus-infused sugars for a unique take on the classic crunchy coating. Your candied peels will be a showstopper at any gathering!
- Gifting Presentation: Don’t forget to package your candied peels in pretty jars or wrap them in decorative cellophane for a lovely gift that’s sure to impress. A touch of ribbon can add just the right finishing touch.
Dive into these suggestions, and let your culinary creativity shine! If you want to elevate your dessert skills further, why not check out our guide on making gourmet-style treats?
Make Ahead Options
These Candied Orange Peel treats are perfect for busy home cooks looking to save time! You can prepare the orange peels and boil them up to 24 hours in advance, keeping them covered in the refrigerator to maintain their freshness. After boiling, you’ll want to make the syrup and let the peels soak for those five minutes; this can be done the day before you want to enjoy the candy. The drying process can take another 8 to 24 hours, but you can leave them out to dry while you’re away at work. When ready to serve, simply roll the dried peels in sugar or dip them in chocolate, and voilà—gourmet treats with minimal effort!
What to Serve with Homemade Candied Orange Peel?
Elevate your candied orange peel experience with delightful pairings that excite the palate and complement the vibrant flavors.
- Creamy Cheesecake: The rich, dense texture of cheesecake balanced by the tangy sweetness of the orange peels creates a harmonious dessert.
- Dark Chocolate: The bitter notes of dark chocolate pair beautifully with the sweet citrus, making for an indulgent treat. They can also be dipped!
- Spiced Hot Cocoa: A warm mug of spiced hot cocoa brings out the festive vibes, providing a cozy backdrop to the sweet bites of candied peel.
- Tea or Infused Water: A refreshing cup of herbal tea or citrus-infused water enhances the bright notes of the orange peel, making hydration enjoyable.
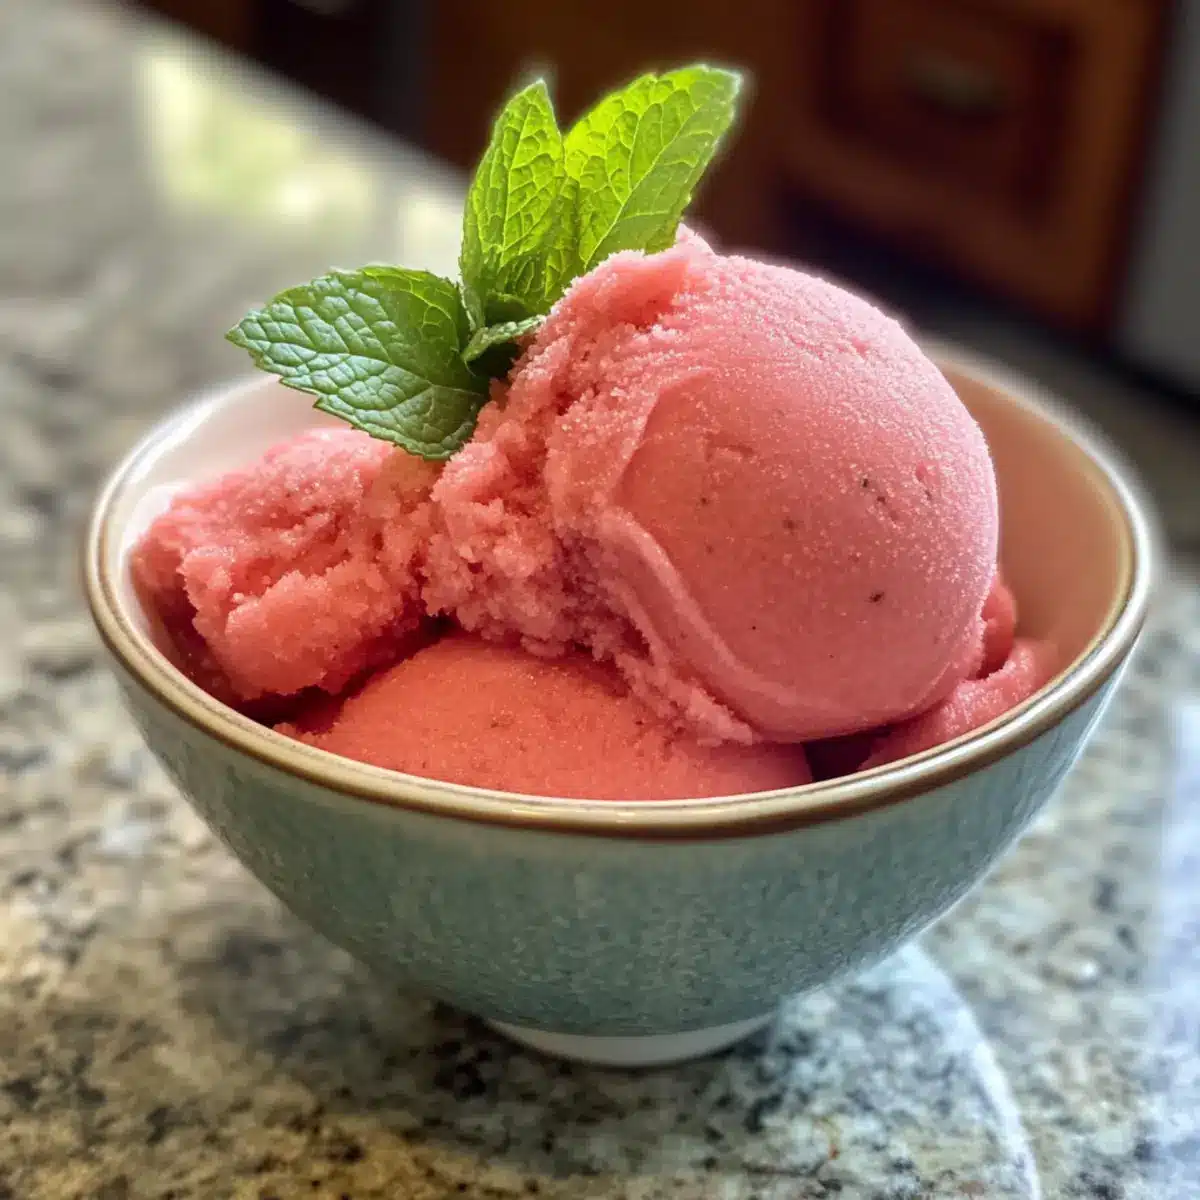
- Vanilla Ice Cream: The cool creaminess of vanilla ice cream contrasts perfectly with the chewy texture of candied orange peel, delivering a delightful dessert experience.
- Fruit Salad: Mix in candied peels with fresh fruit for a vibrant, sweet-tangy salad that brightens up any meal and adds a textural crunch.
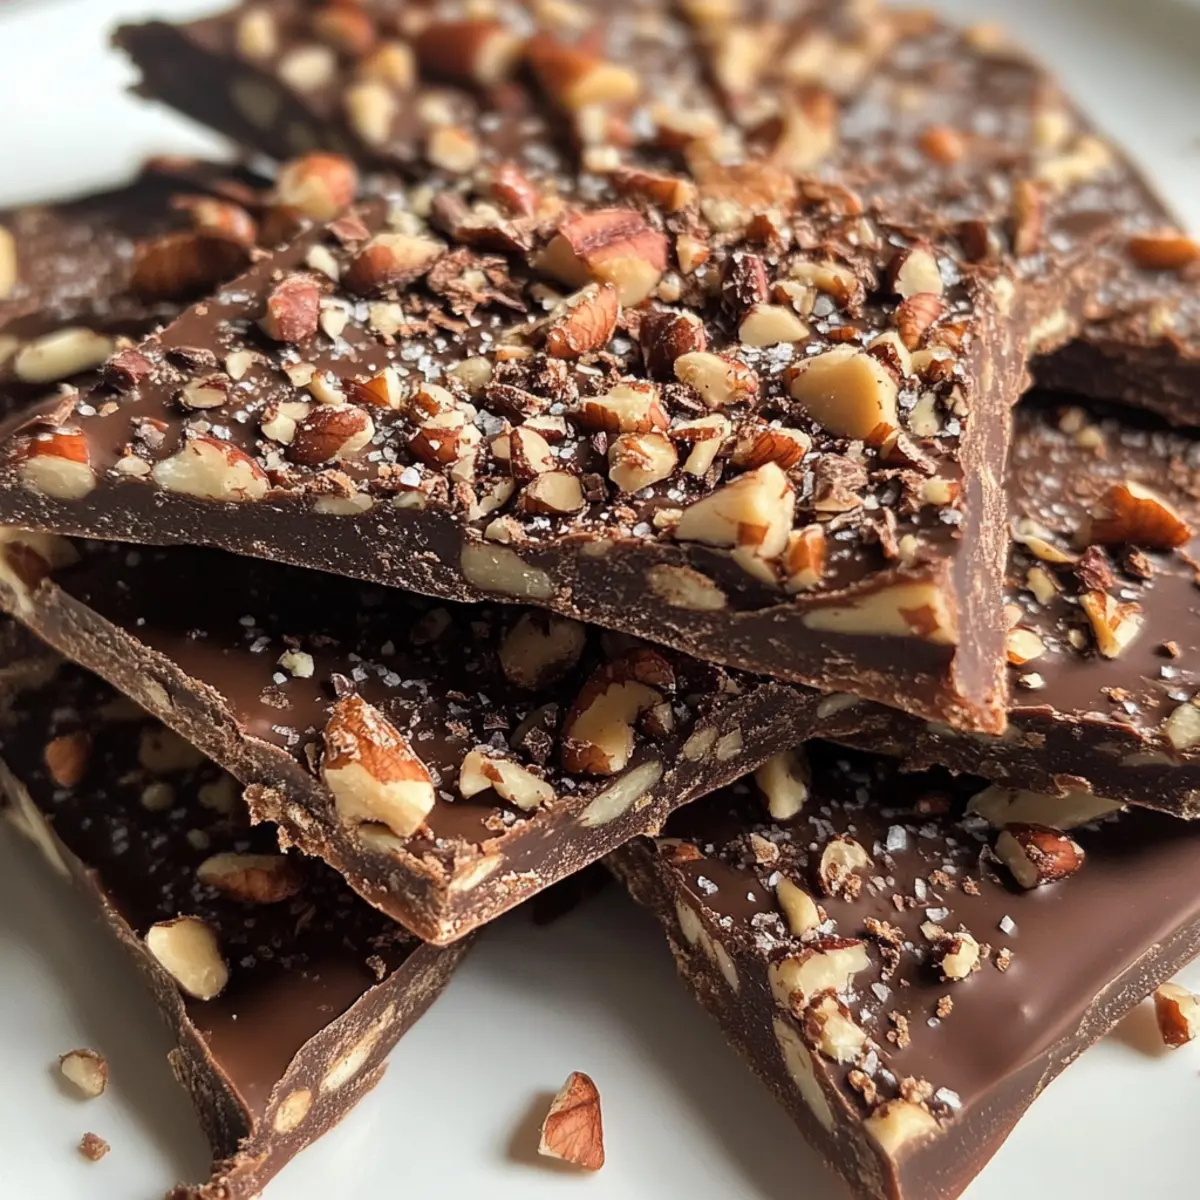
- Nut Tarts: The nutty flavors of a pecan or almond tart pair exquisitely with the sweet notes of the candied orange peel, enhancing the overall richness.
- Champagne or Prosecco: Celebrate with a glass of bubbly! The effervescence of these drinks beautifully complements the sweetness of the peels, perfect for special occasions.
How to Store and Freeze Candied Orange Peel
Room Temperature: Store your candied orange peel in a cool, dry place, ideally in an airtight container. They will stay fresh for up to 1 month.
Fridge: For enhanced freshness, you can refrigerate the candied peels, which will help maintain their texture for about 2 months. Just ensure they are properly sealed.
Freezer: If you want to preserve your candied orange peel for longer, freeze them in a single layer on a baking sheet, and then transfer to an airtight container or freezer bag. They can last for up to 3 months.
Reheating: When you’re ready to enjoy, allow frozen candied peels to thaw in the fridge or at room temperature. If desired, refresh them by rolling again in sugar.
Candied Orange Peel Recipe FAQs
What type of oranges should I use for candied orange peel?
Absolutely! It’s best to use organic oranges since you’ll be eating the peel. Organic oranges are free from harmful pesticides and chemicals, making them a safer choice for candy-making. The zest offers a vibrant flavor, so picking fresh, firm oranges with a bright color is essential.
How should I store my candied orange peel?
To keep your candied orange peel fresh, store it in an airtight container in a cool, dry place. They should last up to 1 month at room temperature. Alternatively, for extended freshness, you can refrigerate them for about 2 months or freeze them for up to 3 months. Just make sure they’re well-sealed to prevent any moisture from ruining their texture.
Can I freeze candied orange peel, and how?
Certainly! To freeze your candied orange peel, lay them out in a single layer on a baking sheet and place them in the freezer for a couple of hours until they’re solid. Then, transfer the frozen peels to an airtight container or a freezer bag. They can stay fresh for up to 3 months. When you’re ready to enjoy them, just let them thaw in the fridge or at room temperature, and you can roll them in sugar again for a refreshing sweetness.
What should I do if my candied orange peel is too bitter?
Very important! If you find that your candied orange peel is too bitter, consider repeating the boiling process. Boil the strips in fresh water two more times, draining in between, which will help to remove some of that bitterness. Additionally, adjusting the drying time based on your environment can help achieve that perfect, chewy texture without the unwanted bitterness.
Can pets eat candied orange peel?
While candied orange peel may seem appealing to share, it’s best to keep it away from pets. The sugar and high concentration of citrus can upset their stomachs. If you’re looking to treat your pets, consider giving them small pieces of fresh fruit instead! Always check with your veterinarian for suitable snack options.
Are there low-carb options for the sweeteners?
Absolutely! If you’re looking for low-carb options, substitute regular sugar with sweeteners like monk fruit or erythritol. These alternatives not only reduce the sugar content but can also provide unique flavors to your candied orange peel. Just make sure to adjust the quantities as needed—most low-carb sweeteners can be used in a 1:1 ratio for sugar but check the packaging for specific conversions.

Irresistible Candied Orange Peel: A Sweet Citrus Delight
Ingredients
Equipment
Method
- Wash the organic oranges thoroughly using a vegetable brush. Cut off both ends.
- Score the peel lengthwise in quarters and remove in sections.
- Place the orange peel strips into a saucepan and cover with water. Boil, then drain the peels. Repeat two more times to soften.
- Return peels to the pot, add equal water and sugar, and optional vanilla bean. Boil and then simmer for 30 to 35 minutes.
- Remove from heat and let cool in syrup for 5 minutes, then transfer to drying rack or parchment paper.
- Dry at room temperature for at least 8 hours, ideally 24 hours.
- Roll in granulated sugar or dip in melted chocolate, then cool completely.