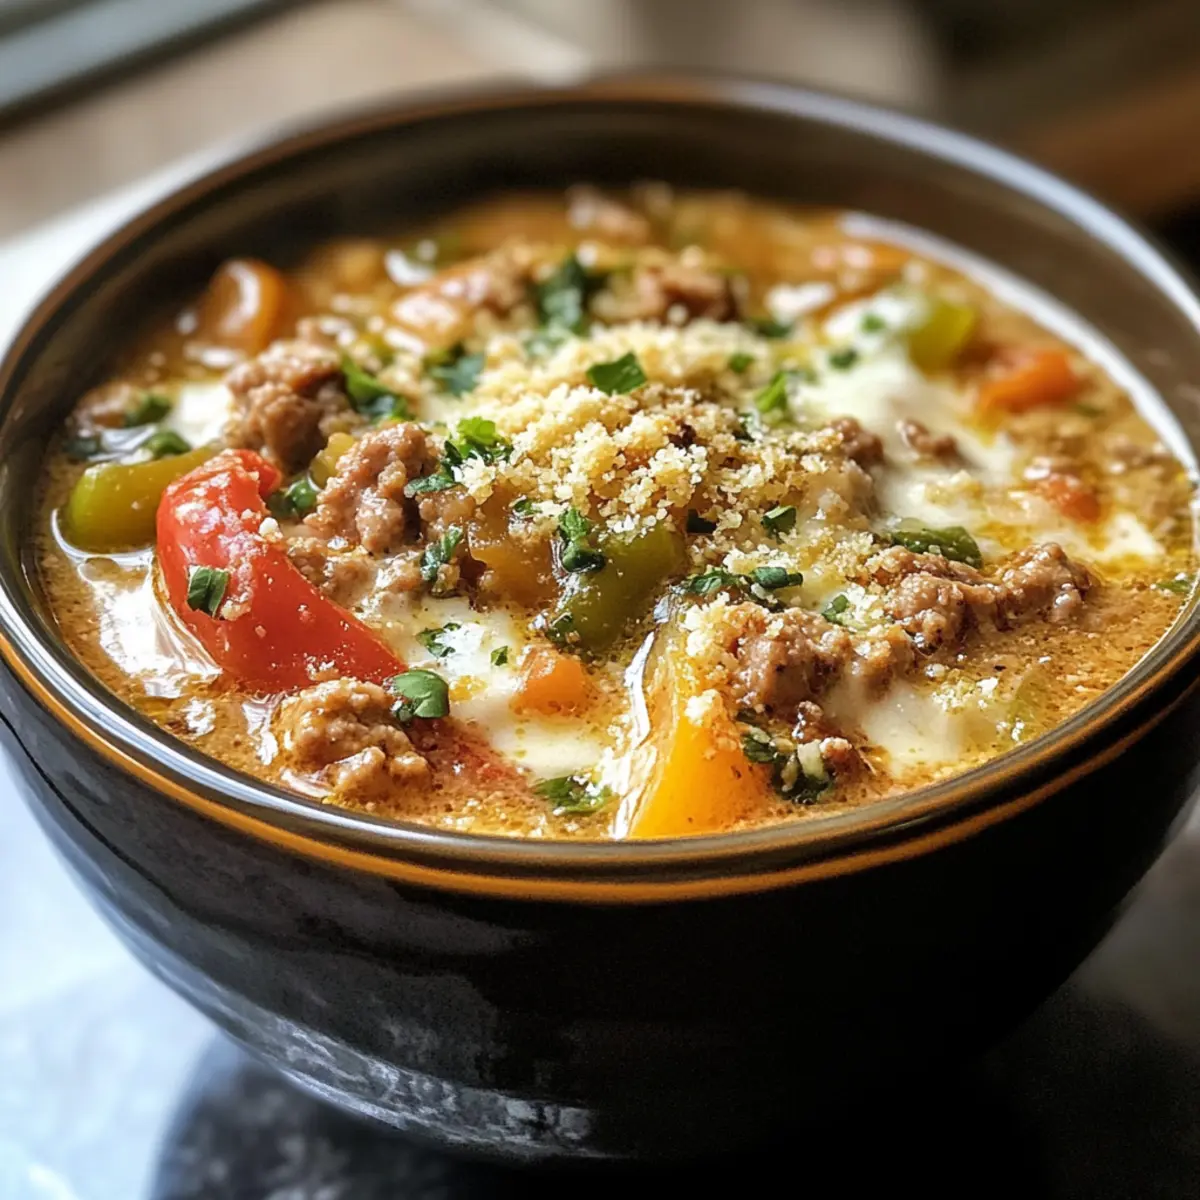
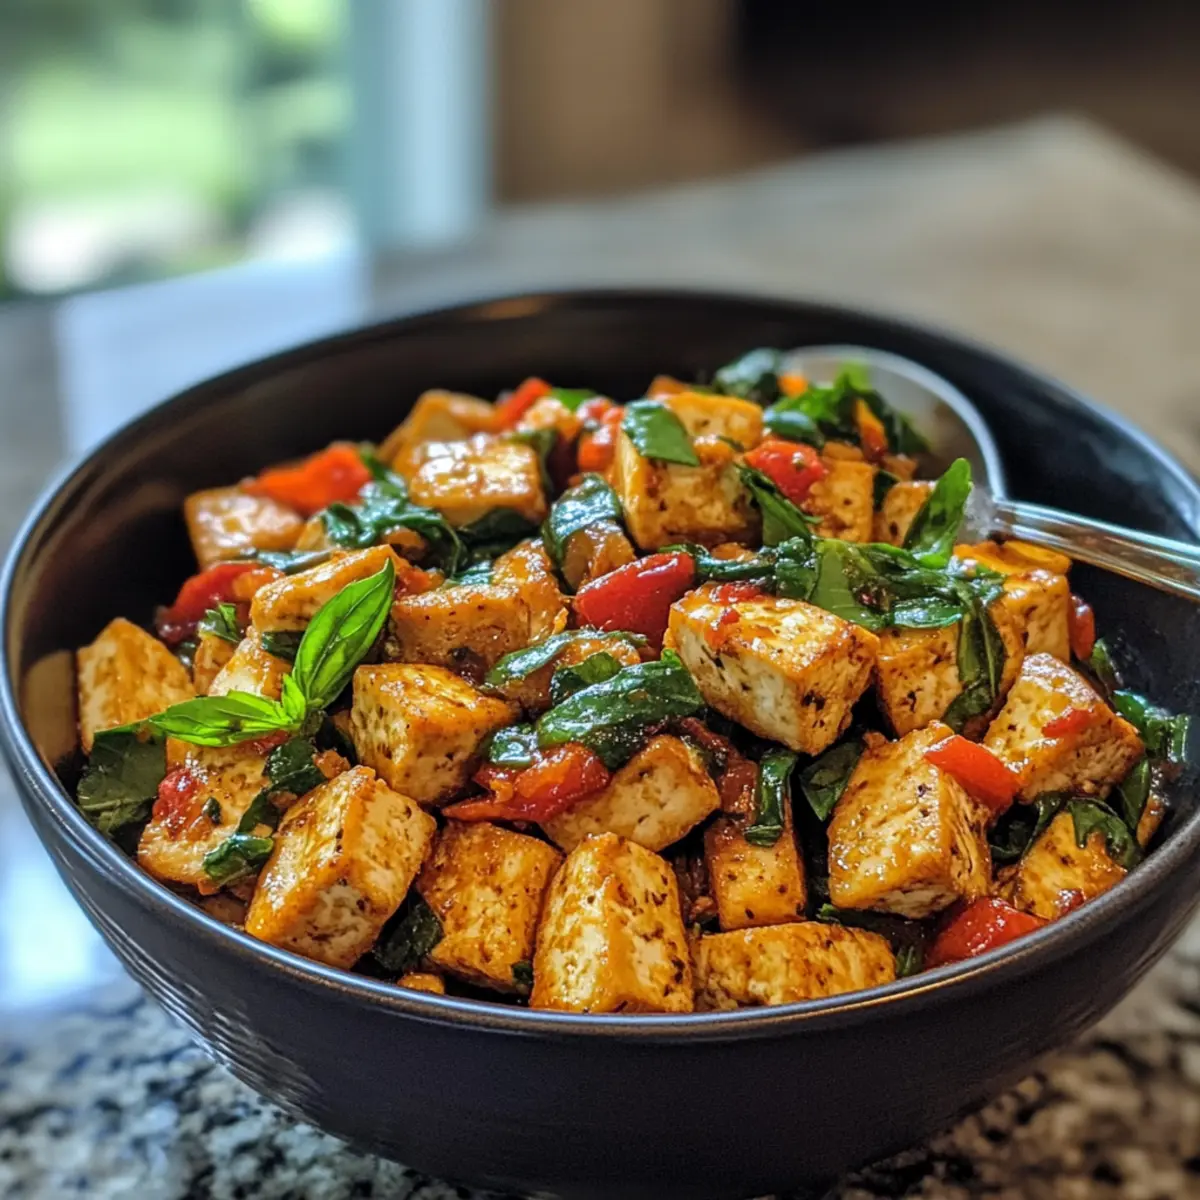
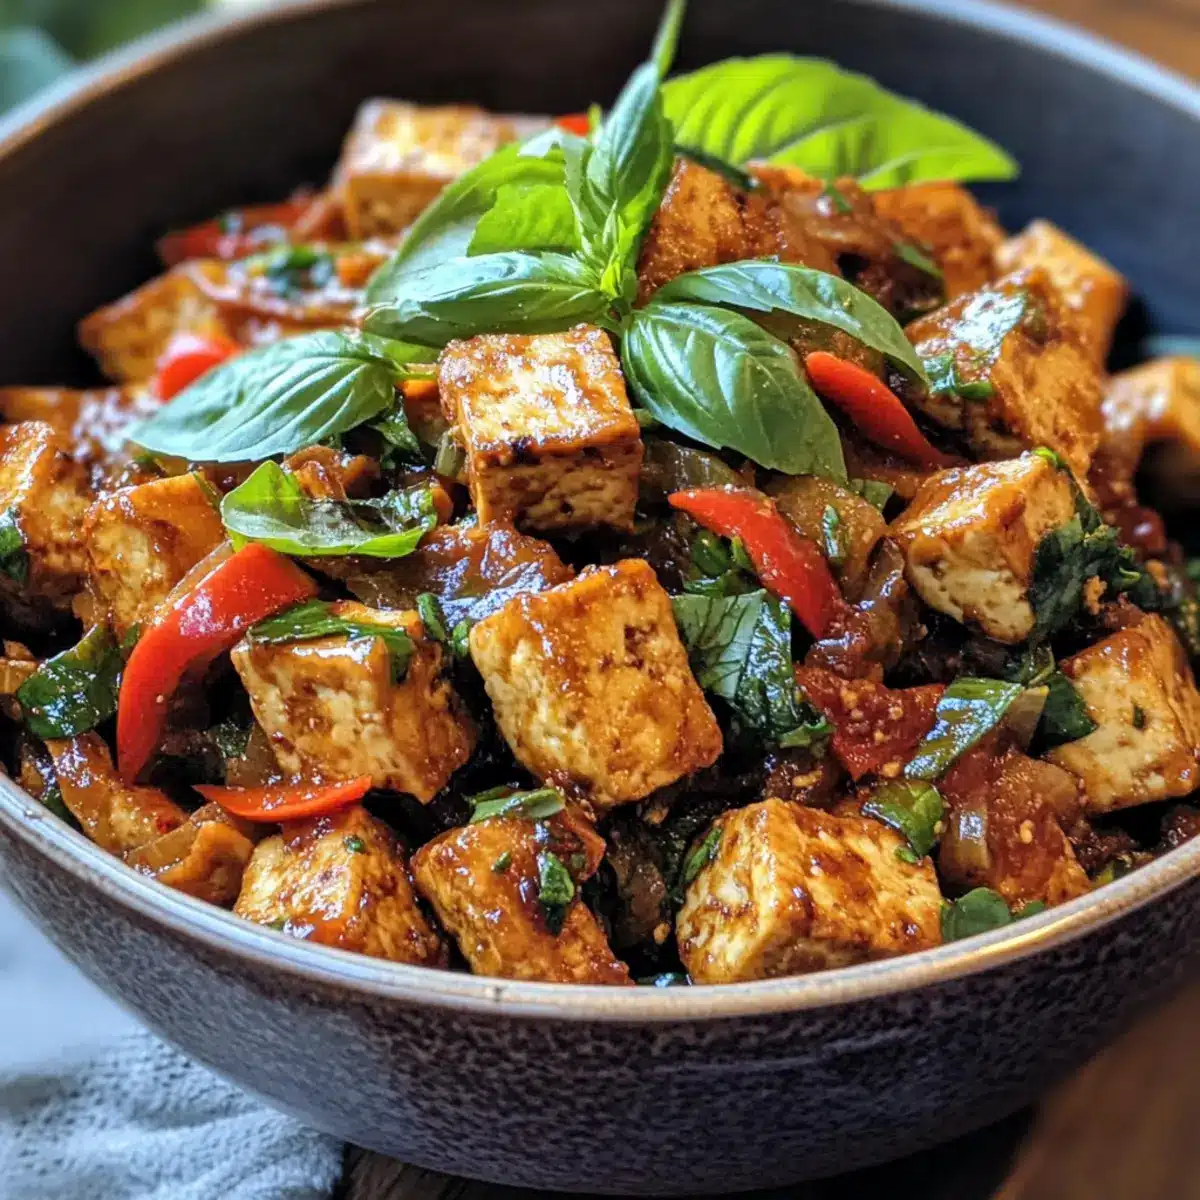
In a bustling Thai market, the air is thick with the tantalizing aroma of sizzling spices and fresh herbs, grabbing my attention and drawing me closer. That moment sparked my love for the irresistible taste of Thai Basil Tofu (Tofu Pad Krapow), a dish that’s become a staple in my kitchen. This quick and easy recipe is not just vegetarian but also packed with protein, offering a fantastic balance of flavors that feels like a warm hug for your taste buds. With just a handful of fresh ingredients, you can whip up a delightful meal that satisfies cravings without the fuss of fast food. Plus, it’s perfect for meal prep and can easily be customized with your favorite seasonal veggies. Are you ready to transform your dinner routine with this comforting and vibrant dish?
Why is Thai Basil Tofu so special?
Quick, Perfect Weeknight Meal: This Thai Basil Tofu (Tofu Pad Krapow) comes together in no time, making it an ideal choice for busy nights when you crave something delicious yet simple.
Bursting with Flavor: The rich combination of Thai herbs and spices creates a flavor explosion that will transport your taste buds straight to Thailand.
Versatile and Customizable: Packed with protein, this dish is easily adaptable! Feel free to add your favorite veggies or bump up the spice with extra chilis to suit your taste preferences.
Health-Conscious Comfort Food: This recipe’s macro-friendly profile satisfies both your hunger and your nutritional goals without sacrificing taste.
Ideal for Meal Prep: Perfect for batch cooking, you can enjoy this dish for lunch or dinner throughout the week, making it a smart choice for meal prepping.
Discover a delightful flavor profile with Spicy Thai Basil or try a warming twist with Thai Chicken Meatball for something a bit different!
Thai Basil Tofu Ingredients
For the Tofu
• High Protein Organic Super Firm Tofu – Be sure to choose a super firm variety for the best texture; any firm tofu will work as a substitute.
• Corn Starch – This helps achieve that crispy texture you want; consider potato starch for a gluten-free option.
For the Seasoning
• Salt – Always a flavor enhancer; adjust to your preference for the perfect taste.
• Black Pepper – Adds a mild kick; substitute with white pepper for a less intense heat.
For Cooking
• Avocado Oil – Ideal for sautéing due to its high smoke point; can replace with any neutral oil like canola.
• Garlic – Use fresh for the best flavor, although garlic powder can be a last-minute alternative.
For the Spice
• Fresh Hot Red Thai Chili – Adjust according to how spicy you’d like your dish; Fresno or Serrano peppers work in a pinch.
• Finely Chopped Red Onions/Shallots – These provide sweetness; yellow onions can be an alternative if needed.
For the Sauce
• Light Soy Sauce – This gives umami and saltiness; tamari is a great gluten-free alternative.
• Dark Soy Sauce – Introduces a deeper color and flavor; you may omit if not available, adding more light soy sauce to taste.
• Vegetarian Oyster Sauce – Key for that authentic taste; if not on hand, mushroom sauce is a suitable replacement.
• Organic Raw Cane Sugar or Palm Sugar – Balances flavors beautifully; regular sugar or agave syrup can work as substitutes.
• Water – Used to adjust the consistency of the sauce to your liking.
For the Freshness
• Fresh Thai Basil – The star herb that offers aromatic delight; you might use regular basil or mint, but it won’t be as authentic.
This delightful Thai Basil Tofu recipe is an easy way to bring the authentic tastes of Thai cuisine into your home!
Step‑by‑Step Instructions for Thai Basil Tofu
Step 1: Prepare Tofu
Start by patting the high-protein organic super firm tofu dry with paper towels to remove excess moisture, which helps achieve a crispy texture. Crumble the tofu into bite-sized pieces, then coat with a sprinkle of salt, black pepper, and corn starch until evenly covered. For the baking option, spread the tofu on a greased baking pan, spray lightly with avocado oil, and bake at 425°F for 25 minutes, tossing halfway through until golden-brown.
Step 2: Cooking the Tofu Mixture
While the tofu is baking, heat a tablespoon of avocado oil in a wok over medium-high heat. Once hot, add the finely chopped red Thai chili and minced garlic, sautéing for 1-2 minutes until fragrant and soft but not browned. Incorporate the cooked tofu, gently mixing it with the spices for another minute to absorb the flavors and heat through.
Step 3: Combine Sauce
In a small bowl, whisk together light soy sauce, dark soy sauce, vegetarian oyster sauce, sugar, and 2 tablespoons of water until smooth. Pour this fragrant sauce mixture into the wok with the tofu, stirring well to combine. Cook for an additional minute, allowing the sauce to simmer and thicken slightly, which will coat the tofu beautifully.
Step 4: Finish with Basil
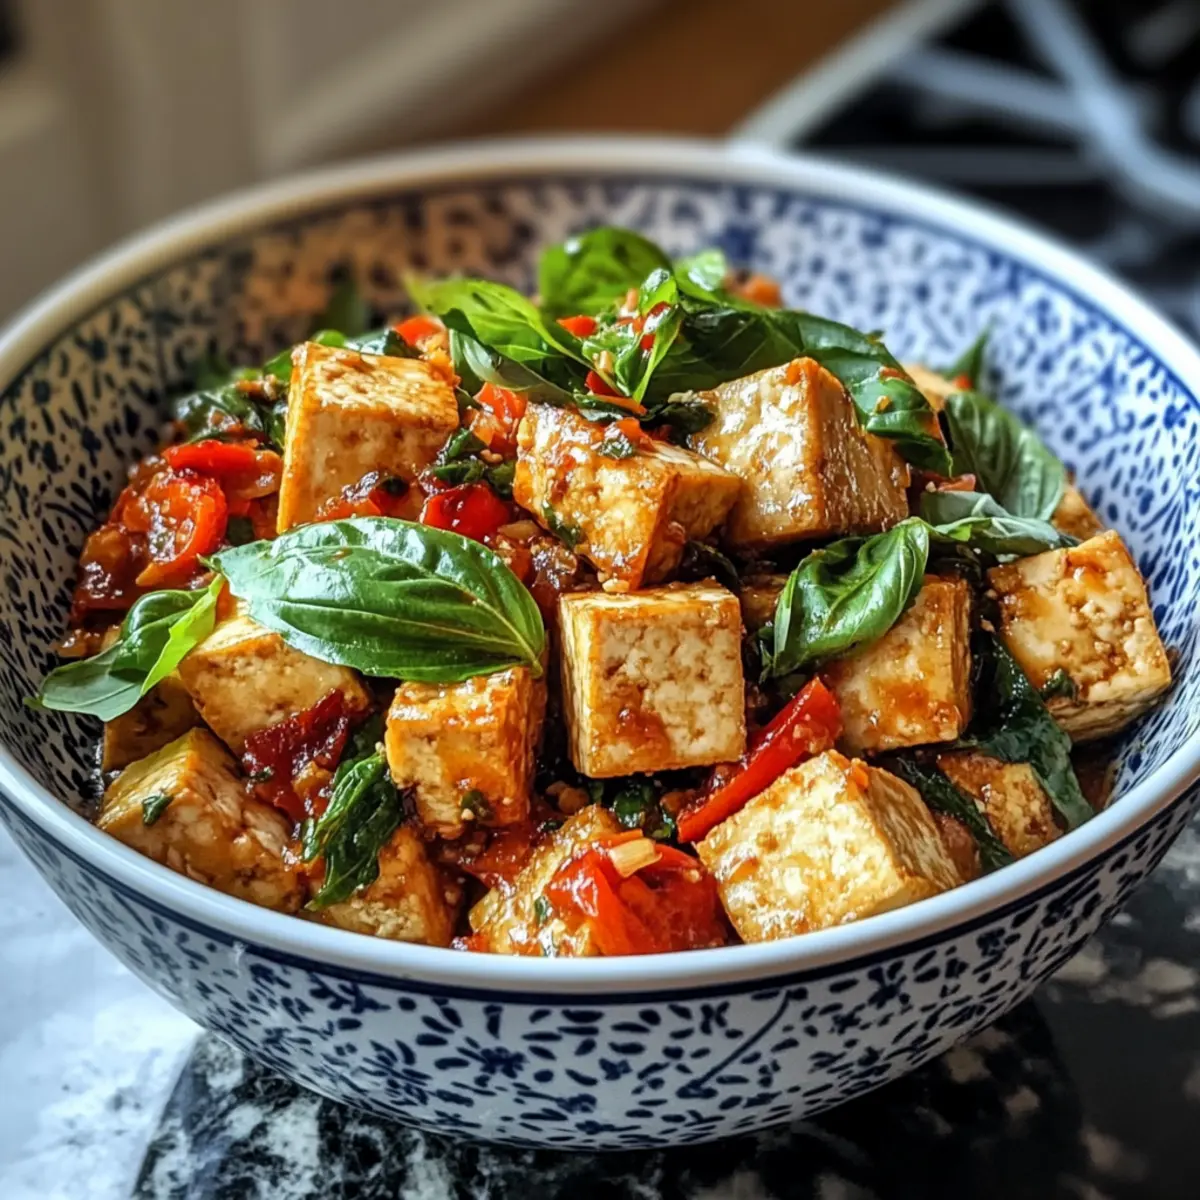
Stir in the freshly chopped Thai basil leaves, cooking briefly just until they wilt, which should take about 30 seconds. The vibrant green basil adds an aromatic freshness that complements the savory sauce. Remove the wok from heat, letting the flavors meld together for a moment before serving.
Step 5: Serve
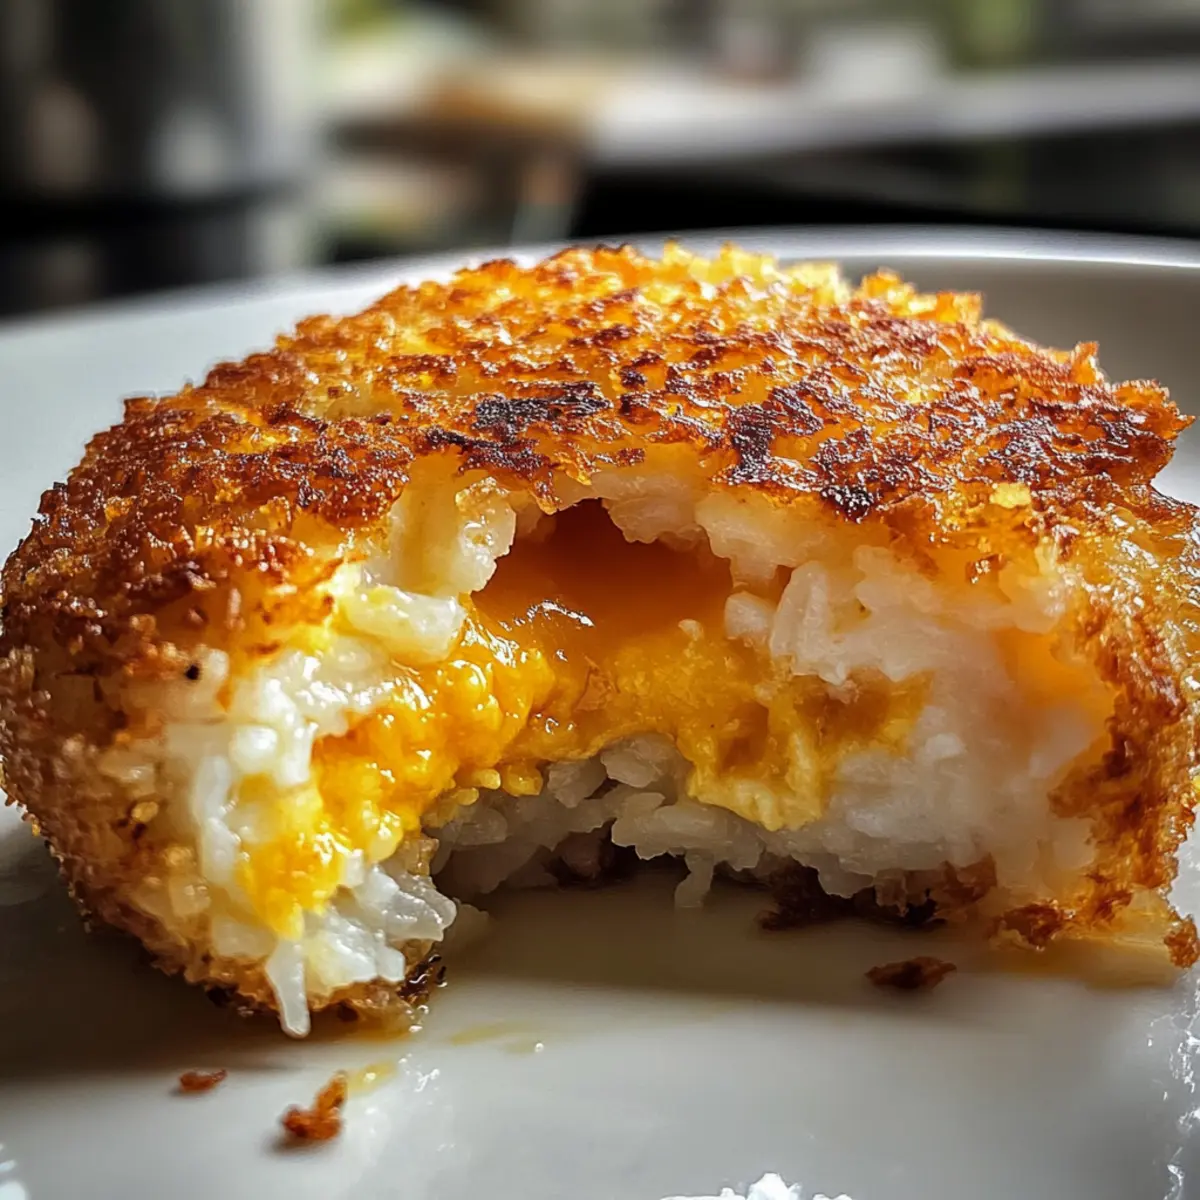
Plate the Thai Basil Tofu over a bed of steamed rice, and for an extra indulgence, top with a fried egg if desired. Serve hot and savor each bite of this comforting dish, delighting in the rich flavors and satisfying textures that make Thai Basil Tofu a household favorite.
Make Ahead Options
These Thai Basil Tofu (Tofu Pad Krapow) are perfect for busy home cooks looking to save time during the week! You can prep the tofu by crumbling it and coating it with salt, pepper, and corn starch up to 24 hours in advance, storing it in an airtight container in the refrigerator. The sauce can also be mixed together and kept in the fridge for 3 days, ensuring the flavors meld beautifully. When you’re ready to enjoy this delicious meal, simply bake or sauté the prepped tofu, combine it with the sauce, and finish cooking with the fresh basil for that vibrant, aromatic touch. This way, you’ll savor each bite without the hassle!
Expert Tips for Thai Basil Tofu
-
Crispy Tofu Secret: Ensure tofu is thoroughly dried before seasoning. Extra moisture can create a soggy texture instead of the desired crispiness.
-
Garlic Timing: Add garlic to the wok after the chili for the best flavor. It should be aromatic but avoid browning it, which can lead to bitterness.
-
Flavor Balancing: Adjust the amount of light soy sauce to taste. If you prefer a saltier dish, consider using a bit more; taste as you go!
-
Spice Control: If you’re unsure about the heat level, start with less Thai chili and adjust up for your taste. You can always add more!
-
Basil Alternatives: While fresh Thai basil is recommended for authenticity, regular basil or mint works in a pinch for a slight variation in flavor, but the dish won’t be as authentic.
-
Meal Prep Friendly: This Thai Basil Tofu is ideal for batch cooking. Store leftovers properly so you can enjoy it reheated throughout the week!
What to Serve with Thai Basil Tofu
Elevate your meal experience by pairing this aromatic tofu dish with delightful sides that complement its vibrant flavors.
-
Jasmine Rice: Fluffy and fragrant, this classic staple absorbs the savory sauce beautifully, creating a harmonious balance on your plate.
-
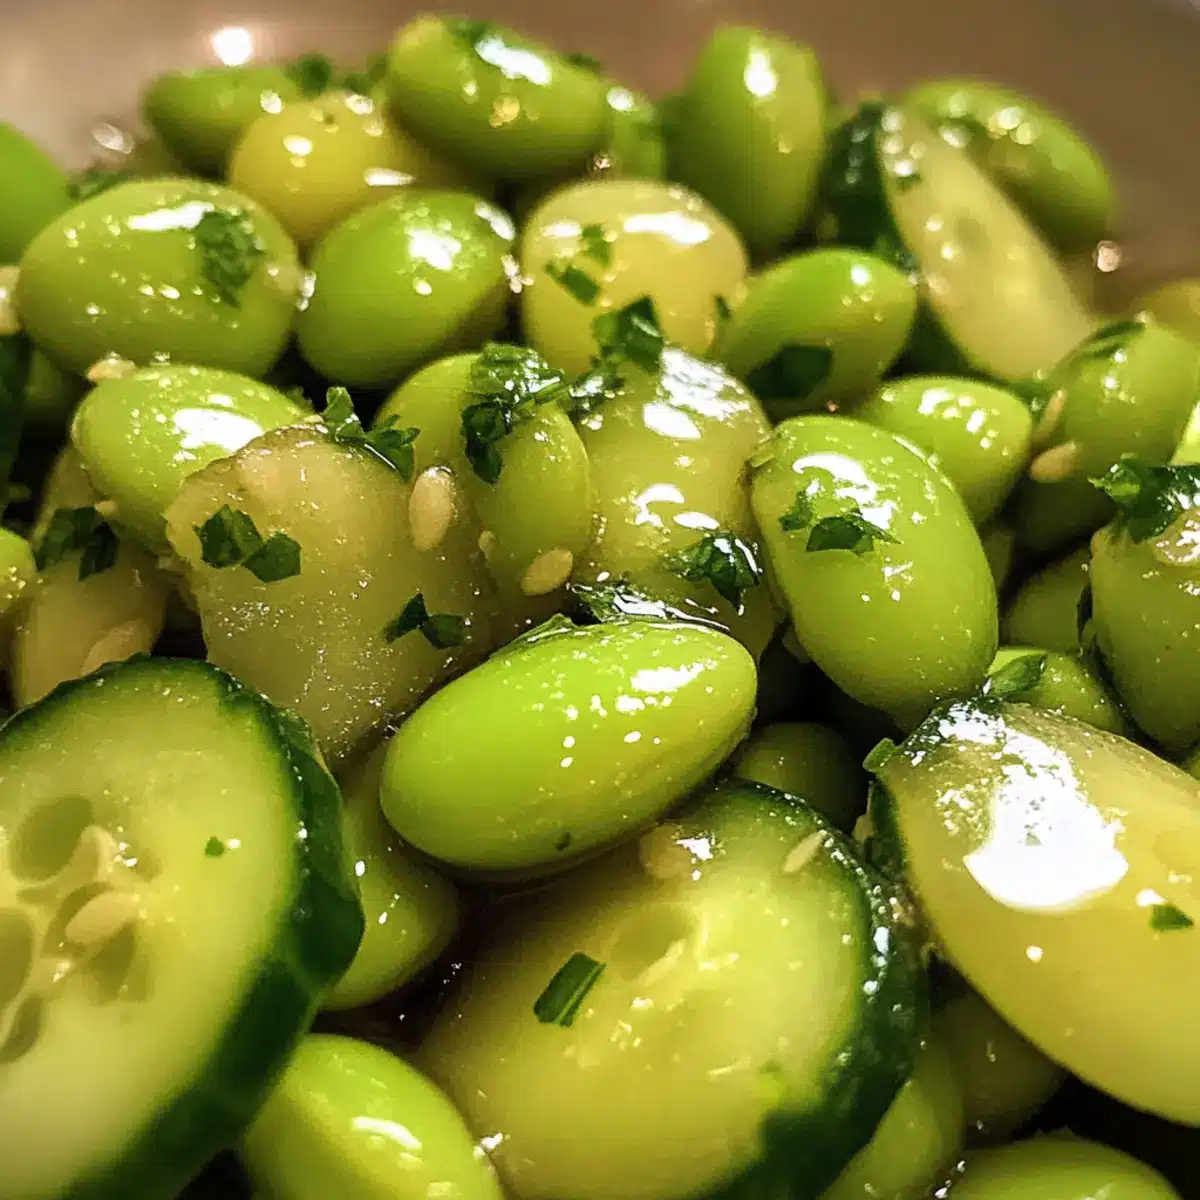
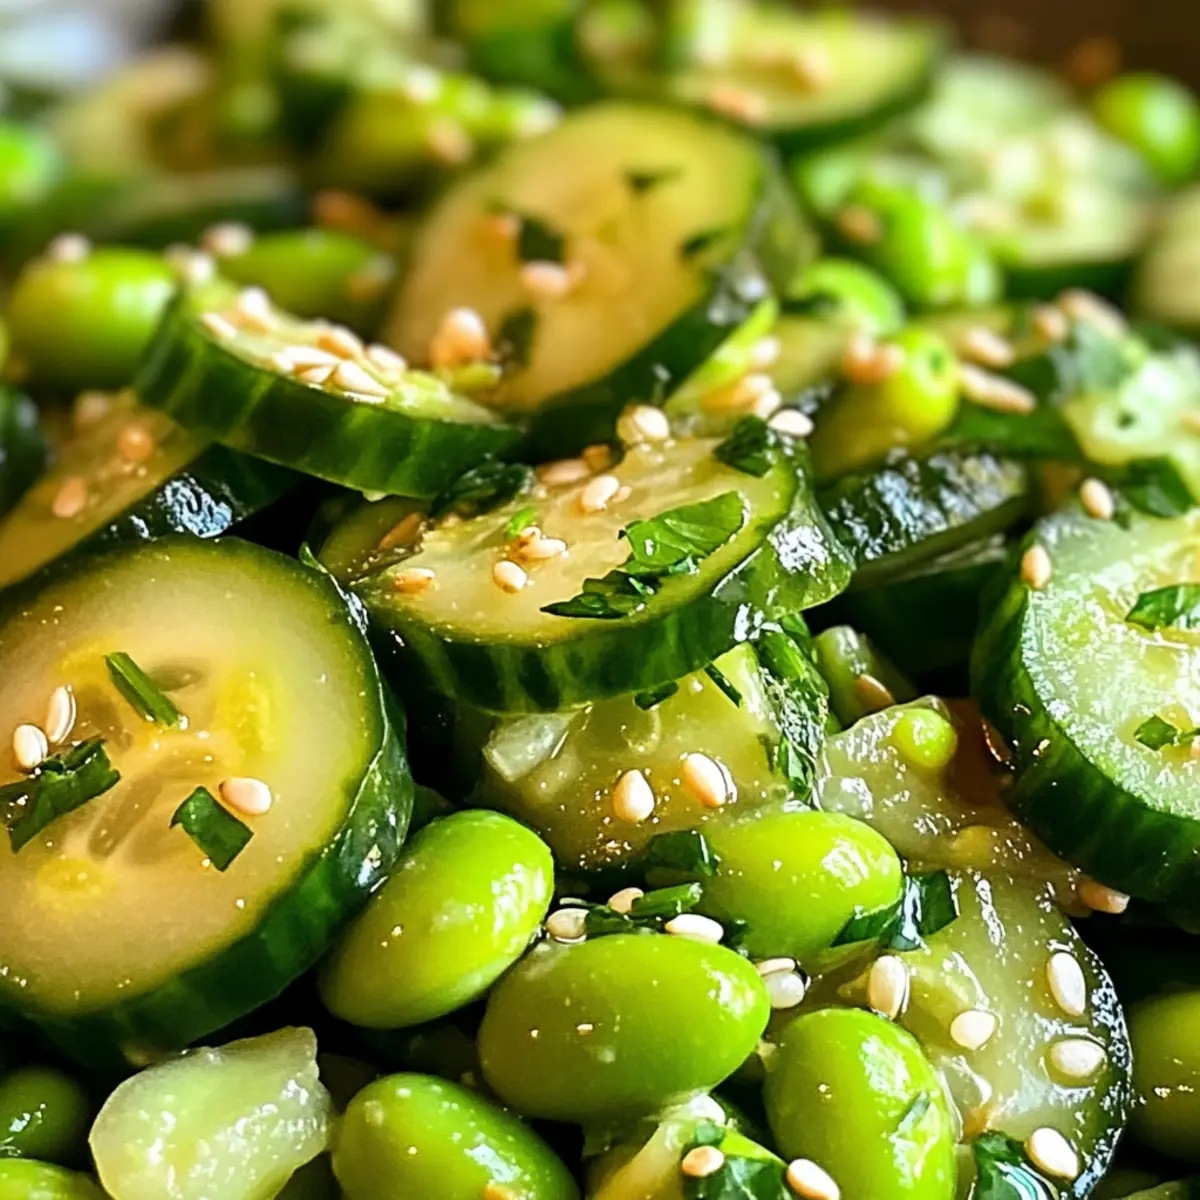
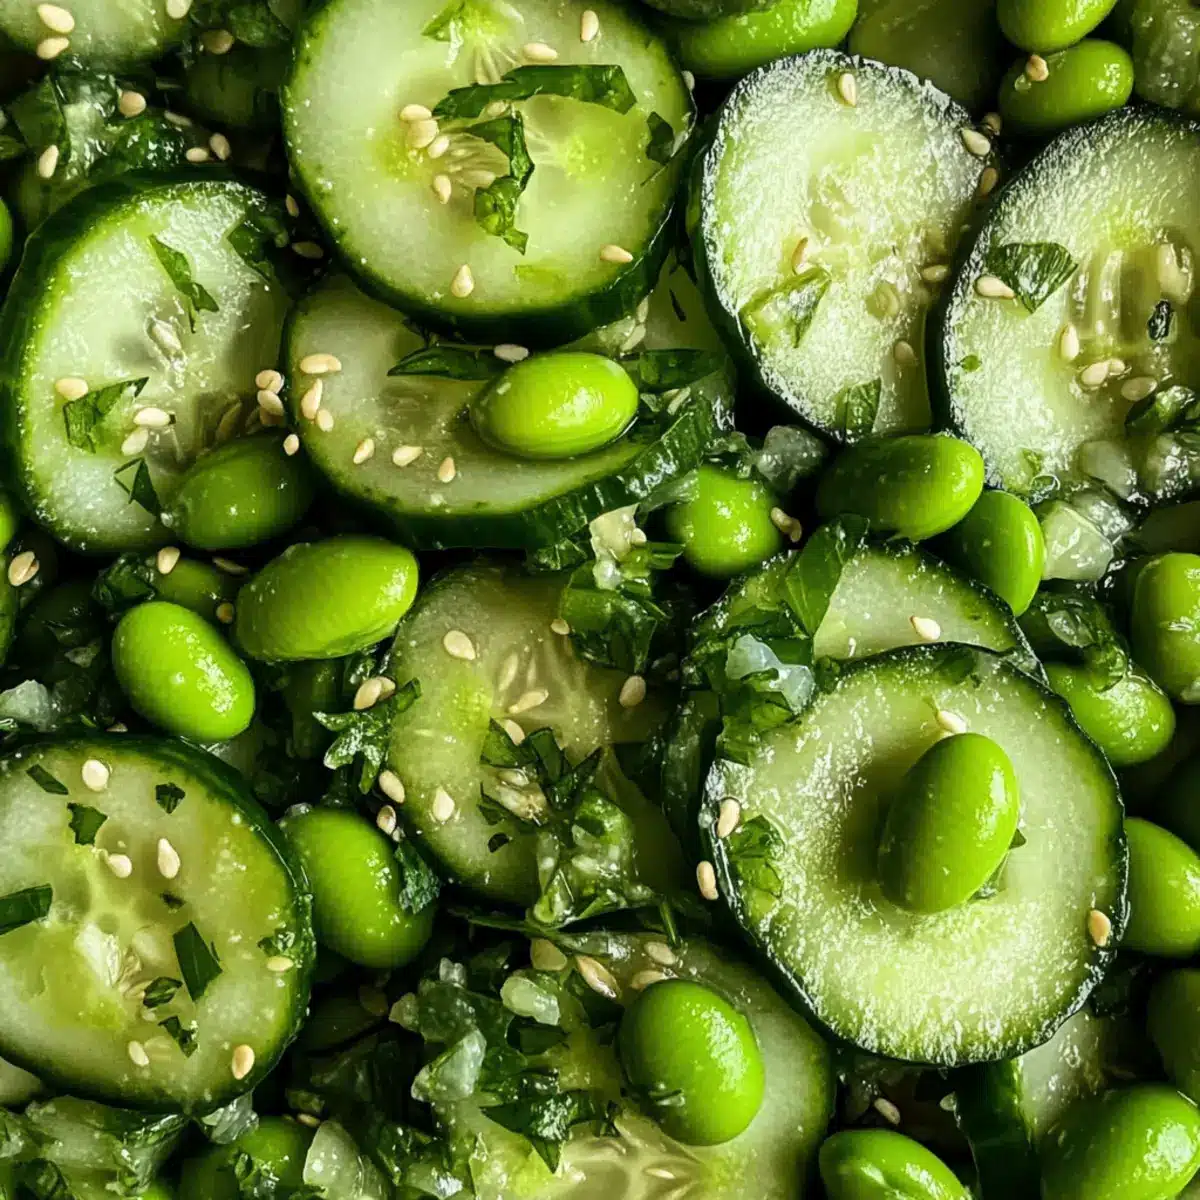
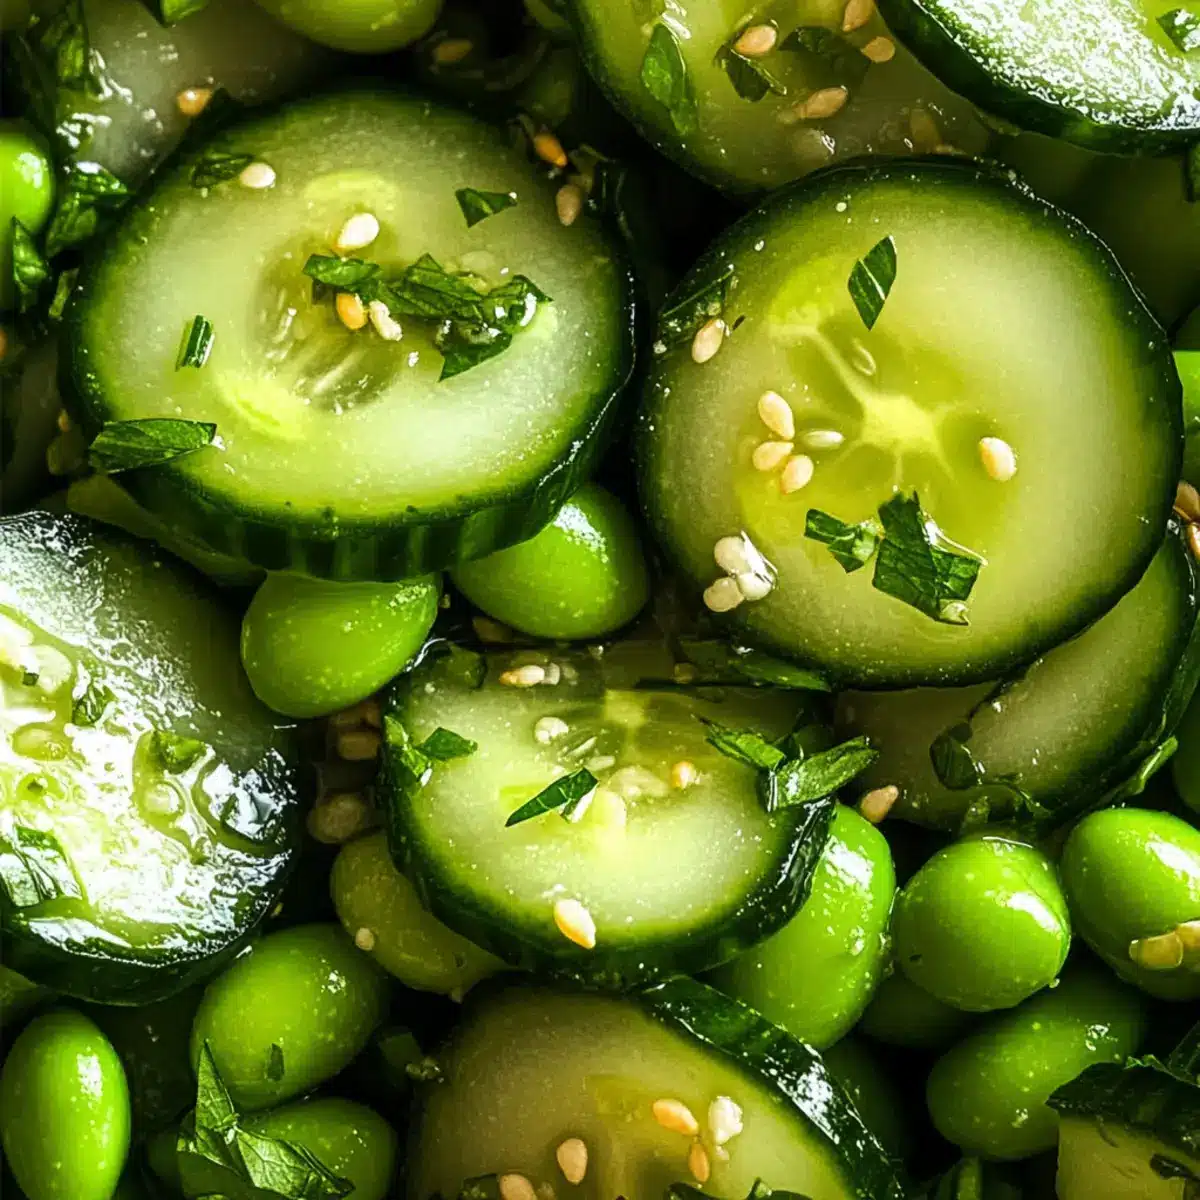
Cucumber Salad: A refreshing contrast, this cool salad adds crunch and balances the dish’s bold spices, providing a light and crisp texture.
-
Steamed Bok Choy: Tender yet crunchy, bok choy offers mild flavors that enhance the overall meal while adding a nutritious green element to your feast.
-
Lemongrass Tea: This light and fragrant tea serves as a delightful accompaniment that cleanses the palate and echoes the dish’s Thai roots.
-
Thai Spring Rolls: These light, crispy bites filled with fresh veggies harmonize perfectly with the flavors of Thai Basil Tofu, making for a delightful appetizer.
-
Mango Sticky Rice: For a sweet finish, this dish combines the sweetness of ripe mango with creamy coconut rice, providing a delightful contrast to your savory meal.
-
Fried Egg: Topped over the Thai Basil Tofu, a sunny-side-up egg adds richness, creating an indulgent bite with extra protein.
How to Store and Freeze Thai Basil Tofu
Fridge: Store leftover Thai Basil Tofu in an airtight container for up to 3 days. Reheat on the stovetop over low heat, adding a splash of water if necessary to maintain moisture.
Freezer: For longer storage, place cooled portions of Thai Basil Tofu in freezer-safe bags or containers. It can be frozen for up to 2 months. Thaw in the fridge before reheating.
Reheating: When reheating, gently heat over medium heat on the stovetop, stirring occasionally to avoid burning. This method keeps the tofu’s texture intact and flavors refreshed.
Thai Basil Tofu Variations
Feel free to play around and make this dish your own with these delightful twists!
- Spicy Extra: Add more chopped Thai chili or a sprinkle of chili flakes to crank up the heat.
- Gluten-Free Swap: Use tamari in place of soy sauce and check that your vegetarian oyster sauce is gluten-free.
- Veggie Boost: Toss in bell peppers, snap peas, or carrots for extra crunch and nutrition.
- Nutty Flavor: Add a spoonful of peanut or cashew butter to the sauce for a rich and creamy texture.
- Different Proteins: Swap tofu for tempeh or even chickpeas for a different texture and flavor profile.
- Herby Swap: Use a mix of fresh herbs like mint, cilantro, or even arugula for a refreshing taste.
- Rice Alternatives: Serve over quinoa, cauliflower rice, or barley for a unique take on this classic dish.
- Coconut Cream: Finish the dish with a swirl of coconut cream for a rich and tropical twist.
With these variations, your Thai Basil Tofu is sure to become a beloved staple, offering something new each time you make it!

Thai Basil Tofu Recipe FAQs
How do I choose the right tofu for this recipe?
Absolutely! For the best texture, use high-protein organic super firm tofu. It crisps up beautifully and holds its shape during cooking. If unavailable, any firm tofu will do, but avoid soft varieties as they may become mushy in the dish.
What is the best way to store leftover Thai Basil Tofu?
Leftover Thai Basil Tofu can be stored in an airtight container in the refrigerator for up to 3 days. To reheat, gently warm it on the stovetop over low heat, adding a splash of water to keep it moist and flavorful.
Can I freeze Thai Basil Tofu? How?
Yes, you can freeze Thai Basil Tofu! Allow the dish to cool completely, then portion it into freezer-safe bags or airtight containers. It can be frozen for up to 2 months. When you’re ready to enjoy it, thaw in the refrigerator overnight, then reheat on the stovetop and stir occasionally until heated through.
What if my tofu is not crispy after cooking?
Very! If you notice your tofu isn’t as crispy as you hoped, try patting it dry with paper towels before seasoning to remove excess moisture. If you pan-fried it, ensure your oil is hot enough before adding the tofu. For better crisping, you can also bake the tofu rather than pan-frying it, as outlined in the instructions.
Are there any dietary considerations for this recipe?
This Thai Basil Tofu is gluten-free if you use gluten-free soy sauce (like tamari) and a gluten-free vegetarian oyster sauce. It’s also a fantastic high-protein option for vegetarians and vegans! Just check all your sauces to ensure they meet your dietary needs and avoid any allergens.
Savory Thai Basil Tofu: Quick Comfort Food Delight
Ingredients
Equipment
Method
- Pat the tofu dry with paper towels, crumble into pieces, and coat with salt, pepper, and corn starch.
- Bake in a greased pan at 425°F for 25 minutes, tossing halfway through until golden-brown.
- Heat avocado oil in a wok and sauté chili and garlic for 1-2 minutes.
- Incorporate cooked tofu and stir for another minute to absorb flavors.
- Whisk soy sauces, sugar, and water in a bowl, add to wok, and simmer until thickened.
- Stir in Thai basil and cook until just wilted, about 30 seconds.
- Serve over steamed rice, optionally topped with a fried egg.