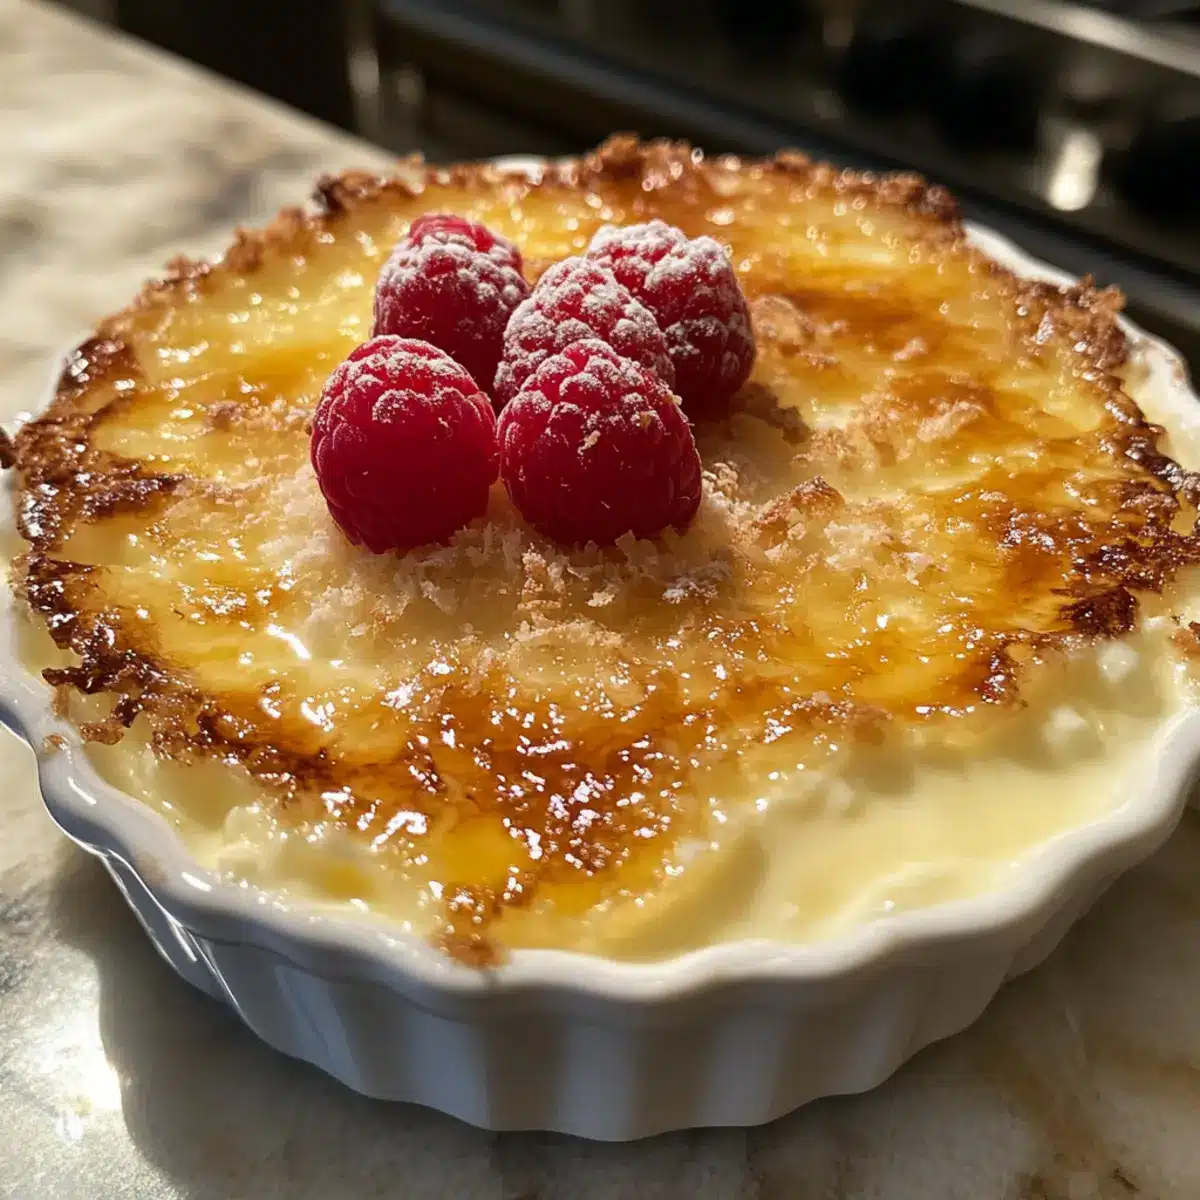
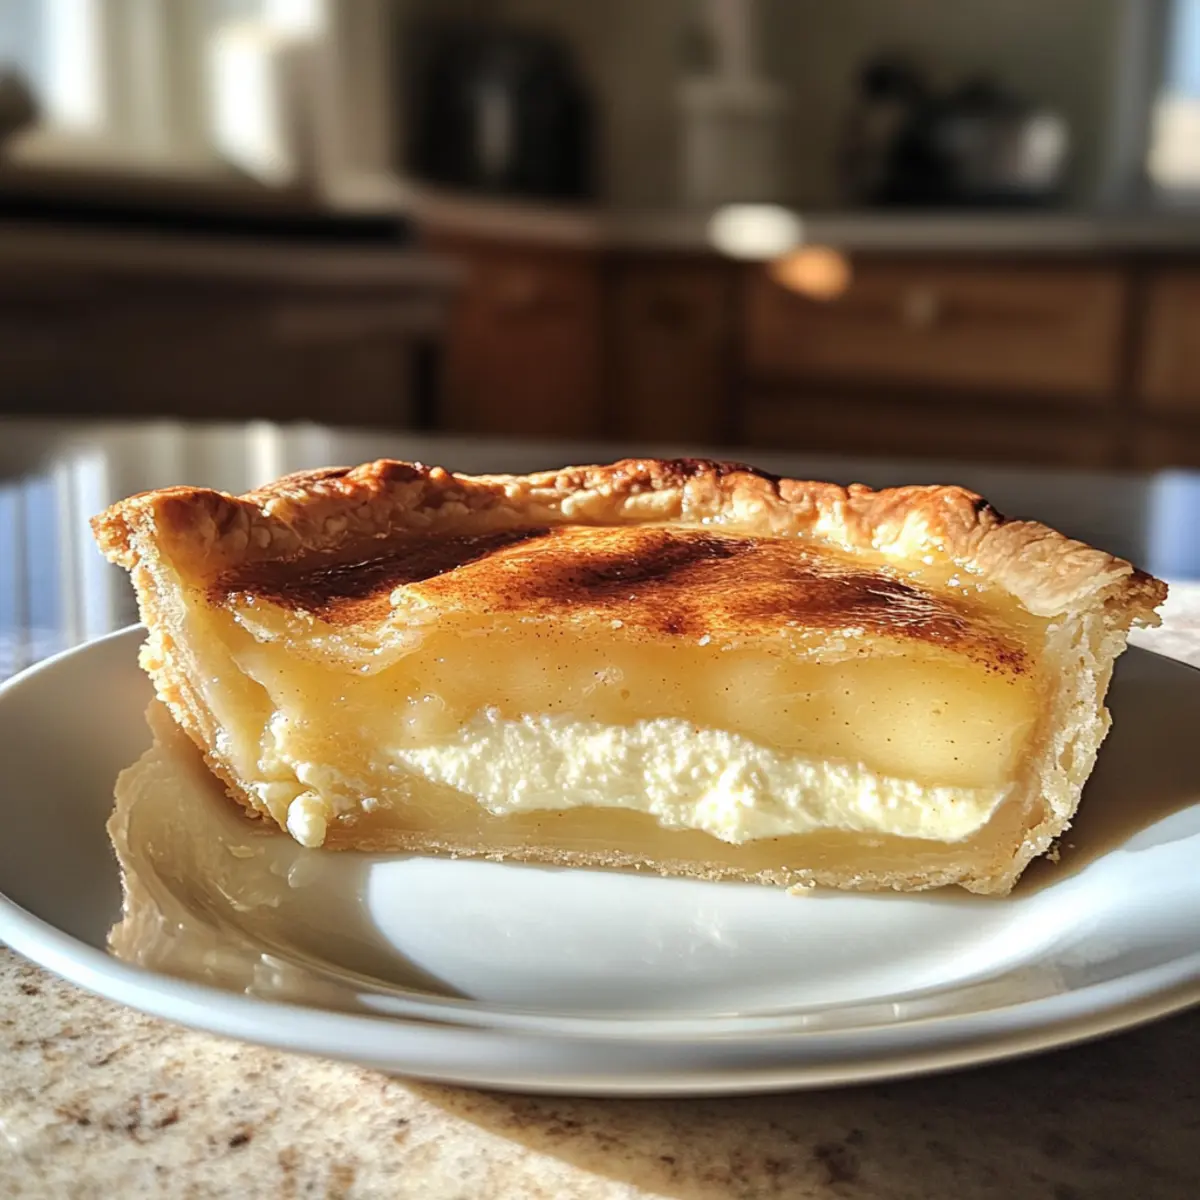
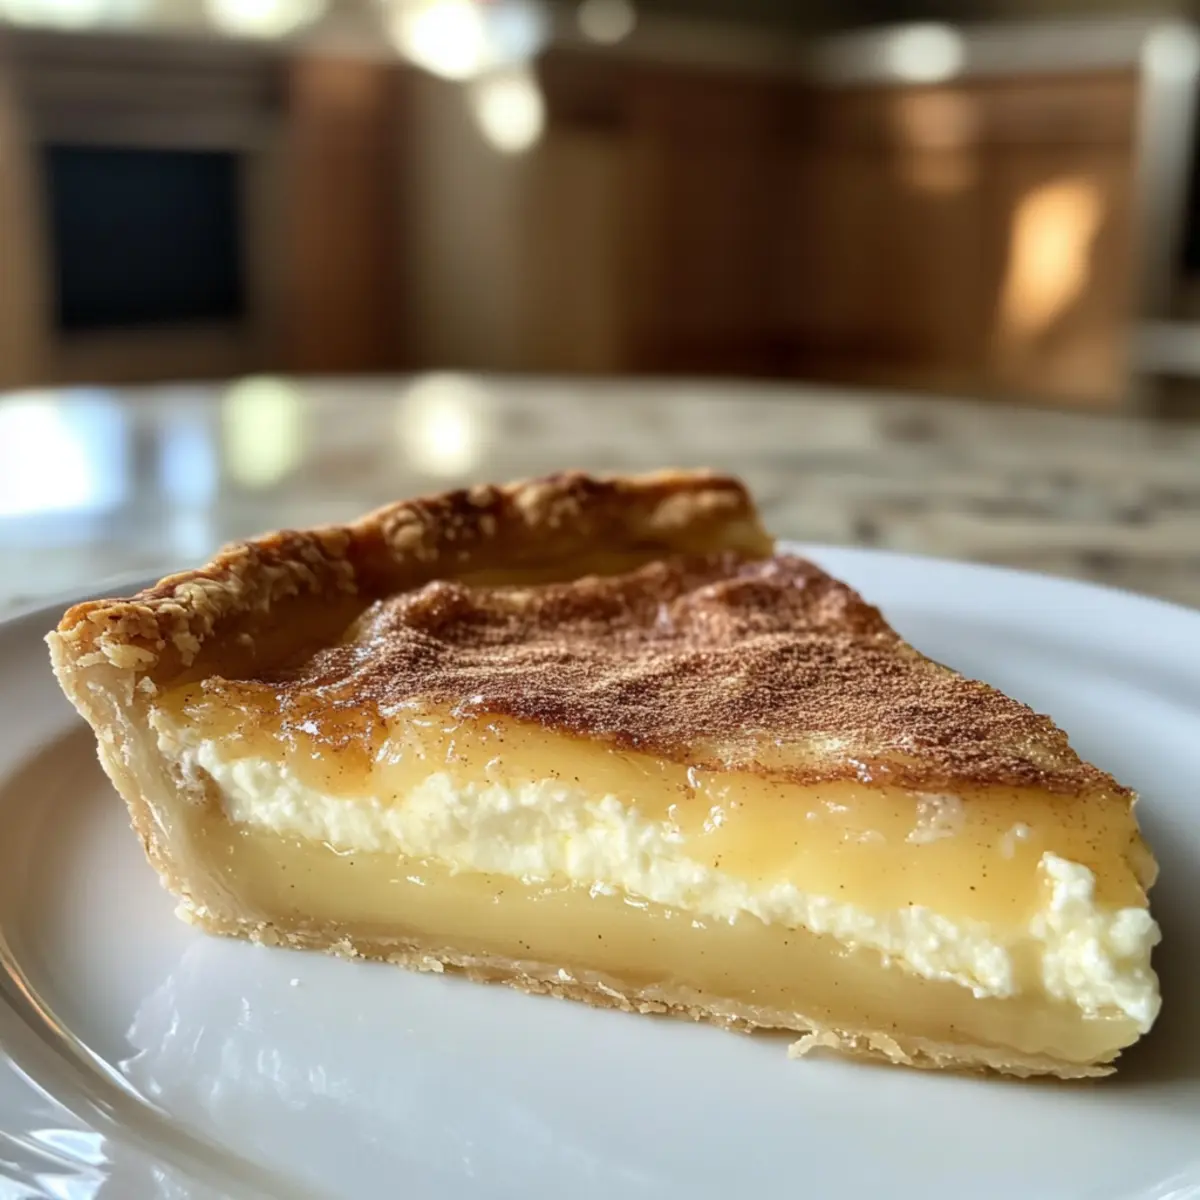
Do you ever find yourself daydreaming about sun-drenched afternoons spent in a cozy Mediterranean kitchen? That’s exactly how I felt the first time I baked Melopita Greek Honey Pie. This dreamy dessert features a luscious filling made from creamy ricotta, sweet golden honey, and a hint of warm cinnamon that dances on the palate. Not only is this Greek honey pie an easy recipe to whip up, but it’s also a delightful centerpiece for any gathering, from festive Easter lunches to summer picnics. With its richness balanced by a buttery, flaky crust, it’s bound to win over even the pickiest of eaters. Are you ready to discover how to make this enchanting treat?
Why Is Melopita a Must-Try Dessert?
Simplicity: Making Melopita is a breeze, requiring minimal effort and just a handful of ingredients, making it accessible even for beginner bakers.
Rich, Creamy Texture: The ricotta filling creates a luscious, custard-like experience that melts in your mouth, perfect for satisfying your sweet tooth.
Versatile Options: Whether you keep the crust or go crustless, you can customize this pie to suit your preferences, such as adding a touch of orange zest for an exciting twist.
Crowd-Pleasing Delight: It’s a show-stopper at gatherings, pairing beautifully with coffee or enjoyed on its own, ensuring it will be a hit at any event.
Natural Sweetness: Sweetened with high-quality honey, this pie offers a wholesome alternative to overly processed desserts. If you love honey, don’t miss out on Honey Sriracha Ground for another delightful dish!
Melopita Greek Honey Pie Ingredients
Unlock the secrets of this traditional Greek dessert!
-
For the Crust
-
Gluten-Free Flour or All-Purpose Flour – Use certified gluten-free flour for a gluten-free option.
-
Salt – Enhances flavor and balances sweetness in the crust.
-
Sugar – Sweetens and gives structure; feel free to adjust it to your liking.
-
Unsalted Butter (cold and cubed) – Keeps the crust flaky; ensure it’s cold for the best texture.
-
Vinegar – Tenderizes the crust; white or apple cider works wonderfully.
-
Ice Water – Binds the dough together; add as needed until combined.
-
For the Filling
-
Large Eggs – Adds structure and richness; room temperature eggs mix better.
-
Honey (preferably wild blossom or floral) – Natural sweetener for the filling; opt for the best quality you can find.
-
Ground Cinnamon – Provides warm spice; adjust according to your taste preference.
-
Cornstarch – Stabilizes the filling; crucial for achieving the right custard-like texture.
-
Salt for Filling – A small amount is enough to enhance all the flavors.
-
Fresh Lemon Juice – Adds brightness; vinegar can be a substitute if necessary.
-
Vanilla Extract – Elevates sweetness and aroma; pure extract is recommended for richness.
-
Ricotta Cheese or Myzithra – Forms the creamy filling; well-drained ricotta is key for texture.
-
For Garnish
-
Extra honey and cinnamon – Drizzle and sprinkle to elevate presentation and flavor.
With these ingredients gathered, you’re one step closer to making your very own Melopita Greek Honey Pie, a delightful addition to your collection of easy Greek recipes!
Step‑by‑Step Instructions for Melopita Greek Honey Pie
Step 1: Preheat the Oven
Begin by preheating your oven to 400°F (200°C). This ensures the temperature is just right when you’re ready to bake the Melopita Greek Honey Pie. While the oven heats up, gather your ingredients and equipment, such as a mixing bowl and a food processor, for smooth preparation.
Step 2: Prepare the Crust Dough
In your food processor, combine flour, salt, and sugar, pulsing briefly to blend. Add the cold, cubed unsalted butter and pulse until the mixture resembles coarse crumbs. This step creates the flaky texture of your pie crust. Next, drizzle in vinegar and ice water, pulsing until the dough just comes together.
Step 3: Chill the Dough
Form the dough into two discs, wrapping each in plastic wrap. Chill the discs in the refrigerator for at least 30 minutes. This resting period allows the gluten to relax, making the dough easier to roll and helping achieve that beautiful flaky texture when baked.
Step 4: Roll Out the Crust
Remove one chilled dough disc from the fridge and place it on a floured surface. Roll it out into a 12-inch circle, maintaining even thickness. Transfer it carefully into a 9-inch pie dish, pressing gently to fit. Prick the bottom with a fork to prevent bubbling during baking, then refrigerate again for 15 minutes.
Step 5: Par-bake the Crust
Line the prepared crust with parchment paper and fill it with pie weights or dried beans. Bake in the preheated oven for 10 minutes at 400°F (200°C). After baking, the crust should be lightly golden at the edges. Remove from the oven and discard the weights, allowing it to cool slightly before adding the filling.
Step 6: Make the Filling
In a large bowl, whisk together the large eggs and honey until the mixture becomes fluffy and pale, about 2-3 minutes. Incorporate ground cinnamon, cornstarch, salt, lemon juice, and vanilla extract, mixing until smooth. This creamy filling is what makes the Melopita Greek Honey Pie truly delightful, so blend everything well.
Step 7: Add the Ricotta
Gently fold the well-drained ricotta into the honey mixture until fully incorporated. Be careful not to overmix, as you want to maintain the light, airy texture. Once combined, the filling should be smooth and aromatic, ready to pour into the par-baked crust.
Step 8: Bake the Pie
Pour the filling into the prepared crust, spreading it evenly. Lower the oven temperature to 350°F (175°C) and bake for 25-35 minutes. You’ll know it’s done when the edges are set, but the center still has a slight jiggle, ensuring a tender, custard-like consistency.
Step 9: Cool and Set
Once baked, remove the Melopita from the oven and allow it to cool on a wire rack for 1-2 hours. This cooling period helps the filling firm up for easier slicing. After it reaches room temperature, chill it briefly in the refrigerator if desired.
Step 10: Garnish and Serve
Before serving, drizzle additional honey over the top and sprinkle with cinnamon for an inviting presentation. Slice into wedges and enjoy this delicious Melopita Greek Honey Pie as a perfect dessert for any occasion, or simply as a sweet treat at home.

Expert Tips for Melopita Greek Honey Pie
- Keep It Cold: Ensure your butter is fully cold when preparing your crust; this is crucial for achieving that flaky texture.
- Custom Crust-Free Option: If you’re short on time or want to skip the crust, use a greased pie dish for a delightful crustless Melopita.
- Cool Properly: Allow the pie to cool thoroughly before slicing; this ensures clean cuts and maintains the beautiful filling.
- Fresh Ingredients Matter: Use high-quality honey and fresh ricotta for the best flavor in your Melopita Greek Honey Pie.
- Watch the Bake Time: Don’t overbake! The filling should be set but slightly jiggly in the center for the perfect creamy texture.
What to Serve with Melopita Greek Honey Pie
Indulge in a complete culinary experience by complementing your delightful pie with these mouthwatering pairings.
- Creamy Greek Yogurt: A dollop of rich, tangy yogurt adds a creamy contrast to the sweet pie, enhancing each bite.
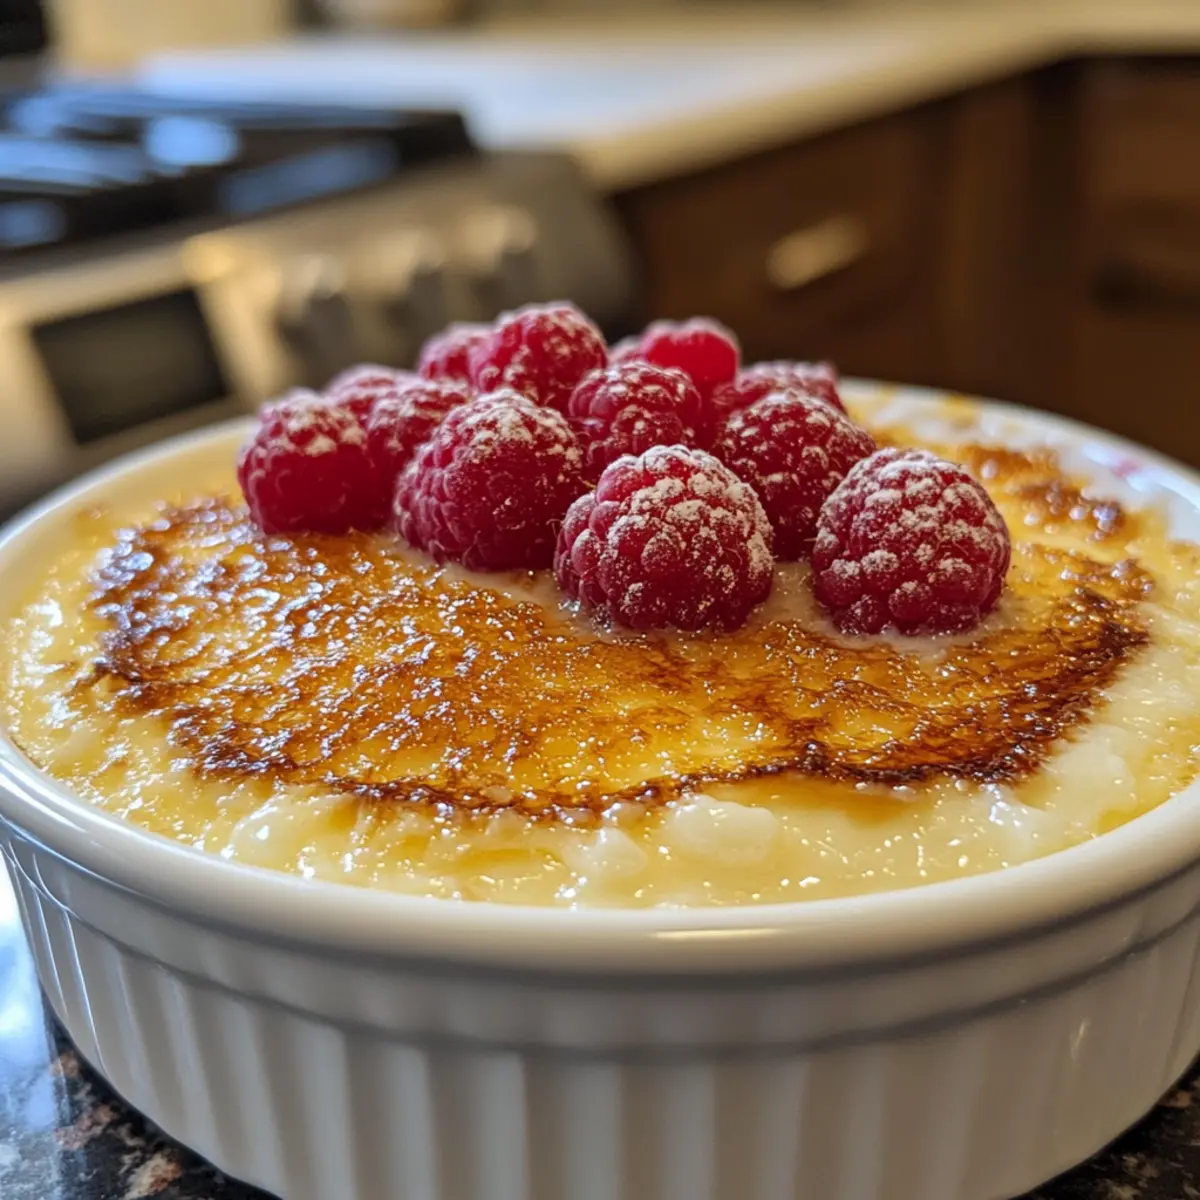
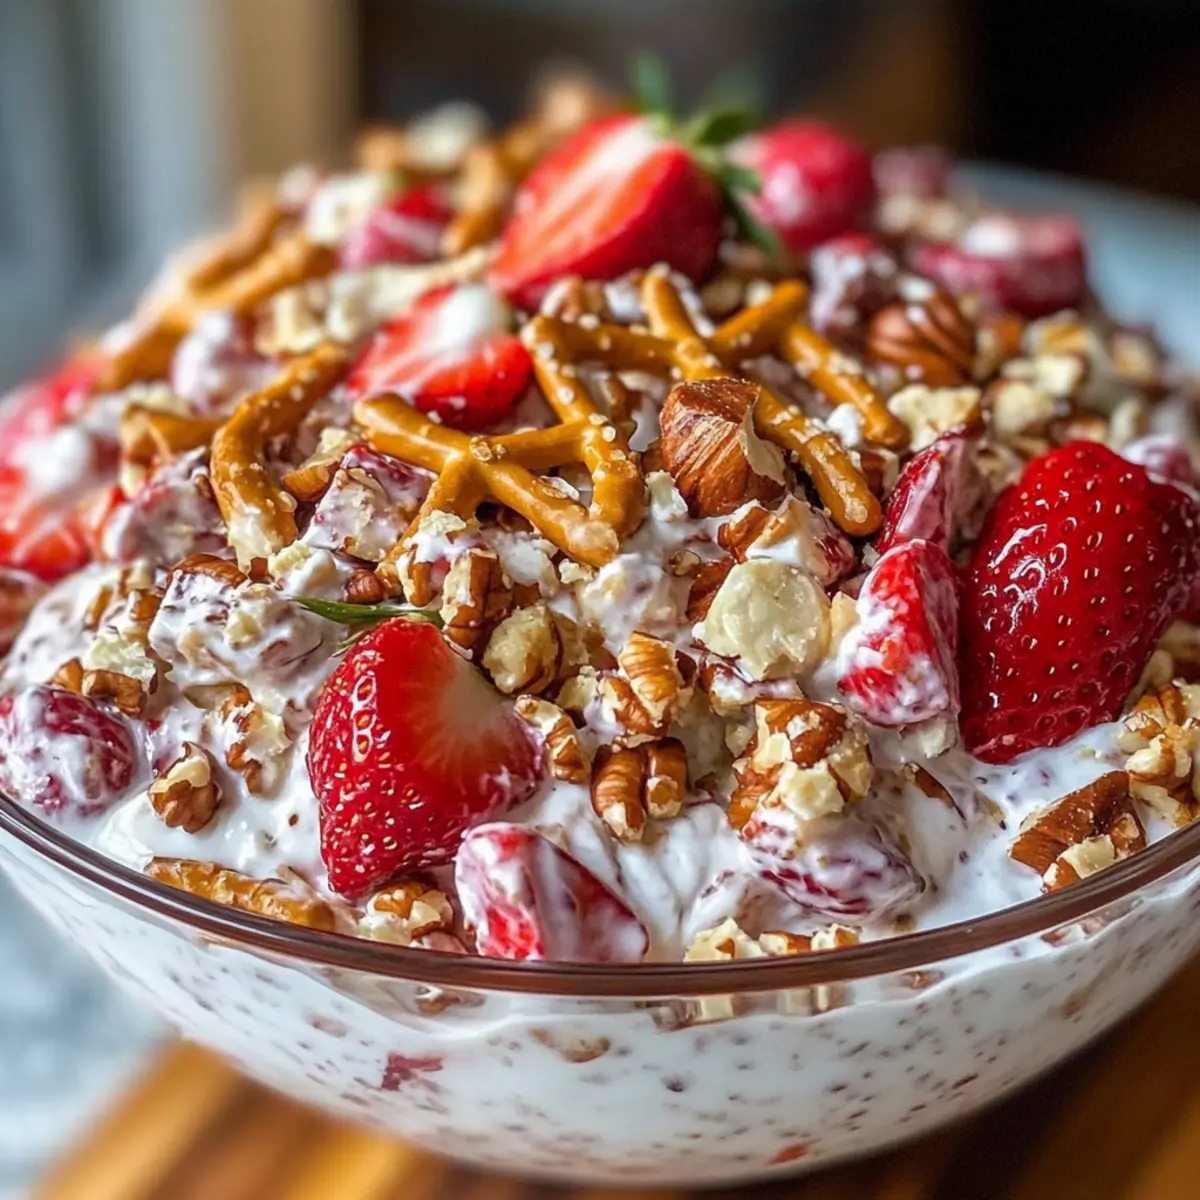
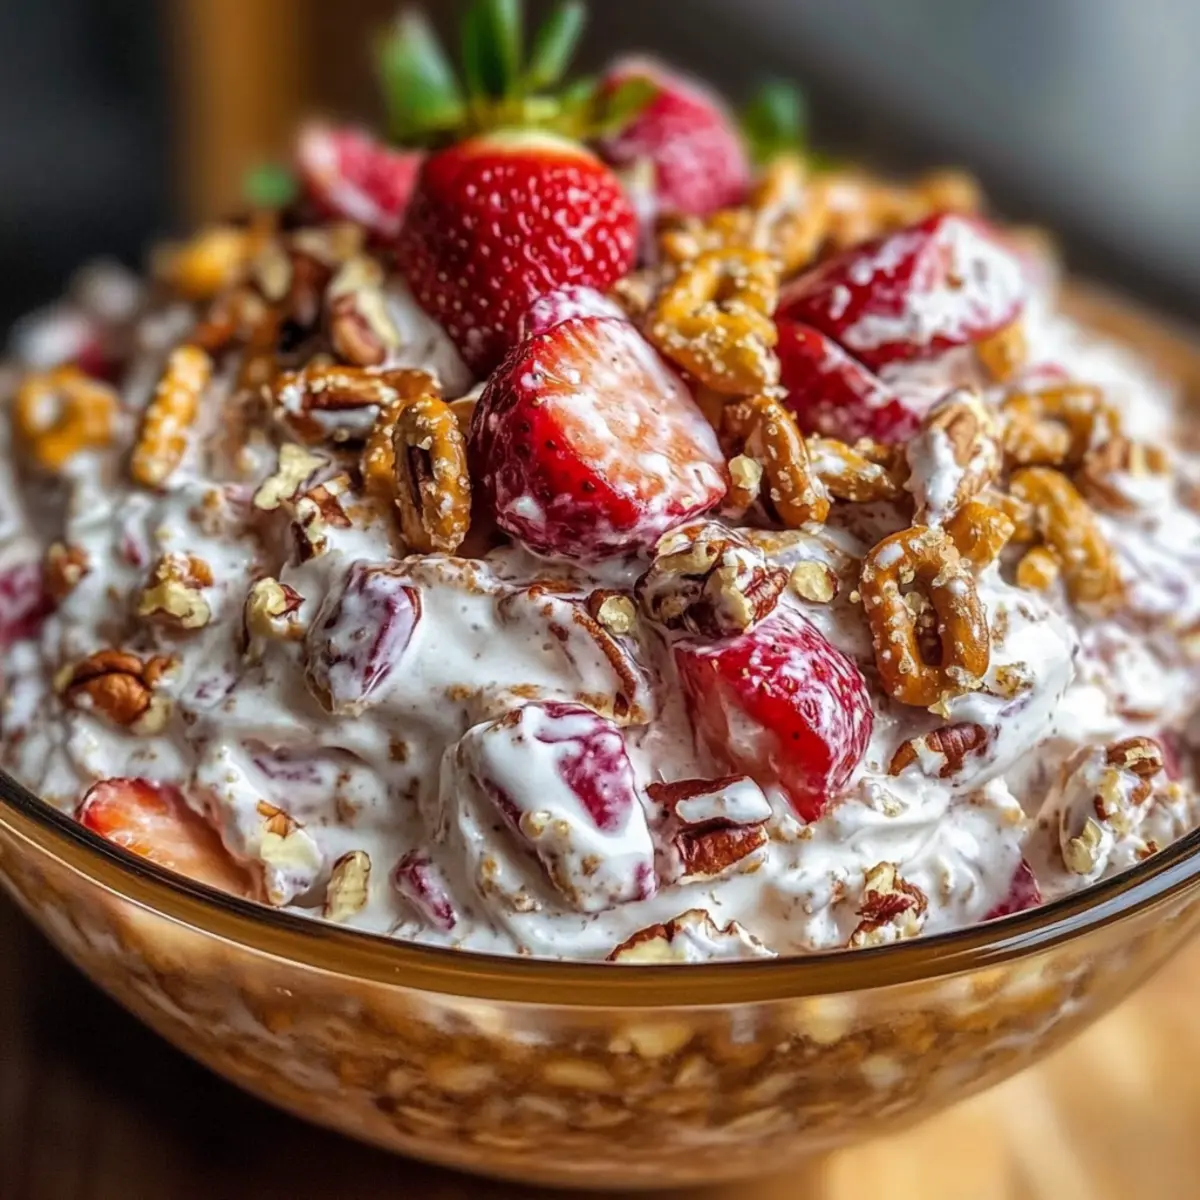
- Fresh Berries: Berries such as strawberries and blueberries offer a burst of freshness, balancing the pie’s sweetness beautifully.
- Toasted Almonds: Crunchy, toasted almonds provide a satisfying texture that complements the creaminess of the Melopita.
- Mint Tea: This fragrant beverage pairs elegantly with the honey and cinnamon notes, creating a relaxing after-dinner experience.
- Warm Honey Drizzle: Enhancing the sweetness, a drizzle of warmed honey brings an extra layer of decadence to each slice.
- Saffron Rice Pudding: For a true Mediterranean feast, serve this aromatic dessert alongside the Melopita, offering a delightful contrast in flavors.
- Espresso Coffee: A small cup of bold espresso perfectly contrasts the sweetness of the pie, making it an excellent after-dinner treat.
- Cinnamon Spiced Apples: Cooked apples spiced with cinnamon echo the flavors in the pie while providing a warm, homey touch.
- Lemon Sorbet: Tart and refreshing, this sorbet cleanses the palate and adds a vibrant note to your dessert plate.
Melopita Greek Honey Pie Variations
Feel free to explore the delicious possibilities that can make this recipe uniquely yours!
- Crustless Version: Bake the filling directly in a well-greased dish for a lighter option. This twist is perfect for those looking for a gluten-free delight without compromising flavor.
- Different Cheese: Swap ricotta for mascarpone or crème fraîche for an ultra-creamy texture. Each option brings a different richness that elevates the dessert experience.
- Citrus Zest: Add orange or lemon zest to the filling for a refreshing burst of flavor. The citrus notes beautifully complement the honey while adding brightness.
- Nutty Crunch: Top your pie with toasted almonds, walnuts, or pistachios for a delightful crunch. The added texture contrasts wonderfully with the creamy filling, transforming each bite.
- Spiced Upgrade: Incorporate nutmeg or cardamom along with the cinnamon for a warm, spiced twist. This subtle change can redefine the flavor profile and evoke comforting memories.
- Honey Drizzle: Experiment with flavored honey, such as lavender or rosemary, to add a unique layer of taste. A drizzle just before serving will impress your guests with its aromatic essence.
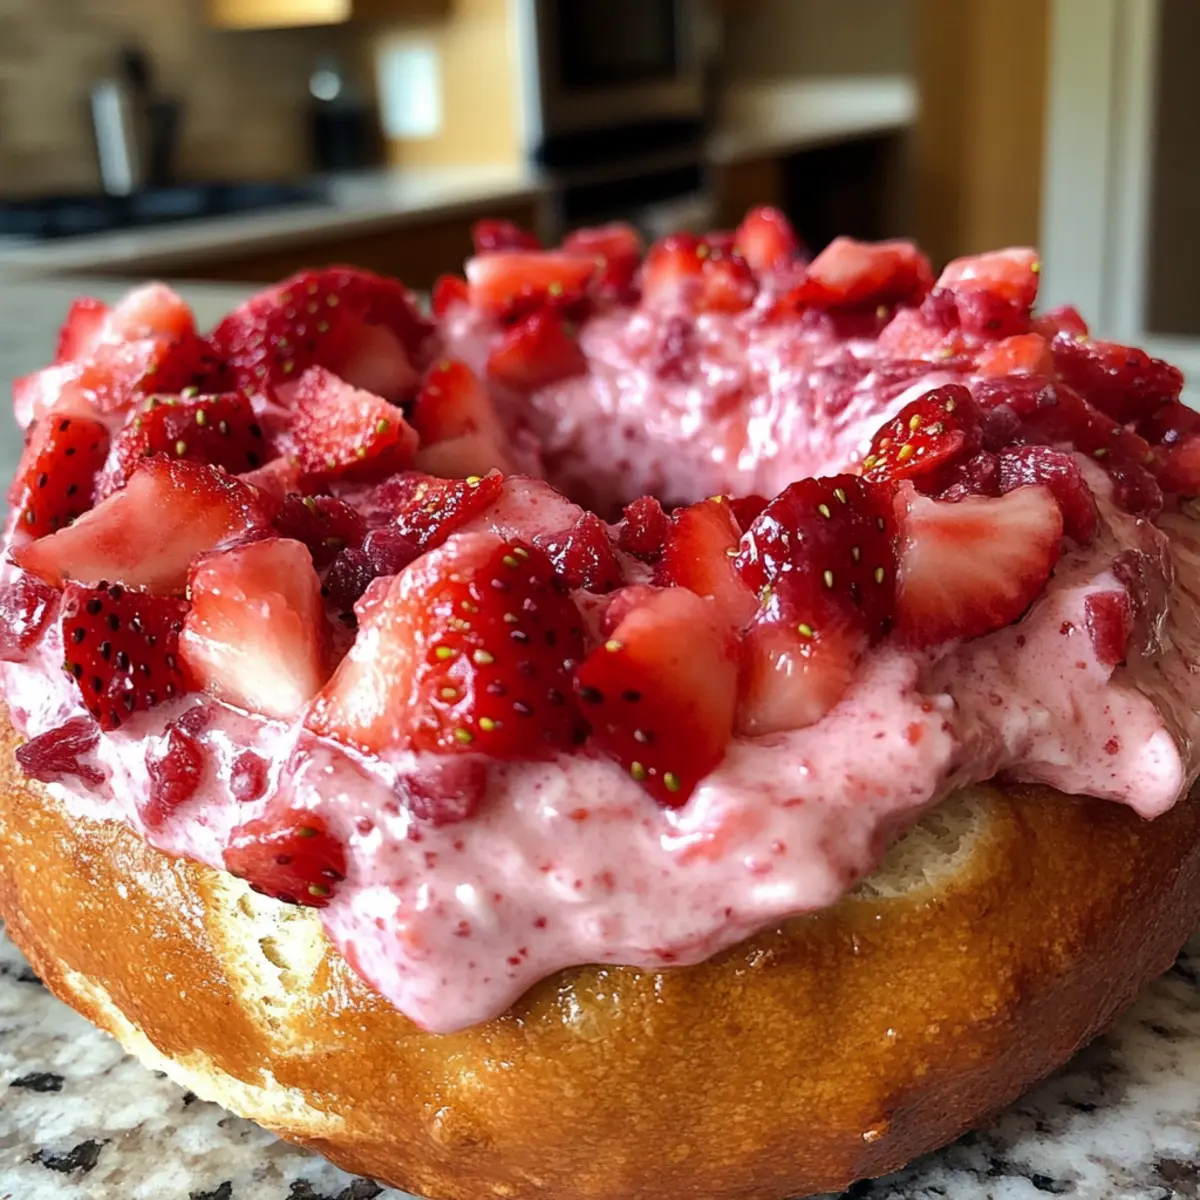
- Fruit Layer: Serve the pie with a fresh fruit compote or berries on the side for a vibrant contrast. A hint of tartness pairs harmoniously with the sweetness of the pie, making it irresistible.
- Serve with Coffee: Pair your Melopita with a shot of strong espresso or a sweet Mediterranean coffee to enhance the experience. This combination is a classic way to enjoy sweet treats across the globe! If you’re a coffee lover, don’t miss my recipe for Honey Garlic Shrimp as a delightful dinner option that adds to your culinary repertoire.
Storage Tips for Melopita Greek Honey Pie
Fridge: Store your Melopita Greek Honey Pie covered in the refrigerator for up to 3-4 days. The flavors mellow and deepen, making each slice even more delicious as the days go by.
Freezer: For longer storage, wrap the pie tightly in plastic wrap and aluminum foil, freezing for up to 2 months. Thaw in the refrigerator overnight before serving.
Reheating: To enjoy chilled Melopita, simply slice and serve straight from the fridge. For a warm treat, reheat gently in the oven at 300°F (150°C) for about 10-15 minutes until warmed through.
Make Ahead Options
Melopita Greek Honey Pie is a fantastic option for meal prep, making your gatherings smoother and stress-free! You can prepare the crust up to 24 hours in advance; just shape it into discs and store them wrapped in plastic wrap in the refrigerator. The filling can also be made ahead and stored in an airtight container for up to 3 days—just be sure to refrigerate it. When you’re ready to bake, simply par-bake the crust, pour in the chilled filling, and bake as directed. This way, you’ll enjoy the same delightful, creamy results with minimal effort on the day of your event!

Melopita Greek Honey Pie Recipe FAQs
What type of honey should I use for the filling?
Absolutely! For the best flavor, opt for high-quality honey, such as wild blossom or floral varieties. These impart a depth and richness to the pie that supermarket brands can’t match. If you’re lucky enough to visit a local farmer’s market, check there for artisan honey options!
How can I tell if my ricotta cheese is fresh?
Very important! Fresh ricotta should be creamy and free from any off smells or discoloration. Ensure it’s well-drained before using it in the filling; if you see any excess liquid, it’s best to strain it further. A fresh texture contributes greatly to the overall deliciousness of your Melopita Greek Honey Pie!
What’s the best way to store leftovers?
I recommend storing your Melopita Greek Honey Pie covered in the refrigerator for 3-4 days. The flavors actually enhance as it sits, making it even tastier the next day. If you’re looking to keep it longer, wrap it tightly in plastic wrap and aluminum foil and freeze for up to 2 months.
Can I freeze Melopita Greek Honey Pie?
Absolutely! To freeze, allow the pie to cool completely, then wrap it tightly in plastic wrap and aluminum foil. When you’re ready to enjoy it, simply thaw it overnight in the refrigerator. You can serve it chilled straight from the fridge or reheat it gently in the oven at 300°F (150°C) for about 10-15 minutes.
What should I do if the filling seems too runny?
Don’t worry! If your filling looks a bit too runny after baking, make sure to allow the pie to cool completely on a wire rack. The filling will continue to set as it cools. If you find it’s still too soft, it’s best to slightly increase the cornstarch next time you make it to ensure the right texture.
Melopita Greek Honey Pie: A Silky Sweet Slice of Greece
Ingredients
Equipment
Method
- Preheat your oven to 400°F (200°C). Gather your ingredients and equipment.
- In a food processor, combine flour, salt, and sugar. Add cold butter and pulse to resemble coarse crumbs. Drizzle in vinegar and ice water, pulsing until dough comes together.
- Form the dough into two discs, wrap in plastic wrap, and chill in the refrigerator for at least 30 minutes.
- Roll out one chilled dough disc into a 12-inch circle. Place into a 9-inch pie dish and prick the bottom with a fork. Refrigerate for 15 minutes.
- Line the crust with parchment paper and fill with pie weights or dried beans. Bake for 10 minutes at 400°F (200°C). Remove weights and cool slightly.
- Whisk together eggs and honey in a large bowl until fluffy. Incorporate cinnamon, cornstarch, salt, lemon juice, and vanilla extract until smooth.
- Gently fold in well-drained ricotta until fully incorporated.
- Pour the filling into the prepared crust and spread evenly. Lower the oven temperature to 350°F (175°C) and bake for 25-35 minutes.
- Cool the pie on a wire rack for 1-2 hours. Chill briefly in the refrigerator if desired.
- Drizzle with honey and sprinkle cinnamon before serving. Slice into wedges and enjoy.