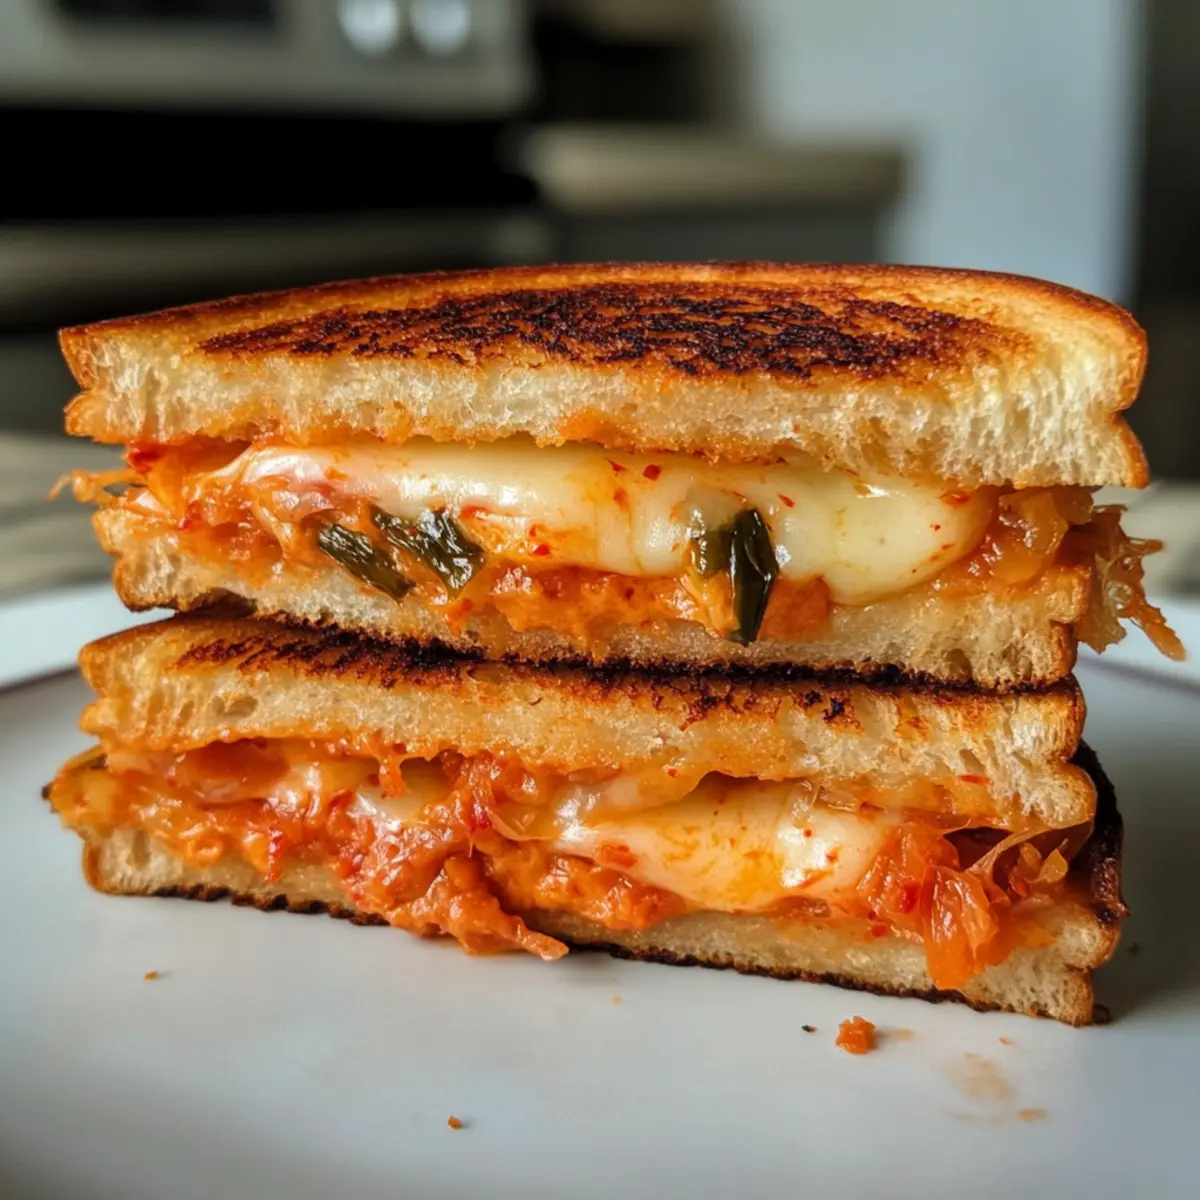
As I walked through a vibrant mercado in Mexico, the air was filled with the tantalizing aroma of sizzling street food, drawing me closer to a cheerful vendor serving up a delightful classic: antojitos. These Mexican street food appetizers are not only a feast for the senses but also incredibly fun to make! With my Antojitos Recipe, you can whip up these cheesy bites in under 30 minutes, making them perfect for gatherings or a cozy movie night. They’re easily customizable, accommodating everyone from the spice lover to those preferring milder flavors. Plus, they can easily cater to gluten-free diets with simple substitutions! Ready to dive into this delicious adventure? Trust me; you’ll want to keep scrolling for tips to elevate your antojitos game!

Why are Antojitos the Perfect Appetizer?
Quick and Easy: This antojitos recipe takes under 30 minutes from prep to plate, making it a go-to for busy days or spontaneous gatherings.
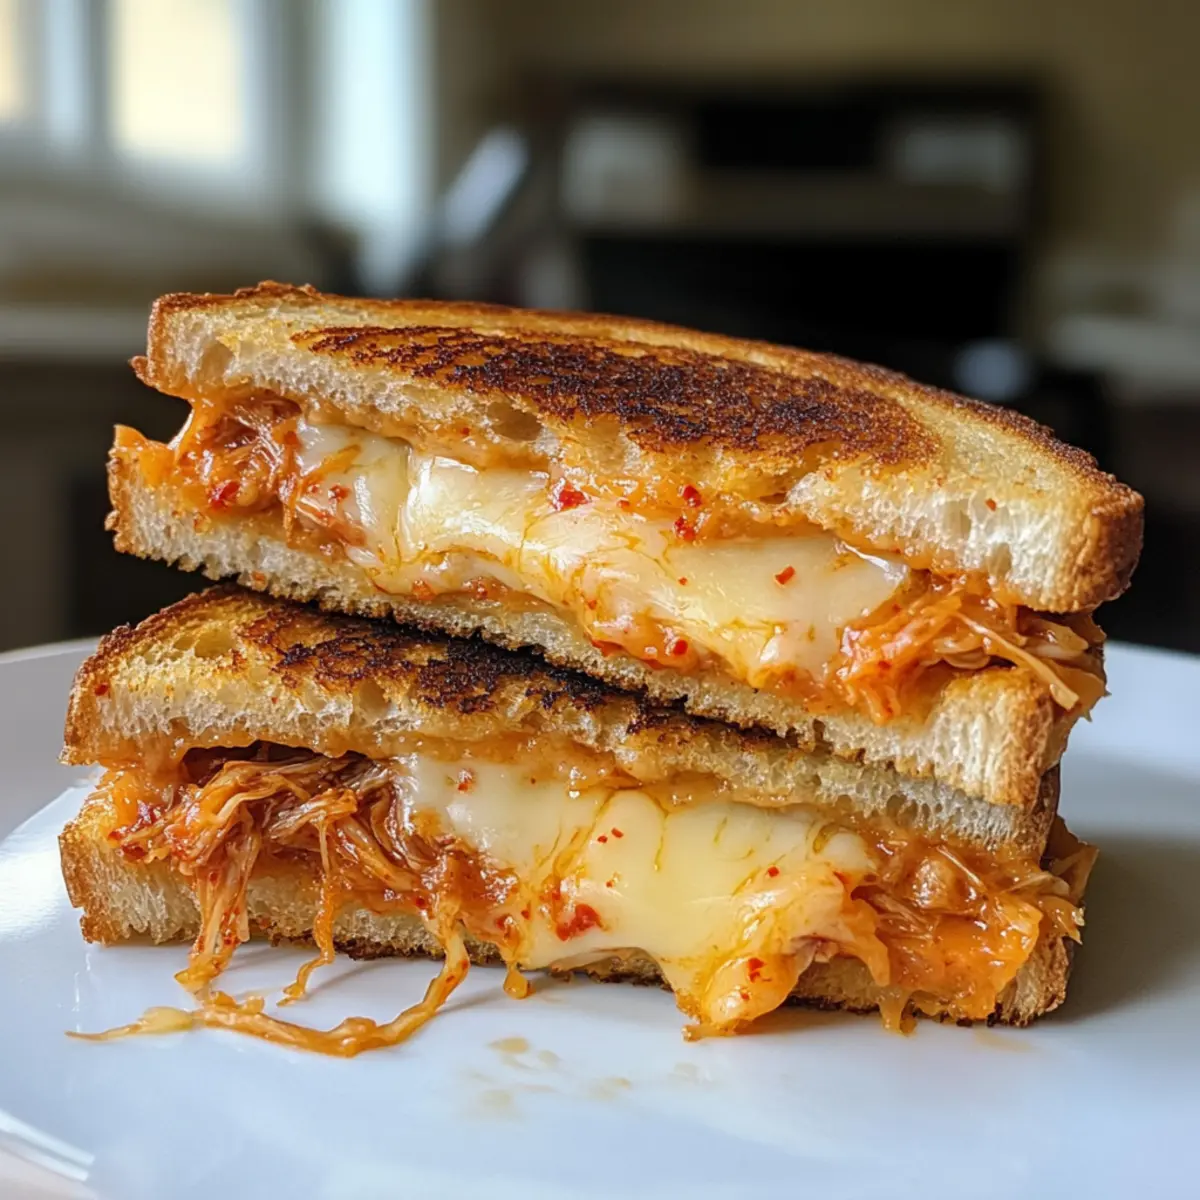
Crowd-Pleasing Flavor: With a creamy, cheesy filling and a hint of spice, these treats delight everyone, easily adapted for varying tastes—like switching to pepper jack for some added heat!
Customizable Goodness: Feel free to sub in your favorite ingredients or add protein options like shredded chicken or black beans for a heartier bite.
Great for Gatherings: Serve these alongside Coconut Pudding Dessert or some colorful dips, and you’ve got the perfect appetizer spread!
Versatile: Whether you’re using flour tortillas or corn for gluten-free options, antojitos manage to satisfy any dietary needs while still being deliciously indulgent!
Antojitos Recipe Ingredients
Get ready to create these cheesy delights!
For the Filling
- Flour Tortillas – The perfect base for wrapping your filling; substitute with corn tortillas for a gluten-free option.
- Cream Cheese – This adds creaminess and binds everything together; make sure it’s softened for easier mixing.
- Diced Green Chilies – They contribute flavor and mild heat; consider fresh jalapeños if you’re seeking more spice.
- Cheddar Cheese – Richness and flavor come from this ingredient; feel free to swap for mozzarella or a cheese blend if preferred.
- Red Onion – Adds a nice crunch and sharpness; you can use sweet onion for a milder taste.
- Bell Pepper – This enhances sweetness and color in the filling; any color will do!
- Sour Cream – Provides tanginess and acts as a dip; Greek yogurt works well as a healthier substitute.
- Paprika – Adds a smoky flavor; you can omit it for a milder taste.
- Garlic Powder – Deepens the flavor; fresh minced garlic is a great alternative.
- Onion Powder – Complements the red onion; can be omitted if you prefer.
- Cayenne – This brings the heat; adjust to your taste or skip it for no spice.
For the Dip
- Basil Pesto – Adds a burst of flavor to your dipping sauce; any store-bought or homemade version works beautifully.
- Sour Cream – Mix this with the basil pesto for a creamy dip that’ll complement your antojitos perfectly!
Step‑by‑Step Instructions for Antojitos Recipe
Step 1: Preheat Oven and Prepare Baking Sheet
Begin by preheating your oven to 350°F (175°C). While the oven warms up, take a baking sheet and line it with parchment paper to prevent sticking and make for easy cleanup. This step sets the stage for perfectly baked antojitos that become crispy and delightful.
Step 2: Mix the Filling
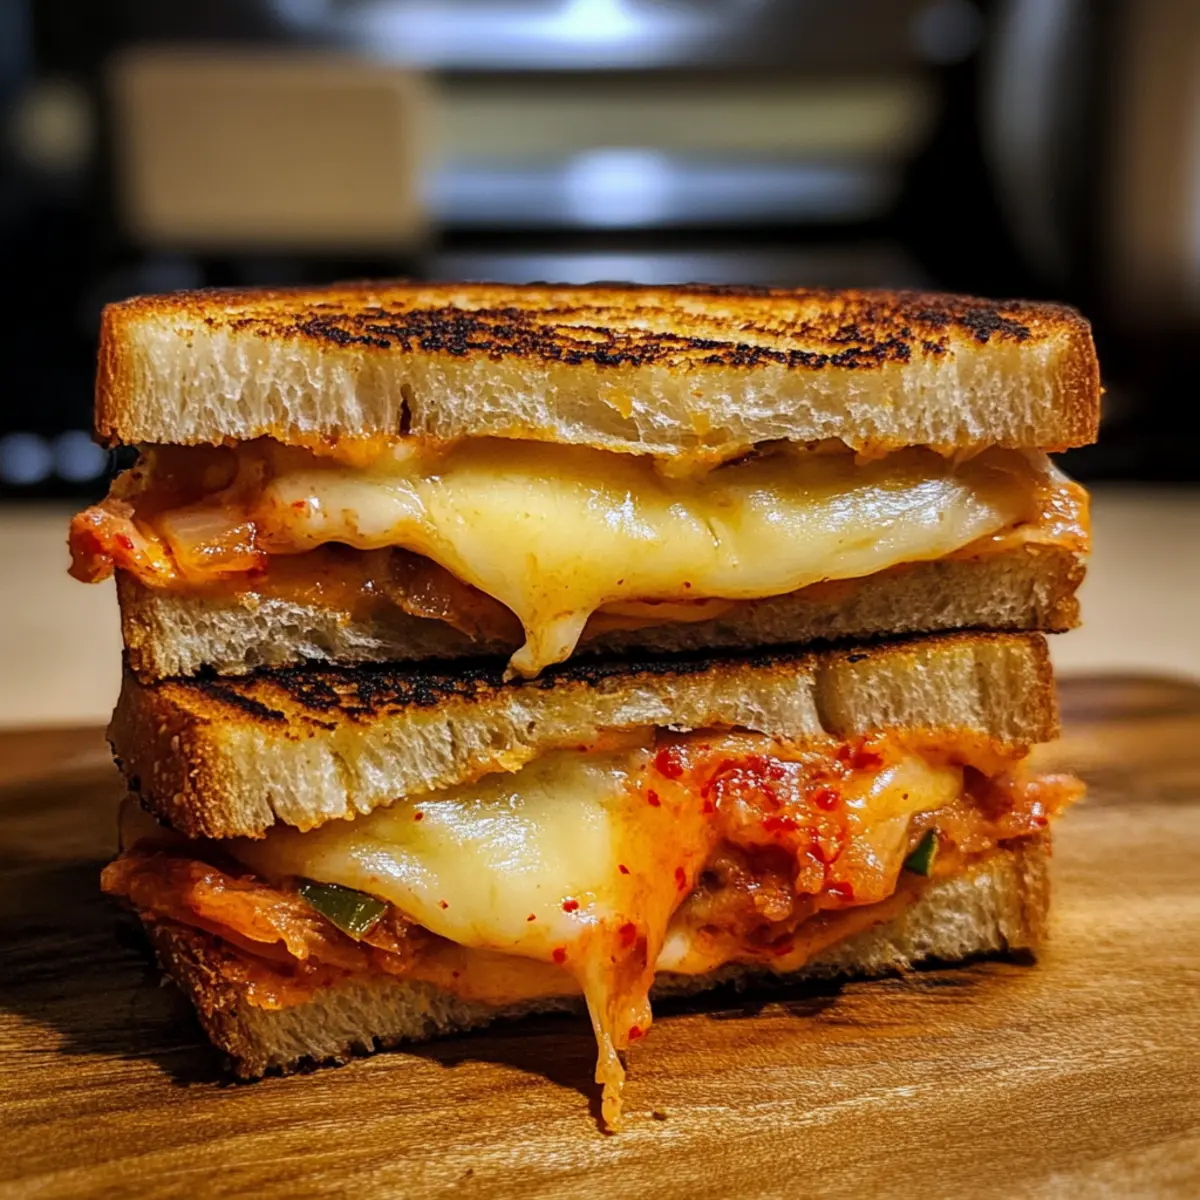
In a large mixing bowl, combine softened cream cheese, diced green chilies, cheddar cheese, chopped red onion, bell pepper, and 3 tablespoons of sour cream. Add in paprika, garlic powder, onion powder, and cayenne to bring out the flavors. Stir the mixture until it’s smooth and well combined; the vibrant colors should be enticing.
Step 3: Assemble the Antojitos
Take four flour tortillas and spread the creamy filling mixture evenly over each one. Roll the tortillas tightly from one side to the other, ensuring that no filling escapes. Once rolled, cut each tortilla into five pieces at a 45-degree angle to create bite-sized antojitos that are easy to serve and enjoy.
Step 4: Bake the Antojitos
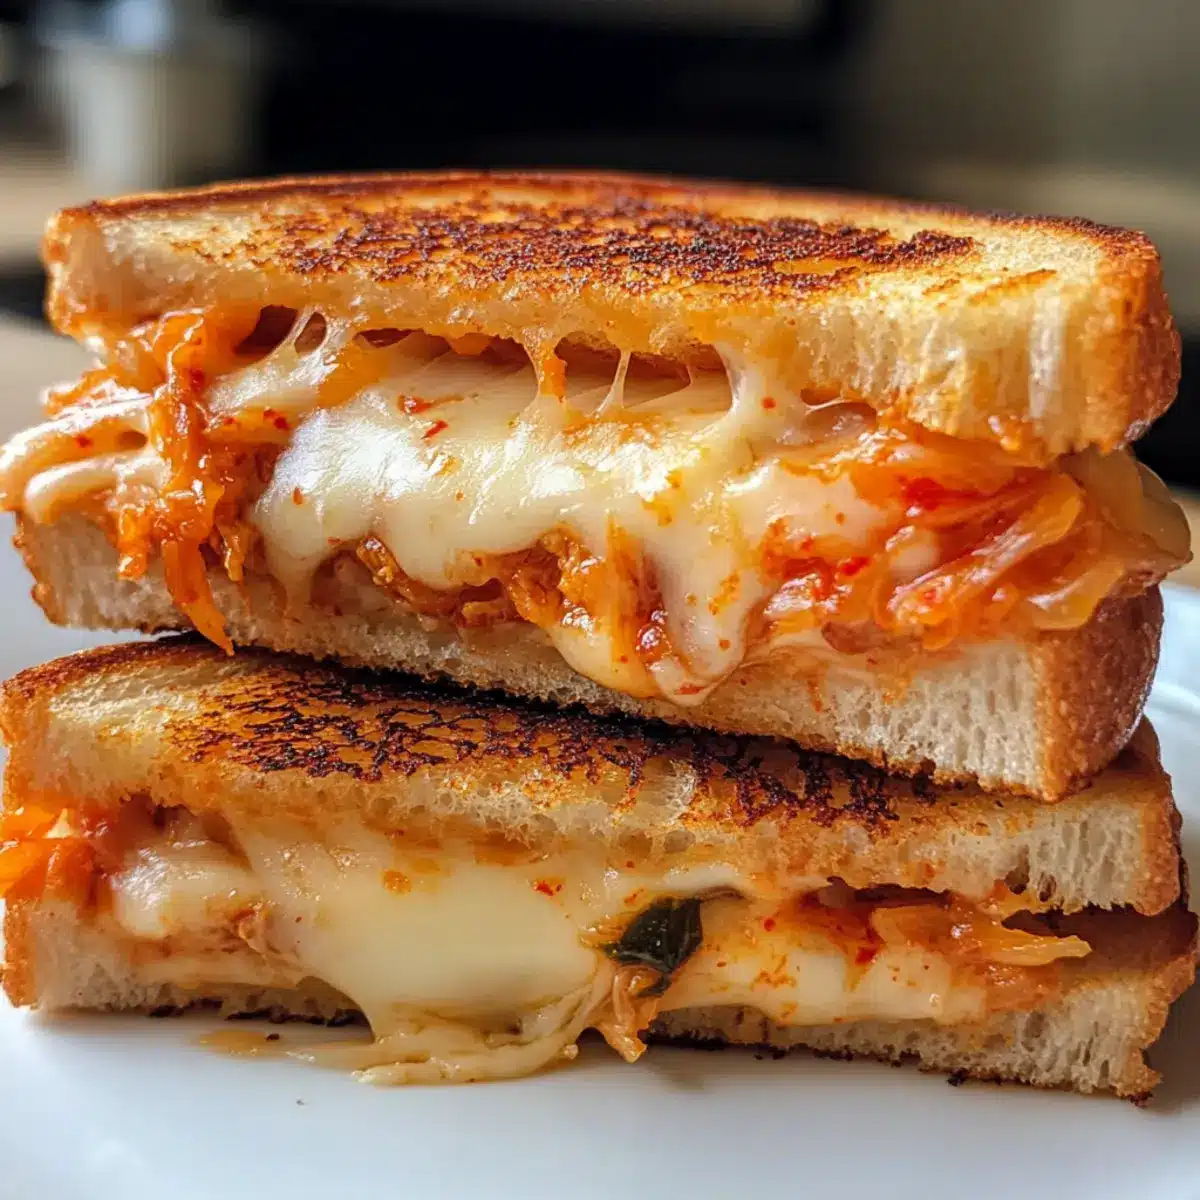
Place the cut antojitos on the prepared baking sheet with the cut sides facing up. Bake them in the preheated oven for about 8 minutes, until they start to turn golden and the cheese begins to melt. The aroma should be irresistible, drawing everyone to the kitchen as you prepare these tasty Mexican delights.
Step 5: Broil for the Perfect Finish
After baking, switch your oven to high broil and keep an eye on the antojitos as they cook for an additional 5 minutes. This will give them a crispy exterior and a beautifully golden brown finish. Make sure to watch closely, as they can burn quickly at this stage, changing from perfect to overdone in seconds.
Step 6: Cool and Serve
Once broiling is complete, remove the antojitos from the oven and allow them to cool slightly on a wire rack. This cooling time helps maintain their crispiness. Serve them warm alongside a bowl of basil pesto sour cream mixed from sour cream and basil pesto for a delightful dipping experience that enhances your homemade antojitos recipe.

How to Store and Freeze Antojitos
Fridge: Store leftover antojitos in an airtight container for up to 4 days. Reheat in the oven to keep their crunchy texture.
Freezer: If you have extra antojitos, freeze them in a single layer on a baking sheet before transferring to a freezer bag. They can last up to 3 months.
Make-Ahead: Assemble the antojitos one day ahead, but don’t bake them. Wrap tightly and refrigerate, then slice and bake on the day of serving for fresh, warm bites.
Reheating: For best results, reheat baked antojitos in the oven at 350°F (175°C) for about 10 minutes to restore their crispiness.
Make Ahead Options
These Antojitos are an excellent choice for meal prep, saving you precious time on busy weeknights! You can prepare the filling (cream cheese, cheeses, vegetables, and spices) up to 24 hours ahead of time; simply keep it covered in the refrigerator. For added flavor, let the mixture rest overnight before assembling. You can roll the tortillas with the filling and refrigerate them, wrapping tightly to prevent them from drying out. On the day of serving, just slice and bake as directed. This way, you’ll achieve that delightful crispy exterior and gooey filling—just as delicious as if freshly made! Enjoy the seamless experience of serving these delightful Antojitos to your family or guests.
What to Serve with Cheesy Antojitos with Basil Pesto Sour Cream Dip
Antojitos are not only scrumptious on their own; they become even more delightful when paired with the perfect companions!
-
Fresh Guacamole: This creamy avocado dip brings a cool, rich contrast that complements the warm, cheesy antojitos beautifully. Every bite harmonizes with a burst of freshness.
-
Spicy Salsa: A zesty salsa offers a delightful kick and brightens the flavor profile of the antojitos, balancing their richness perfectly. Choose a fresh tomato salsa or a spicy tomatillo version for added zing!
-
Mexican Street Corn Salad: The sweetness of corn with tangy lime and spicy chili powder creates a vibrant side dish that enhances the antojitos’ savory flavors. This combination brings a true street food vibe to your plate.
-
Vegetarian Black Bean Tacos: These hearty tacos offer a satisfying texture with protein, providing a well-rounded meal experience alongside the crispy antojitos. They’re easy to personalize with your favorite toppings!
-
Crispy Plantain Chips: Lightly salted plantain chips add a fun crunch that complements the gooeyness of the antojitos, creating a delightful mix of textures. Serve with your favorite dip for extra enjoyment!
-
Margaritas or Horchata: For drinks, refreshing margaritas add a citrusy kick while horchata offers a sweet, creamy counterbalance. Both elevate your appetizer spread and keep the festive spirit alive!
Antojitos Recipe Variations
Feel free to get creative with your antojitos and tailor them to your taste buds!
- Gluten-Free: Substitute flour tortillas for corn tortillas for a deliciously crispy, gluten-free option.
- Spicy Twist: Swap the mild diced green chilies for fresh jalapeños or diced serrano peppers to turn up the heat!
- Cheese Variety: Experiment with pepper jack or a smoky cheddar for a flavor boost that adds a spicy kick to every bite.
- Protein-Packed: Toss in some shredded cooked chicken or black beans to make these little bites heartier and even more satisfying.
- Veggie Medley: Incorporate fresh spinach or artichokes into the filling for an added veggie punch and delightful flavor.
- Creamy Dip Alternatives: Instead of basil pesto, try a chipotle aioli or a zesty salsa verde as your dipping sauce for a new twist.
- Herb-Infused: Mix chopped cilantro or fresh basil into the cheese filling to enhance that authentic Mexican flavor and aroma.
- Sweet Surprise: For a quirky twist, add a touch of finely diced pineapple or mango to the filling for a sweet and savory contrast.
Get inspired to mix and match—these antojitos are your canvas! And if you’re looking for more delicious ideas to complement your Mexican appetizer experience, consider preparing them alongside a flavorful platter of Honey Bbq Bacon Chicken or a light and refreshing Zucchini Sweet Potato dish. Enjoy the fun of exploring flavors in your kitchen!
Expert Tips for Antojitos Recipe
-
Choose the Right Tortilla: Use flour tortillas for traditional antojitos, but opt for corn tortillas for a gluten-free option that still tastes amazing.
-
Cream Cheese Tip: Always ensure your cream cheese is softened before mixing; this creates a smoother, more cohesive filling that won’t leave lumps.
-
Customizable Heat: If you’re unsure about spice levels, start with mild green chilies. You can always add fresh jalapeños later for more heat!
-
Watch the Broiling: Stay vigilant when broiling; these antojitos can go from perfectly crisp to burnt in just a couple of minutes.
-
Let it Sit: For even more flavor, let your filling mixture rest in the fridge for a few hours or overnight before assembly. This step enhances taste!

Antojitos Recipe FAQs
How do I know if my ingredients are ripe and ready to use?
Absolutely! For the best flavor and texture, use fresh ingredients. Look for cream cheese that’s soft to the touch with no discoloration. Choose bell peppers that are firm with vibrant, unblemished skin. For green chilies, they should be bright in color and free from dark spots, indicating freshness.
What’s the best way to store leftover antojitos?
Very! Place any leftover antojitos in an airtight container in your fridge for up to 4 days. To reheat, pop them back in the oven at 350°F (175°C) for around 10 minutes. This will restore their delightful crunch, making them almost as good as fresh!
Can I freeze assembled antojitos, and if so, how?
Absolutely! To freeze, first assemble the antojitos but don’t bake them yet. Place them on a baking sheet in a single layer and freeze until solid. Once frozen, transfer them to a freezer-safe bag, removing as much air as possible. They can be stored for up to 3 months. When you’re ready to enjoy, bake directly from frozen at 350°F (175°C) for about 15-20 minutes until heated through.
What should I do if my antojitos turn out soggy?
No need to fret! If your antojitos are soggy, it could be due to too much moisture in the filling. Make sure to pat any diced vegetables dry before mixing them in. Additionally, avoid overfilling; a well-balanced amount ensures they stay crispy. Finally, ensure they bake and broil enough to achieve that lovely golden exterior.
Are there any dietary considerations I should keep in mind?
Very much so! If you have gluten sensitivities, opt for corn tortillas instead of flour. Additionally, if you’re cooking for someone with dairy allergies, you can try using dairy-free cream cheese and cheese alternatives. Remember to always check condiment labels for hidden allergens if you’re serving anyone with strict dietary needs.

Delicious Antojitos Recipe: Crunchy, Cheesy Mexican Treats
Ingredients
Equipment
Method
- Preheat your oven to 350°F (175°C) and line a baking sheet with parchment paper.
- In a large mixing bowl, combine softened cream cheese, diced green chilies, cheddar cheese, chopped red onion, bell pepper, and sour cream.
- Spread the creamy filling mixture evenly over four flour tortillas, roll tightly, and cut into five bite-sized pieces.
- Bake the cut antojitos in the preheated oven for about 8 minutes until golden and cheese begins to melt.
- Switch to high broil for an additional 5 minutes to achieve a crispy exterior; watch closely.
- Allow the antojitos to cool slightly, then serve warm with a basil pesto sour cream dip.