Introduction to Banana Cinnamon Yogurt Pancakes
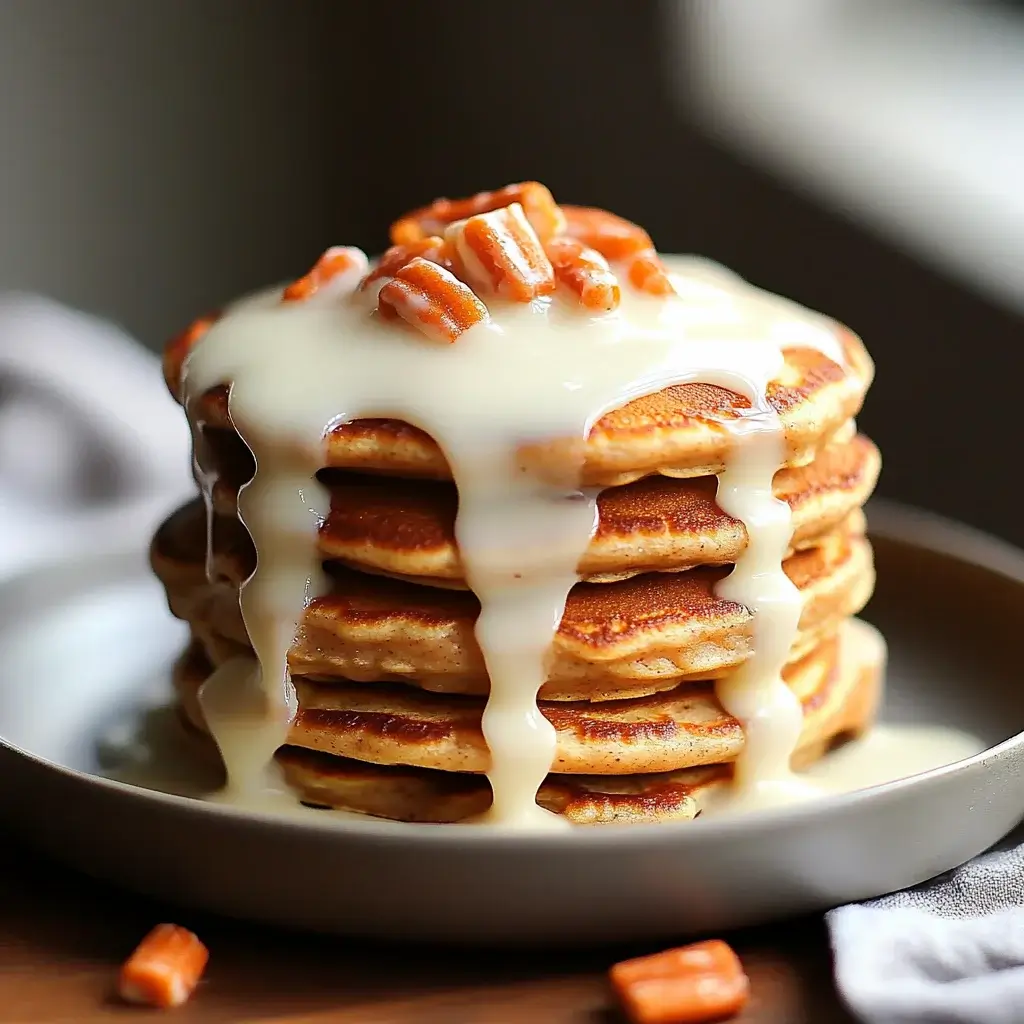
There’s something magical about waking up to the smell of pancakes wafting through the house. These Banana Cinnamon Yogurt Pancakes are not just a breakfast; they’re a warm hug on a plate. Perfect for busy mornings or a leisurely weekend brunch, they combine the sweetness of ripe bananas with the warmth of cinnamon and the creaminess of Greek yogurt. Trust me, this recipe is a game-changer. It’s quick, easy, and sure to impress your loved ones. So grab your apron, and let’s whip up some fluffy delights that will make your mornings brighter!
Why You’ll Love This Banana Cinnamon Yogurt Pancakes
These Banana Cinnamon Yogurt Pancakes are a breakfast dream come true. They’re incredibly easy to whip up, making them perfect for those hectic mornings. The combination of banana and cinnamon creates a flavor explosion that dances on your taste buds. Plus, with Greek yogurt in the mix, you’re getting a nutritious boost. Whether you’re cooking for yourself or impressing family, these pancakes are sure to bring smiles all around!
Ingredients for Banana Cinnamon Yogurt Pancakes
Gathering the right ingredients is the first step to pancake perfection. Here’s what you’ll need for these delightful Banana Cinnamon Yogurt Pancakes:
- All-purpose flour: The base of your pancakes, providing structure and fluffiness.
- Baking powder: This leavening agent helps your pancakes rise, making them light and airy.
- Baking soda: A little boost for extra fluffiness, especially when paired with acidic ingredients.
- Salt: Just a pinch enhances the flavors and balances the sweetness.
- Ground cinnamon: Adds warmth and a comforting aroma, making each bite feel like a cozy hug.
- Plain Greek yogurt: This creamy ingredient not only adds moisture but also packs in protein for a nutritious start to your day.
- Large ripe banana: The star of the show! Mashed banana brings natural sweetness and moisture.
- Large eggs: They bind everything together and contribute to the fluffiness.
- Honey or maple syrup: A touch of sweetness to enhance the flavor; choose your favorite!
- Vanilla extract: Just a splash adds depth and richness to the batter.
- Milk: Adjusts the batter consistency; use more if you prefer thinner pancakes.
- Butter or oil: For cooking, ensuring your pancakes don’t stick and get that golden-brown finish.
For those looking to mix things up, consider adding chocolate chips or nuts for extra flavor and texture. You can find the exact quantities for each ingredient at the bottom of the article, ready for printing!
How to Make Banana Cinnamon Yogurt Pancakes
Now that you have all your ingredients ready, let’s dive into the fun part: making these fluffy Banana Cinnamon Yogurt Pancakes! Follow these simple steps, and you’ll be flipping pancakes like a pro in no time.
Step 1: Prepare the Dry Ingredients
Start by grabbing a mixing bowl. Whisk together the all-purpose flour, baking powder, baking soda, salt, and ground cinnamon. This blend is the foundation of your pancakes, ensuring they rise beautifully and have that warm, comforting flavor. Make sure there are no lumps; a smooth mix is key!
Step 2: Mix the Wet Ingredients
In another bowl, combine the plain Greek yogurt, mashed banana, eggs, honey (or maple syrup), vanilla extract, and milk. Mix until everything is well combined. The yogurt adds creaminess, while the banana brings natural sweetness. This mixture is where the magic begins!
Step 3: Combine Wet and Dry Ingredients
Now, pour the wet ingredients into the bowl with the dry ingredients. Stir gently until just combined. Be careful not to overmix; a few lumps are perfectly fine. If the batter feels too thick, add a splash more milk to reach your desired consistency. You want it to be pourable but not runny!
Step 4: Heat the Skillet
Heat a non-stick skillet or griddle over medium heat. Add a small amount of butter or oil to coat the surface. This step is crucial for achieving that golden-brown crust. If the skillet is too hot, your pancakes might burn, so keep an eye on the temperature!
Step 5: Cook the Pancakes
Pour about 1/4 cup of batter onto the skillet for each pancake. Cook until bubbles form on the surface, which should take about 2-3 minutes. When you see those bubbles, it’s time to flip! Cook for another 2-3 minutes until golden brown. Repeat with the remaining batter, adding more butter or oil as needed.
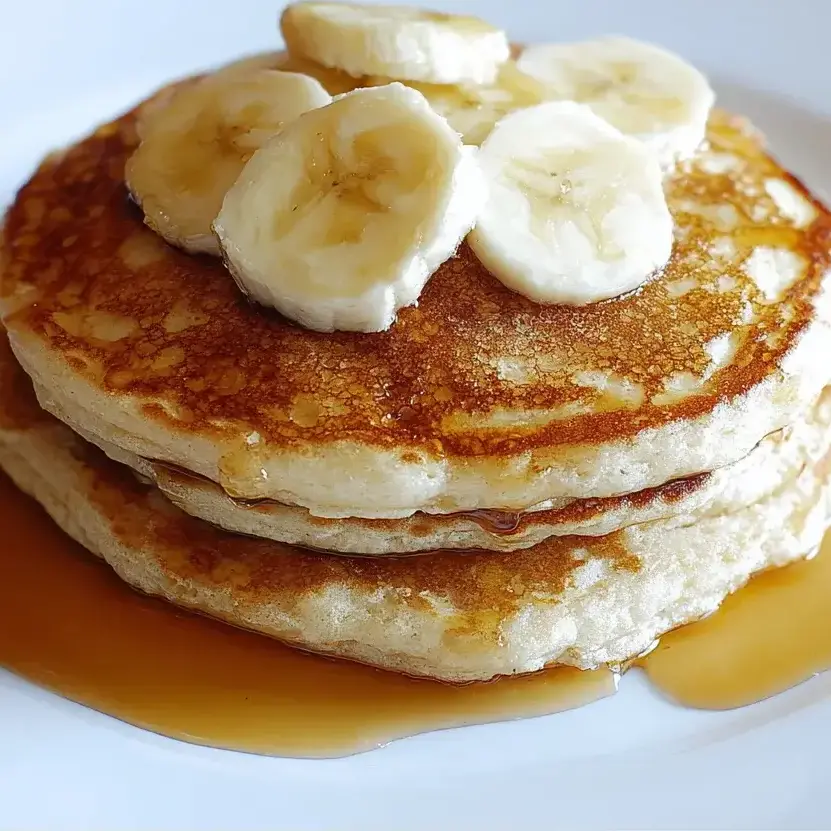
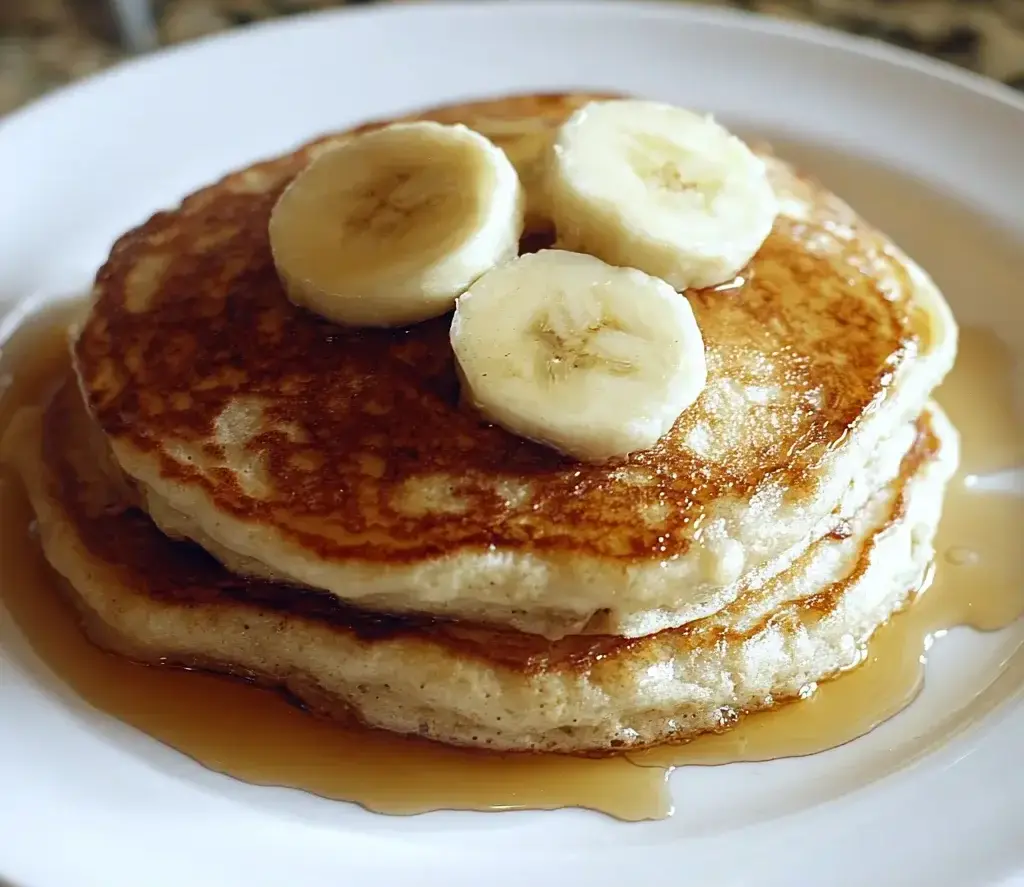
Step 6: Serve and Enjoy
Once your pancakes are cooked to perfection, serve them warm. Top with sliced bananas, a drizzle of maple syrup, or a dollop of yogurt. Each bite is a delightful combination of flavors and textures. Enjoy your breakfast masterpiece!
Tips for Success
- Let the batter rest for 5-10 minutes for fluffier pancakes.
- Use a ladle for even pouring; it helps with uniform pancake sizes.
- Keep the skillet at medium heat to avoid burning.
- Experiment with add-ins like chocolate chips or nuts for extra flavor.
- Don’t rush the flipping; wait for bubbles to form on the surface.
Equipment Needed
- Mixing bowls: A set of two will do; you can use any large bowls you have.
- Whisk: Essential for mixing; a fork can work in a pinch.
- Non-stick skillet or griddle: A cast-iron skillet is a great alternative.
- Spatula: A flat spatula helps with flipping; a wooden spoon can also work.
Variations
- Whole Wheat Flour: Swap all-purpose flour for whole wheat flour for a heartier, more nutritious pancake.
- Dairy-Free Option: Use coconut yogurt and almond milk to make these pancakes dairy-free.
- Vegan Version: Replace eggs with flaxseed meal mixed with water and use maple syrup instead of honey.
- Spiced Up: Add a pinch of nutmeg or pumpkin spice for an extra layer of flavor.
- Fruit Add-Ins: Toss in blueberries or chopped apples for a fruity twist.
Serving Suggestions
- Fresh Fruit: Serve with a side of mixed berries or sliced strawberries for a refreshing contrast.
- Yogurt Parfait: Layer pancakes with Greek yogurt and granola for a delightful parfait.
- Drinks: Pair with freshly brewed coffee or a smoothie for a complete breakfast.
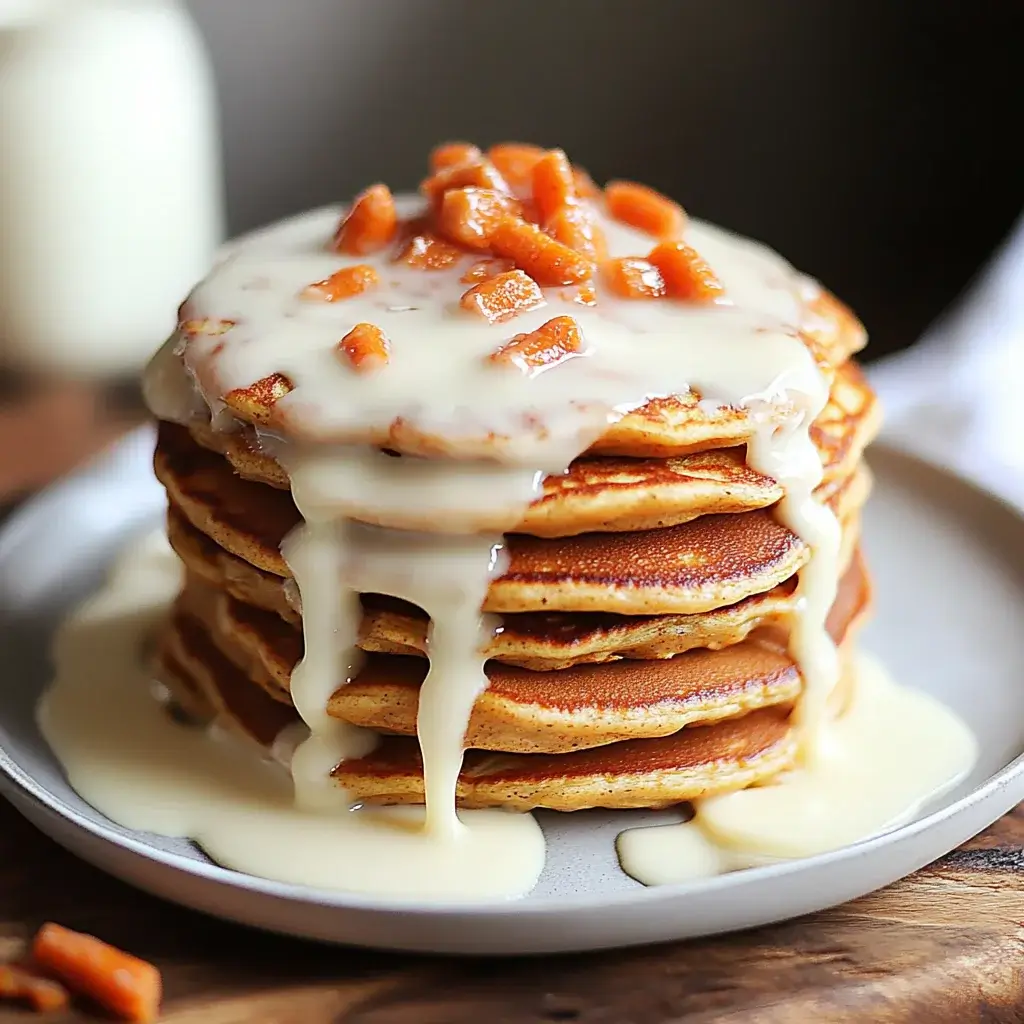
- Presentation: Stack pancakes high and drizzle with maple syrup for an eye-catching display.
FAQs about Banana Cinnamon Yogurt Pancakes
Can I make Banana Cinnamon Yogurt Pancakes ahead of time?
Absolutely! You can prepare the batter the night before and store it in the fridge. Just give it a good stir before cooking. You can also cook the pancakes in advance and reheat them in the toaster or microwave for a quick breakfast.
What can I substitute for Greek yogurt?
If you don’t have Greek yogurt on hand, you can use regular yogurt or even applesauce for a lighter option. Just keep in mind that the texture and flavor may vary slightly.
How do I store leftover pancakes?
Store any leftover pancakes in an airtight container in the fridge for up to three days. You can also freeze them for longer storage. Just layer them with parchment paper to prevent sticking.
Can I make these pancakes gluten-free?
Yes! Simply substitute the all-purpose flour with a gluten-free flour blend. Make sure to check that your baking powder is gluten-free as well.
What toppings go well with Banana Cinnamon Yogurt Pancakes?
These pancakes are delicious with a variety of toppings! Try fresh fruit, a drizzle of honey or maple syrup, a dollop of yogurt, or even a sprinkle of nuts for added crunch. The possibilities are endless!
Final Thoughts
Making Banana Cinnamon Yogurt Pancakes is more than just cooking; it’s about creating moments. The aroma of cinnamon and banana fills the kitchen, inviting everyone to gather around the table. Each fluffy bite is a reminder of the simple joys in life, whether it’s a busy weekday or a relaxed weekend. These pancakes are not just a meal; they’re a way to connect with family and friends. So, grab your ingredients, and let the laughter and deliciousness unfold. Trust me, once you try these pancakes, they’ll become a cherished part of your breakfast routine!
Banana Cinnamon Yogurt Pancakes: Create Fluffy Delights!
Ingredients
Method
- In a mixing bowl, whisk together the flour, baking powder, baking soda, salt, and cinnamon.
- In another bowl, combine the Greek yogurt, mashed banana, eggs, honey (or maple syrup), vanilla extract, and milk. Mix until well combined.
- Pour the wet ingredients into the dry ingredients and stir gently until just combined. If the batter is too thick, add a little more milk to reach your desired consistency.
- Heat a non-stick skillet or griddle over medium heat and add a small amount of butter or oil.
- Pour about 1/4 cup of batter onto the skillet for each pancake. Cook until bubbles form on the surface, about 2-3 minutes. Flip and cook for another 2-3 minutes until golden brown.
- Repeat with the remaining batter, adding more butter or oil as needed.
- Serve warm with your favorite toppings such as sliced bananas, maple syrup, or yogurt.
Nutrition
Notes
- For a fluffier pancake, let the batter rest for 5-10 minutes before cooking.
- Try adding chocolate chips or nuts to the batter for extra flavor and texture.