Just the other day, while savoring a rich slice of chocolate cake, I had one of those moments where inspiration strikes. Why not capture that creamy indulgence in a delightful gelato? Enter my Easy Homemade Chocolate Nutella Gelato Recipe, a sweet solution for anyone looking to satisfy their chocolate cravings without all the fuss of traditional ice cream. With only a handful of simple ingredients, this gelato is not only incredibly easy to make, but it’s also a fun treat that can be enjoyed on its own or dressed up with fresh berries. The richness of Nutella paired with the creamy texture makes it an instant crowd-pleaser! Are you ready to whip up a batch and discover the world of frozen bliss?
Why Is This Gelato So Irresistible?
Creamy Texture: The perfect blend of whole milk and heavy cream gives this gelato an ultra-smooth and satisfying mouthfeel.
Decadent Flavor: Nutella’s rich chocolate hazelnut essence takes center stage, creating an indulgent treat that’s hard to resist.
Easy to Make: With simple steps and minimal equipment, this recipe is accessible for both novice cooks and seasoned chefs alike!
Customizable: Use alternatives like low-fat milk or sunflower seed butter to suit dietary preferences—everyone can enjoy!
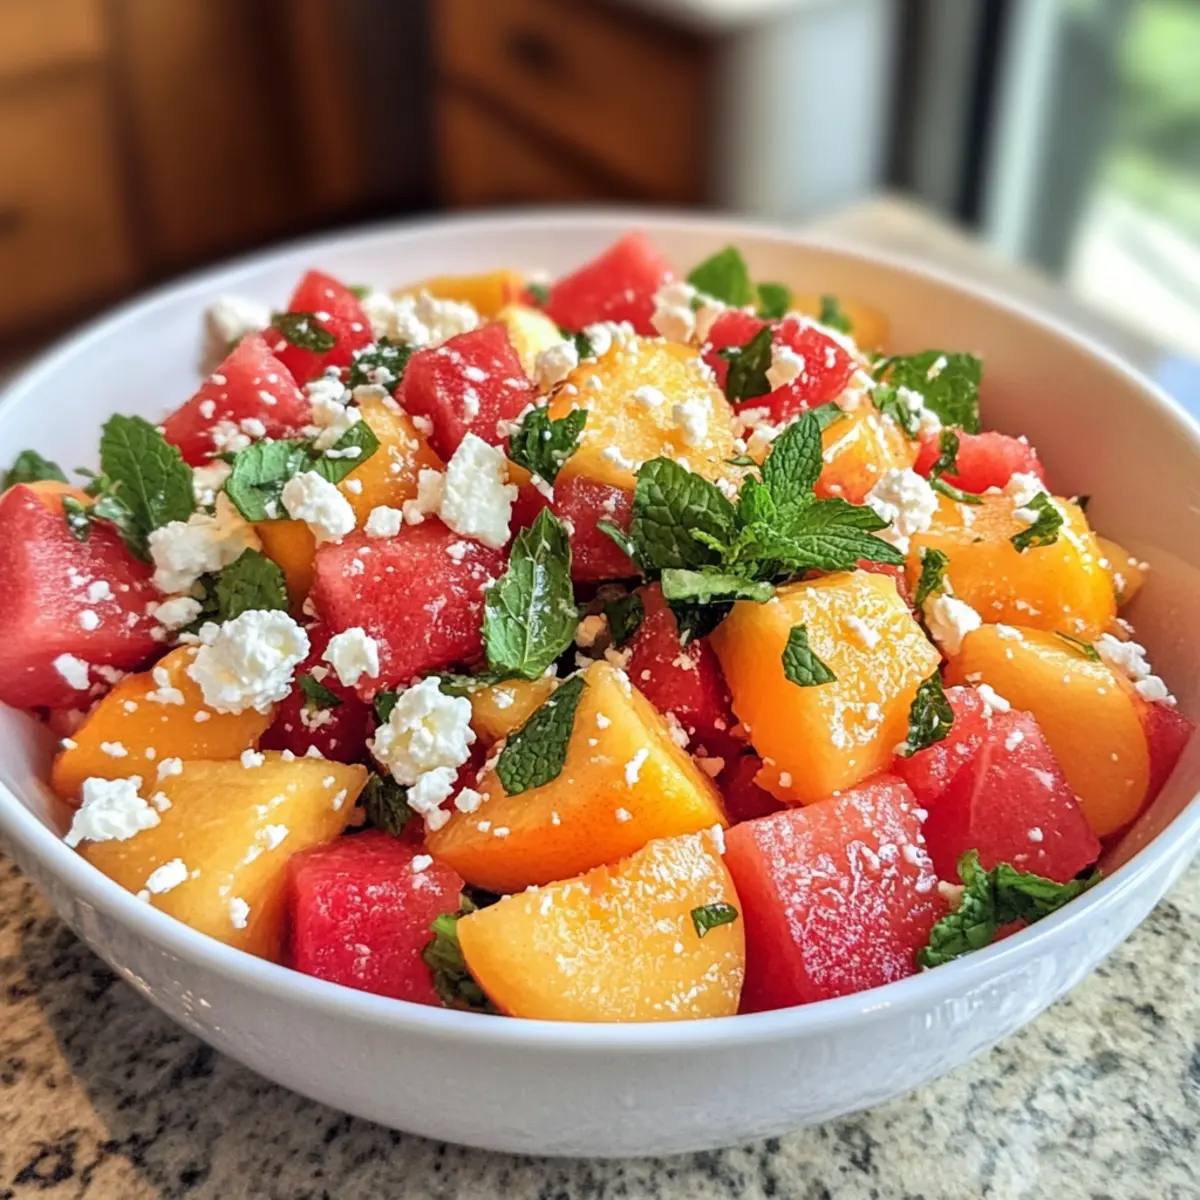
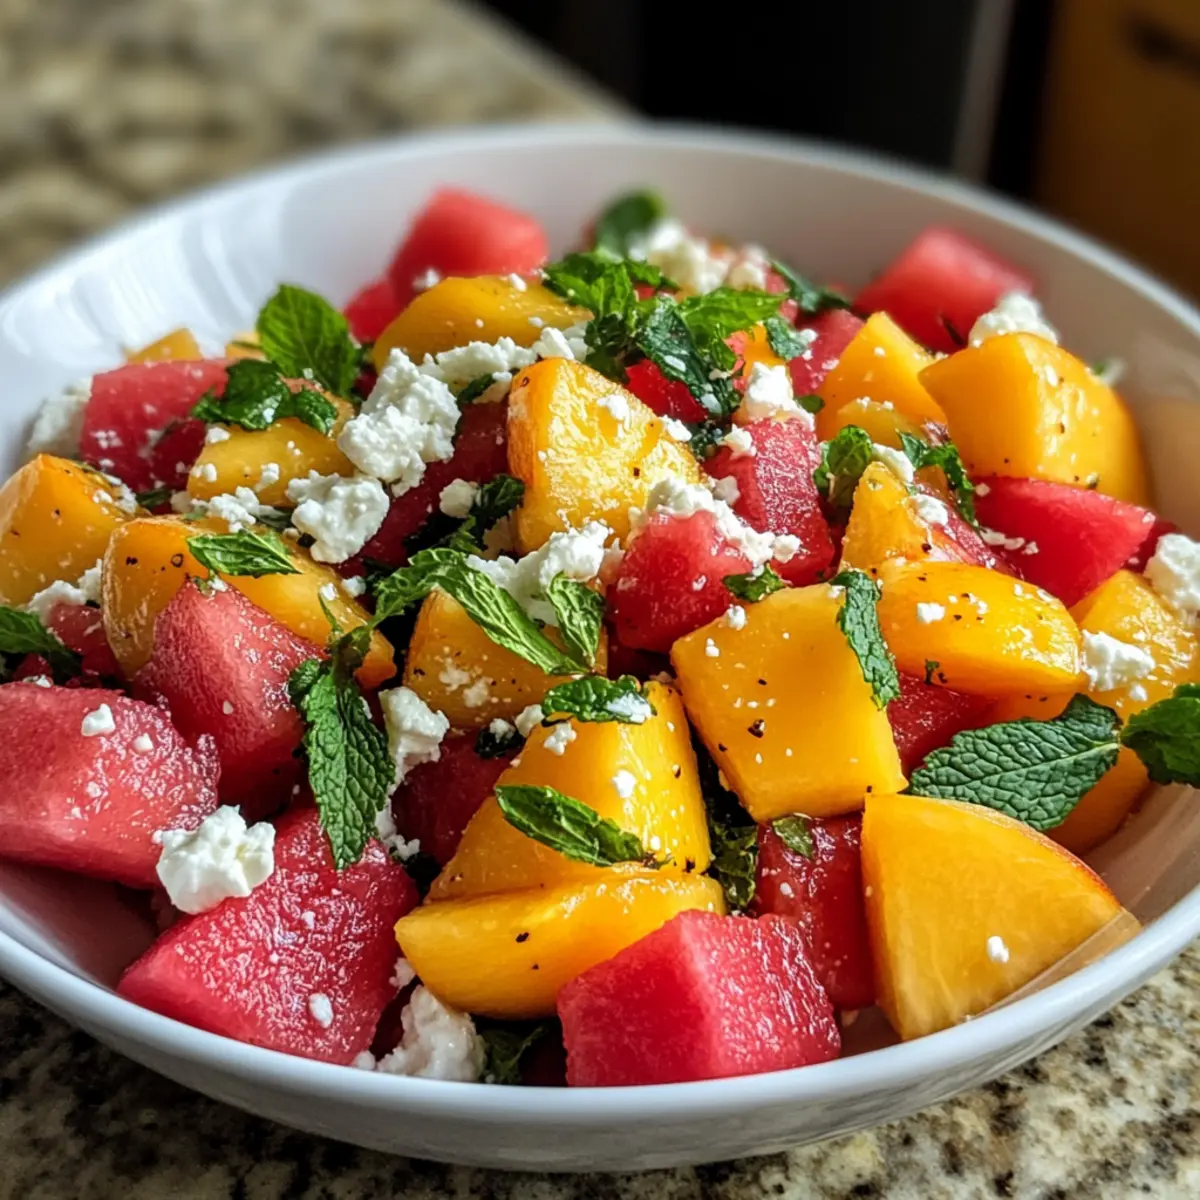
Crowd-Pleasing Dessert: Whether for a summer gathering or a cozy night in, this gelato is sure to impress family and friends. If you’re also in the mood for a sweet cookie, be sure to check out my White Chocolate Cranberry cookies!
Chocolate Nutella Gelato Ingredients
For the Base
- Whole Milk – Adds creaminess to the gelato; opt for low-fat for a lighter take, though it may sacrifice richness.
- Heavy Cream – Provides a luscious texture; using half-and-half can offer a lighter alternative.
For the Flavor
- Nutella – The star ingredient that infuses rich hazelnut chocolate flavor; substitute with sunflower seed butter for a nut-free version.
- Cocoa Powder – Enhances the chocolate flavor; stick to the designated amount for optimal richness.
For the Thickening
- Egg Yolks – Contributes to the creamy consistency; for an egg-free option, mix 2 tablespoons of cornstarch with water.
This Chocolate Nutella Gelato Recipe is your ticket to a delightful homemade treat that’s bound to be a hit!
Step‑by‑Step Instructions for Chocolate Nutella Gelato Recipe
Step 1: Heat Base
In a medium saucepan, combine whole milk, heavy cream, and half of the sugar. Heat over medium heat, stirring gently until the mixture is steaming but not boiling—watch for tiny bubbles at the edge. This step warms the dairy, allowing it to blend smoothly with the rest of the ingredients for an ultra-creamy chocolate Nutella gelato.
Step 2: Whisk Yolks
In a separate bowl, vigorously whisk together the egg yolks with the remaining sugar until the mixture turns pale and thickens, about 1 minute. This process incorporates air into the yolks, enhancing the gelato’s light texture. The pale color indicates readiness, ensuring a beautiful final product that will add creaminess to your gelato.
Step 3: Temper Eggs
Gradually pour 1 cup of the hot milk mixture into the whisked egg yolks while constantly whisking. This crucial step prevents the yolks from scrambling by gently increasing their temperature. Once combined, return the yolk mixture back into the saucepan and stir well to blend everything together, establishing a smooth base for your chocolate Nutella gelato.
Step 4: Thicken Mixture
Cook the combined mixture over low heat, stirring constantly with a wooden spoon until it thickens enough to coat the back of the spoon, around 5-10 minutes. You’ll know it’s ready when it reaches about 170°F. This careful cooking process ensures the yolks curdle smoothly into a luscious custard, forming the creamy base of your gelato.
Step 5: Combine Flavors
Remove the saucepan from heat. Whisk in the Nutella, cocoa powder, and vanilla extract until completely smooth. The Nutella will melt into the warm mixture, creating a harmonious blend of flavors. You’ll begin to see the rich chocolate color develop, making your chocolate Nutella gelato hard to resist even before it’s frozen!
Step 6: Sieving
Pour the creamy mixture through a fine-mesh sieve into a bowl to catch any bits of cooked egg. This step ensures a silky-smooth texture in your gelato by removing any lumps that may have formed, providing the clean, indulgent mouthfeel that everyone loves in a chocolate Nutella gelato.
Step 7: Chill
Allow the mixture to cool to room temperature. Once cooled, cover the bowl with plastic wrap and refrigerate for at least 4 hours, or ideally overnight. Chilling allows the flavors to develop and meld beautifully, creating an even richer gelato experience when it’s finally churned.
Step 8: Churn Gelato
Once chilled, churn the mixture in an ice cream maker according to the manufacturer’s instructions until it reaches a soft-serve consistency, typically taking around 20-25 minutes. This crucial step incorporates air into the gelato, resulting in a light and fluffy texture, perfect for your chocolate Nutella gelato creation.
Step 9: Freeze
Transfer the churned gelato into an airtight container and freeze for at least 2 hours until firm. This final freezing step ensures your chocolate Nutella gelato has the right consistency, allowing for perfect scoops when serving. Be patient—the wait is worth it for that smooth, rich delight!
Step 10: Serve
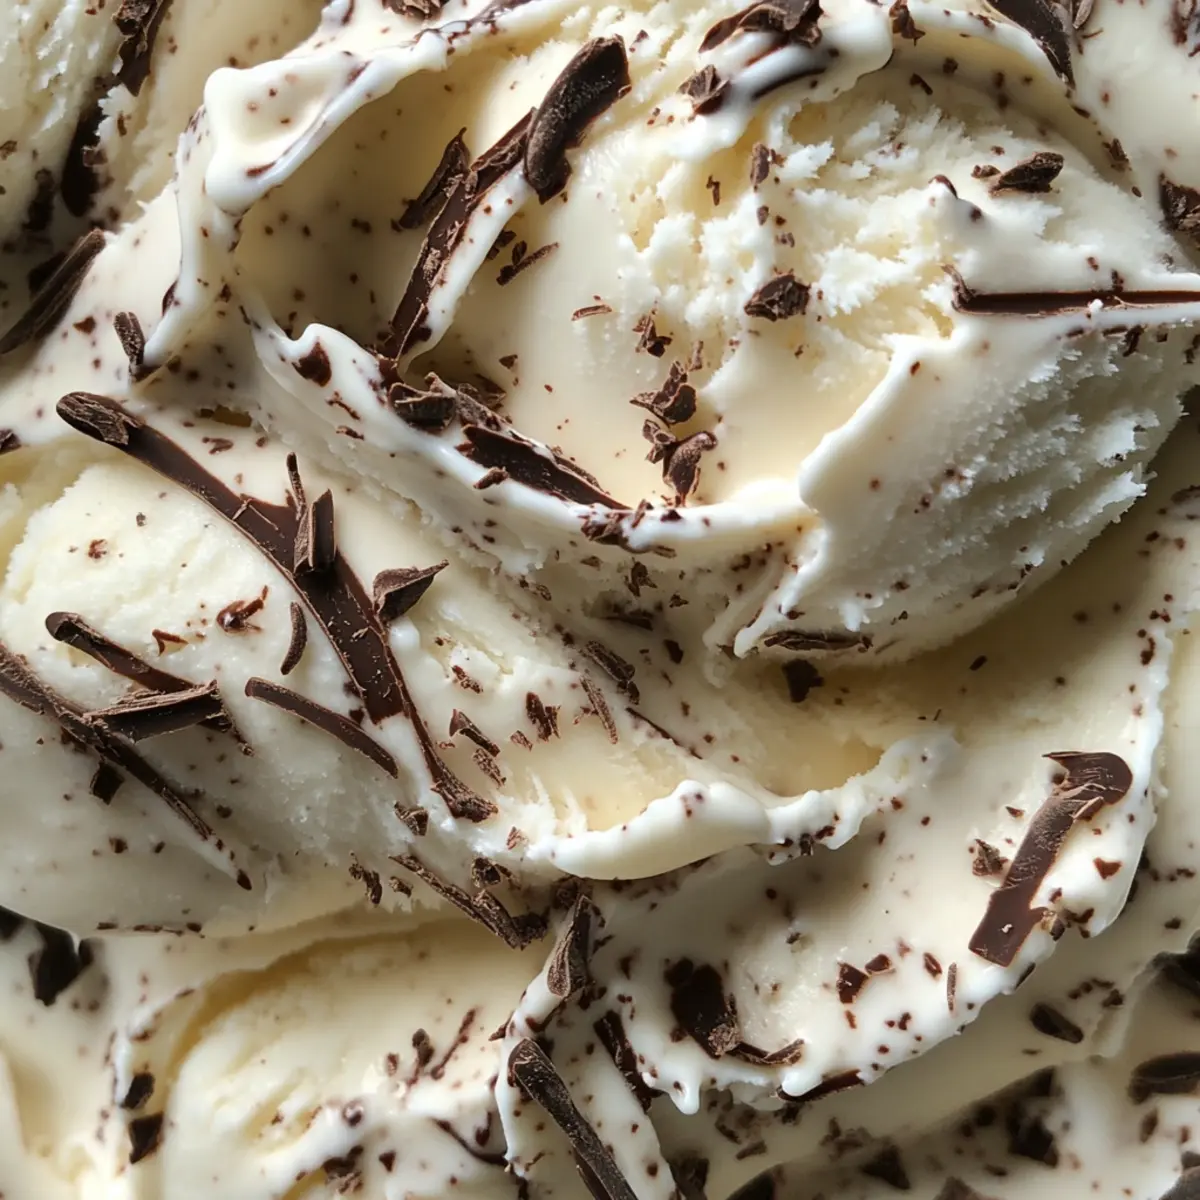
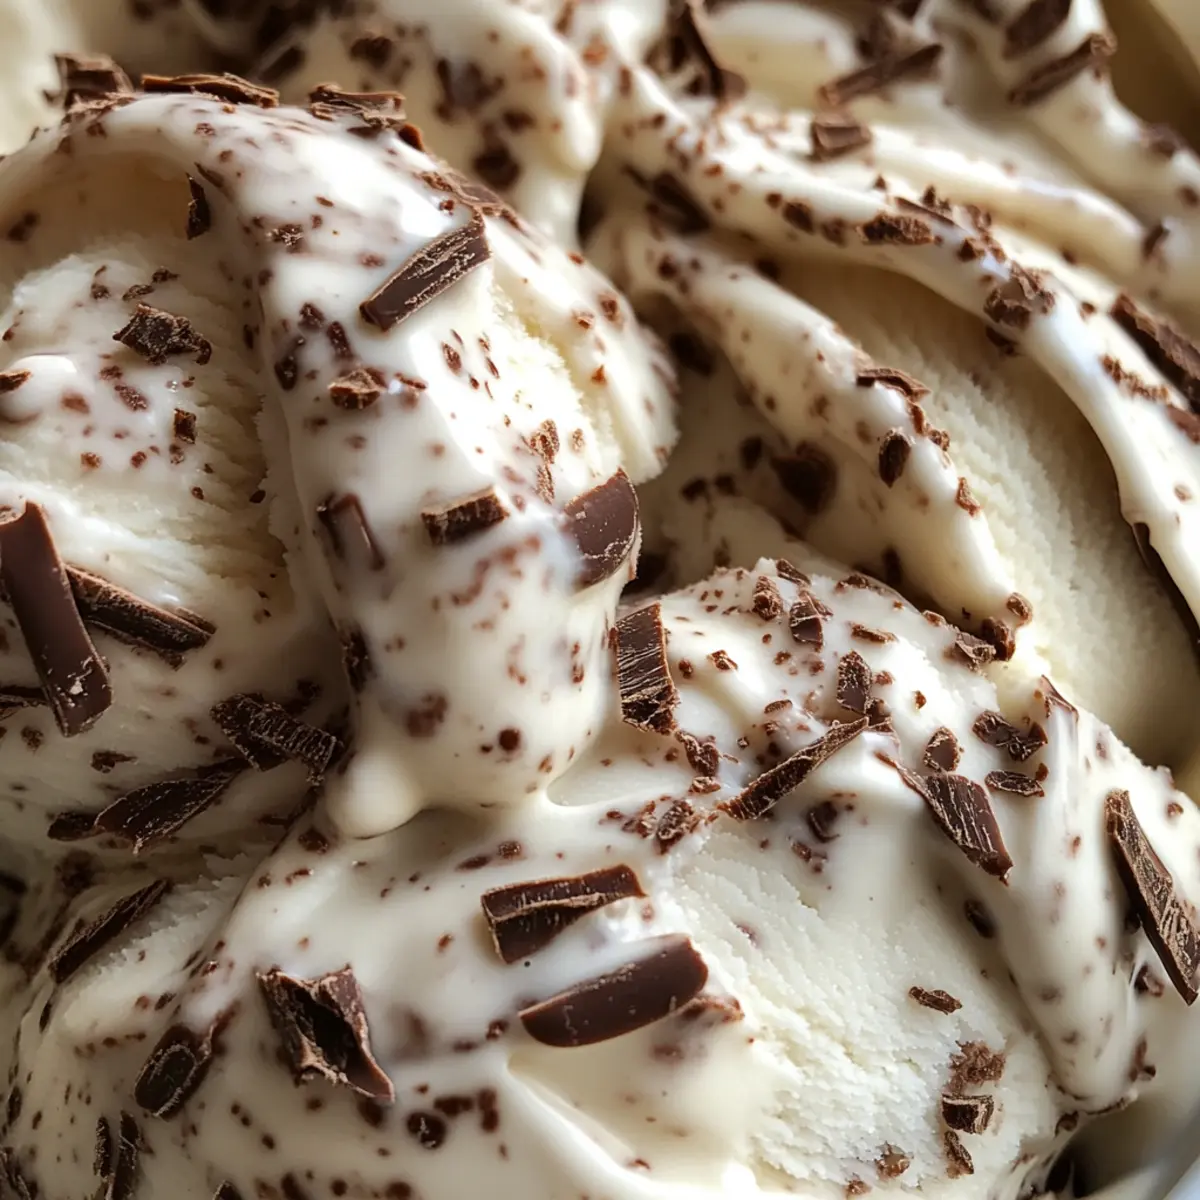
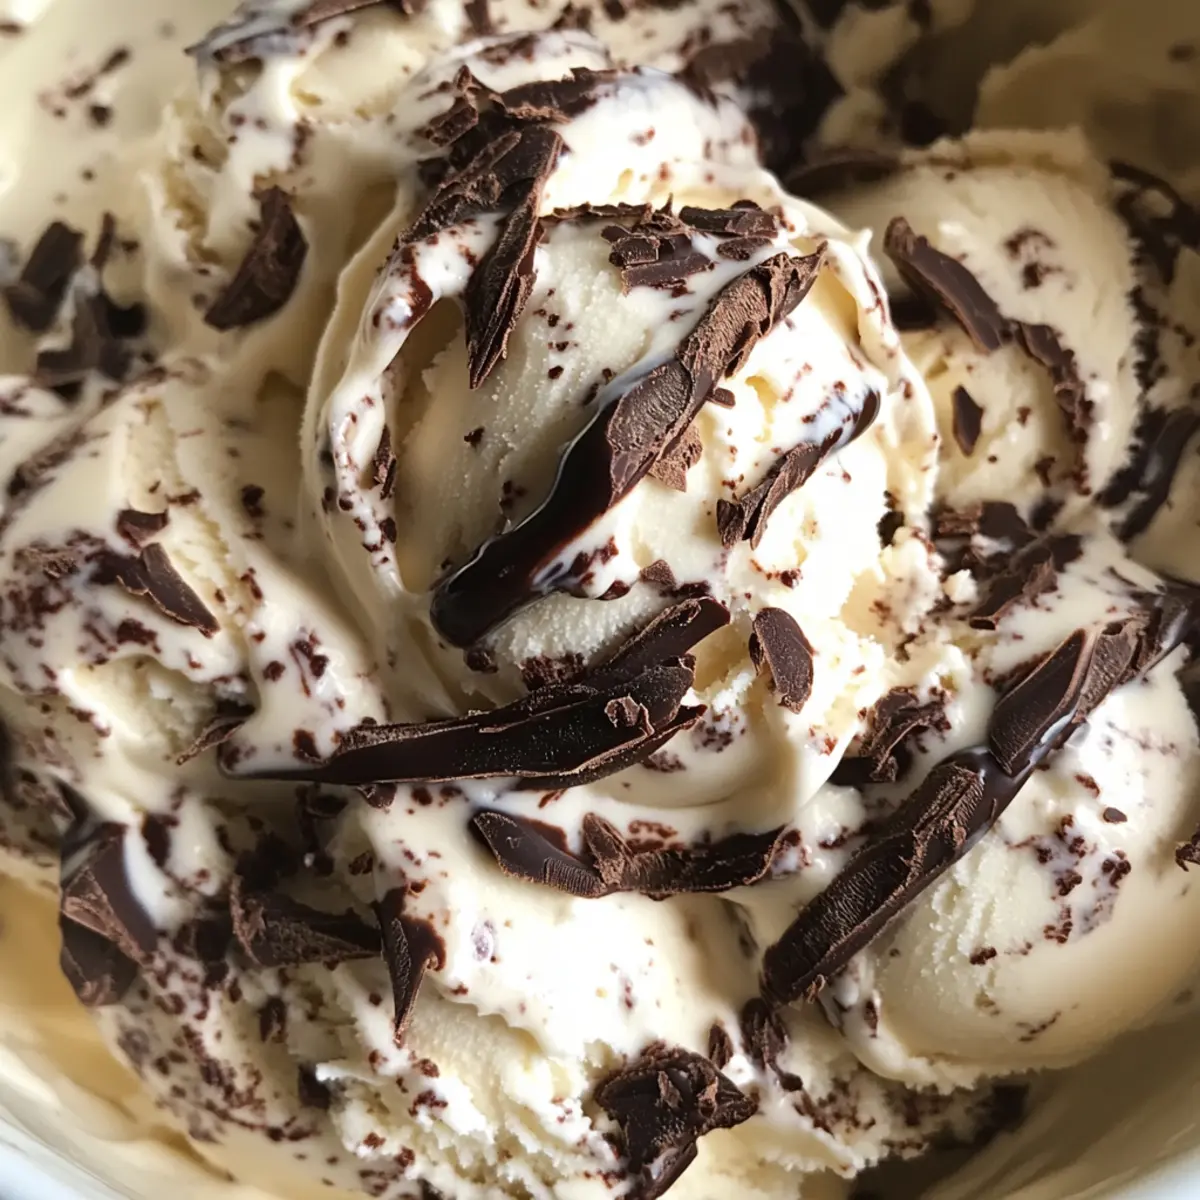
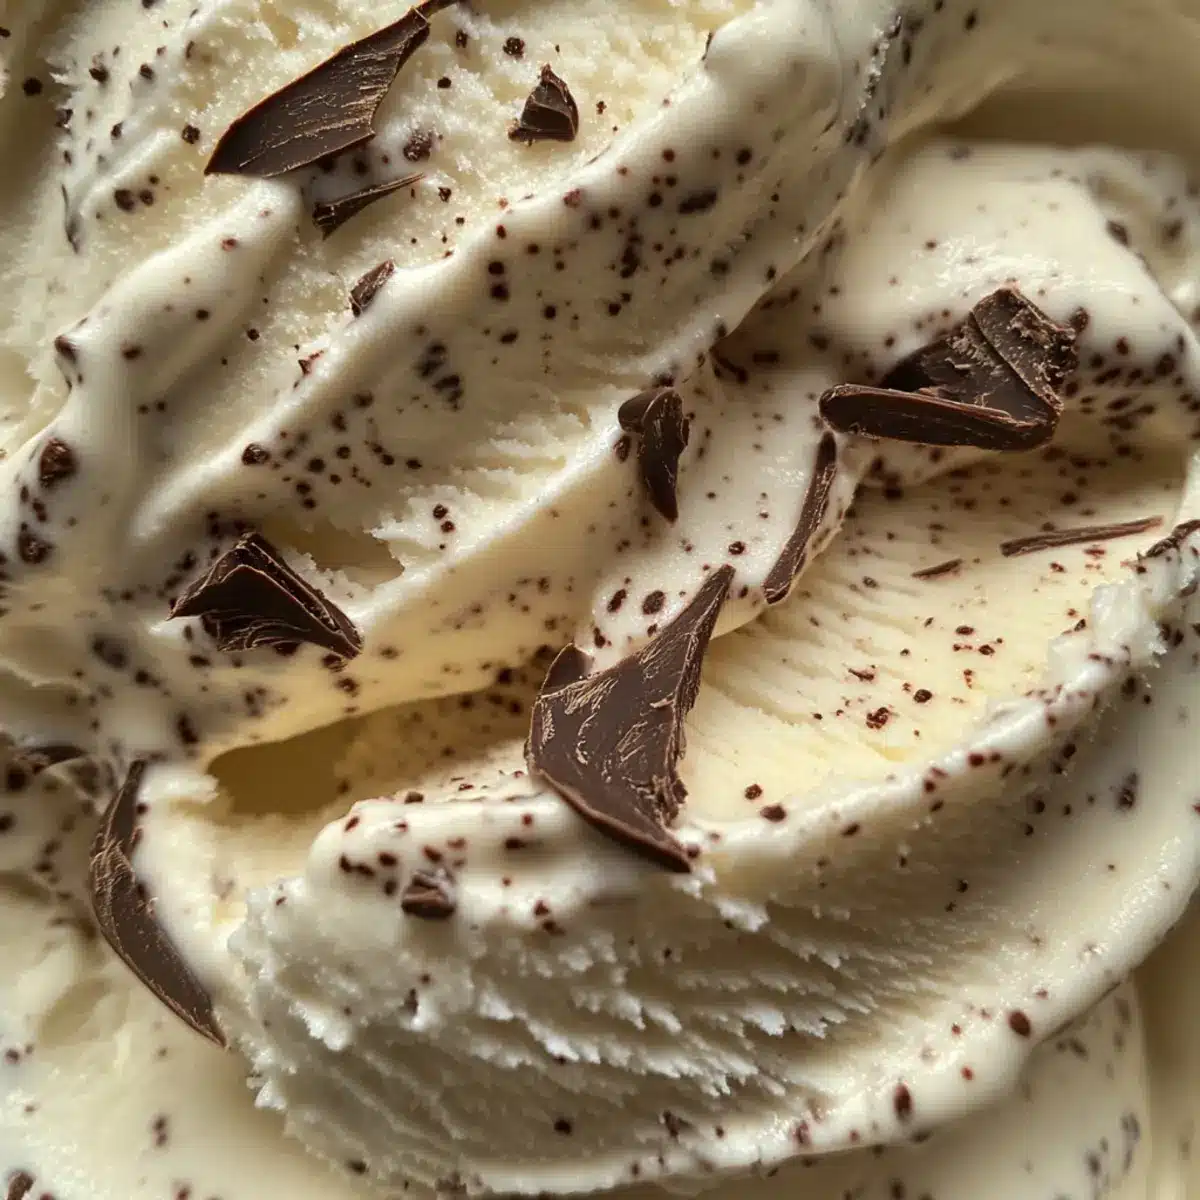
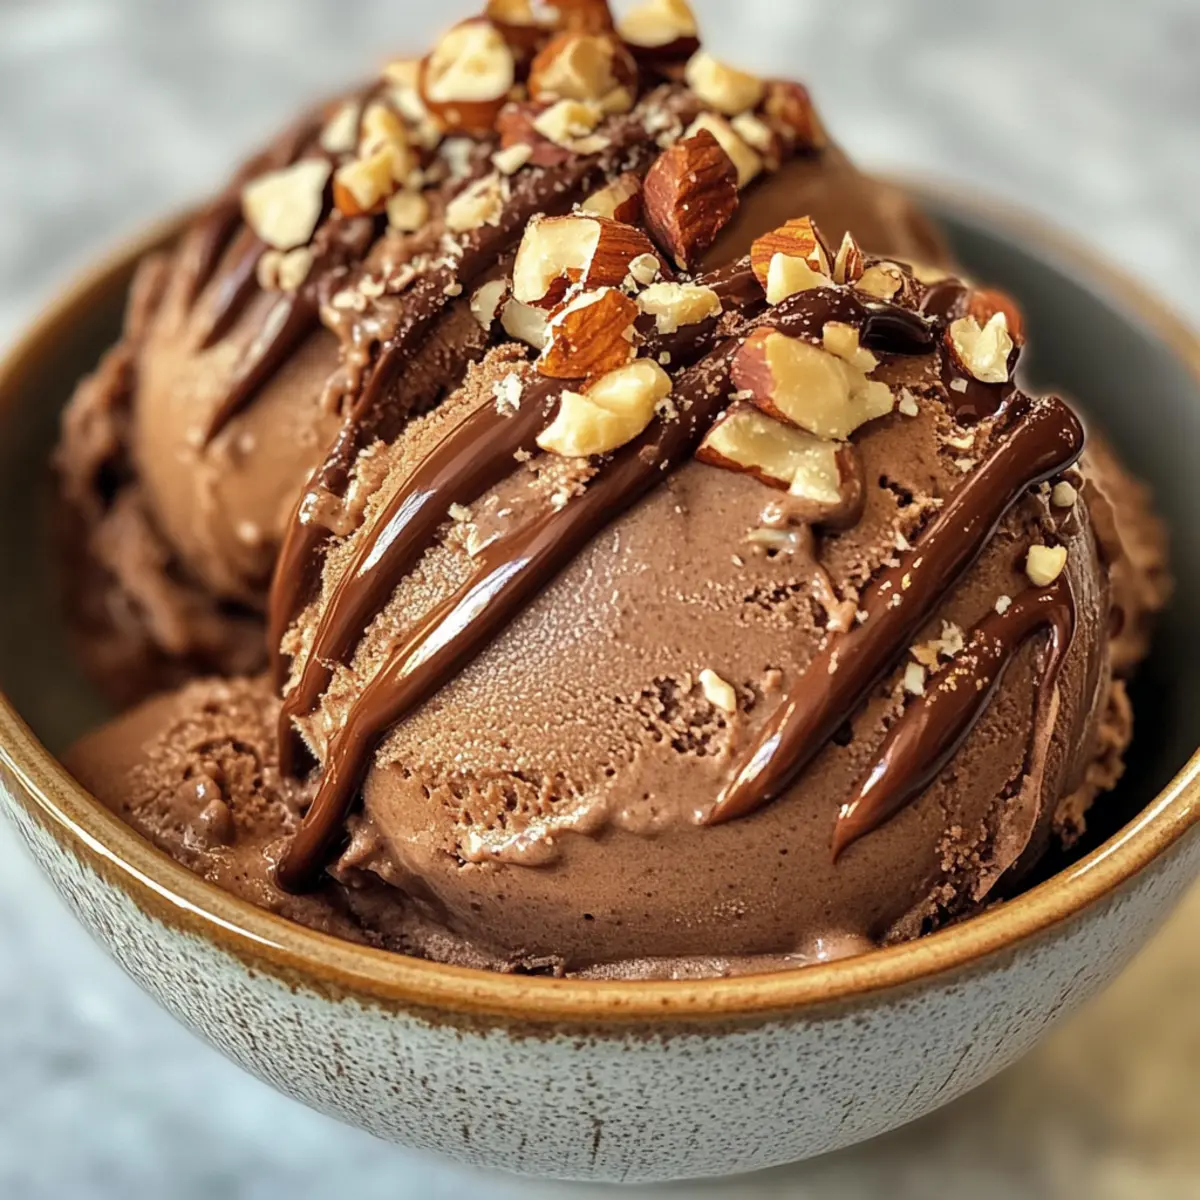
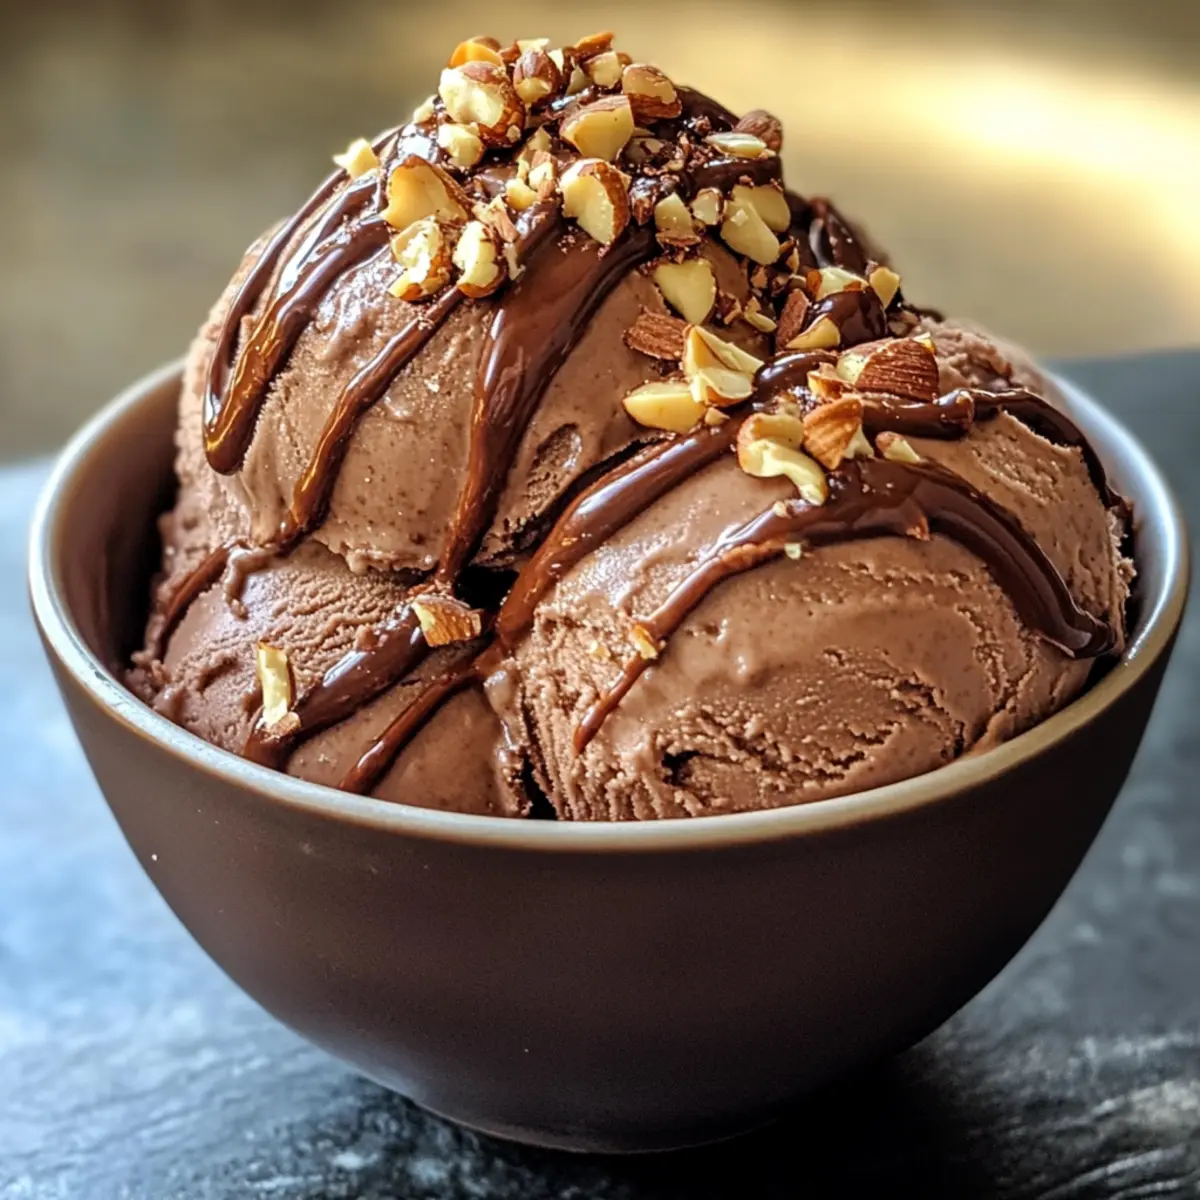
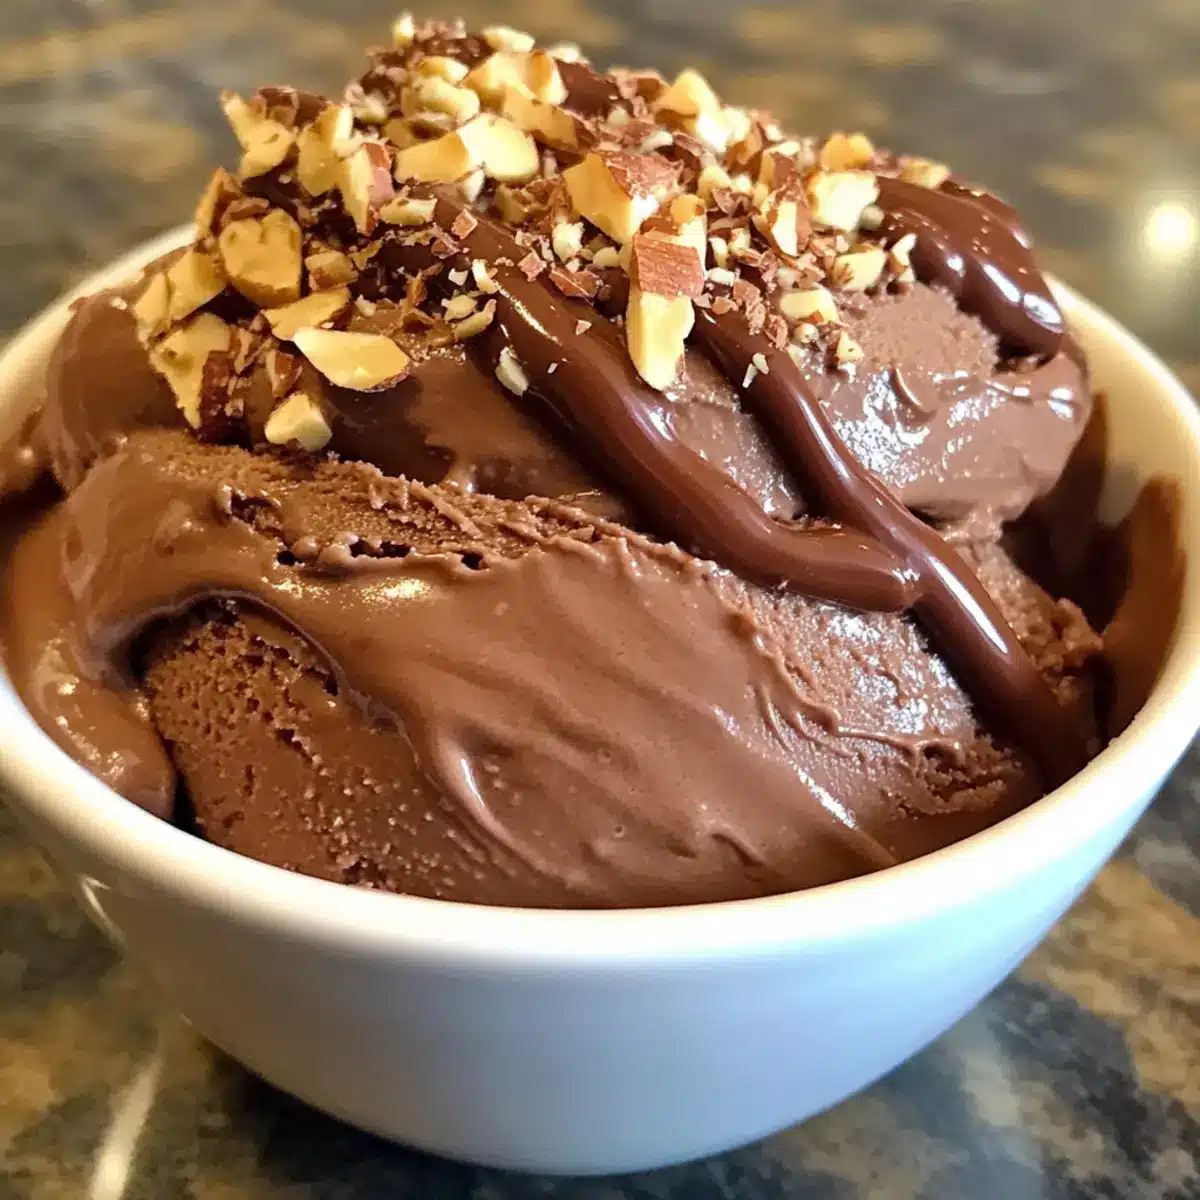
Scoop the gelato into bowls and optionally drizzle with extra Nutella and sprinkle with chopped toasted hazelnuts for added texture and flavor. Immerse your senses in the creamy decadence of your homemade chocolate Nutella gelato—this treat is sure to be appreciated by family and friends alike!

What to Serve with Easy Homemade Chocolate Nutella Gelato
Indulging in a bowl of creamy gelato is an experience like no other; enhance it further with perfect pairings that sing of sweetness and texture.
-
Fresh Berries: Juicy strawberries, raspberries, or blueberries add a refreshing contrast to the rich gelato, creating a delightful burst of flavor with every bite.
-
Toasted Hazelnuts: Chopped and sprinkled on top, these crunchy nuts bring a nutty warmth that complements the chocolate hazelnut base beautifully, enhancing both texture and taste.
-
Espresso: A shot of rich espresso serves as an invigorating counterpoint to the sweetness of the gelato, making for a sophisticated dessert pairing that’s utterly irresistible.
-
Homemade Waffles: Warm, crispy waffles provide a delightful texture and flavor contrast, making for a fun way to savor the gelato—perfect for a cozy brunch or dessert table.
-
Chocolate Sauce: A warm drizzle of chocolate sauce not only amplifies the decadence but also creates a visually appealing dessert that’s hard to resist—because more chocolate is always a good idea!
-
Mint Leaves: A sprinkle of fresh mint adds a pop of color and an invigorating freshness, balancing the richness of the gelato with a light and refreshing touch.
Start exploring these delicious combinations, and elevate your gelato experience to new heights!
Make Ahead Options
These Chocolate Nutella Gelato preparations are perfect for busy home cooks! You can prepare the base mixture up to 24 hours in advance by following the first six steps, allowing it to chill overnight in the refrigerator. This not only enhances the flavors but also saves you time during a hectic day. Simply churn the gelato as instructed when you’re ready to serve, and your dessert will still be just as delicious. To maintain quality, ensure you store the mixture in an airtight container while chilling, preventing it from absorbing any odors from the fridge. With this prep-ahead option, you’ll be ready to impress family and friends with minimal effort!
Expert Tips for Chocolate Nutella Gelato
-
Mind the Heat: Keep your milk mixture steaming but not boiling to prevent curdling. High heat can ruin the creamy texture of your gelato.
-
Egg Whisking: Whisk egg yolks thoroughly until pale and thick. This step ensures a smooth texture and rich flavor in your chocolate Nutella gelato.
-
Chill Time Matters: Allowing the mixture to chill for at least 4 hours (or overnight) is essential for developing a rich taste and smooth consistency in the final gelato.
-
Perfect Churning: If you’re churning in an ice cream maker, do so until it’s soft-serve consistency—about 20-25 minutes. This incorporates air, giving your gelato that light, fluffy feel.
-
Storage Tips: Keep leftovers in an airtight container, and allow 5-10 minutes at room temperature to soften before serving. This ensures the best achievable scoop every time!
How to Store and Freeze Chocolate Nutella Gelato
Fridge: Store in an airtight container for up to 1-2 weeks to maintain freshness. However, the gelato is best enjoyed fresh for optimal texture and flavor.
Freezer: Keep your chocolate Nutella gelato in an airtight container for up to 2 weeks. Ensure it’s tightly sealed to prevent freezer burn, preserving its creamy consistency.
Serving Tips: Before serving, let the gelato sit at room temperature for 5-10 minutes to soften, allowing for easier scooping without losing its rich appeal!
Chocolate Nutella Gelato Variations
Feel free to put your own spin on this delightful gelato and satisfy your sweet tooth in new ways!
-
Dairy-Free: Use almond or oat milk in place of whole milk and heavy cream for a delicious plant-based alternative. The result is just as creamy and rich!
-
Nut-Free: Substitute Nutella with sunflower seed butter, adjusting sweetness to taste. This opens up the gelato to more friends and family who have nut allergies.
-
Sweetener Swap: Experiment with honey or maple syrup instead of sugar for a natural sweetness. Each brings its unique flavor and can enhance the richness of the gelato beautifully.
-
Flavor Boost: Add a teaspoon of espresso powder to deepen the chocolate flavor; it’s like a cozy hug in a bowl! This takes your gelato to an unforgettable level of indulgence.
-
Fruit Infusion: Stir in fresh or frozen berries before churning for a fruity surprise, adding a burst of flavor that perfectly contrasts with the chocolate richness. Your taste buds will dance with joy!
-
Texture Twist: Mix in mini chocolate chips or chunks of dark chocolate right before the final freeze for a delightful texture variation. It adds an exciting bite amidst the creamy gelato.
-
Spice It Up: Add a pinch of cayenne pepper or cinnamon to the mixture for a subtle kick of heat and warmth; it’s an unexpected twist that will leave your guests thrilled!
-
Gourmet Touch: Drizzle with salted caramel sauce before serving for a decadent finish that will take your gelato to the next level. You can also serve it alongside my Coconut Pudding Dessert for an impressive treat!
Chocolate Nutella Gelato Recipe FAQs
How do I select the best Nutella for my gelato?
Absolutely! For the best flavor, look for Nutella that has a smooth consistency and no separation. Check that the jar is within its best-by date for optimal freshness. If possible, find a store with a high turnover of products to ensure you’re getting a fresh jar.
How long can I store Chocolate Nutella Gelato?
You can store your gelato in an airtight container in the freezer for up to 2 weeks. To maintain the best texture and flavor, it’s important to keep it well-sealed. Just remember to let it sit at room temperature for about 5-10 minutes before serving to soften, making it easier to scoop!
Can I freeze this chocolate gelato if I don’t have an ice cream maker?
Very! If you don’t have an ice cream maker, pour the mixture into a shallow dish and place it in the freezer. Make sure to stir the gelato every 30 minutes for about 3-4 hours. This helps to break up any ice crystals and gives you that creamy texture we love in gelato. It’s like a mini workout and a delicious reward at the end!
What can I use as a substitute for egg yolks in this recipe?
For an egg-free version, simply mix 2 tablespoons of cornstarch with 2 tablespoons of water until smooth. Add this mixture when you incorporate the other ingredients. It works as a great thickening agent, ensuring your gelato remains rich and creamy without the eggs.
Is this recipe safe for people with nut allergies?
Absolutely! For a nut-free version, just substitute Nutella with sunflower seed butter or another nut-free chocolate spread. Check the labels to ensure there are no traces of nuts in the substitutes used. Adjust the sugar if necessary to balance the sweetness for your taste.
How do I know when my gelato mixture is properly thickened?
You’ll know your mixture is ready when it thickens enough to coat the back of a spoon, which takes about 5-10 minutes over low heat, reaching around 170°F. A great visual cue is to dip a spoon in; if it leaves a clear trail when you run your finger through it, you’re all set!
Creamy Chocolate Nutella Gelato Recipe for Ultimate Indulgence
Ingredients
Equipment
Method
- In a medium saucepan, combine whole milk, heavy cream, and half of the sugar. Heat over medium heat, stirring gently until the mixture is steaming but not boiling.
- In a separate bowl, whisk together the egg yolks with the remaining sugar until the mixture turns pale and thickens, about 1 minute.
- Gradually pour 1 cup of the hot milk mixture into the whisked egg yolks while constantly whisking to prevent the yolks from scrambling. Return the mixture back into the saucepan.
- Cook the combined mixture over low heat, stirring constantly until it thickens enough to coat the back of the spoon, around 5-10 minutes.
- Remove the saucepan from heat and whisk in the Nutella, cocoa powder, and vanilla extract until completely smooth.
- Pour the creamy mixture through a fine-mesh sieve into a bowl to catch any bits of cooked egg.
- Allow the mixture to cool to room temperature, then cover with plastic wrap and refrigerate for at least 4 hours, or overnight.
- Churn the mixture in an ice cream maker until it reaches a soft-serve consistency, about 20-25 minutes.
- Transfer the churned gelato into an airtight container and freeze for at least 2 hours until firm.
- Scoop the gelato into bowls and optionally drizzle with extra Nutella and sprinkle with chopped toasted hazelnuts.