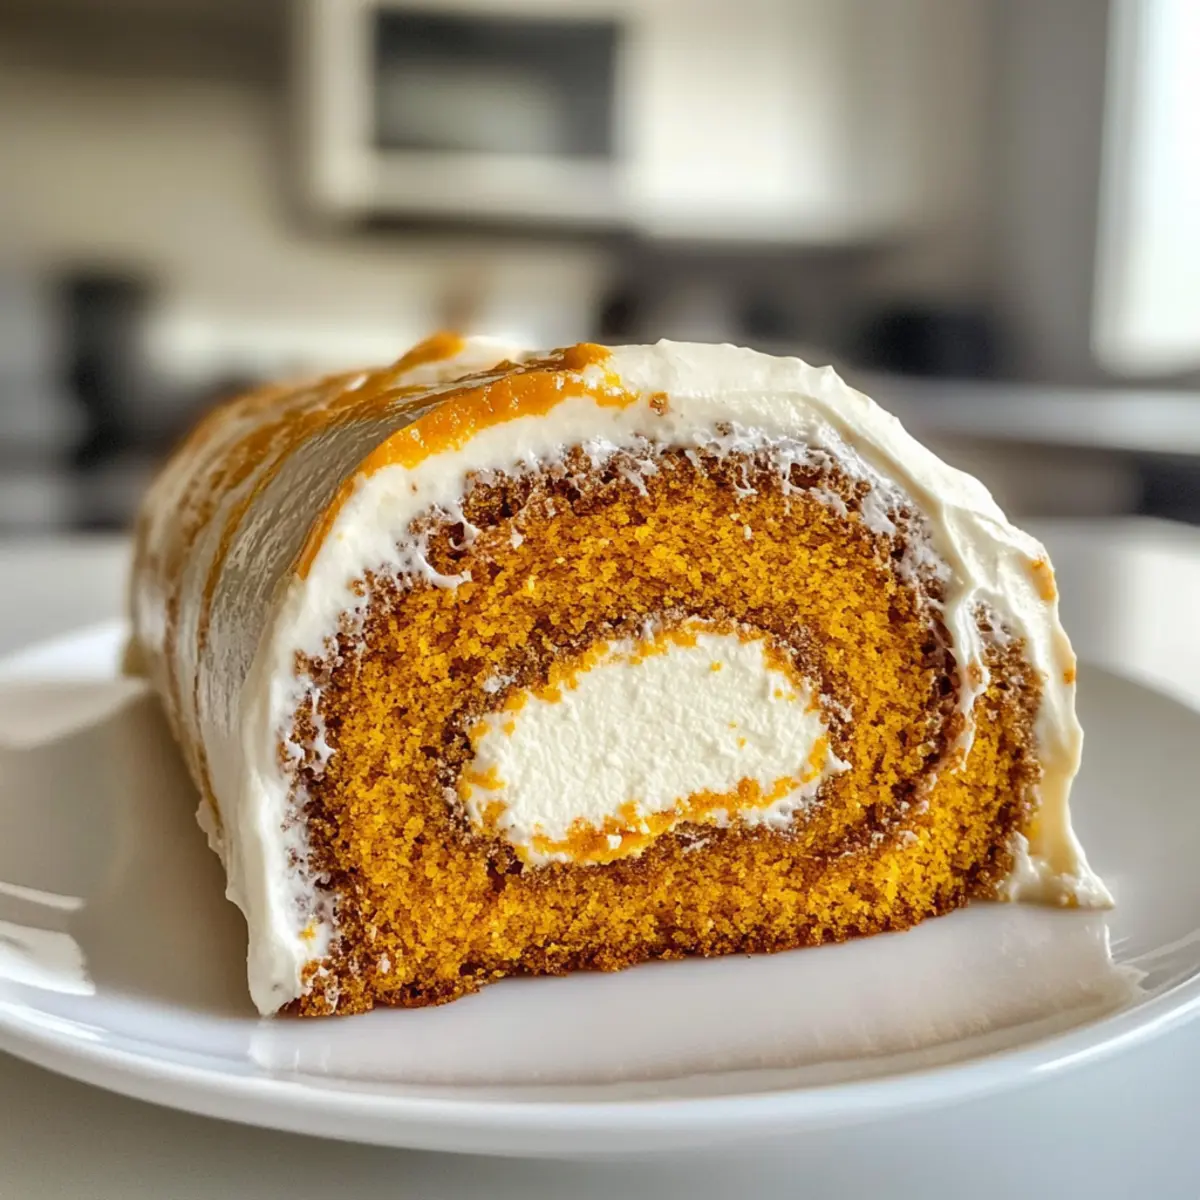
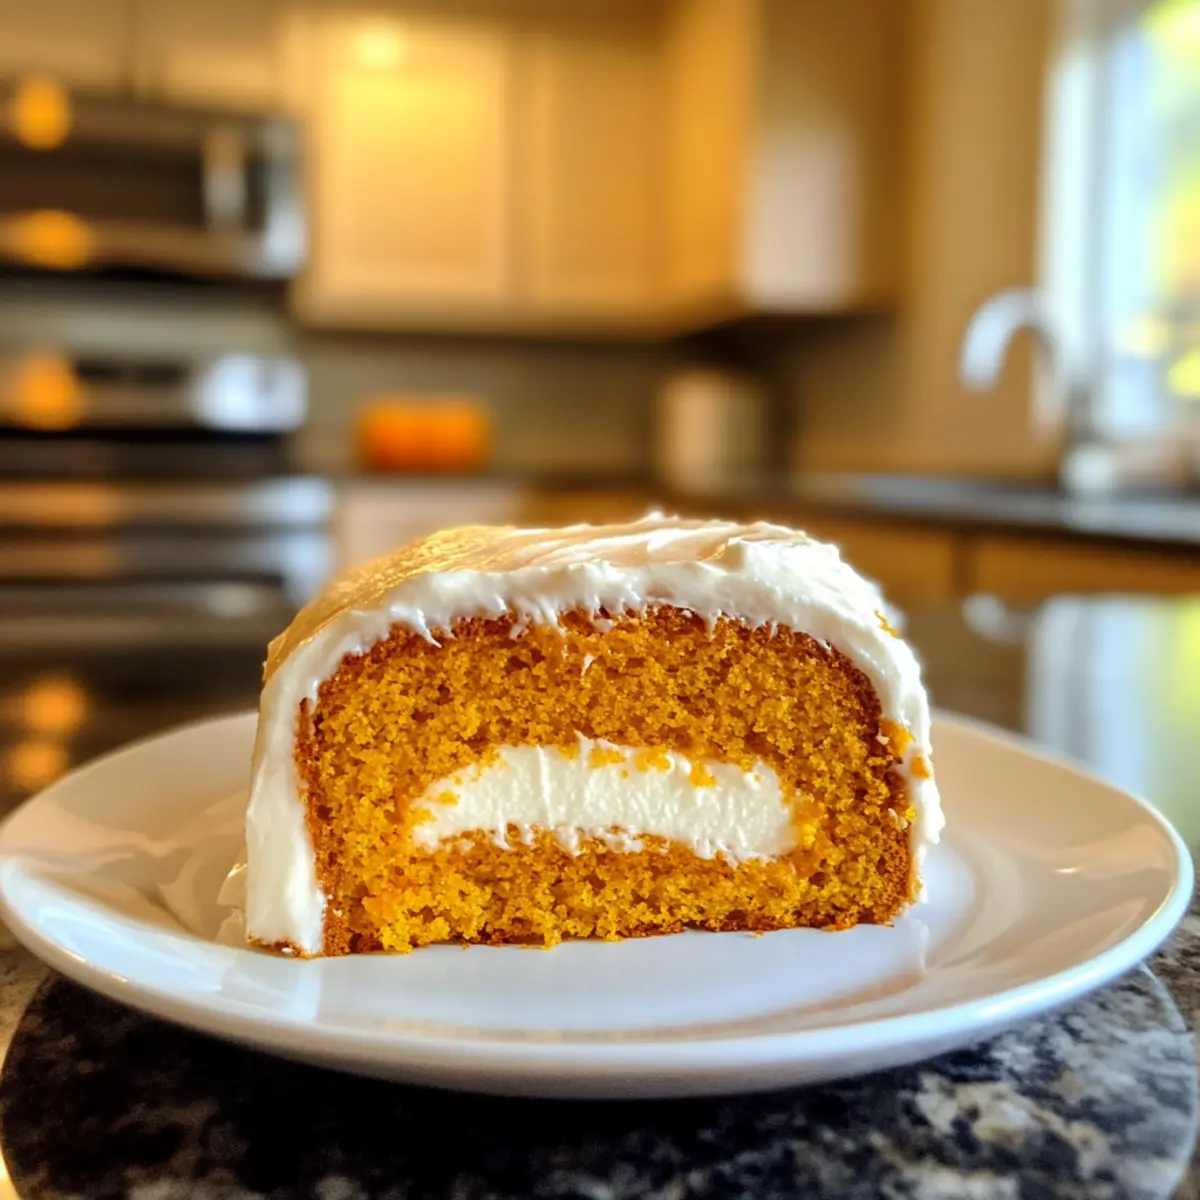
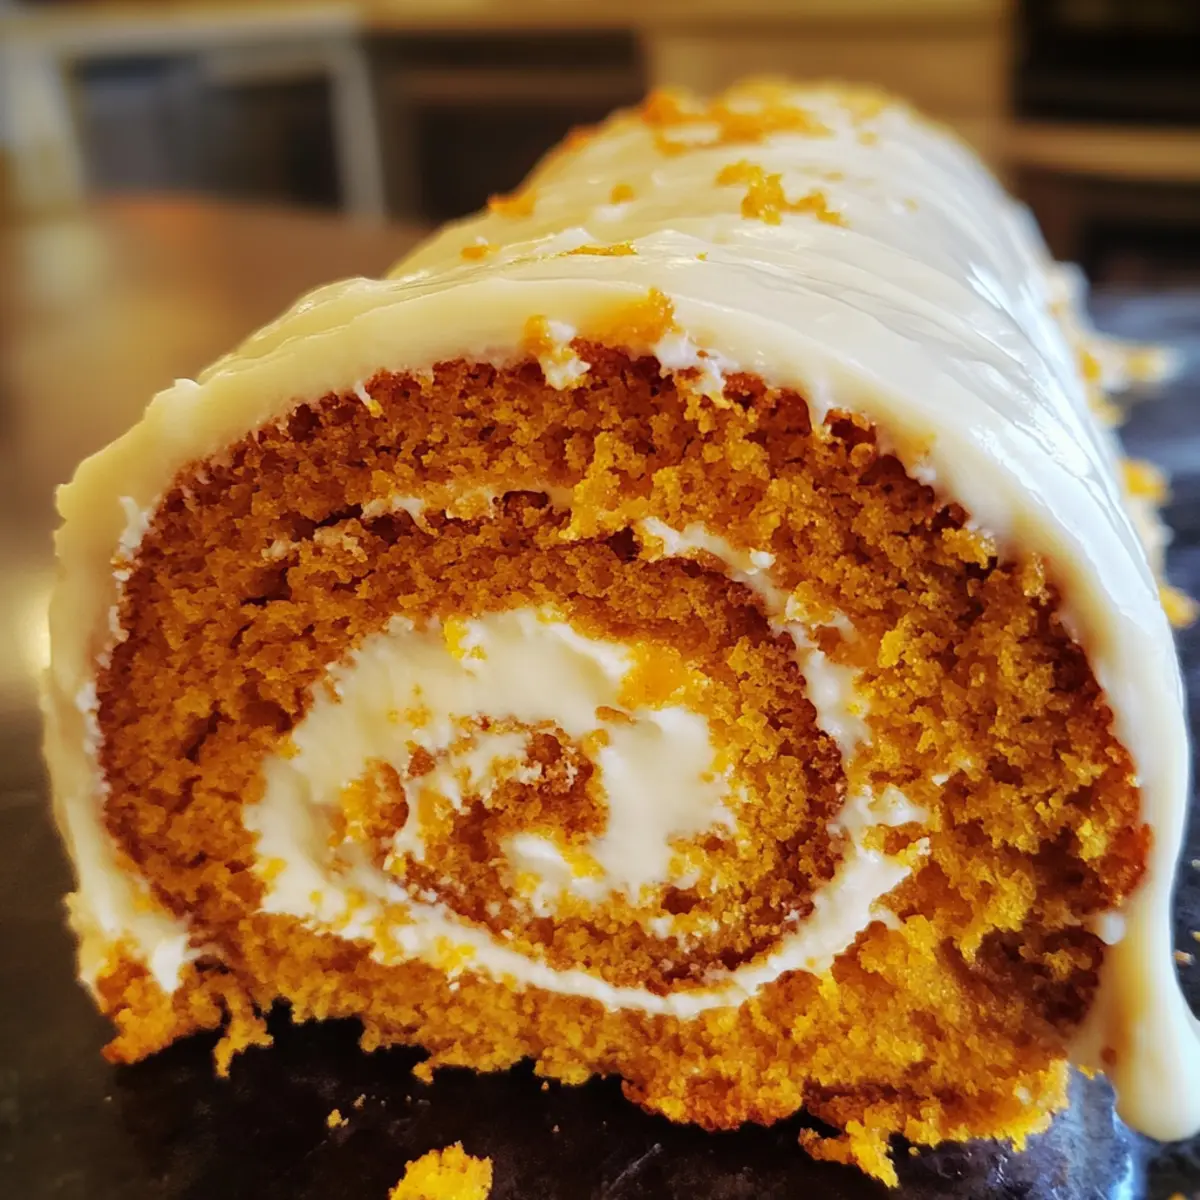
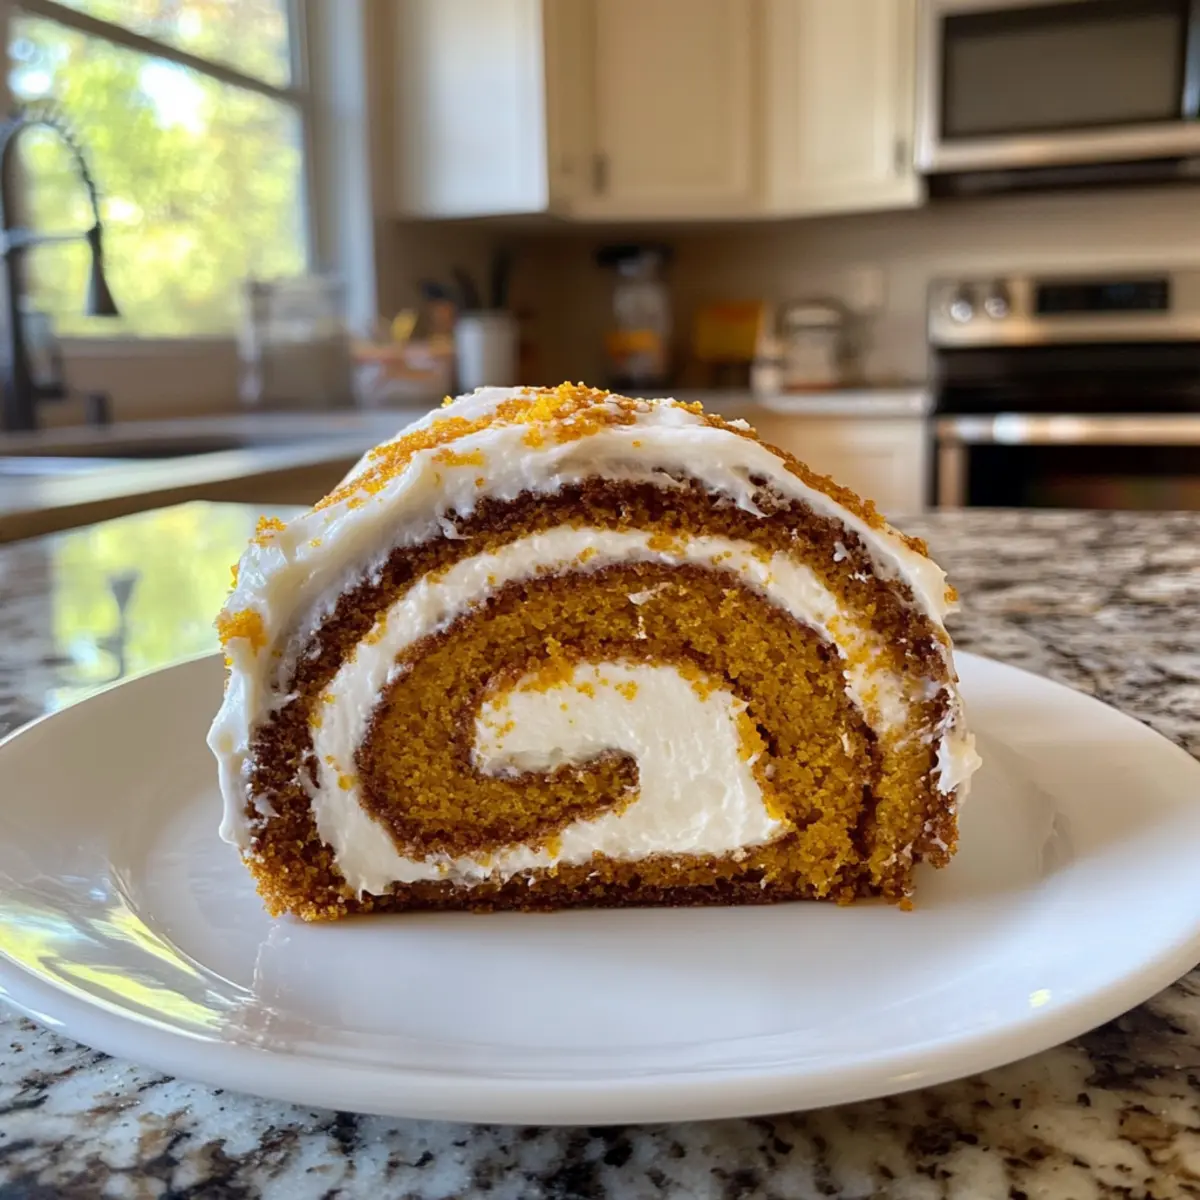
As the leaves turn and the air gets crisp, there’s nothing quite like the warm aroma of baking pumpkin treats wafting through the kitchen. Enter the Easy Spiced Pumpkin Roll with Cream Cheese Frosting, a delightful homage to fall that combines a soft, spiced cake with a luscious, creamy frosting. This recipe is not just a crowd-pleaser; it’s incredibly forgiving, making it perfect for both experienced bakers and those just starting their culinary journey. Plus, with the option to make it ahead of time and freeze, it’s an ideal choice for festive gatherings or cozy evenings at home. Are you ready to roll into the season with this comforting treat that pairs beautifully with your favorite warm beverage?
Why is This Pumpkin Roll a Must-Try?
Irresistible Flavor: The balance of warm spices and sweet pumpkin creates a comforting dessert that captures the essence of fall.
Easy to Make: This forgiving recipe ensures that even novice bakers will feel confident, allowing for a delightful homemade treat without the stress.
Versatile Options: Why not add nuts or swap frosting styles? Customize your roll with walnuts or a decadent chocolate ganache for a unique twist!
Perfect for Freezing: With the ability to freeze the unfrosted cake, you can prepare ahead for busy autumn days, making serving effortless.
Crowd-Pleasing Delight: Whether for a holiday gathering or a cozy evening in, this Spiced Pumpkin Roll with Cream Cheese Frosting is sure to be a hit, much like the beloved Savory Turkey Patties that everyone enjoys.
Spiced Pumpkin Roll Ingredients
For the Cake
• Pumpkin Puree – Provides moisture and flavor; use canned or fresh cooked pumpkin for best results.
• All-Purpose Flour – Forms the structure of the cake; a gluten-free flour mix can be a great alternative.
• Granulated Sugar – Sweetens the cake beautifully; brown sugar can enhance the flavor profile.
• Eggs – Binds the ingredients together; substitute with aquafaba to make it vegan-friendly.
• Baking Powder – Gives the cake its light, airy texture; no substitutes needed here.
• Ground Spices (Cinnamon, Nutmeg, Ginger) – Adds warmth and brings out the pumpkin flavor; pumpkin pie spice can be a convenient option.
For the Frosting
• Cream Cheese – A creamy base for the frosting; mascarpone can also add a richer texture.
• Butter – Infuses richness into the frosting; use vegan butter as a dairy-free alternative.
• Powdered Sugar – Provides sweetness and structure; stick with this for the best frosting results.
• Vanilla Extract – Enhances aroma and flavor; almond extract can provide a delightful twist.
This Spiced Pumpkin Roll with Cream Cheese Frosting is sure to captivate with its heavenly flavor and easy preparation—perfect for gathering friends and family around the table!
Step‑by‑Step Instructions for Spiced Pumpkin Roll with Cream Cheese Frosting
Step 1: Preheat and Prepare
Start by preheating your oven to 375°F (190°C). While the oven is heating up, line a jelly roll pan (15×10 inches) with parchment paper, allowing some overhang. This will make it easier to roll the cake later. Lightly grease the parchment paper to ensure the cake comes out smoothly.
Step 2: Mix Wet Ingredients
In a large mixing bowl, combine 1 cup of pumpkin puree, 1 cup of granulated sugar, and 3 large eggs. Use a hand mixer or whisk to blend them together until the mixture is smooth and well combined. The mixture should appear light and fluffy, taking about 3-4 minutes. This step is essential for creating a tender spiced pumpkin roll.
Step 3: Whisk Dry Ingredients
In a separate bowl, whisk together 1 cup of all-purpose flour, 1 teaspoon of baking powder, and a medley of ground spices (1 tablespoon of cinnamon, 1 teaspoon of nutmeg, and 1 teaspoon of ginger). Combine the dry ingredients until evenly mixed, ensuring there are no lumps. This blend of spices will create the warm flavor profile of your spiced pumpkin roll.
Step 4: Combine Ingredients
Gently fold the dry mixture into the wet ingredients using a spatula until just combined. Be careful not to overmix, as this can lead to a dense cake. The batter will be thick and fragrant, bursting with aromatic spices. Make sure to scrape down the sides of the bowl to incorporate all the ingredients.
Step 5: Bake the Cake
Pour the batter evenly into the prepared jelly roll pan, spreading it gently with a spatula to ensure an even layer. Bake in the preheated oven for 12-15 minutes, or until the cake springs back when touched lightly in the center. It should be set and a toothpick inserted should come out clean.
Step 6: Roll the Cake
Once baked, carefully remove the cake from the oven and let it cool for about 5 minutes. While it’s still warm, use the parchment overhang to lift the cake out and place it on a clean kitchen towel. Carefully roll the cake, towel included, starting from one short end. This will help maintain its shape as it cools completely for about 30 minutes.
Step 7: Make the Frosting
While the cake cools, prepare the cream cheese frosting. In a mixing bowl, beat together 8 ounces of softened cream cheese, 4 tablespoons of unsalted butter, 2 cups of powdered sugar, and 1 teaspoon of vanilla extract. Beat until the mixture is creamy and smooth, about 3-4 minutes. The frosting should be thick, fluffy, and rich.
Step 8: Frost the Cake
After the cake has cooled completely, gently unroll it from the towel. Spread an even layer of the cream cheese frosting over the surface of the cake, leaving about an inch of space at the edges. This will prevent the frosting from spilling out when you roll it back up.
Step 9: Roll and Chill
Once frosted, roll the cake back up carefully, starting from the edge where the filling is. Wrap the rolled cake in plastic wrap and place it in the refrigerator to chill for about 30 minutes. This step helps to firm up the cake and frosting, making it easier to slice later.
Step 10: Slice and Serve
Once chilled, remove the spiced pumpkin roll from the refrigerator and unwrap it. Use a sharp knife to slice the roll into 1-inch pieces. The creamy frosting should peek through the moist cake, making each slice irresistible. Serve your homemade spiced pumpkin roll with cream cheese frosting and enjoy the comforting flavors of fall!
Expert Tips for Spiced Pumpkin Roll
- Watch the Baking Time: Keep a close eye on your cake to prevent overbaking; a dry cake can ruin the entire spiced pumpkin roll experience.
- Cool Completely: Allow the cake to cool thoroughly before unrolling it; otherwise, it may crack and tear, making it difficult to frost.
- Use Parchment Paper: Always line your jelly roll pan with parchment paper; it ensures easy release and helps maintain the cake’s shape.
- Customize Wisely: Add nuts or chocolate chips to the batter for extra texture, but be sure they don’t overpower the delicate spiced pumpkin flavor.
- Chill Before Slicing: Refrigerate the frosted roll for at least 30 minutes before slicing; this helps set the frosting and makes cutting easier.
What to Serve with Easy Spiced Pumpkin Roll with Cream Cheese Frosting
Cozy up your fall gatherings with delightful pairings that enhance the warmth and flavor of this seasonal favorite.
- Warm Apple Cider: A classic fall drink that offers a sweet spice blend, perfectly balancing the creaminess of the pumpkin roll.
- Roasted Butternut Squash Soup: Its creamy texture and hints of nutmeg echo the flavors of the pumpkin roll, making for a comforting meal.
- Candied Pecans: Sprinkling these sweet, crunchy bites on top of your pumpkin roll adds a delightful contrast of textures and flavors.
- Vanilla Ice Cream: A scoop of this classic treat on the side offers a cold, creamy contrast to the warm cake, elevating the dessert experience.
Imagine sharing your Spiced Pumpkin Roll with Cream Cheese Frosting alongside any of these treats, welcoming friends and family to a cozy autumn gathering.
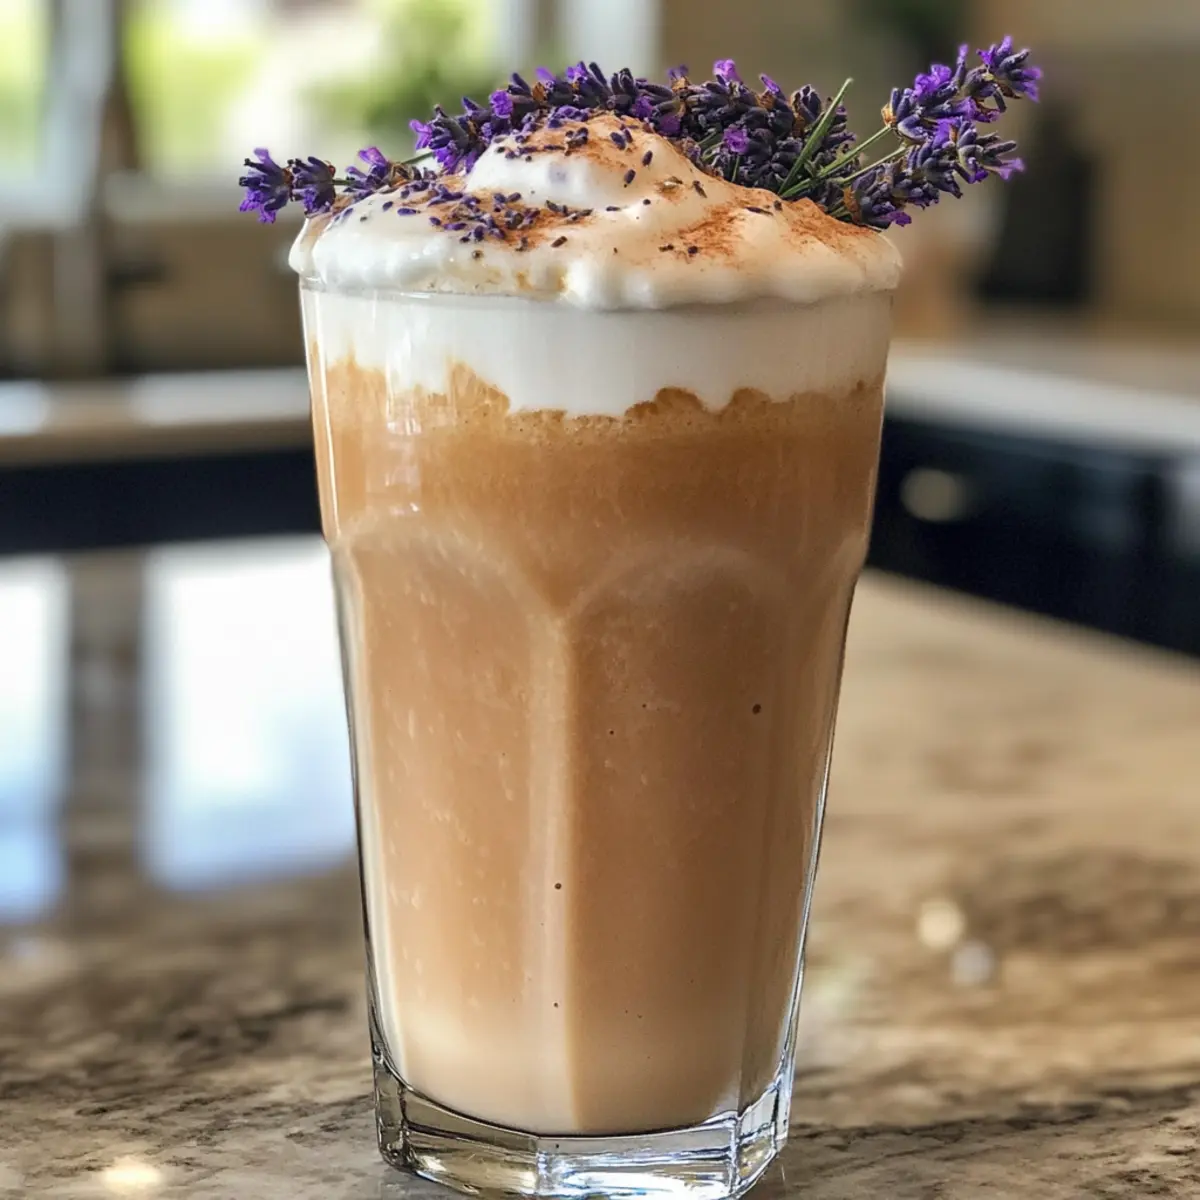
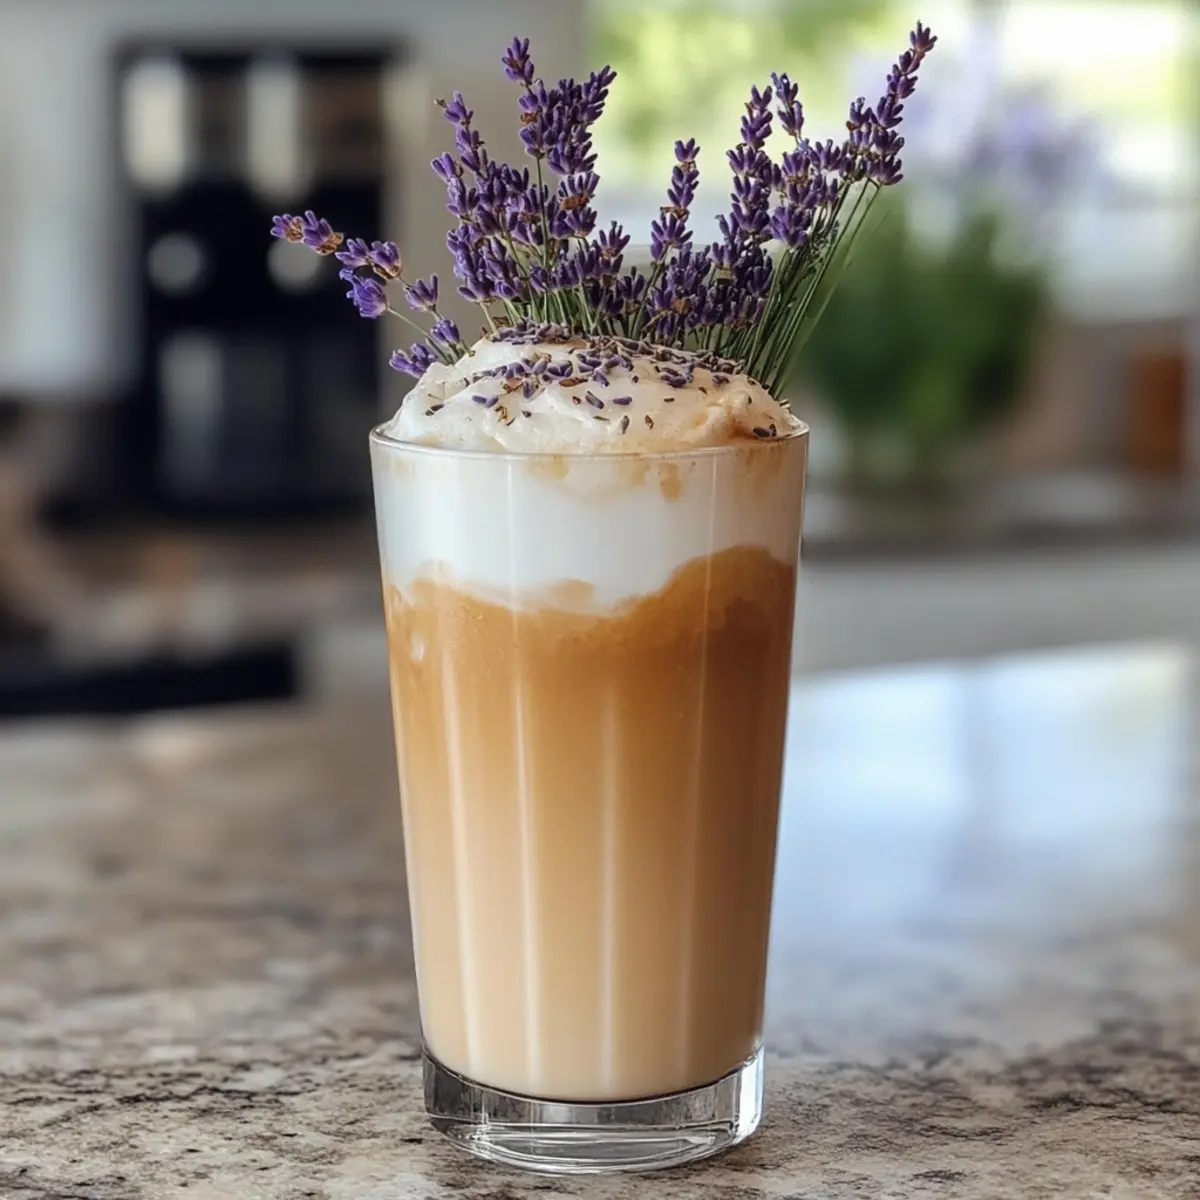
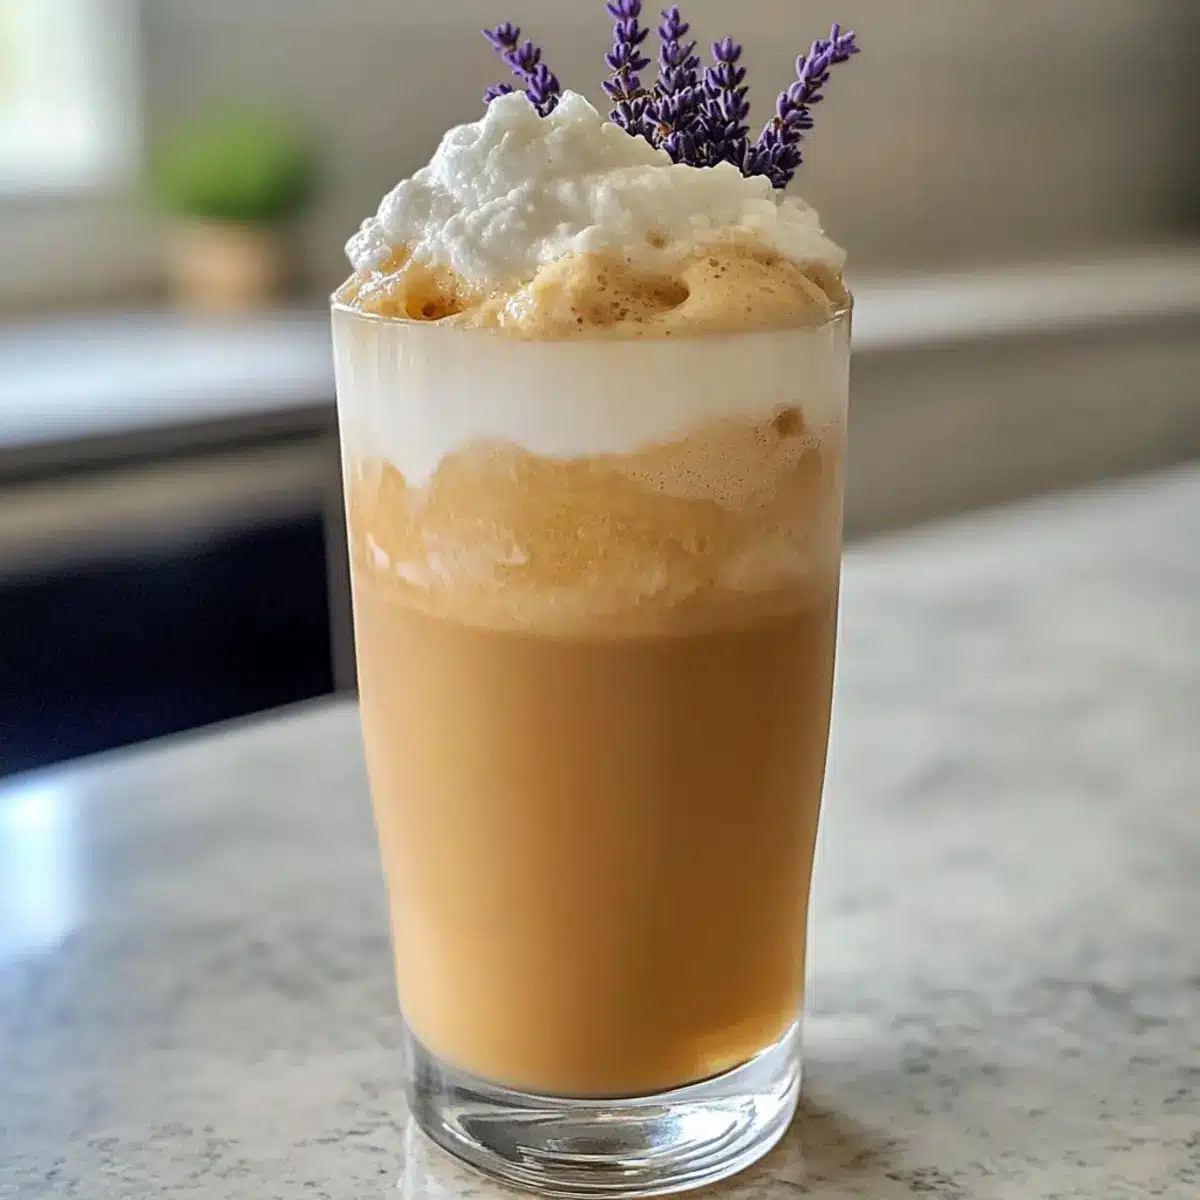
- Hibiscus Cardamom Iced Latte: For a unique twist, this drink’s floral notes and gentle spice will harmonize beautifully with the pumpkin flavors.
- Ginger Snap Cookies: The zesty ginger and spices in the cookies complement the warm spices in the pumpkin roll, adding an extra festive touch.
- Maple Glazed Carrots: Their natural sweetness and tender bite enhance the flavors of your pumpkin roll in a delightful way.
- Chocolate Chai Tea: The rich spices of chai blend effortlessly, making it a comforting drink to enjoy with every slice of this seasonal delight.
Make Ahead Options
These Easy Spiced Pumpkin Rolls with Cream Cheese Frosting are perfect for meal prep! You can bake the unfrosted cake up to 3 days in advance; simply cool it completely, then tightly wrap it in plastic wrap and refrigerate to maintain freshness. If you’re looking to prep even further ahead, the un-frosted pumpkin roll can be frozen for up to 3 months—just ensure it’s well-wrapped. When you’re ready to serve, thaw the roll overnight in the refrigerator, then whip up the cream cheese frosting fresh. Spread it on, roll it back up, and chill for about 30 minutes before slicing. This approach will save you time and ensure your dessert is just as delicious and inviting!
Spiced Pumpkin Roll with Cream Cheese Frosting: Variations & Substitutions
Feel free to explore these delicious twists and adjustments to make this recipe uniquely yours!
-
Nutty Delight: Add 1/2 cup chopped walnuts or pecans to the batter for a crunchy texture that beautifully complements the softness of the cake. The nuts add an exciting contrast, making every bite a pleasure.
-
Chocolate Lovers: Swap the cream cheese frosting for rich chocolate ganache. Just melt equal parts chocolate and cream together, stirring until smooth. This variation brings a decadent sweetness that pairs wonderfully with the pumpkin flavors.
-
Berry Sweetness: Mix in 1/2 cup fresh cranberries or chocolate chips into the batter for a festive touch. The tartness of cranberries or the sweetness of chocolate creates a delightful burst of flavor, perfect for holiday gatherings.
-
Gluten-Free Option: Substitute all-purpose flour with a gluten-free flour mix to accommodate dietary preferences without sacrificing taste. This way, everyone can enjoy this autumn treat!
-
Vegan Twist: Replace eggs with 3 tablespoons aquafaba and use vegan butter for the frosting to whip up a delicious vegan dessert. You’ll still achieve a moist roll that melts in your mouth.
-
Spicy Kick: Enhance the spices by adding 1/2 teaspoon cayenne pepper for a warm, surprising kick. This twist elevates the flavor profile, making it a memorable dessert for adventurous eaters.
-
Almond Flavor: Use almond extract instead of vanilla in the frosting for a nutty, fragrant alternative. This subtle change will give your cake a delightful, unexpected complexity.
-
Seasonal Spice: Incorporate 1 tablespoon of pumpkin pie spice instead of individual spices for a simplified approach. It’s an all-in-one solution bringing classic fall flavors with less fuss.
By trying out these variations, you can ensure your Spiced Pumpkin Roll with Cream Cheese Frosting remains a delightful surprise every time! And if you’re looking for more comforting recipes, consider making the Savory Turkey Patties or a cozy Cheddar Mac Cheese to complete your meal.
How to Store and Freeze Spiced Pumpkin Roll
Fridge: Store the rolled Spiced Pumpkin Roll in an airtight container for up to 5 days, ensuring it stays fresh and moist for your enjoyment.
Freezer: The unfrosted cake can be frozen securely for up to 3 months. Wrap it tightly in plastic wrap before placing it in a freezer-safe bag.
Thawing: When ready to serve, thaw the cake in the refrigerator overnight to prevent condensation before frosting.
Reheating: If you prefer a warm dessert, gently microwave individual slices for about 10-15 seconds, being careful not to dry it out.
Spiced Pumpkin Roll with Cream Cheese Frosting Recipe FAQs
How do I choose the right pumpkin puree?
Absolutely! For the best flavor and texture in your Spiced Pumpkin Roll, opt for 100% canned pumpkin puree or fresh cooked pumpkin that is smooth and free from dark spots. When using fresh pumpkin, bake and blend it until completely silky—this ensures your cake remains moist and flavorful!
What is the best way to store leftover pumpkin roll?
To keep your Spiced Pumpkin Roll fresh and delicious, store it in an airtight container in the refrigerator for up to 5 days. If you notice any signs of drying, like a firmer texture, simply wrap slices in plastic wrap before placing them in the container to maintain moisture.
Can I freeze my spiced pumpkin roll?
Very much so! You can freeze the unfrosted cake for up to 3 months. Here’s how: Allow the cake to cool completely, then wrap it tightly in plastic wrap. Place it in a freezer-safe bag. When you’re ready to enjoy, simply thaw it in the refrigerator overnight. Frost only when completely thawed to ensure the best texture and flavor!
What if my cake cracks while rolling?
Don’t worry! If your pumpkin roll cracks while rolling, you can still salvage it. Spread a bit more cream cheese frosting over the cracked areas before serving to conceal the imperfections. Additionally, make sure to cool the cake completely before rolling it, as a warm cake may be more prone to cracking.
Are there any allergy considerations with this recipe?
Definitely! If you’re catering to specific dietary needs, remember that this Spiced Pumpkin Roll contains common allergens like eggs and dairy. For a vegan version, substitute eggs with aquafaba and use vegan butter in the frosting. Always check for nut allergies as well if you decide to add nuts to the batter or frosting!
Spiced Pumpkin Roll with Cream Cheese Frosting
Ingredients
Equipment
Method
- Preheat your oven to 375°F (190°C) and line a jelly roll pan with parchment paper.
- Mix together pumpkin puree, granulated sugar, and eggs until light and fluffy.
- Whisk together flour, baking powder, cinnamon, nutmeg, and ginger until evenly mixed.
- Gently fold the dry mixture into the wet ingredients until just combined.
- Pour the batter into the prepared pan and bake for 12-15 minutes until set.
- Cool for 5 minutes, then roll with the parchment paper and cool completely.
- Prepare the frosting by beating cream cheese, butter, powdered sugar, and vanilla until smooth.
- Spread frosting over the cooled cake and roll it back up carefully.
- Chill the rolled cake in the refrigerator for 30 minutes, then slice and serve.