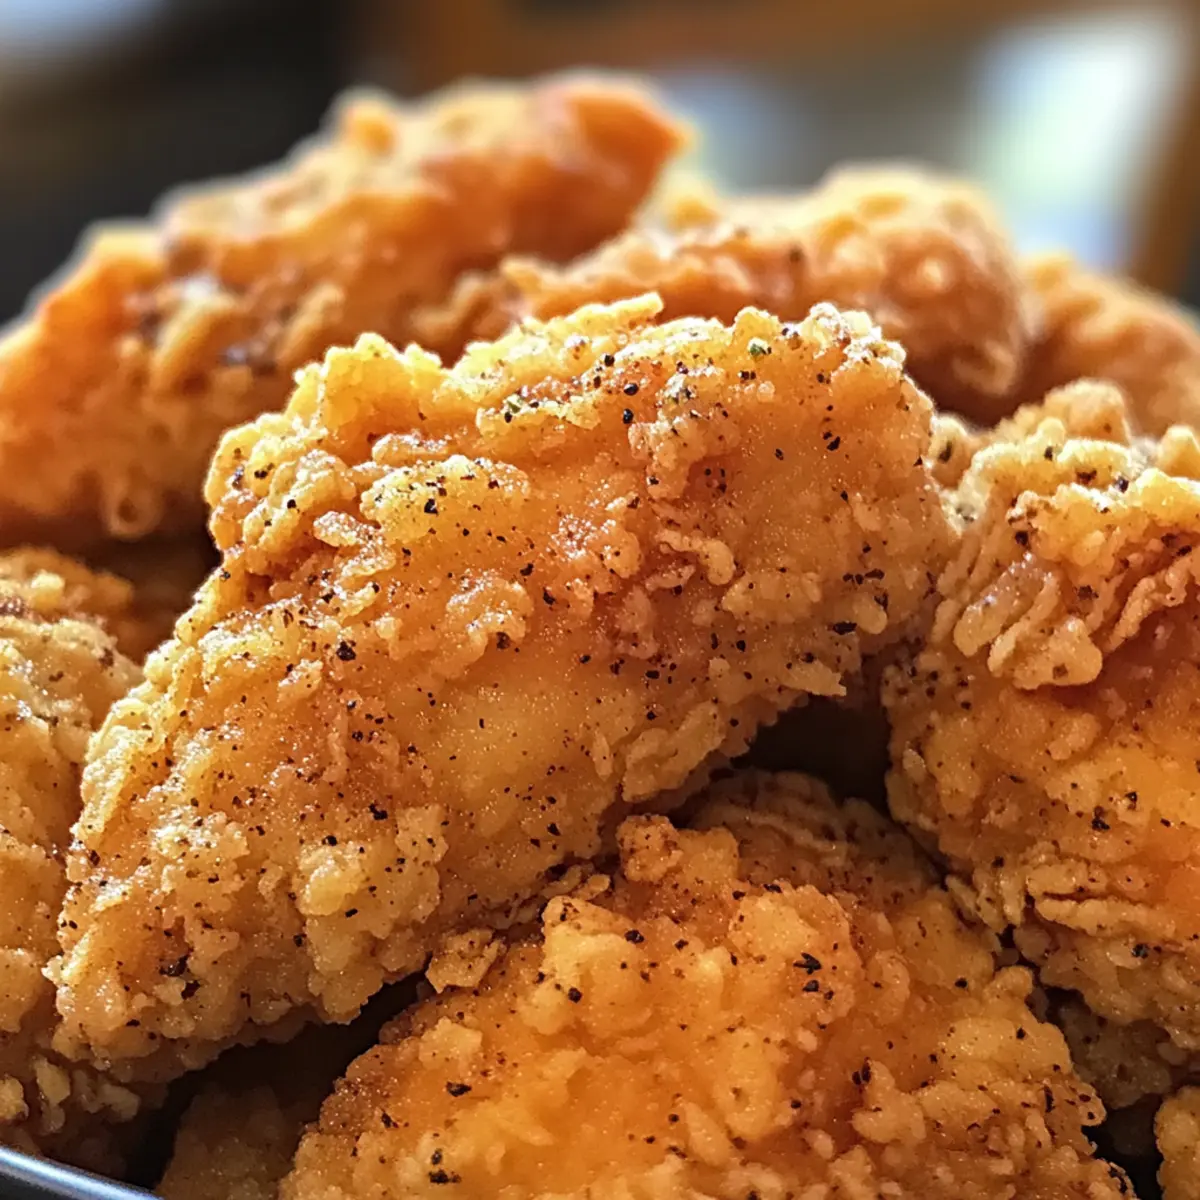
Every time I sink my teeth into a piece of perfectly crispy chicken, I’m transported to my favorite restaurant, where the air is filled with savory aromas. Today, I’m excited to share my recipe for Crispy Salt and Pepper Chicken, which seems almost magical in how quickly it brings that delightful crunch right to your kitchen. This dish is not only a fantastic weeknight solution, but it also pleases hungry crowds with its satisfying taste and texture. With just a handful of ingredients and minimal prep time, you’ll find it’s incredibly easy to whip up. Before you know it, you’ll be savoring juicy chicken enveloped in a crispy coating that rivals any takeout! Ready to dive into this delectable recipe? Let’s get cooking!
Why is Crispy Salt and Pepper Chicken Irresistible?
Crispy Perfection: The combination of a golden crust with juicy chicken creates an irresistible texture that delights the senses.
Quick and Easy: With minimal prep and cooking time, this recipe is a lifesaver for busy weeknights or spontaneous gatherings.
Flavorful Kick: The bold seasoning of salt and pepper elevates the natural flavor of the chicken, making each bite a savory delight.
Crowd-Pleasing Appeal: Perfectly suited for sharing, this dish keeps everyone satisfied around the table—just like a classic Air Fryer Chicken.
Versatile Serving Options: Serve alongside your favorite dips or with a fresh salad to customize the meal, just like with Chicken Stuffed Peppers.
Crispy Salt and Pepper Chicken Ingredients
• Get ready to create crunchy bliss with these simple ingredients!
For the Chicken
- Chicken pieces – Choose bone-in or boneless for your preferred texture; both work beautifully in this recipe.
- Salt – Essential for enhancing flavor; feel free to adjust based on your taste preference.
- Pepper – Adds a wonderful aromatic quality; you can increase the amount for a spicier kick.
For the Coating
- Flour – Perfect for achieving that crispy coating; substitute with cornstarch if you prefer a gluten-free option.
For Frying
- Oil – A high smoke point oil like canola or vegetable helps in creating a perfect, crispy finish when frying.
Whether you’re enjoying a family meal or entertaining friends, the secret to Crispy Salt and Pepper Chicken lies in these simple yet effective ingredients! Happy cooking!
Step‑by‑Step Instructions for Crispy Salt and Pepper Chicken
Step 1: Preparation
Begin by patting the chicken pieces dry with paper towels; this helps achieve that coveted crispy exterior. Generously season both sides with salt and freshly cracked black pepper, ensuring an even coating. Let the seasoned chicken sit for about 10 minutes to absorb the flavors while you prepare for the next steps.
Step 2: Breading
In a shallow dish, add the flour and optional seasonings like garlic powder or paprika for an extra flavor boost. Dredge each piece of chicken in the flour, ensuring every surface is fully coated. Shake off any excess flour, then set the breaded chicken on a plate, allowing it to rest for about 5 minutes, which helps the coating adhere better.
Step 3: Frying
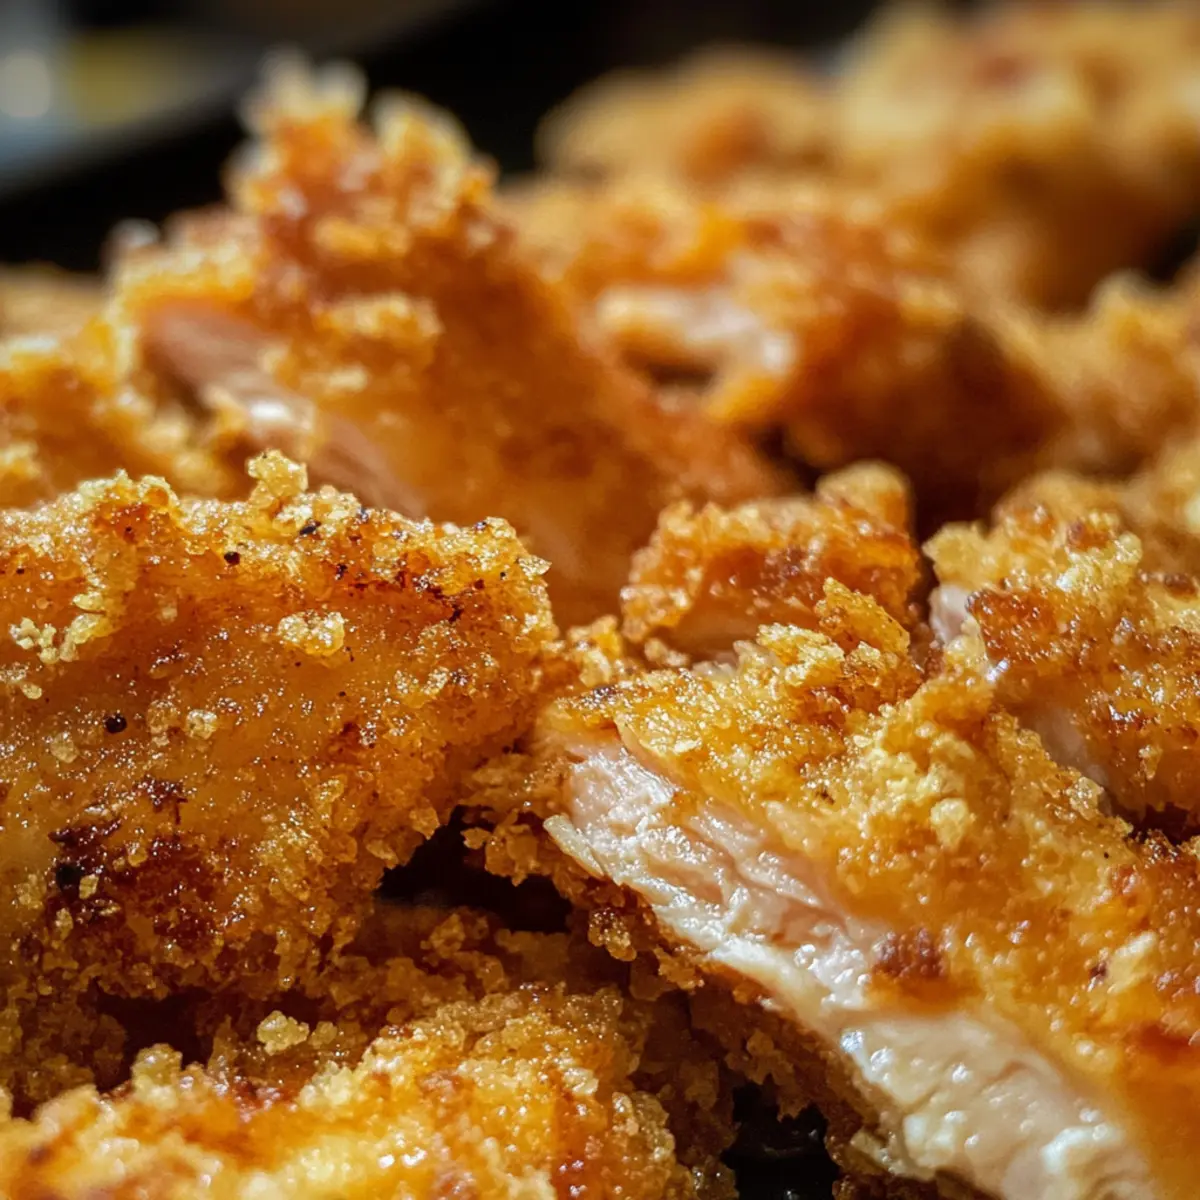
Heat a generous amount of oil in a non-stick skillet over medium-high heat until shimmering—this usually takes about 3–5 minutes. Carefully place the breaded chicken pieces into the hot oil without crowding the pan; fry in batches if necessary. Cook for approximately 6–8 minutes on each side, or until the chicken turns a deep golden brown and an internal thermometer reads 165°F.
Step 4: Finishing
Once the chicken is perfectly golden and cooked through, remove it from the skillet and place it on a plate lined with paper towels to absorb any excess oil. This step ensures the Crispy Salt and Pepper Chicken maintains its crunch. Allow the chicken to rest for a few minutes to cool down slightly before serving.
Step 5: Serving
Serve the crispy chicken pieces immediately while they’re still hot for the best texture and flavor. Pair them with your favorite dipping sauces or a fresh salad for a delightful meal. This easy and satisfying dish brings the essence of restaurant-quality food directly into your home—perfect for any occasion!
What to Serve with Crispy Salt and Pepper Chicken
When you’re ready to elevate your chicken experience, think about these delightful pairs that will create a memorable meal.
-
Creamy Mashed Potatoes: Their buttery texture complements the crispy chicken perfectly, providing a satisfying contrast with each bite.
-
Garlic Butter Green Beans: These vibrant veggies add a tender crunch and garlicky goodness, balancing the richness of the chicken beautifully.
-
Crisp Coleslaw: A refreshing, tangy slaw brings a delightful crunch that cuts through the savory flavors, making every morsel more enjoyable.
-
Sweet and Spicy Dipping Sauce: Enhance the flavor with a homemade or store-bought dipping sauce that plays off the salty, peppery notes of the chicken.
-
Fluffy Rice or Quinoa: The mild flavors of fluffy grains provide a wholesome base that soaks up the delicious juices from the chicken, creating a flavorful synergy.
-
Zesty Cucumber Salad: The cold, firm cucumbers with a splash of vinegar add a refreshing touch, making it the perfect side for a crispy delight.
-
Chilled White Wine: Pair your meal with a glass of chilled Sauvignon Blanc for a crisp, refreshing sip that complements the savory notes of the chicken.
-
Lemon Sorbet: To round off your meal, a light and refreshing lemon sorbet offers a sweet, tart finish that cleanses the palate beautifully.
With these wonderful accompaniments, your Crispy Salt and Pepper Chicken transforms into a well-rounded feast that your family and friends will rave about!
Make Ahead Options
Preparing Crispy Salt and Pepper Chicken ahead of time is a fantastic way to streamline your meal planning for busy nights! You can season the chicken pieces and bread them up to 24 hours in advance; simply store the coated chicken in an airtight container in the refrigerator to keep it fresh. This step prevents any sogginess, ensuring that your chicken stays crispy when cooked. When you’re ready to enjoy, heat the oil and fry the chicken as directed, typically taking about 6–8 minutes per side until golden brown and reaching an internal temperature of 165°F. With these make-ahead options, you’ll savor restaurant-quality crispy chicken in no time!
Crispy Salt and Pepper Chicken Variations
Customize this delightful recipe and awaken your creativity with flavorful twists and tasty substitutes!
-
Gluten-Free: Substitute flour with cornstarch for a light, crispy coating that everyone can enjoy, regardless of dietary restrictions.
Transforming your dish into a gluten-free version allows all to savor this crispy delight together at the table! -
Spicy Kick: Toss in cayenne pepper or red pepper flakes to the flour mix for a fiery spin that will tantalize your taste buds.
This little heat boost adds an exciting twist, making each bite an adventurous experience! -
Lemon Zest: Add fresh lemon zest to the flour before breading for a citrusy brightness that elevates the flavor profile.
Your kitchen will smell heavenly, and the vibrant taste will make your dish sing with freshness! -
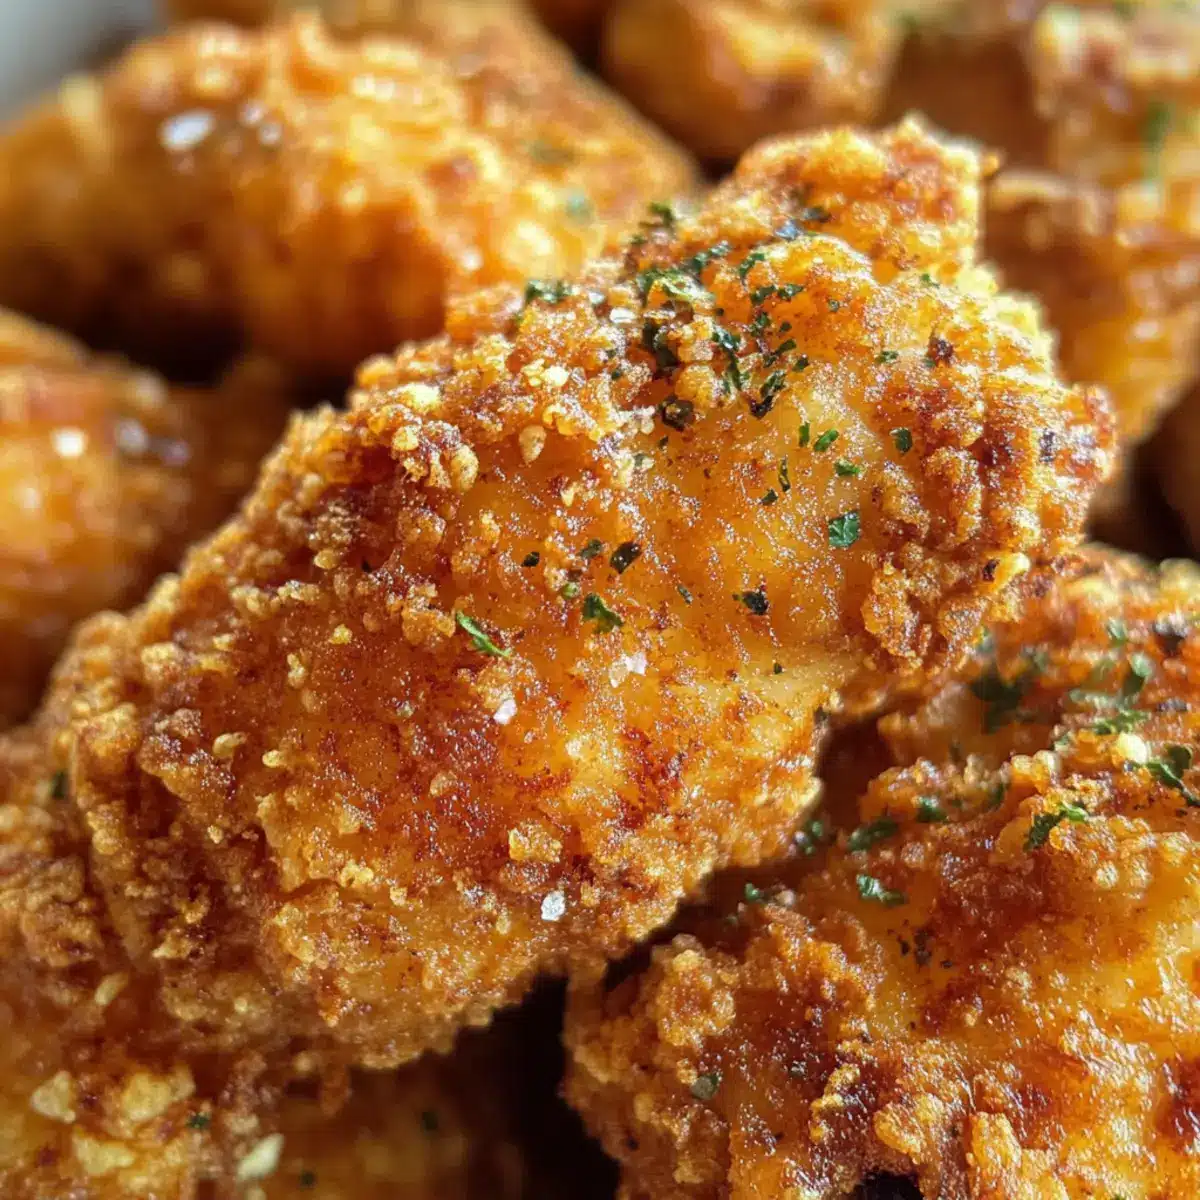
Herb Infusion: Mix dried herbs like oregano, thyme, or rosemary into the coating for an aromatic twist that brings more depth.
The herbaceous notes will not only enhance flavor but also add a delightful visual appeal to your crispy chicken! -
Buttermilk Soak: Soak chicken pieces in buttermilk for a couple of hours before breading to add moisture and tang.
This extra step creates an incredibly tender chicken inside that pairs wonderfully with the crunchy exterior! -
Sesame Crunch: Incorporate sesame seeds into the flour mix for added texture and nutty flavor, making it feel like a gourmet dish.
Creating an explosion of texture and taste, this small change will impress at your next family gathering or meal prep! -
Asian Infusion: Use soy sauce as a marinade for your chicken prior to breading, adding depth and umami to each delicious bite.
This variation pairs wonderfully with sides like fried rice or a fresh Asian slaw, bringing new flavors to your table! -
Crispy Parmesan: Mix grated Parmesan cheese with the flour for a rich, cheesy crust that adds a delightful umami flair.
This twist not only brings a fantastic flavor but also makes each bite an indulgent experience!
Feel free to explore these variations and find your personal favorites while serving your Crispy Salt and Pepper Chicken alongside delicious sides like Chicken Cashew Broccoli for a complete meal. Happy cooking!
Expert Tips for Crispy Salt and Pepper Chicken
-
Dry First: Ensure the chicken is thoroughly dried before seasoning to achieve the ultimate crispy texture during frying.
-
Batch Frying: Avoid overcrowding the skillet; fry in batches to allow each piece to cook evenly and become perfectly crispy.
-
Flipping Technique: Flip the chicken halfway through frying for an even golden crust; this prevents sticking and promotes browning.
-
Taste Adjustments: Feel free to adjust the levels of salt and pepper based on your personal preference for the Crispy Salt and Pepper Chicken.
-
Resting Time: Allow the chicken to rest briefly on paper towels after frying to maintain its crunchiness before serving.
Storage Tips for Crispy Salt and Pepper Chicken
Fridge: Store leftovers in an airtight container in the refrigerator for up to 3 days to maintain freshness and flavor.
Freezer: Freeze the Crispy Salt and Pepper Chicken in a sealed bag or container for up to 2 months. Ensure it is well-wrapped to prevent freezer burn.
Reheating: Reheat in a preheated oven at 350°F for 10-15 minutes to restore crispiness, or microwave for 2-3 minutes if you’re short on time.

Crispy Salt and Pepper Chicken Recipe FAQs
How do I select the best chicken pieces for this recipe?
Absolutely! For the best flavor and texture, choose bone-in chicken thighs or breasts as they tend to remain juicier during cooking. Look for fresh, plump pieces without any dark spots, which may indicate spoilage. If you’re in a hurry, boneless cuts work well too and can reduce cooking time.
What’s the best way to store leftovers of Crispy Salt and Pepper Chicken?
To keep your chicken fresh, store leftovers in an airtight container in the refrigerator for up to 3 days. Make sure it’s completely cooled before sealing to prevent any moisture buildup. This will ensure that your crispy coating remains intact!
Can I freeze Crispy Salt and Pepper Chicken?
Yes, you can! To freeze, place the cooled chicken pieces in a sealed freezer bag or container, ensuring to remove as much air as possible to prevent freezer burn. Properly stored, it will maintain its quality for up to 2 months. When ready to enjoy, simply thaw in the fridge overnight before reheating.
What if my chicken isn’t crispy after frying?
The more the merrier! If your chicken isn’t crispy, a few tricks might help. First, ensure your chicken was dry before breading—this is crucial! Additionally, check the oil temperature before adding the chicken; it should be hot enough (about 350°F) to create that golden crust. If frying in batches, avoid overcrowding the skillet, which can cause the temperature to drop, resulting in soggy chicken.
Are there any dietary considerations for my pets regarding this recipe?
Very! While the crispy chicken is a treat for humans, it’s important to remember that the seasoning, particularly salt and pepper, should be avoided for pets. If you’re considering sharing a little with your furry friend, ensure it’s plain, unseasoned chicken instead, as some spices can be harmful to them.
How should I reheat leftover Crispy Salt and Pepper Chicken?
To revive that crispy texture, preheat your oven to 350°F and place the chicken on a baking sheet lined with paper towels. Heat for about 10-15 minutes until hot throughout. If short on time, you can microwave for 2-3 minutes, but keep in mind that it may not be as crispy as when freshly made. Enjoy your delicious meal!
Crispy Salt and Pepper Chicken: Flavorful Crunch at Home
Ingredients
Equipment
Method
- Begin by patting the chicken pieces dry with paper towels, then season with salt and pepper. Let sit for 10 minutes.
- In a shallow dish, add flour and any optional seasonings. Dredge chicken pieces in flour and shake off excess.
- Heat oil in a non-stick skillet over medium-high heat. Fry chicken for 6-8 minutes on each side until golden brown.
- After frying, place the chicken on paper towels to absorb excess oil. Let rest for a few minutes before serving.
- Serve the crispy chicken pieces hot with dipping sauces or a fresh salad.