There’s a certain joy that comes from discovering indulgent flavors hidden in the unlikeliest of places. Enter my Chocolate Avocado Frosting—an unexpected delight that makes desserts not only delicious but also healthier. This silky frosting transforms chocolate cakes, cupcakes, or even fruit into a guilt-free celebration. With just five minutes of prep, it’s the perfect solution for those who crave that rich, creamy texture without the butter or sugar. Imagine impressing your friends with a decadent treat that not only satisfies your sweet tooth but is also dairy-free, nut-free, and low carb. Whether you’re dressing up desserts or simply enjoying it by the spoonful, this frosting is your new secret weapon in the kitchen. Curious about how to make it? Let’s dive in!

Why Choose Chocolate Avocado Frosting?
Health Benefits: This frosting is packed with healthy fats from avocados, making it a guilt-free choice that doesn’t compromise on flavor.
Quick and Easy: Ready in just 5 minutes, you’ll have a luscious topping that elevates any dessert without the fuss.
Versatile Use: Perfect for cakes, cupcakes, and even as a dip for fresh fruits, it’s an all-around crowd pleaser.
Diet-Friendly: Enjoy it dairy-free, nut-free, gluten-free, and sugar-free—ideal for various dietary needs!
Impressive Indulgence: Delight your guests with a rich, creamy frosting that surprises everyone with its health-conscious ingredients, making it a conversation starter at any gathering.
Transform your desserts today and check out our Patriotic Chocolate Chip or White Chocolate Cranberry recipes for more sweet inspirations!
Chocolate Avocado Frosting Ingredients
• To create your creamy chocolate avocado frosting, gather these essential ingredients!
For the Base
- Avocados – Provide creaminess and healthy fats; use ripe avocados for the best texture.
- Cocoa Powder – Adds a rich chocolate flavor; you can experiment with regular or Dutch cocoa for variation.
- Pure Maple Syrup – Acts as a sweetener; feel free to substitute with honey or sugar-free options.
- Pure Vanilla Extract – Enhances the overall flavor; vanilla bean powder can substitute for a richer taste.
- Salt – Balances sweetness and amplifies the overall flavor of your frosting.
Optional Add-ins
- Chocolate Chips – Adds richness; consider melting and mixing them in for an extra chocolatey depth.
Get ready to indulge in the smooth and guilt-free texture of this chocolate avocado frosting!
Step‑by‑Step Instructions for Chocolate Avocado Frosting
Step 1: Prepare the Avocados
Begin by selecting two ripe avocados, cutting them in half, and carefully removing the pit. Using a spoon, scoop the creamy flesh into a food processor, ensuring there are no hard bits left. This step is crucial for achieving the silky texture characteristic of the Chocolate Avocado Frosting.
Step 2: Melt the Chocolate Chips (if using)
If you decide to include chocolate chips, place about ½ cup in a microwave-safe bowl. Heat them in 20-second intervals, stirring in between, until fully melted and smooth. This melted chocolate will deepen the richness of your frosting. Set it aside to cool slightly before adding it to the mixture.
Step 3: Combine Ingredients
In the food processor along with the avocado, add ⅓ cup of cocoa powder, ¼ cup pure maple syrup, 1 teaspoon of pure vanilla extract, and a pinch of salt. The maple syrup will lend sweetness and the salt will enhance the overall flavor. Blend the mixture until smooth and creamy, scraping down the sides as needed to ensure thorough incorporation.
Step 4: Incorporate the Melted Chocolate
If you melted chocolate earlier, add it to the processor now. Blend again for about 30 seconds until everything is combined and the frosting looks luscious and glossy. You should have a beautiful, thick, and creamy texture at this stage, perfect for your desserts.
Step 5: Serve and Store
Your Chocolate Avocado Frosting is ready to use! Spoon it onto cakes or cupcakes, and spread it evenly for a delightful look. If you have leftovers, place them in an airtight container and refrigerate for up to three days, but keep in mind that it’s best enjoyed fresh to savor its rich, creamy goodness.
How to Store and Freeze Chocolate Avocado Frosting
Fridge: Refrigerate any leftovers in an airtight container for up to 3 days. It’s best enjoyed fresh, but will stay delicious longer when sealed properly.
Freezer: You can freeze Chocolate Avocado Frosting for up to 2 months. Store it in a freezer-safe container, ensuring it’s tightly sealed to avoid freezer burn.
Thawing: To thaw, place the frosting in the fridge overnight. Once thawed, give it a good stir to restore its creamy texture before using.
Prevent Browning: To minimize browning of the avocado, consider adding a little lemon juice before storing, which helps maintain the vibrant color and fresh taste.
Tips for the Best Chocolate Avocado Frosting
- Choose Ripe Avocados: Ensure your avocados are ripe for the best texture; they should yield slightly when pressed. This is crucial for a smooth Chocolate Avocado Frosting.
- Control Sweetness: Adjust the sweetness to your preference by starting with less maple syrup and adding more as needed. This way, you’ll achieve the perfect balance for your frosting.
- Blend Thoroughly: When mixing, blend until the frosting is completely smooth. Scraping down the sides of the processor will help prevent any lumps, ensuring a luxurious texture.
- Prevent Browning: To keep your frosting looking fresh, add a squeeze of lemon juice to the mixture. This not only enhances flavor but also helps prevent oxidation.
- Experiment with Sweeteners: If you’re aiming for a low-carb option, try substituting maple syrup with powdered xylitol or erythritol to keep your Chocolate Avocado Frosting deliciously healthy.
Chocolate Avocado Frosting Variations
Feel free to let your creativity shine as you customize this luscious frosting to suit your palate!
-
Dairy-Free Bliss: Use almond or coconut milk in place of maple syrup for a creamier consistency. This keeps your frosting delicious while catering to those who are dairy-sensitive.
-
Raw Cacao Upgrade: Swap regular cocoa powder with raw cacao for a bolder chocolate flavor packed with antioxidants. It adds a rich depth that chocolate lovers will adore.
-
Sweetener Switch: Opt for honey or agave syrup instead of maple syrup to explore subtle flavor differences. This simple change can yield a uniquely delightful taste!
-
Coconut Cream Dream: For an extra creamy texture, blend in a few tablespoons of melted coconut cream. This gives your frosting a hint of coconut flavor while enhancing its luxurious consistency.
-
Nut-Free Delight: If you prefer nut-free options, coconut yogurt can replace maple syrup, providing natural sweetness without any nutty flavors. It’s a perfect match for those with allergies.
-
Hearty Choco-Chip Twist: Add mini chocolate chips directly into your frosting for a delightful texture that gives every bite a rich chocolate burst. It’s a simple adjustment that results in deliciousness!
-
Chili Chocolate Surprise: For those who crave a bit of heat, sprinkle in a dash of chili powder. The warmth contrasts beautifully with the rich chocolate flavor, making each taste an adventure.
-
Fruit Fusion: Blend in a ripe banana or pureed strawberries to infuse your frosting with a fruity twist. This can create a refreshing dip for fruits or a playful topping for cupcakes.
As you explore these variations, consider pairing this decadent frosting with desserts like our Steak Fajita Salad for a vibrant culinary experience or enjoy it as a delightful dip for fresh strawberries!
What to Serve with Chocolate Avocado Frosting
Imagine your loved ones gathering around the table, indulging in dessert delights that are both decadent and surprisingly healthy.
-
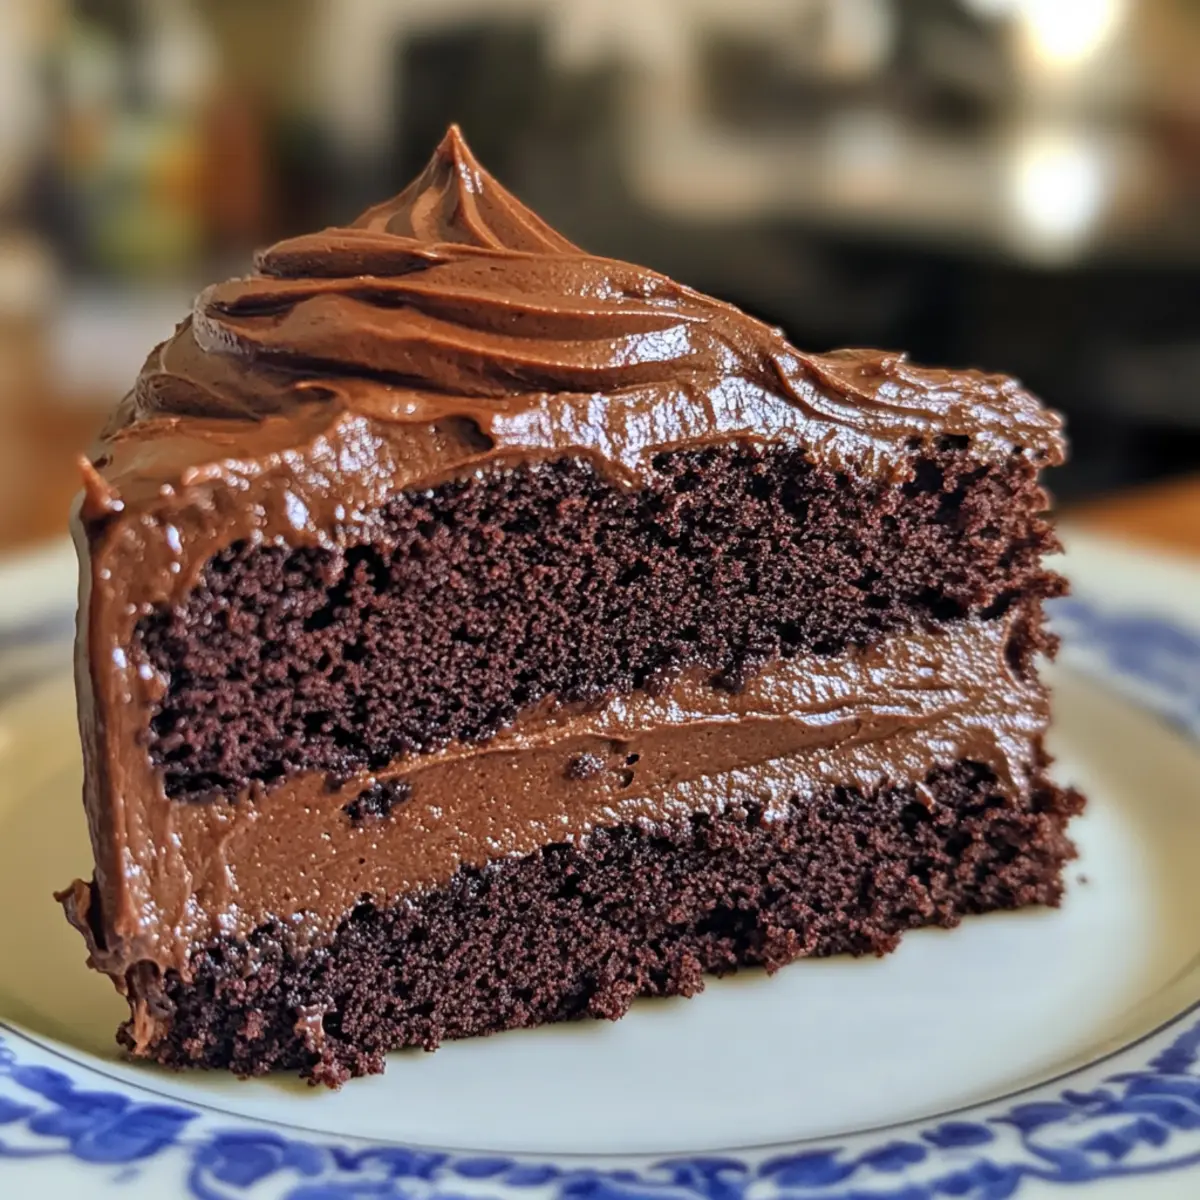
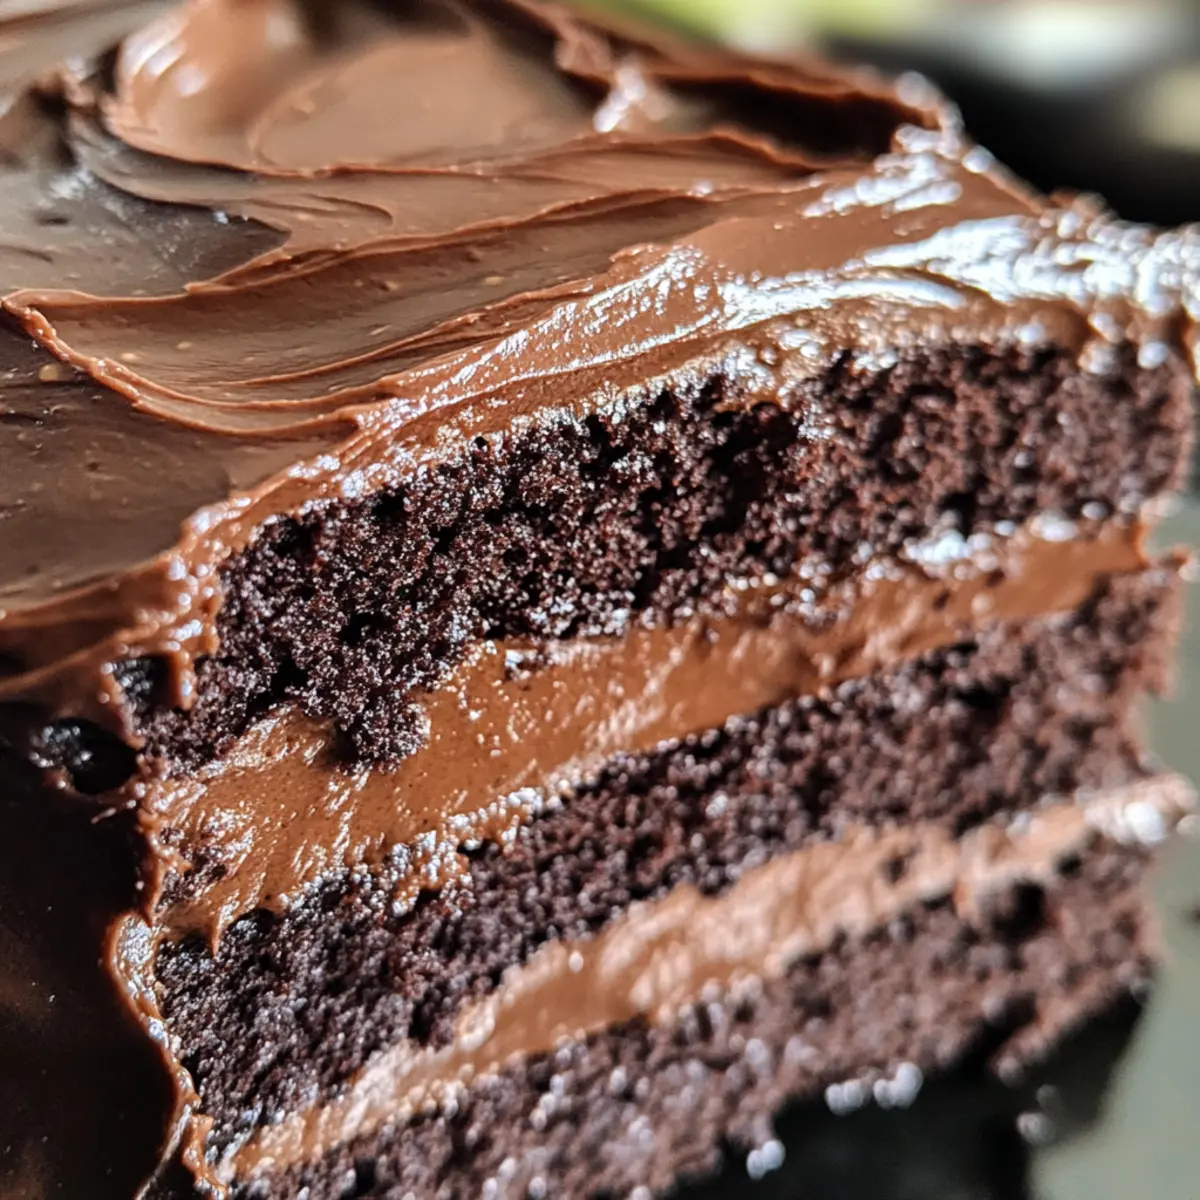
Chocolate Cake: This frosting transforms a classic chocolate cake into an even more luxurious treat, providing a rich, creamy finish that’s irresistible.
-
Vanilla Cupcakes: The velvety chocolate avocado frosting adds a delightful contrast to light and fluffy vanilla cupcakes, creating a beautiful flavor balance. Its glossy texture will also impress your guests!
-
Brownies: Swirl this frosting over warm brownies to amplify that chocolate intensity and add a creamy touch to every single bite.
-
Fruit Dip: Serve it alongside a platter of fresh fruits like strawberries and banana slices for a deliciously healthy dip that surprises everyone with its rich chocolate flavor.
-
Pancakes: Drizzling this frosting over stacked pancakes makes breakfast feel like a celebration, blending sweetness and creaminess for a delightful morning treat.
-
Coffee: Pair with your favorite brewed coffee for a sublime dessert experience, as the rich chocolate notes of the frosting enhance the warm, aromatic depth of the drink.
-
Ice Cream: Use this frosting as an ice cream topping to indulge in a truly guilt-free dessert, making those scoops even more excitingly creamy.
Elevate your next dessert moment with these unforgettable pairings!
Make Ahead Options
These Chocolate Avocado Frosting is a fantastic option for meal prep enthusiasts looking to save time during busy weeks! You can prepare the frosting up to 3 days in advance. To make it ahead, simply follow the recipe instructions, then store the frosting in an airtight container in the refrigerator. This ensures it stays fresh and prevents browning—just consider mixing in a little lemon juice to maintain that beautiful green color. When you’re ready to use it, give the frosting a quick stir to restore its creamy texture and pipe or spread it onto your favorite desserts. With this make-ahead approach, you can enjoy a luscious treat in no time!

Chocolate Avocado Frosting Recipe FAQs
Are my avocados ripe enough for the frosting?
Absolutely! For the best results, ensure your avocados are ripe; they should give slightly when pressed. This guarantees that your Chocolate Avocado Frosting will be smooth and creamy. A ripe avocado has a darker skin and feels soft but not mushy.
How should I store the Chocolate Avocado Frosting?
Refrigerate any leftovers in an airtight container for up to 3 days. This helps prevent browning and keeps the frosting fresh. It’s best enjoyed shortly after making it, but with proper storage, you can savor the deliciousness for a little while longer!
Can I freeze Chocolate Avocado Frosting?
Yes, you can freeze it for up to 2 months! Store the frosting in a freezer-safe container, making sure it’s tightly sealed to prevent freezer burn. When you’re ready to use it, simply thaw the frosting in the fridge overnight. Once thawed, give it a good stir to restore its creamy texture.
What if my frosting is too thick or too sweet?
If your frosting turns out too thick, simply add a splash of plant-based milk or water and blend again until your desired consistency is achieved. If it’s too sweet, you can balance the flavor by adding a pinch of salt, which helps counteract sweetness and enhances overall flavor.
Is this frosting safe for everyone?
Yes, this Chocolate Avocado Frosting is dairy-free, nut-free, gluten-free, and can be made sugar-free, making it an excellent choice for most dietary restrictions. However, always check your ingredients and any sweeteners for potential allergens, especially if serving to guests.
How can I avoid browning in my frosting?
To prevent browning of the avocado in your frosting, mix in a little lemon juice before storing. This not only keeps your frosting looking fresh and vibrant but also adds a lovely hint of acidity that enhances the overall flavor!
Creamy Chocolate Avocado Frosting: Guilt-Free Delight
Ingredients
Equipment
Method
- Prepare the Avocados by cutting them in half, removing the pit, and scooping the flesh into a food processor.
- Melt the Chocolate Chips in a microwave-safe bowl in 20-second intervals until smooth.
- Combine all base ingredients in the food processor and blend until smooth and creamy.
- Incorporate the melted chocolate if using, and blend again until combined.
- Serve the frosting on cakes or cupcakes, and store leftovers in an airtight container.