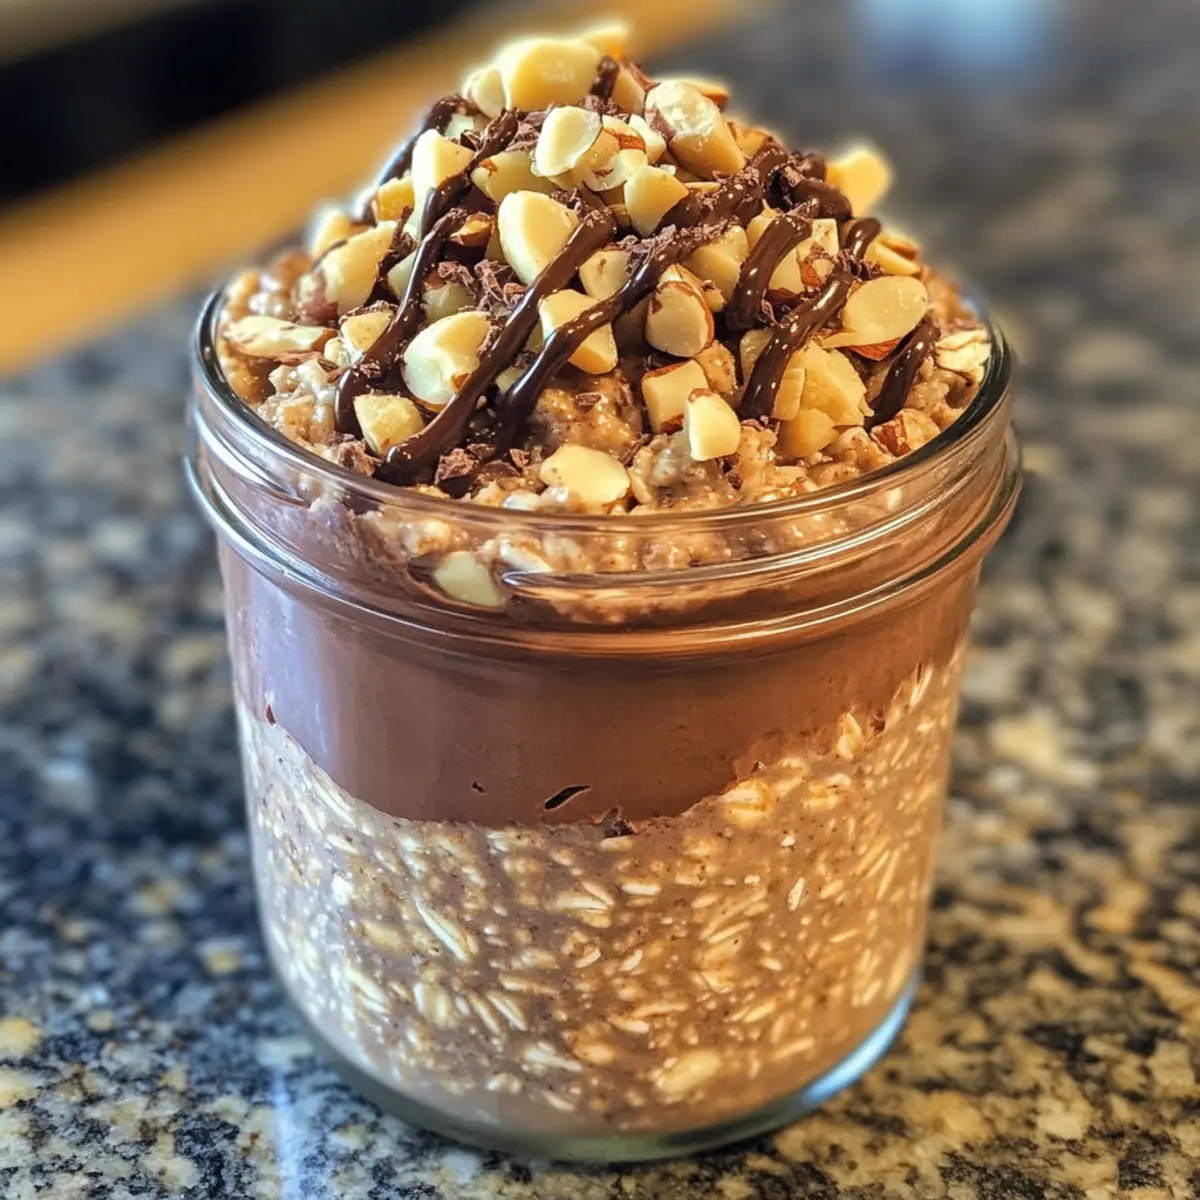
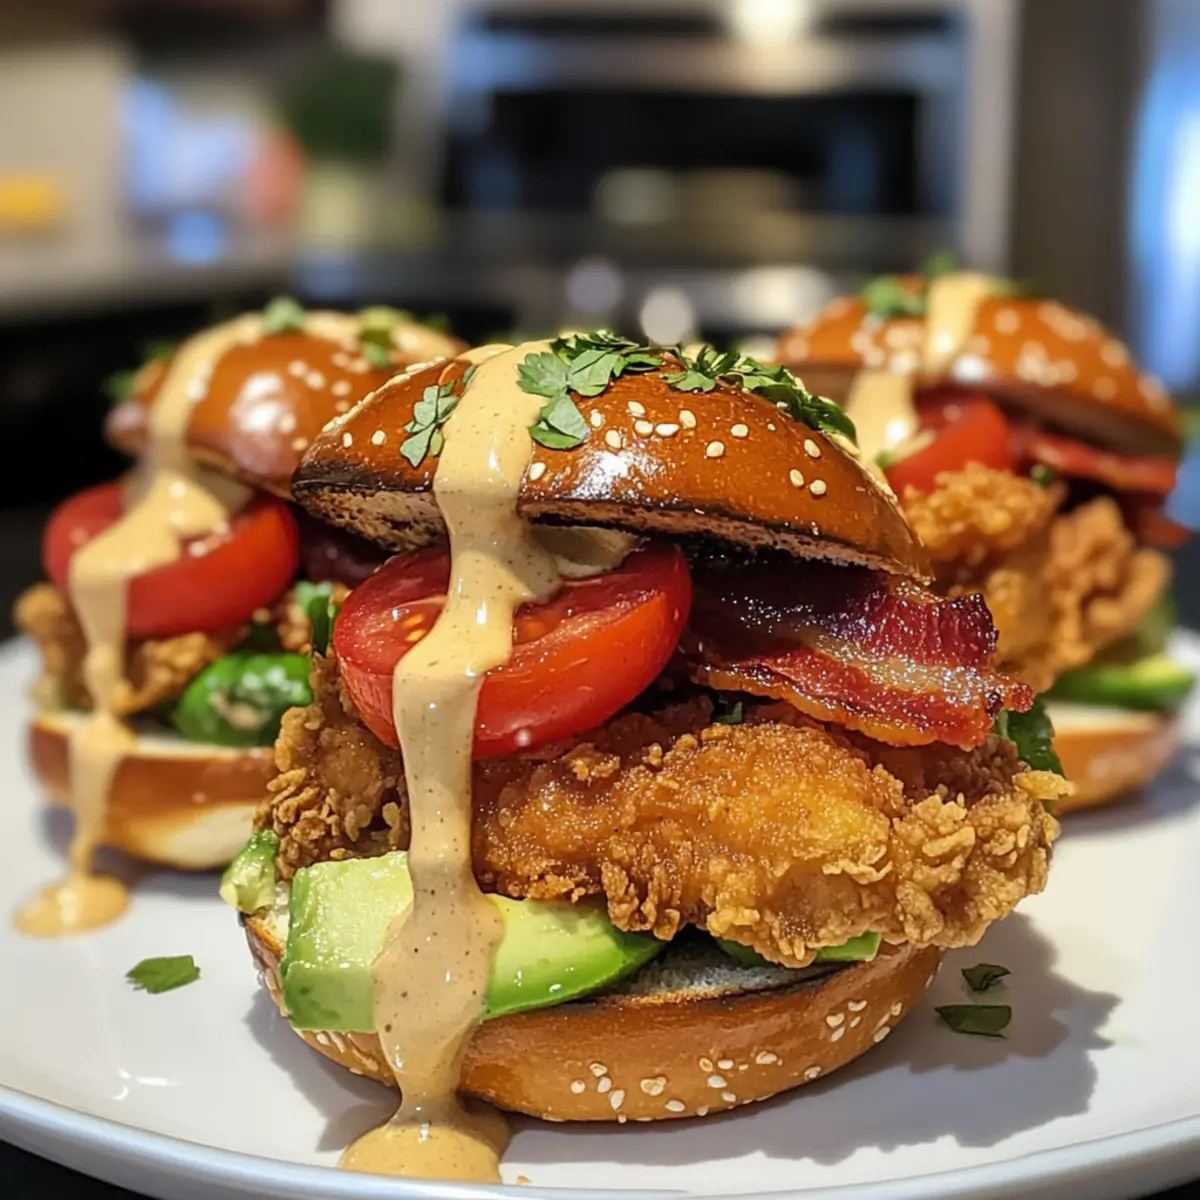
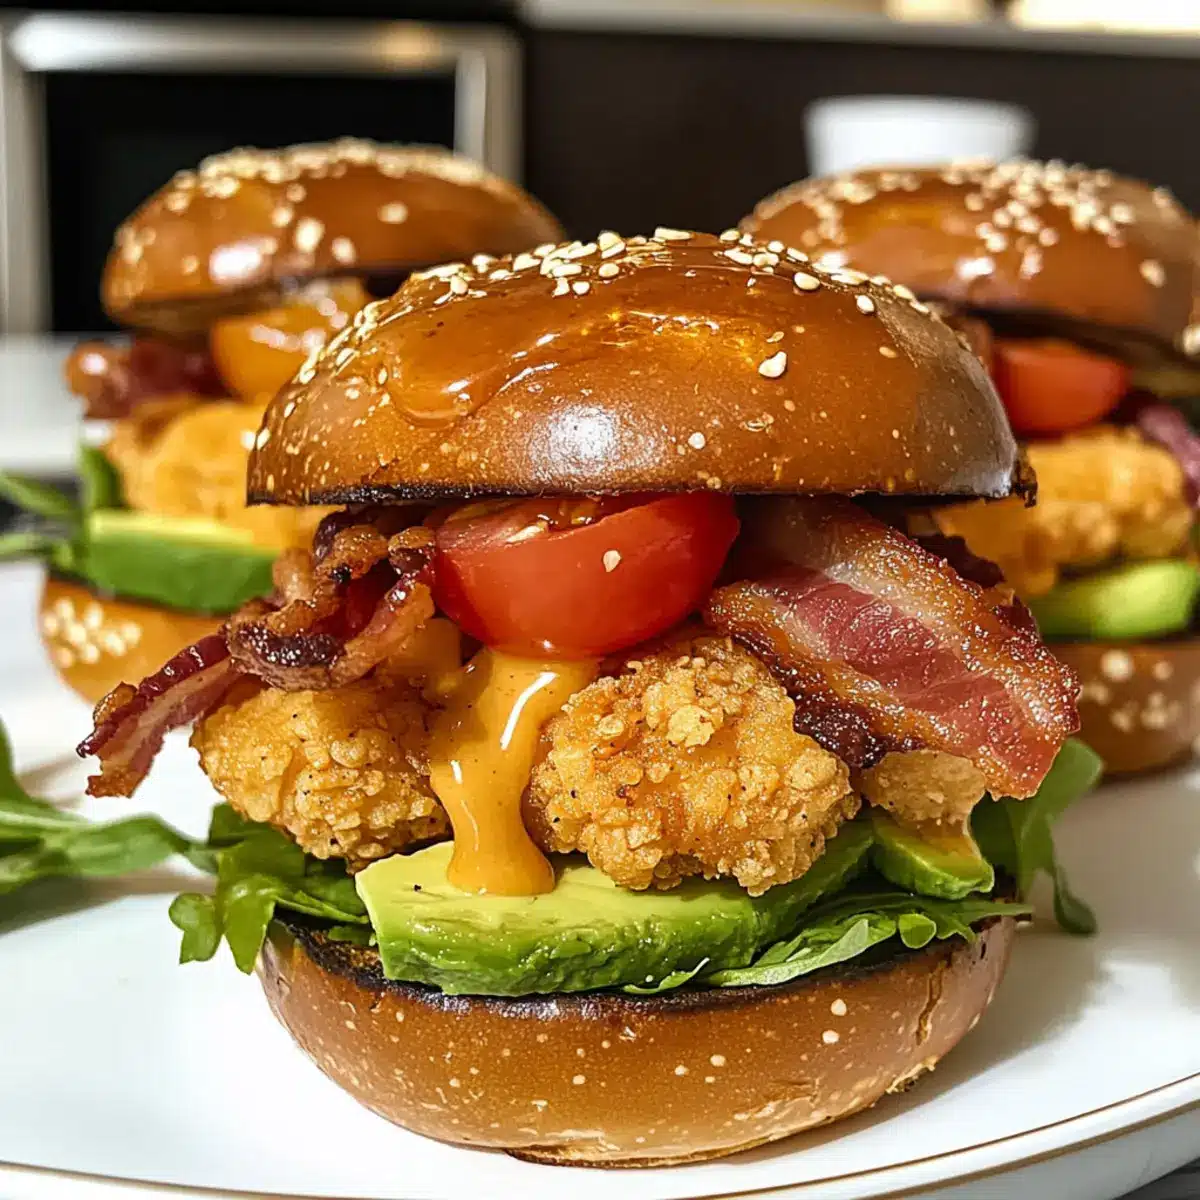
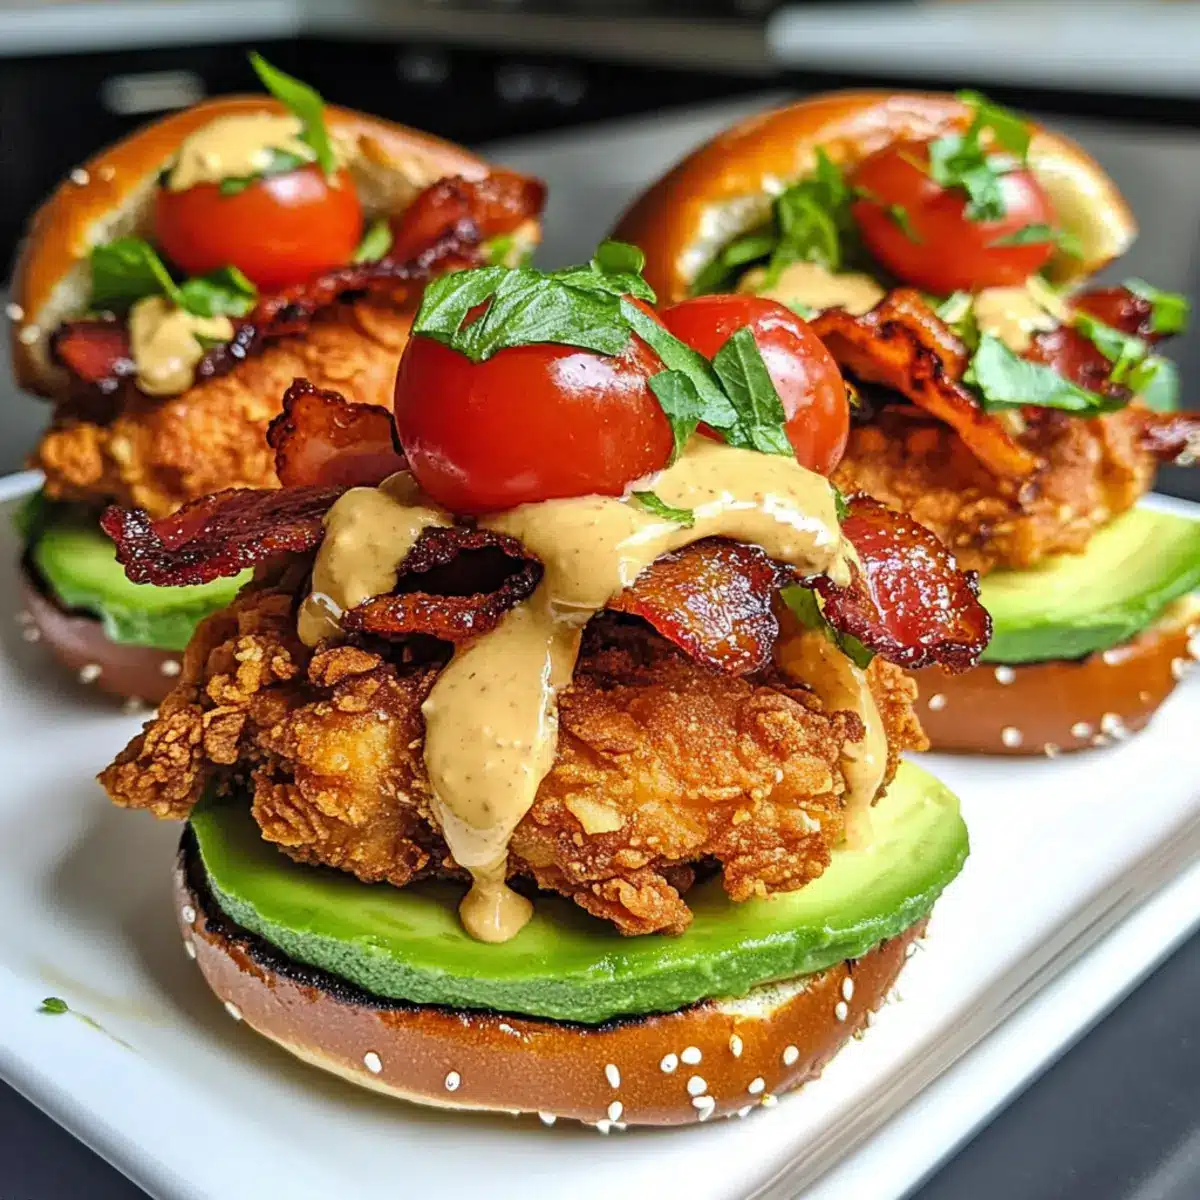
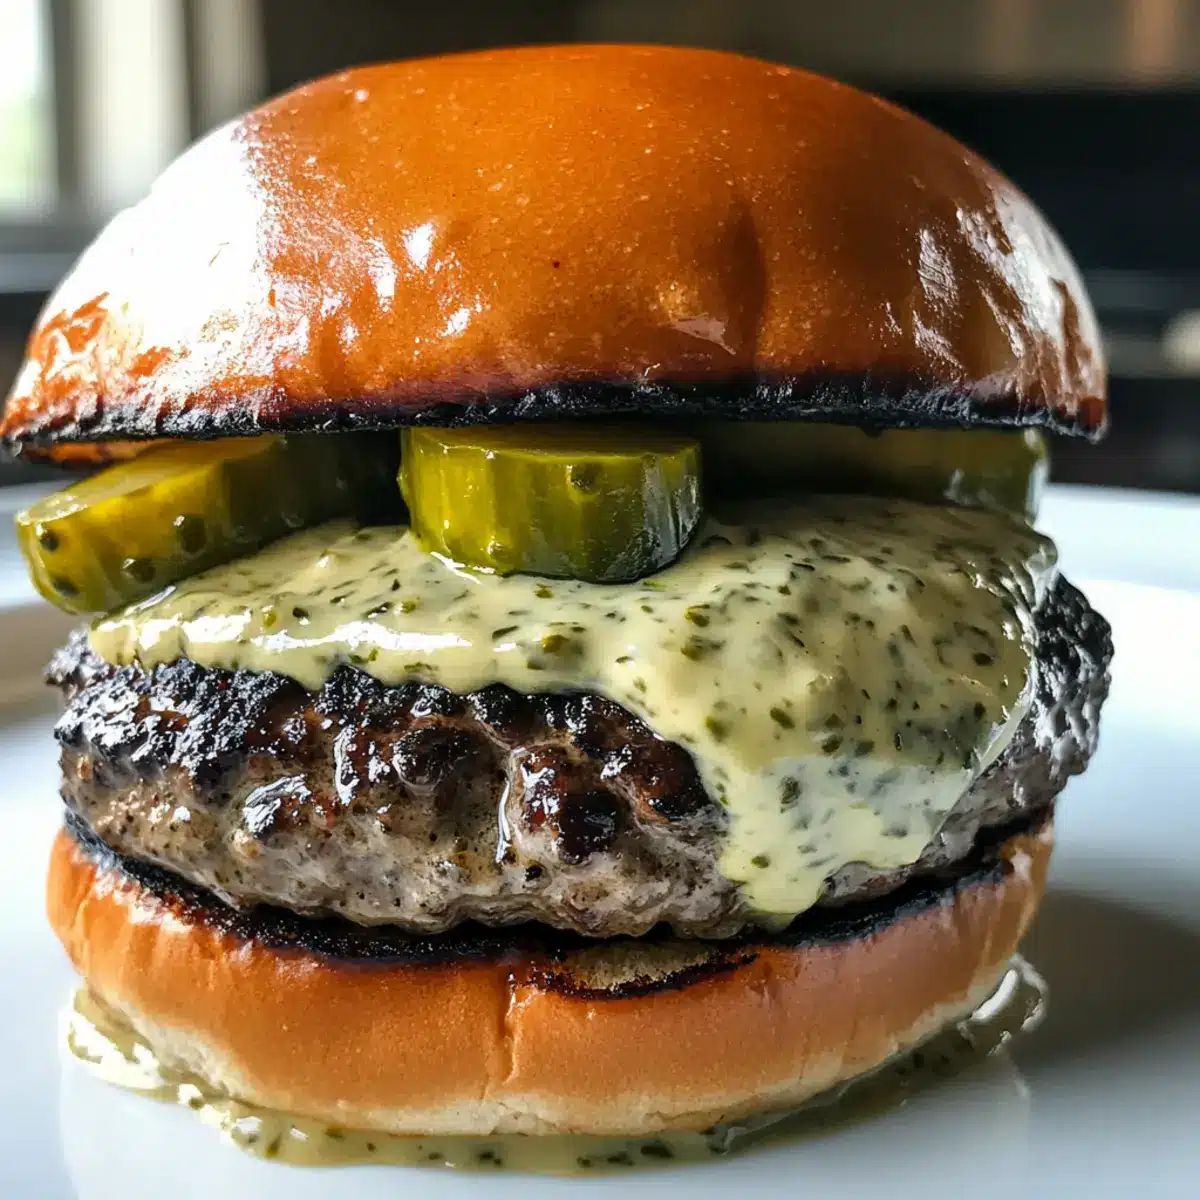
As I stood in my kitchen, the tantalizing aroma of burgers sizzling on the grill filled the air, reminding me of sunny backyard barbecues and laughter with loved ones. That’s when it hit me: the perfect Spicy Dill Pickle Burger Sauce was missing! This creamy, tangy condiment takes less than 10 minutes to whip up and will elevate any burger experience with its delightful zing. Not only is it a crowd-pleaser, but it’s also versatile—feel free to adjust the spice level and explore fun variations with sweet or dill pickles. Creamy and bursting with flavor, this sauce is sure to become a family favorite, making your meals feel a bit more special. So, are you ready to add a zesty twist to your home-cooked burgers? Let’s dive into this delicious recipe!

Why is this sauce a game changer?
Creamy, Tangy Bliss: The Spicy Dill Pickle Burger Sauce is a harmonious blend of flavors that adds a delicious zing to your burgers, making each bite a taste sensation.
Quick and Easy: With no cooking skills required, this sauce can be whipped up in under 10 minutes, perfect for busy weeknights or spontaneous barbecues.
Customizable Heat: Adjust the spice level by adding more or less hot sauce. Want something milder? Feel free to swap in some sweet pickles for a gentler flavor profile!
Crowd-Pleasing Appeal: This sauce is kid-friendly and pairs beautifully with burgers, sandwiches, and even as a dipping sauce for fries or onion rings!
Versatile Uses: Beyond burgers, you can drizzle it on grilled chicken or use it as a sauce for a fun twist on your favorite dishes. It’s a great way to keep meals exciting!
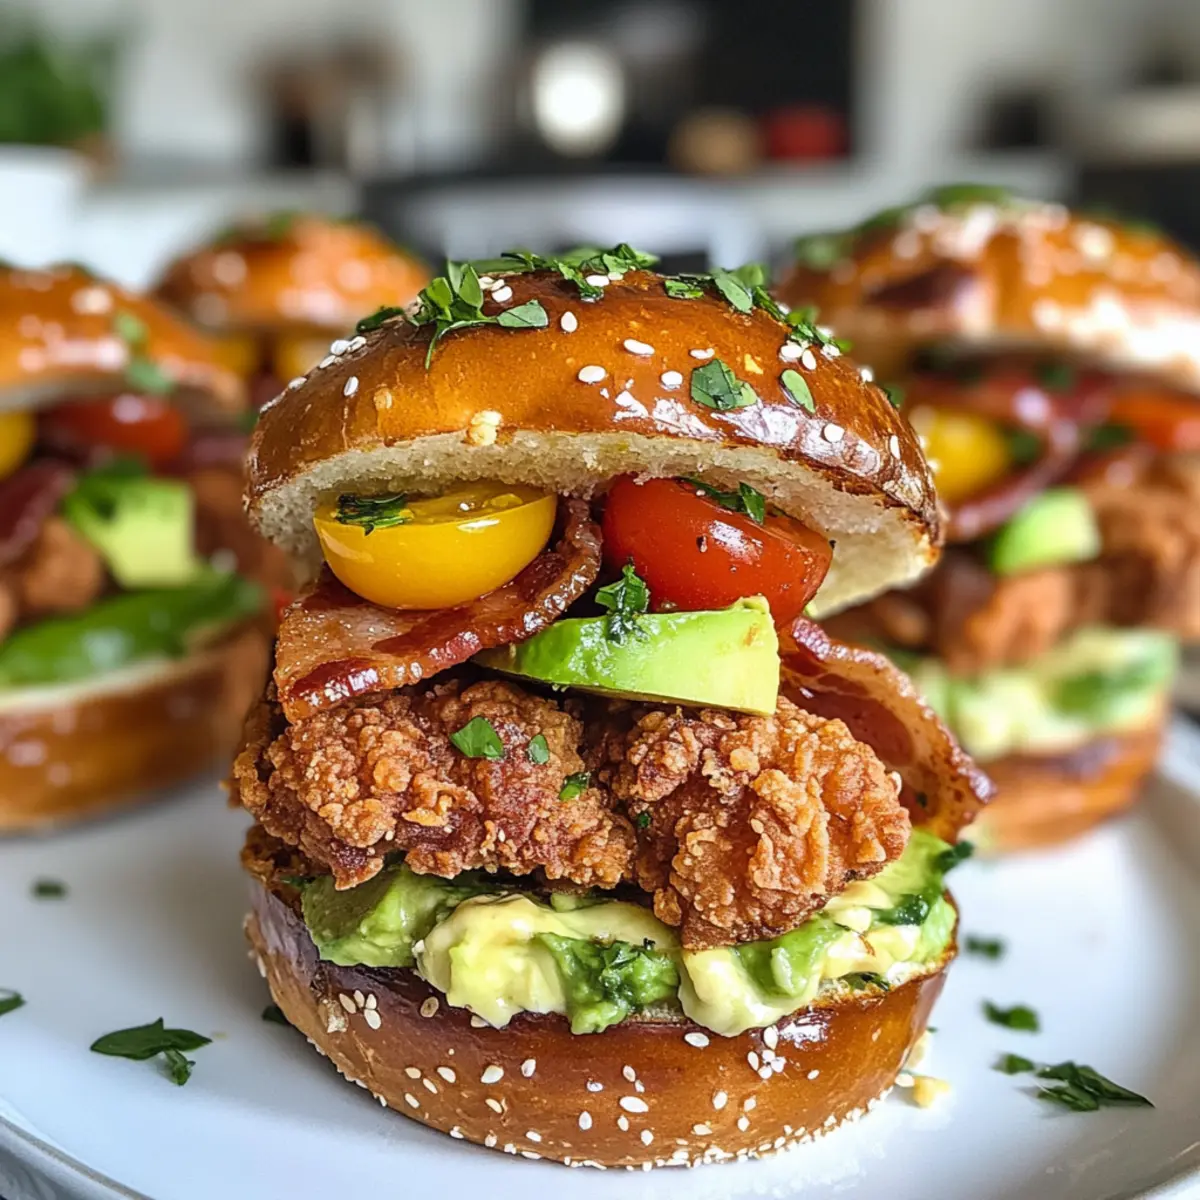
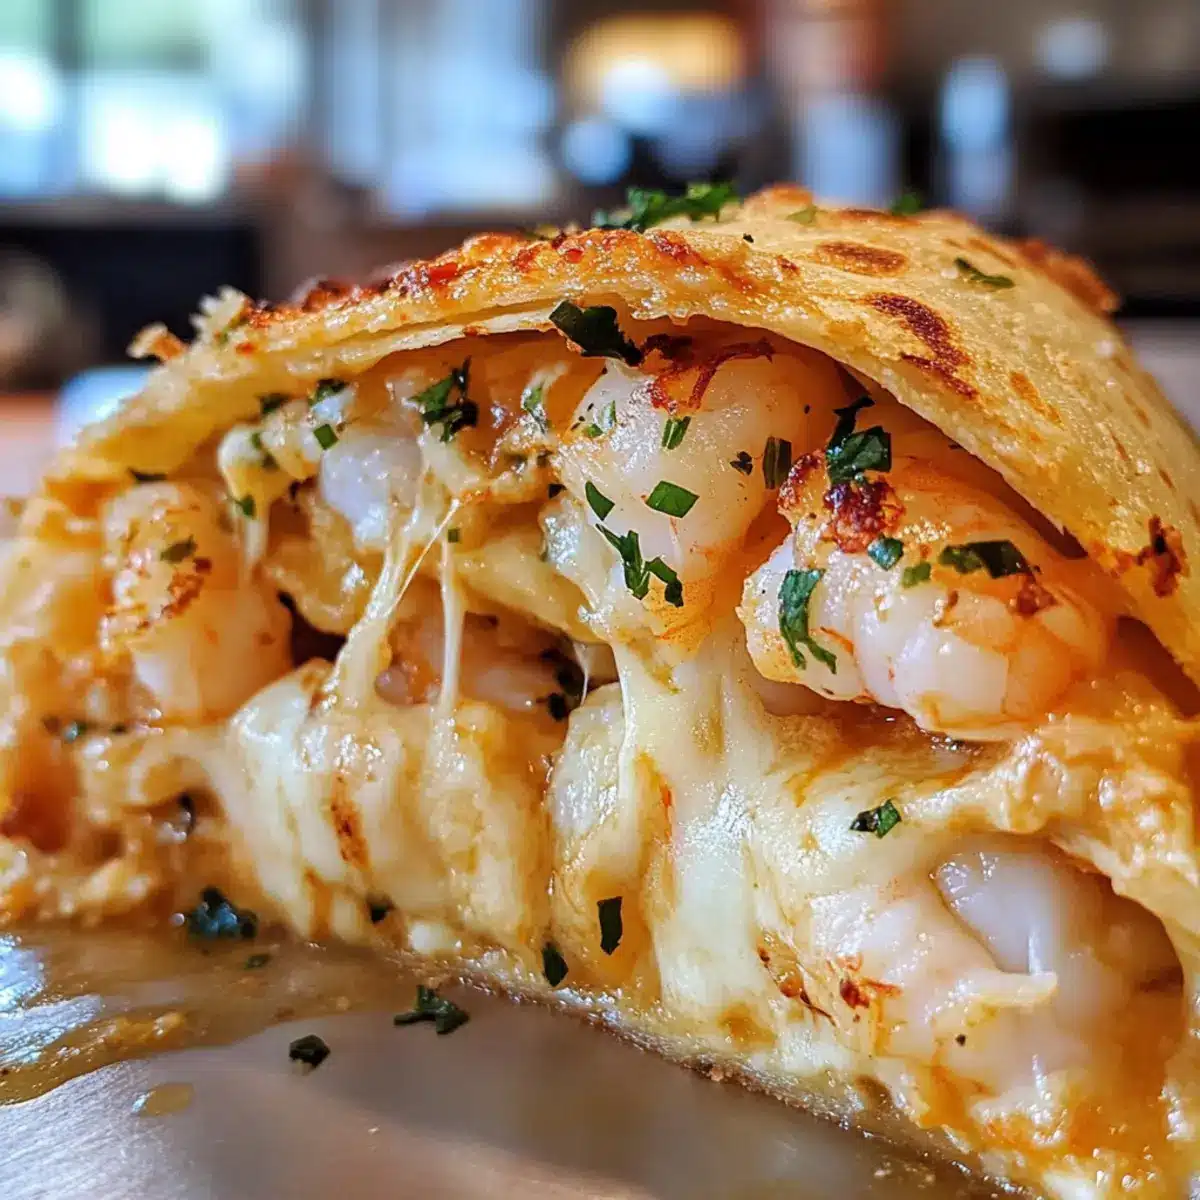
Elevate your meals and bring some joy to the table with this delicious sauce, similar to the flavors found in Pizza Burgers Flavor or Cheeseburger Pockets Snack.
Spicy Dill Pickle Burger Sauce Ingredients
Unleash flavor with these essentials!
For the Base
• Mayonnaise – Provides creaminess and serves as a rich foundation for the sauce; full-fat mayo offers the best taste.
• Ketchup – Contributes a touch of sweetness that balances the tangy elements; consider low-sugar ketchup for a healthier alternative.
• Yellow Mustard – Adds a burst of acidity and brightness; feel free to swap in Dijon mustard for a unique twist.
For the Flavor
• Dill Pickles – Delivers crunch and sharp tanginess; opt for sweet pickles for a milder flair.
• Pickle Juice – Intensifies the tangy flavor of the sauce; it’s essential for creating the perfect flavor profile.
• Hot Sauce – Brings a delightful kick that you can adjust based on your spice preference.
• Garlic Powder – Imparts depth and richness; fresh minced garlic can be used for a bolder taste.
• Onion Powder – Adds subtle sweetness and earthy complexity; fresh onion provides a different texture if preferred.
• Smoked Paprika – Introduces a smoky dimension to the sauce; regular paprika can be a substitute if smokiness isn’t your preference.
• Salt – Enhances overall flavor; taste and adjust as necessary to suit your palate.
Step‑by‑Step Instructions for Spicy Dill Pickle Burger Sauce
Step 1: Combine Base
In a clean, medium mixing bowl, place 1 cup of mayonnaise as the base for your Spicy Dill Pickle Burger Sauce. Ensure the bowl is dry for the best texture. Using a spatula, stir until the mayonnaise is smooth and lump-free, creating a creamy foundation for your sauce.
Step 2: Incorporate Pickles
Finely chop about ¼ cup of dill pickles and add them to the mayonnaise. Gently fold the pickles into the mixture, ensuring even distribution while maintaining some crunch. This step adds a delightful tanginess and texture to your burger sauce, making it irresistibly flavorful.
Step 3: Add Liquid Ingredients
Pour in 2 tablespoons of pickle juice, followed by 2 tablespoons of ketchup and 1 tablespoon of yellow mustard. For an extra kick, add 1 teaspoon of hot sauce. Stir the mixture thoroughly until everything is well combined, creating a smooth and creamy sauce that is both tangy and sweet.
Step 4: Season
Next, sprinkle in ½ teaspoon of garlic powder, ½ teaspoon of onion powder, and ½ teaspoon of smoked paprika. Add salt to taste, keeping in mind the flavors of the pickles and mayonnaise. Mix well to incorporate all the seasonings into the sauce, enhancing the flavors of your Spicy Dill Pickle Burger Sauce.
Step 5: Taste and Adjust
With a clean spoon, taste your sauce to gauge its flavor and spiciness. If desired, add more hot sauce for a stronger kick. Stir again to combine any additional ingredients thoroughly. The sauce should be a delightful balance of creamy, tangy, and spicy, perfect for enhancing your burgers.
Step 6: Chill Sauce
After mixing, cover the bowl with plastic wrap or a lid and place it in the refrigerator. Allow the Spicy Dill Pickle Burger Sauce to chill for at least 15 minutes. Chilling helps the flavors meld together beautifully, resulting in a sauce that’s irresistibly vibrant and zesty when served.
Spicy Dill Pickle Burger Sauce Variations
Feel free to get creative and tailor this sauce to your taste buds!
-
Milder Option: Reduce or skip the hot sauce for a smooth, kid-friendly flavor. This way, the creamy and tangy elements shine without overwhelming heat.
-
Sweet Pickles: Swap dill pickles for sweet pickles to create a sweeter sauce that adds a different, delightful twist. The contrast of flavors can be a surprising hit!
-
Honey Drizzle: Add a tablespoon of honey for a touch of sweetness. This will balance the tanginess perfectly, offering a charming sweetness that complements your burgers.
-
Greek Yogurt Swap: Substitute half of the mayonnaise with Greek yogurt for a lighter, tangy alternative. This not only reduces calories, but also adds a creamy richness that’s oh-so-delicious!
-
Garlic Lovers’ Twist: Use fresh minced garlic instead of garlic powder for a bolder garlic punch. The freshness will bring an intense depth of flavor to the sauce.
-
Herbal Flair: Stir in some finely chopped fresh dill or parsley for a herbaceous note. This addition brightens up the sauce and adds a beautiful green hue!
-
Kick it Up: If you love heat, try adding a bit of cayenne pepper or red pepper flakes. It’ll give an extra kick that spice aficionados will adore!
-
BBQ Mash-Up: Incorporate a tablespoon of your favorite barbecue sauce for a sweet, smoky flavor addition. This creatively combines two beloved condiments into one fabulous sauce!
Elevate your burger game and let your tastebuds dance with these variations! And if you’re looking for more delicious flavor inspirations, you might enjoy the boldness of Spicy Korean Gochujang or the savory vibes of Parmesan Crusted Sauce.
How to Store and Freeze Spicy Dill Pickle Burger Sauce
Fridge: Keep the Spicy Dill Pickle Burger Sauce in an airtight container, where it will stay fresh for up to 5 days. Stir before each use to refresh its consistency.
Freezer: It’s not recommended to freeze this sauce, as freezing can alter the creamy texture and flavor. Enjoy it fresh for the best taste!
Refrigerate Leftovers: After serving, promptly refrigerate any leftovers to maintain flavor and safety.
Serving Temperature: This sauce is best enjoyed chilled. If using from the fridge, give it a good stir before serving to invigorate its creamy texture.
Make Ahead Options
This Spicy Dill Pickle Burger Sauce is a fantastic choice for meal prep enthusiasts! You can prepare the sauce up to 3 days in advance. Simply follow the recipe, but instead of serving immediately, cover the bowl tightly and refrigerate it. This allows the flavors to meld beautifully, enhancing the taste. When you’re ready to serve, give the sauce a good stir to refresh its texture. To maintain its creamy consistency, ensure it’s stored in an airtight container, and always taste before serving to adjust seasoning if necessary. With this make-ahead option, you’ll have a delicious, homemade condiment ready for your burgers and sandwiches with minimal effort!
What to Serve with Spicy Dill Pickle Burger Sauce
Brighten up your mealtime with complementary dishes that enhance this vibrant, zesty condiment.
-
Grilled Burgers: Juicy beef or chicken burgers are a natural pairing, allowing the sauce’s tangy flavors to shine brightly and balance the richness of the meat.
-
Crispy French Fries: The crunch and warmth of these golden delights make an irresistible companion. Dip them generously into the sauce for a delightful flavor boost.
-
Garden Salad: Light and fresh, a garden salad adds a crisp contrast to the creamy sauce, making for a satisfying meal that feels wholesome and refreshing.
-
Roasted Vegetables: Seasoned, roasted veggies bring a hearty and savory element to your plate, enhancing the delicious bite of the burger sauce with every taste.
-
Sweet Potato Fries: Their natural sweetness complements the tanginess of the sauce beautifully, creating a fantastic harmony of flavors and textures.
-
Classic Coleslaw: Creamy coleslaw offers a refreshing crunch and creamy texture that pairs delightfully, adding an extra layer of enjoyment to your meal.
-
Sparkling Lemonade: A zesty, refreshing drink like sparkling lemonade cleanses the palate and complements the bold flavors, making every sip an uplifting experience.
-
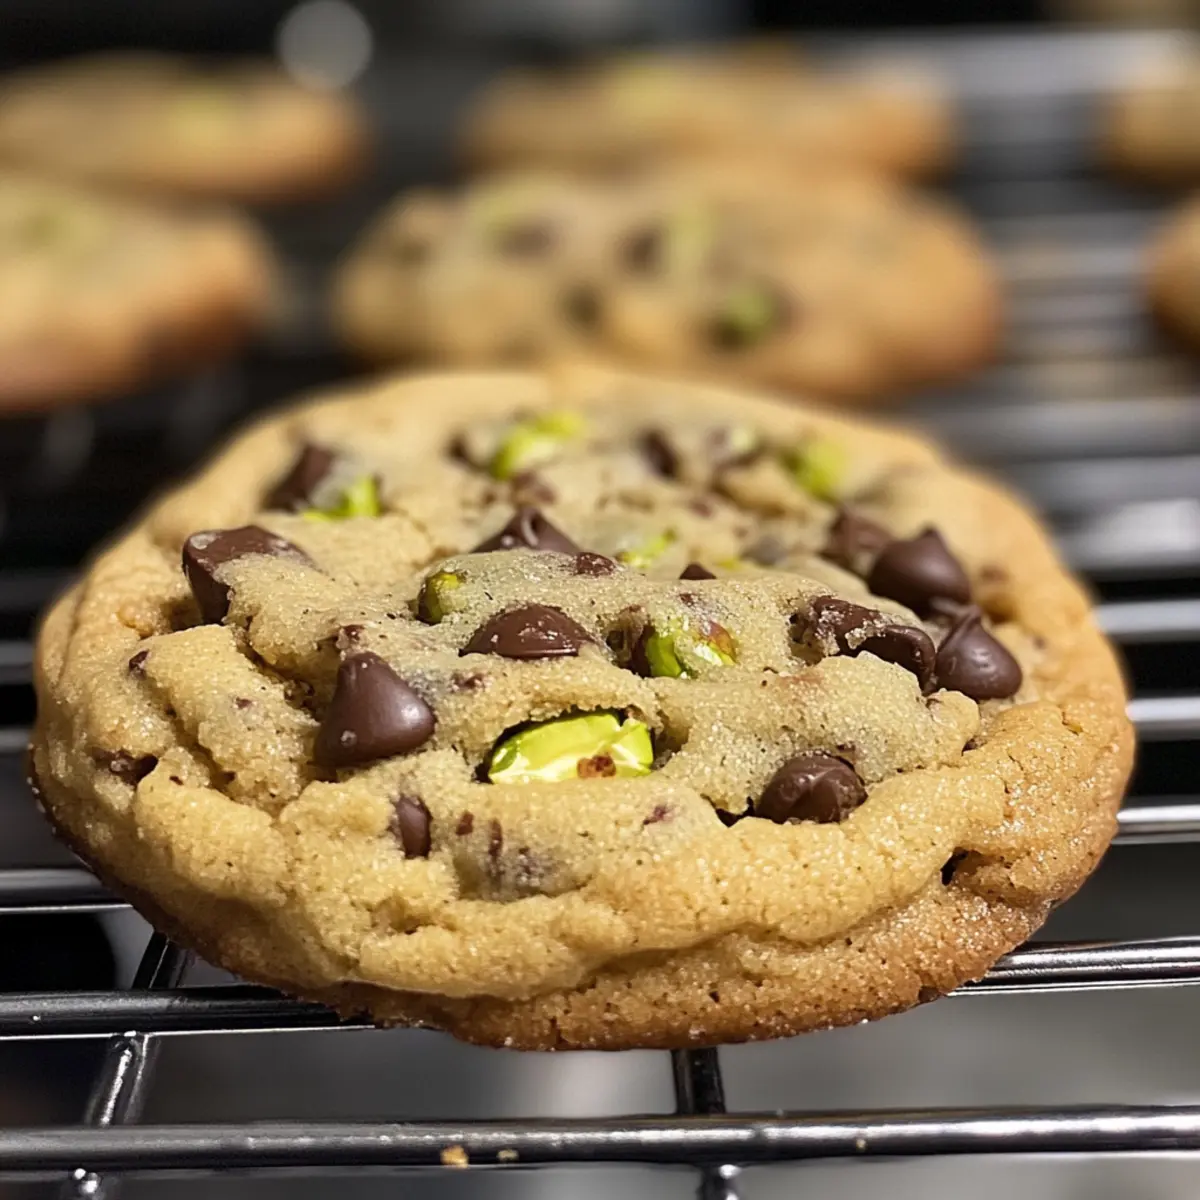
Chocolate Chip Cookies: For dessert, these warm, gooey cookies create a sweet finish after savoring that spicy kick, allowing for a delightful balance of flavors.
Expert Tips for Spicy Dill Pickle Burger Sauce
-
Chop Pickles Finely: A smooth distribution of finely chopped pickles ensures an even tangy flavor throughout the sauce, enhancing your burger experience.
-
Chill Before Serving: Allowing the sauce to chill for at least 15 minutes helps meld the flavors, making it taste fresher and more vibrant when served.
-
Adjust Heat Carefully: If serving kids or heat-sensitive guests, start with a smaller amount of hot sauce; you can always add more later for those who enjoy spice.
-
Taste and Modify: Always taste the sauce after mixing! Adjust salt and spices to your liking—after all, this Spicy Dill Pickle Burger Sauce should suit your palate perfectly.
-
Use Full-Fat Mayo: For the creamiest, most flavorful sauce, choose full-fat mayonnaise. It provides a richer base that enhances the overall taste.

Spicy Dill Pickle Burger Sauce Recipe FAQs
How do I choose the right pickles for this sauce?
Absolutely! For the best flavor, I recommend using dill pickles, as they add a sharp and tangy crunch that’s essential to the sauce. However, if you prefer a sweeter touch, feel free to swap in sweet pickles! Just remember, the texture might change slightly with different types of pickles.
What’s the best way to store leftovers of this sauce?
Very! Store your Spicy Dill Pickle Burger Sauce in an airtight container in the fridge, where it will stay fresh for up to 5 days. Make sure to stir it well before each use to restore its creamy texture. If you notice it getting too thick, a little drizzle of pickle juice can help bring it back to life!
Can I freeze Spicy Dill Pickle Burger Sauce?
Not recommended! Freezing this sauce may compromise its creamy texture and overall flavor. It’s best to enjoy it fresh for that delightful taste sensation. If you have leftovers, be sure to keep them in the fridge!
What should I do if the sauce is too spicy for me?
No worries! If you’ve added too much hot sauce, you can easily mellow it out. Stir in a bit more mayonnaise or some additional ketchup to balance the heat. Taste as you go until you achieve the desired spice level—remember, you can always add more, but it’s hard to take it away!
Is this sauce kid-friendly?
Absolutely! This Spicy Dill Pickle Burger Sauce can be tailored to your family’s tastes. Simply reduce or skip the hot sauce for a milder version that the kids will love. Just make sure to taste-test it, adjusting the flavors to suit everyone’s palate!
Are there any dietary considerations I should keep in mind?
Yes! If you’re catering to dietary restrictions, check the labels on your mayonnaise and hot sauce for any allergens. Most mayos are gluten-free, but it’s wise to double-check in case you are accommodating someone with food sensitivities. If you’re concerned about dairy, look for egg-free mayonnaise alternatives!

Mouthwatering Spicy Dill Pickle Burger Sauce You’ll Love
Ingredients
Equipment
Method
- In a clean, medium mixing bowl, place 1 cup of mayonnaise as the base for your Spicy Dill Pickle Burger Sauce. Stir until smooth and lump-free.
- Finely chop 1/4 cup of dill pickles and add them to the mayonnaise. Fold gently to maintain some crunch.
- Pour in 2 tablespoons of pickle juice, followed by 2 tablespoons of ketchup and 1 tablespoon of yellow mustard. Add 1 teaspoon of hot sauce and stir thoroughly.
- Sprinkle in 1/2 teaspoon of garlic powder, 1/2 teaspoon of onion powder, and 1/2 teaspoon of smoked paprika. Add salt to taste and mix well.
- Taste your sauce and adjust the heat with more hot sauce if desired. Stir again to combine thoroughly.
- Cover the bowl and refrigerate for at least 15 minutes to allow flavors to meld.