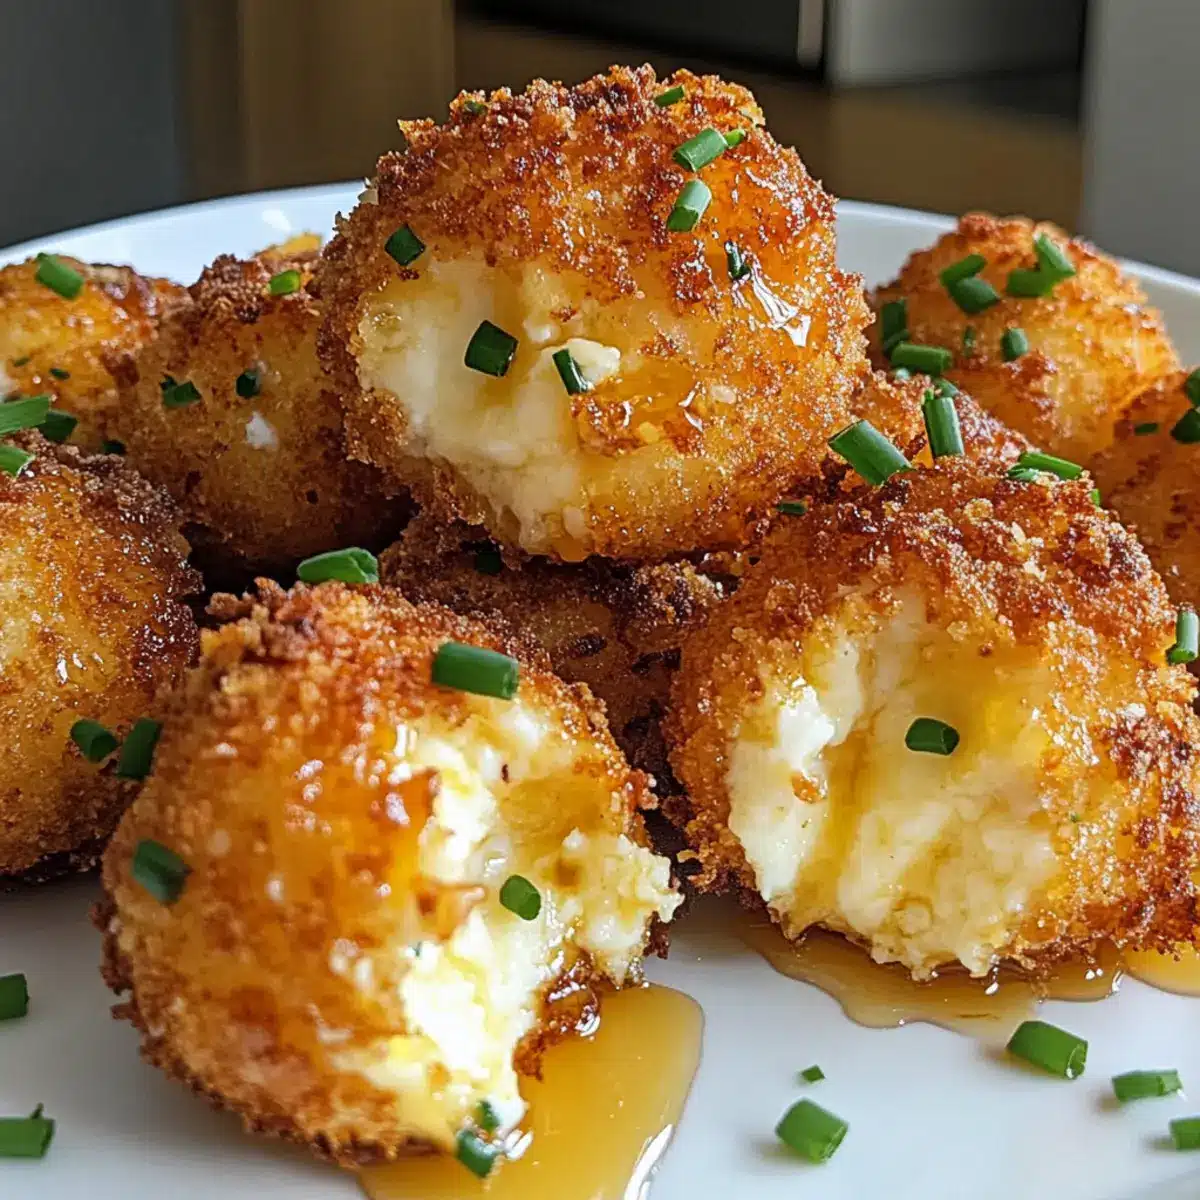
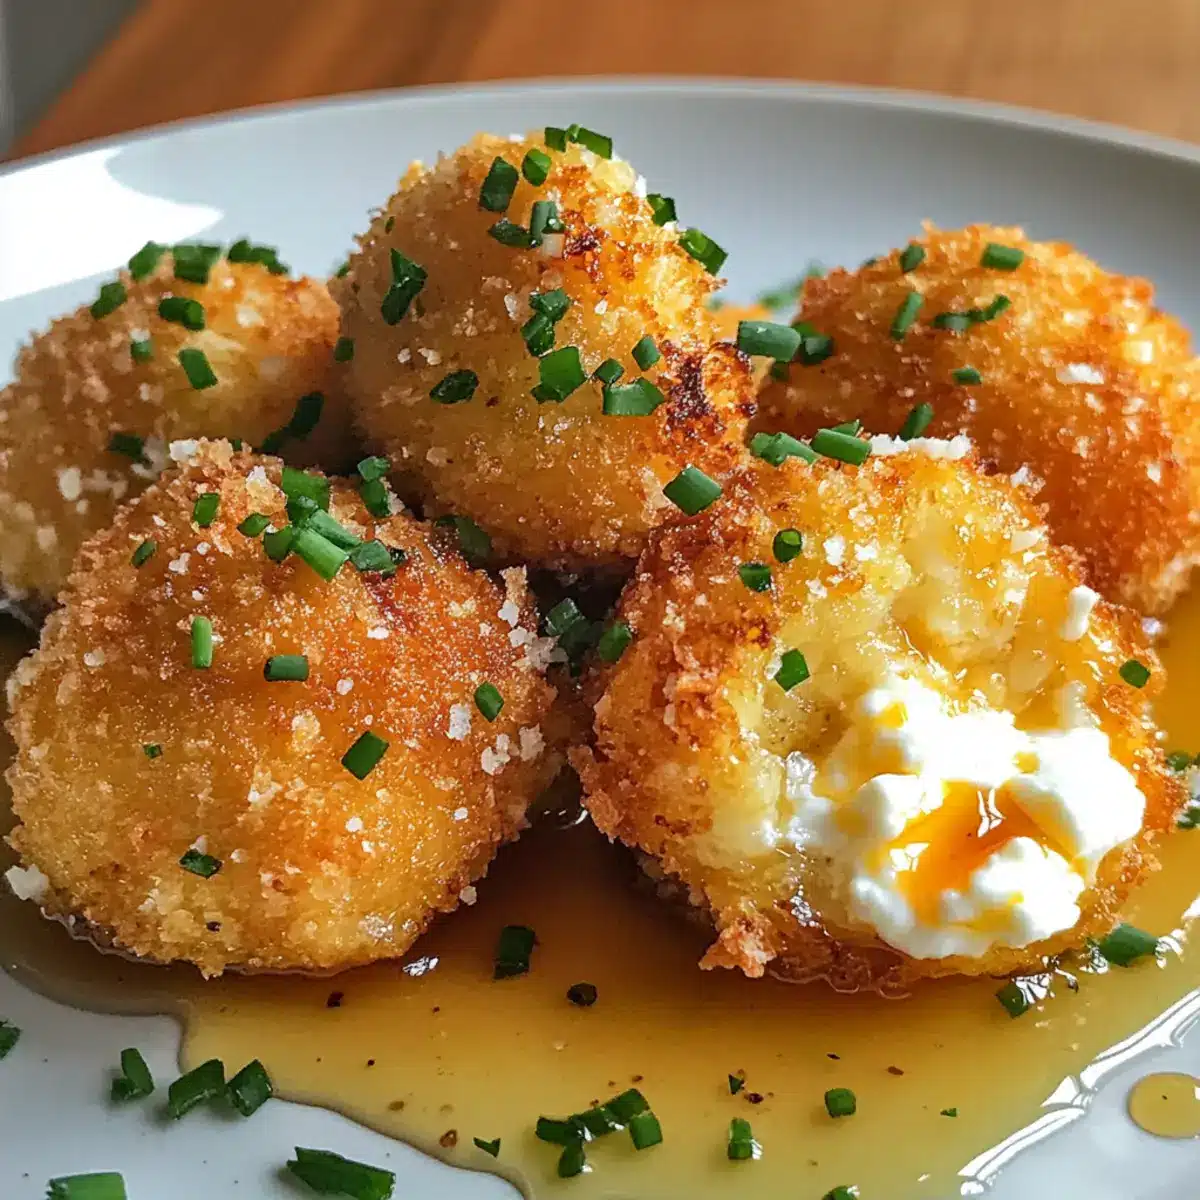
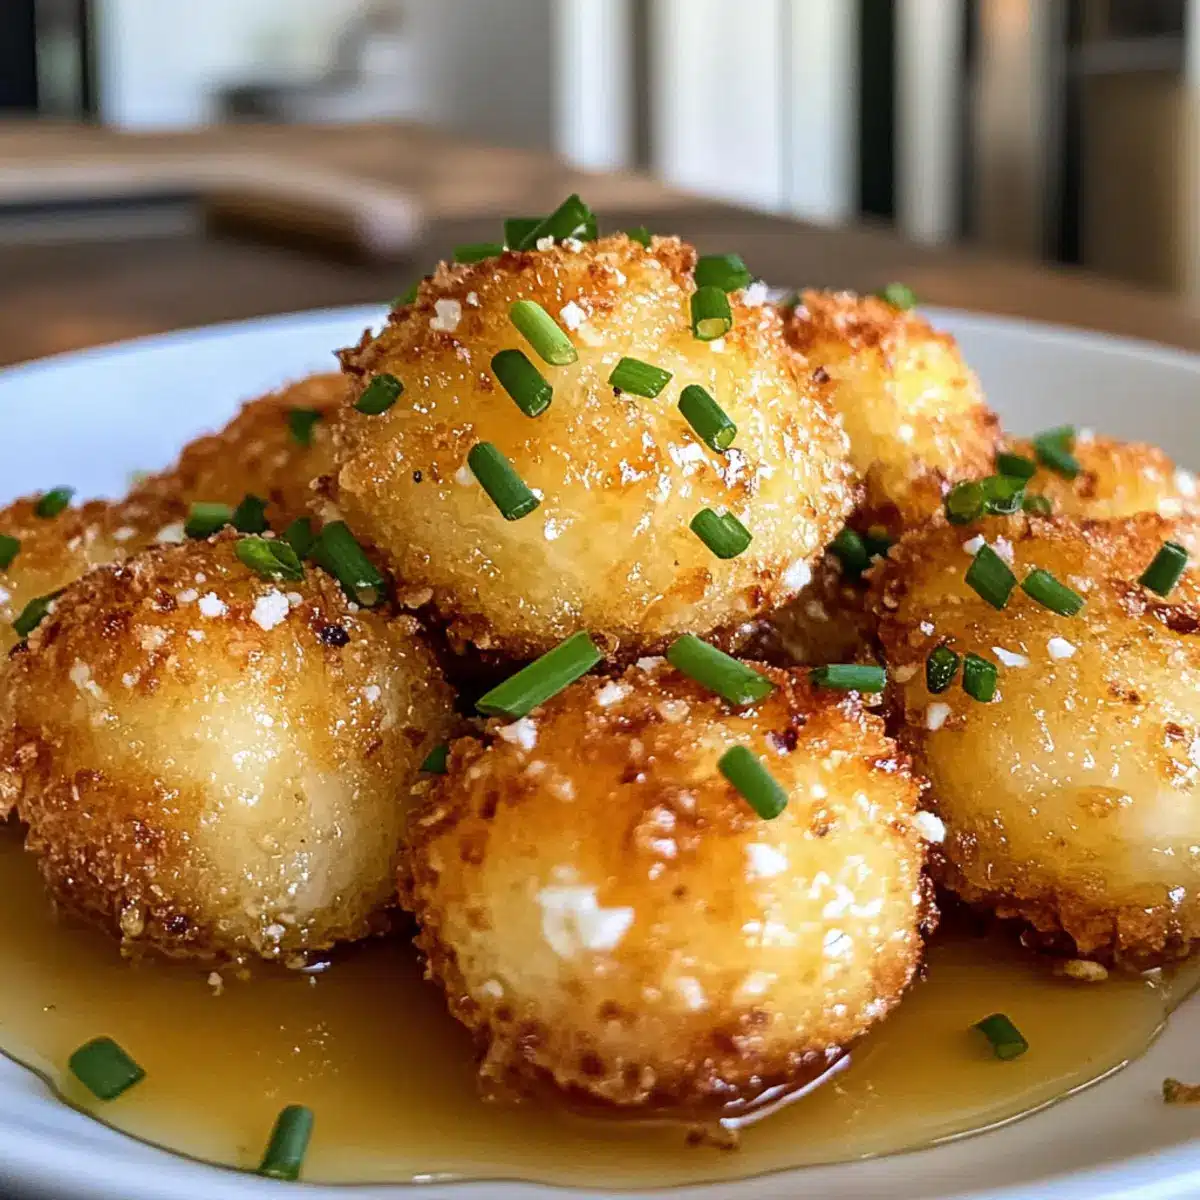
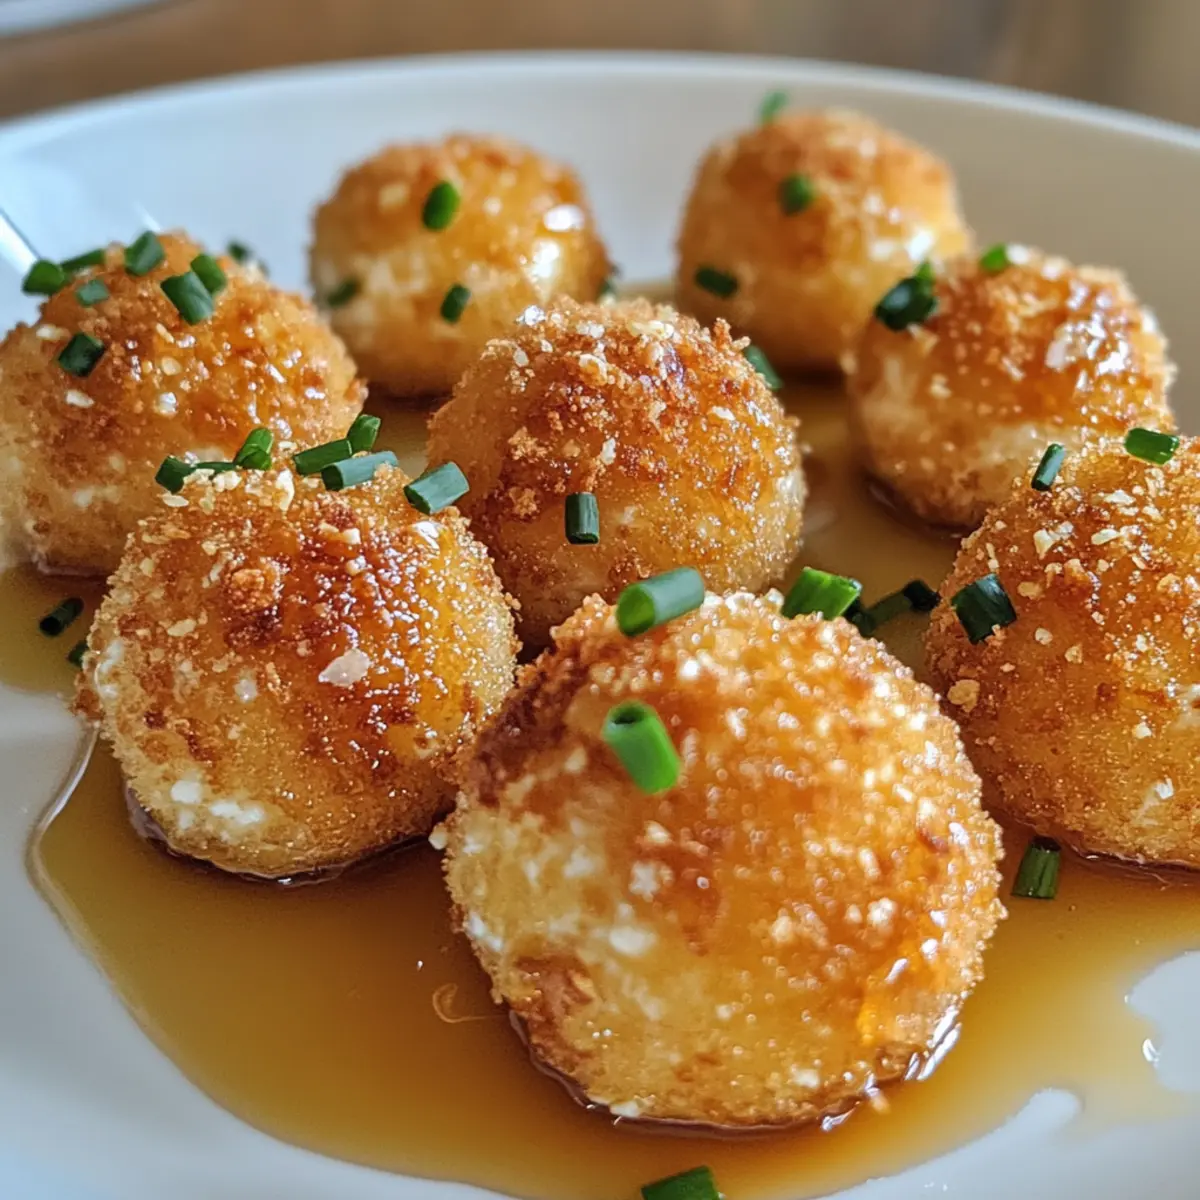
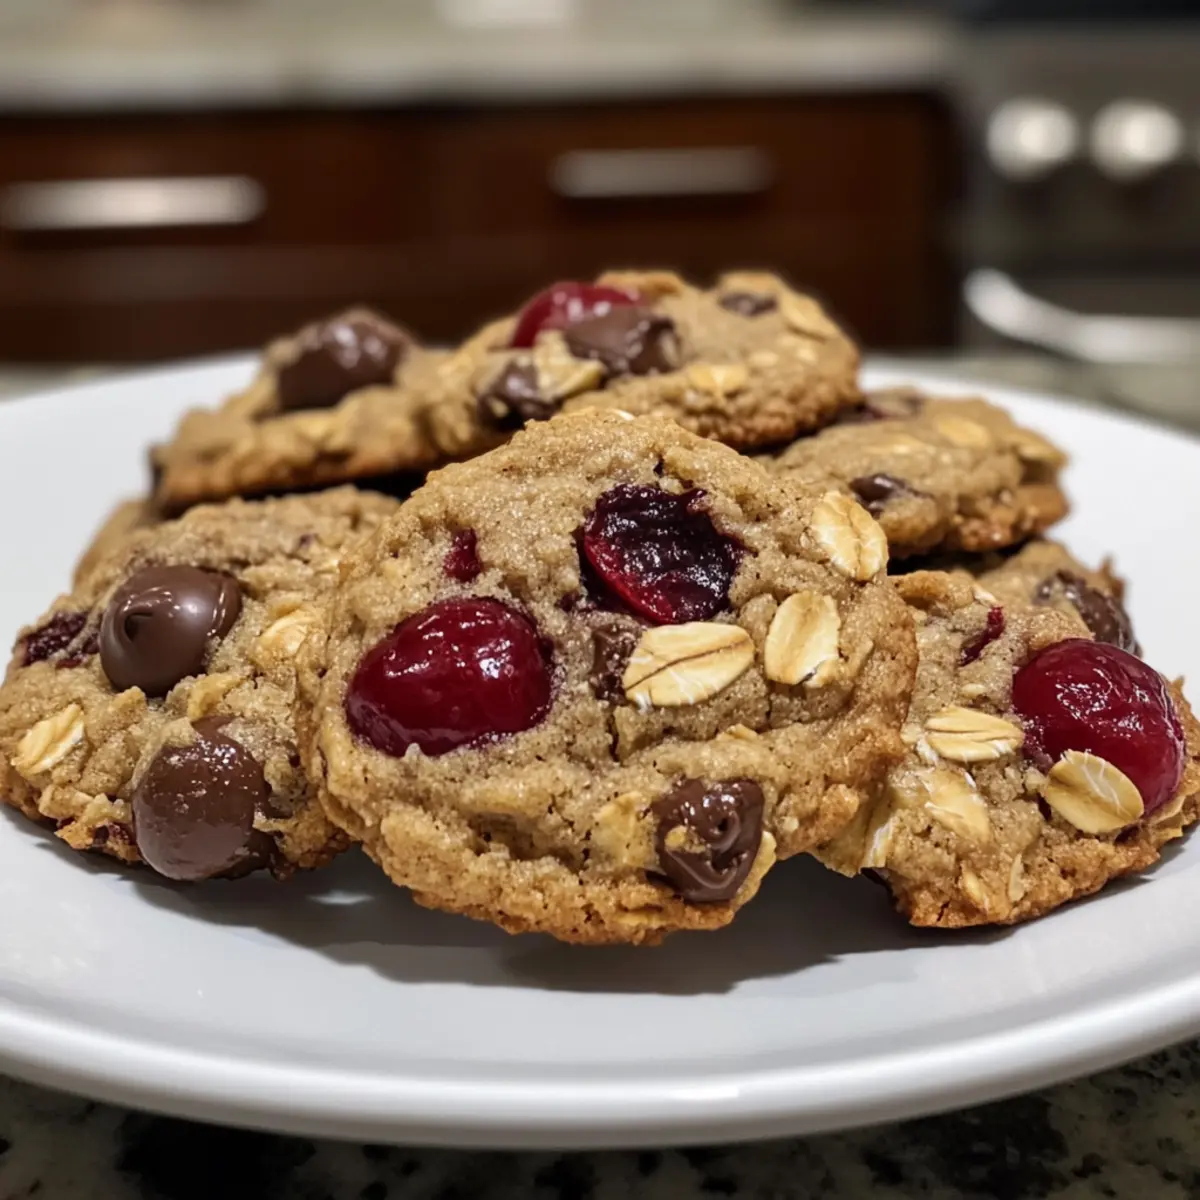
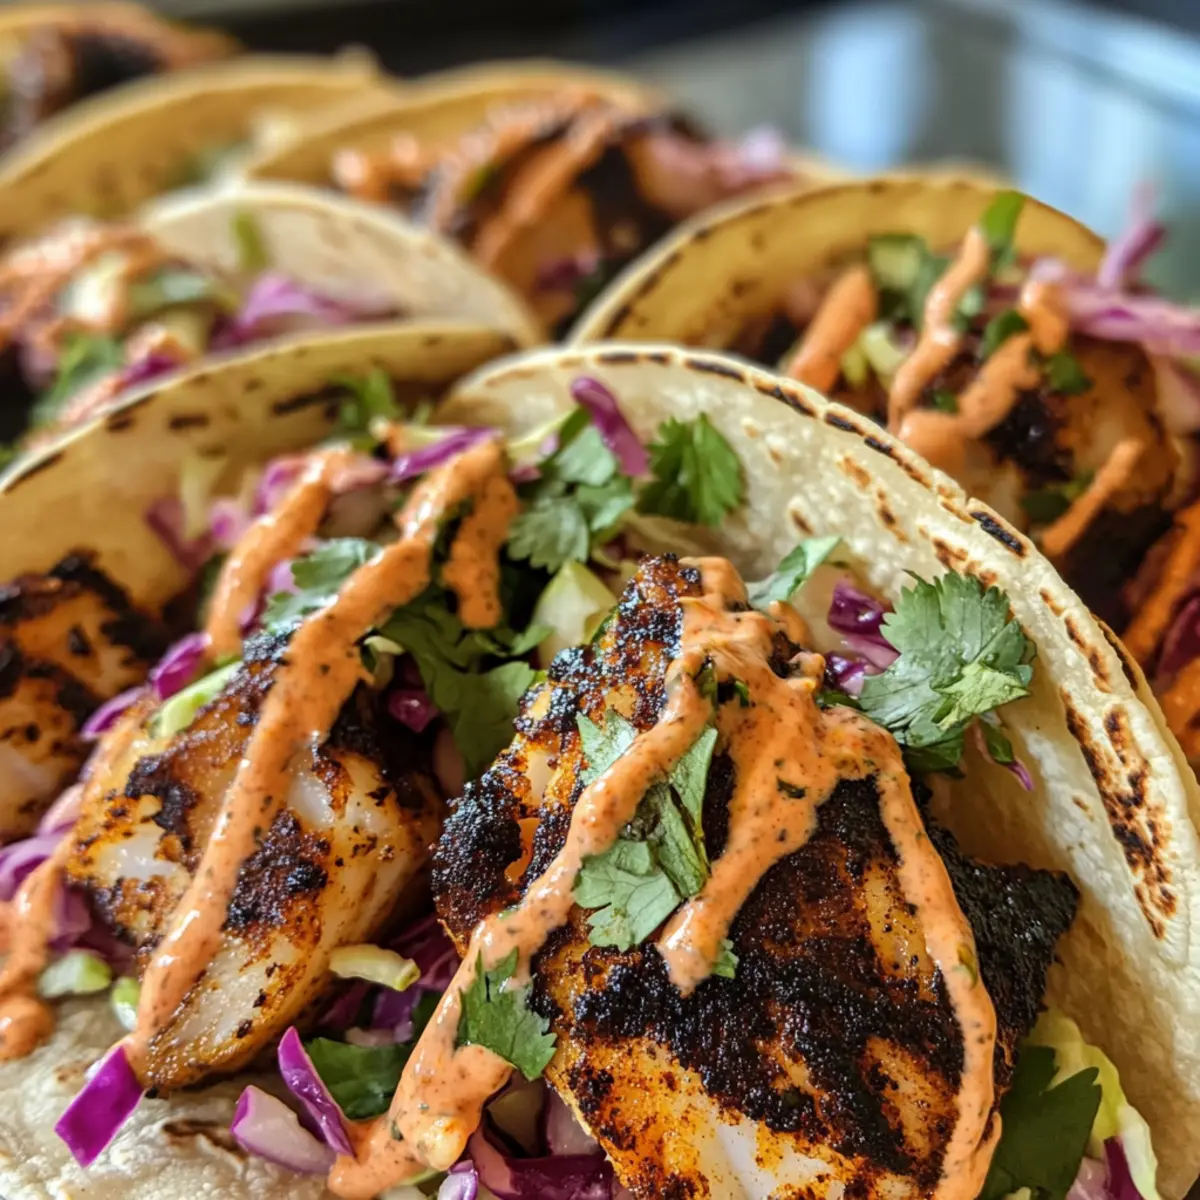
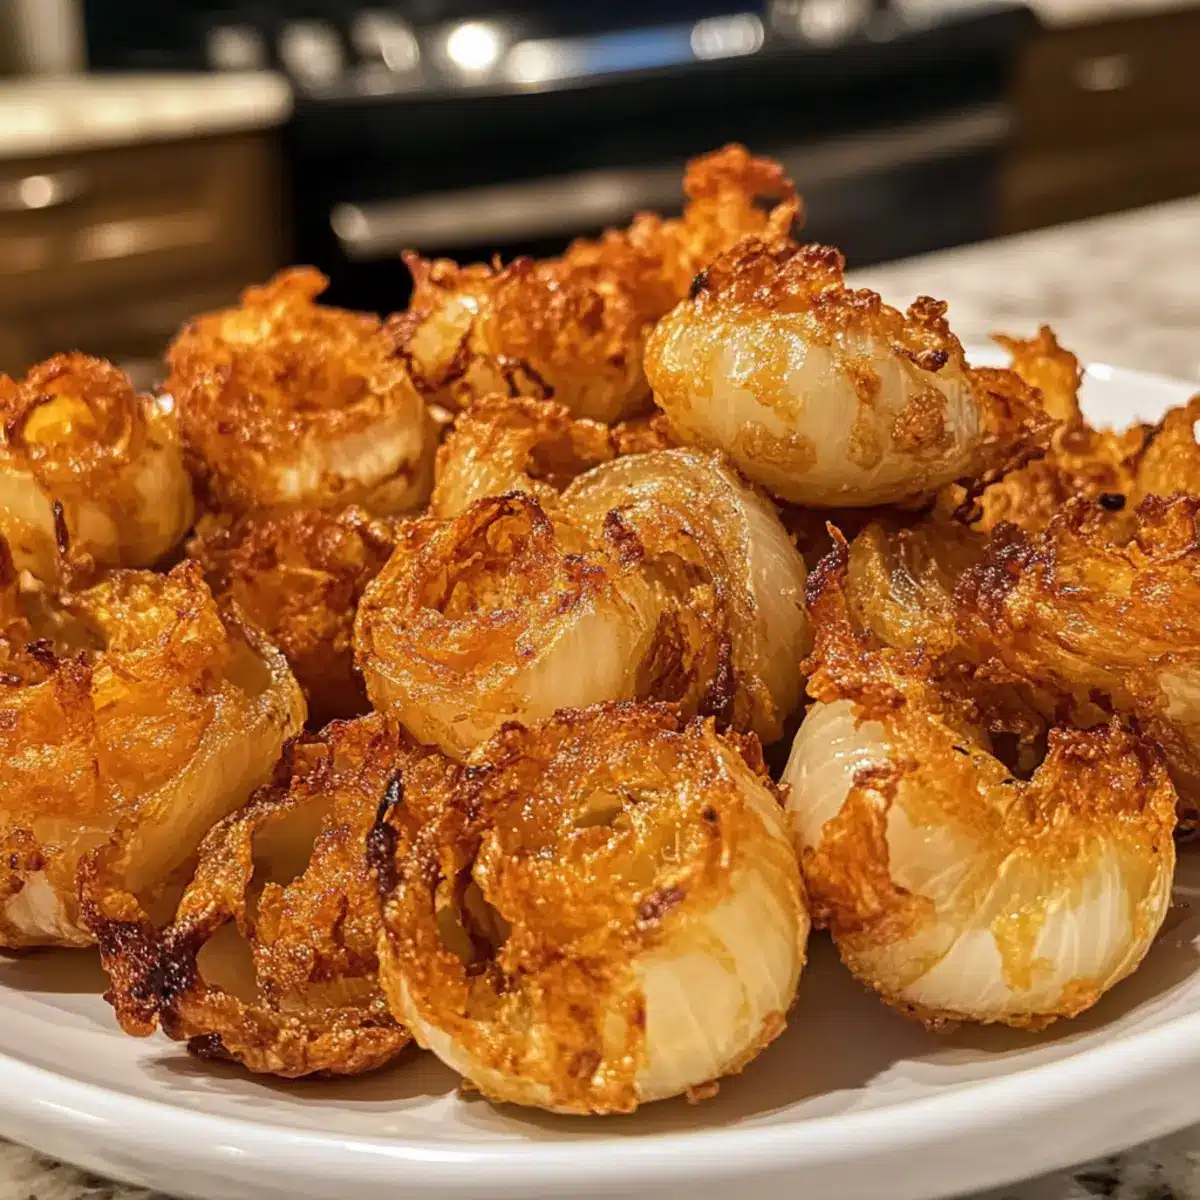
As I opened my air fryer, a wave of crispy anticipation washed over me. Today, I’m sharing my secret weapon for those impromptu gatherings: Air Fried Pearl Onions, or as I like to call them, mini blooming onions. These delightful morsels capture the essence of the classic appetizer, minus the messy frying ordeal. Perfectly golden on the outside and tender within, they bring a sweeter flavor profile that pairs wonderfully with any zesty dipping sauce. The best part? They come together in no time, making them an ideal quick and easy appetizer for any occasion. Whether it’s a cozy game night or a casual get-together, these low-mess gems are sure to impress. Ready to discover how simple it is to elevate your snacking game? Let’s dive into this delicious adventure together!
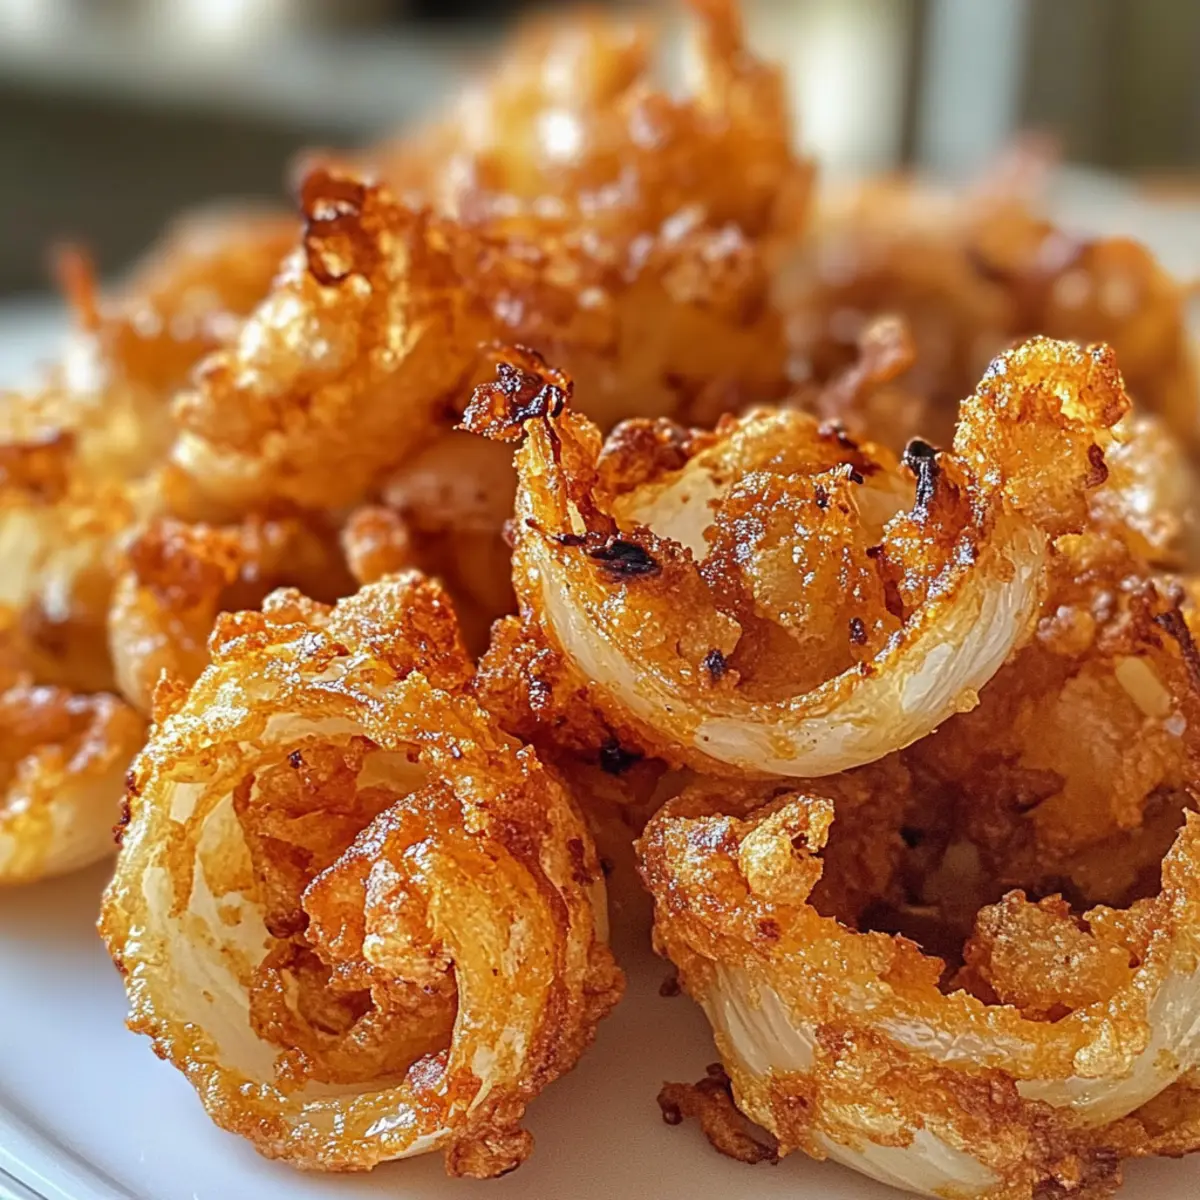
Why are Air Fried Pearl Onions So Irresistible?
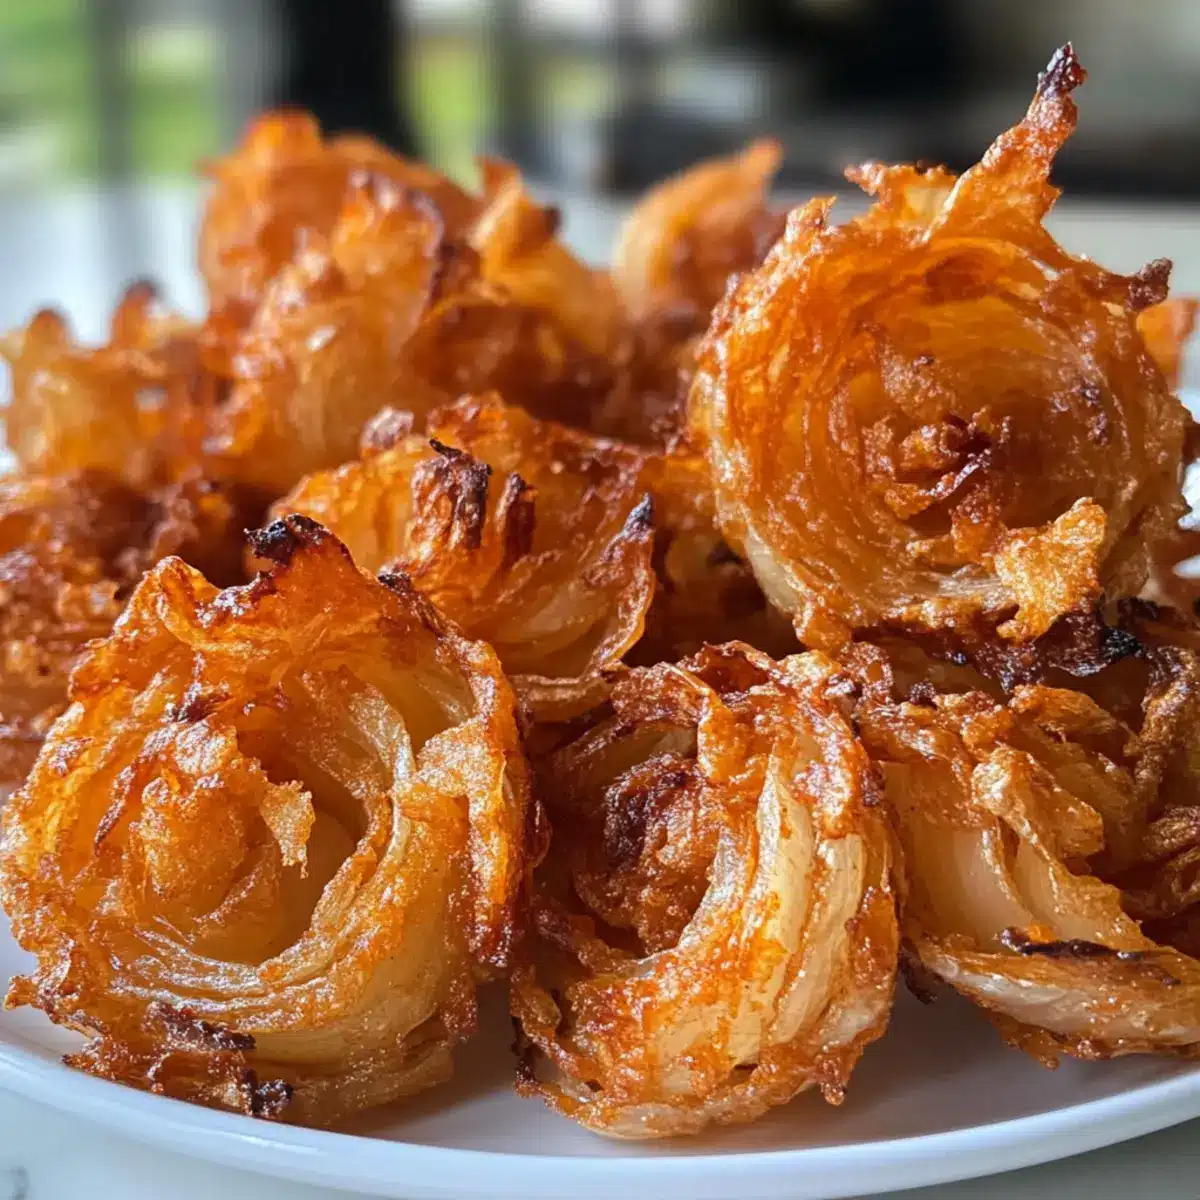
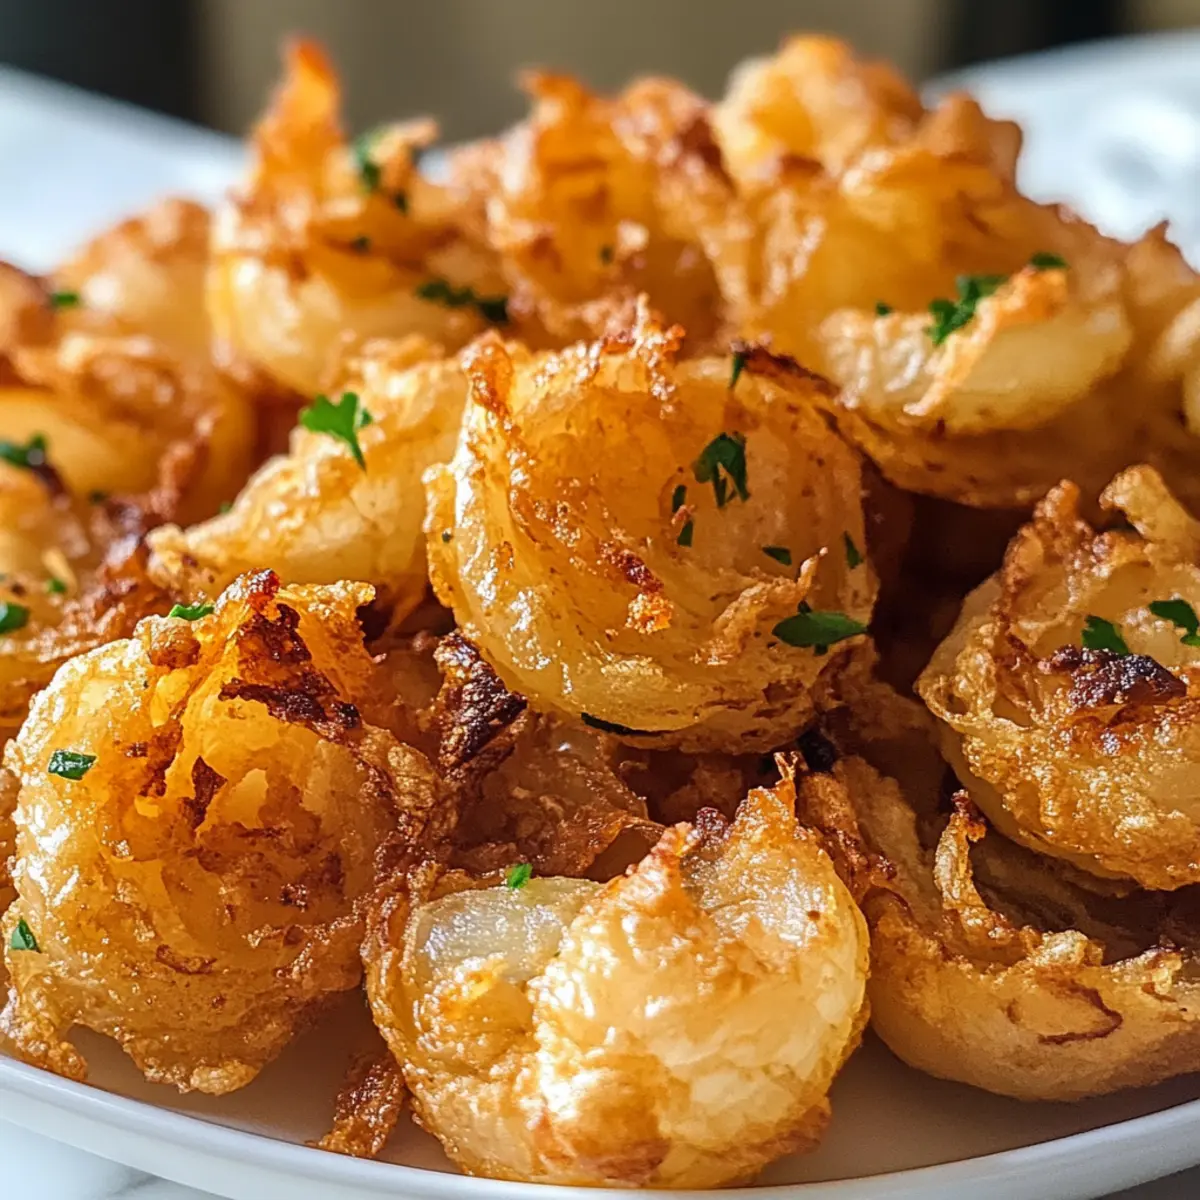
Crispy Crunch: With a golden-brown exterior, each mini blooming onion offers an addictive crunch that is simply irresistible.
Quick Preparation: They come together in no time, perfect for last-minute snack cravings or unexpected guests.
Flavorful Variety: Customize the breading to your taste with spices like smoked paprika or Italian herbs for a unique twist.
Versatile Serving Options: Pair them with your favorite dipping sauces like spicy mayo or ranch for an extra flavor punch.
Low-Mess Cooking: Say goodbye to greasy splatter and hello to easy clean-up with the air fryer method. You’ll love the simplicity of these delightful bites! For more air fryer inspiration, check out these Air Fryer Chicken and Air Fryer Baked recipes!
Air Fried Pearl Onion Ingredients
For the Breading
• Flour – Provides the perfect structure for the coating; consider substituting with gluten-free flour for dietary needs.
• Paprika – Adds both color and flavor; try using smoked paprika for an irresistible smoky kick.
• Salt – Enhances the overall flavor profile; sea salt is a wonderful alternative for a more natural taste.
• Black Pepper – Introduces depth to the seasoning blend; freshly cracked pepper is always best for maximum flavor.
• Cayenne Pepper – Offers a touch of heat; feel free to adjust the amount to suit your spice preference or omit it entirely for a milder flavor.
• Garlic Powder – Adds a savory hint to the batter; fresh garlic can be an excellent substitute if you adjust for moisture.
For the Binding
• Egg – Essential for binding the breading; if you want a vegan option, substitute with a flax egg without losing flavor.
For the Crisping
• Oil in a Spray Bottle – Crucial for achieving that delightful crispiness in the air fryer; ensures the coating doesn’t stick and becomes perfectly golden.
Main Ingredient
• Frozen Pearl Onions – The star of this dish, providing a mild sweetness; thaw them in cold water instead of microwaving to save time.
These Air Fried Pearl Onions will not just satisfy your craving for a snack; they’ll take your hosting game to a whole new level! Enjoy every crunchy bite!
Step‑by‑Step Instructions for Crispy Air Fried Pearl Onions
Step 1: Prep Onions
Begin by microwaving the frozen pearl onions for about 2 minutes, which is half of the package time. After microwaving, drain them thoroughly and pat dry with a paper towel. This step removes excess moisture, ensuring that your Air Fried Pearl Onions achieve the perfect crispiness during cooking.
Step 2: Make Breading
In a medium bowl, beat one egg until smooth. In another bowl, combine flour, paprika, salt, black pepper, cayenne pepper, and garlic powder. This mixture will form the flavorful breading for your crispy mini blooming onions. Ensure the spices are evenly mixed for consistent flavor in each bite.
Step 3: Coat Onions
Start coating the thawed pearl onions by dipping them first in the flour mixture, then into the beaten egg, and back again into the flour mixture for an even breading. This double coating is key to achieving that crunchy exterior. Once coated, place the onions on a tray and refrigerate them for about 10 minutes to help the breading set.
Step 4: Air Fry
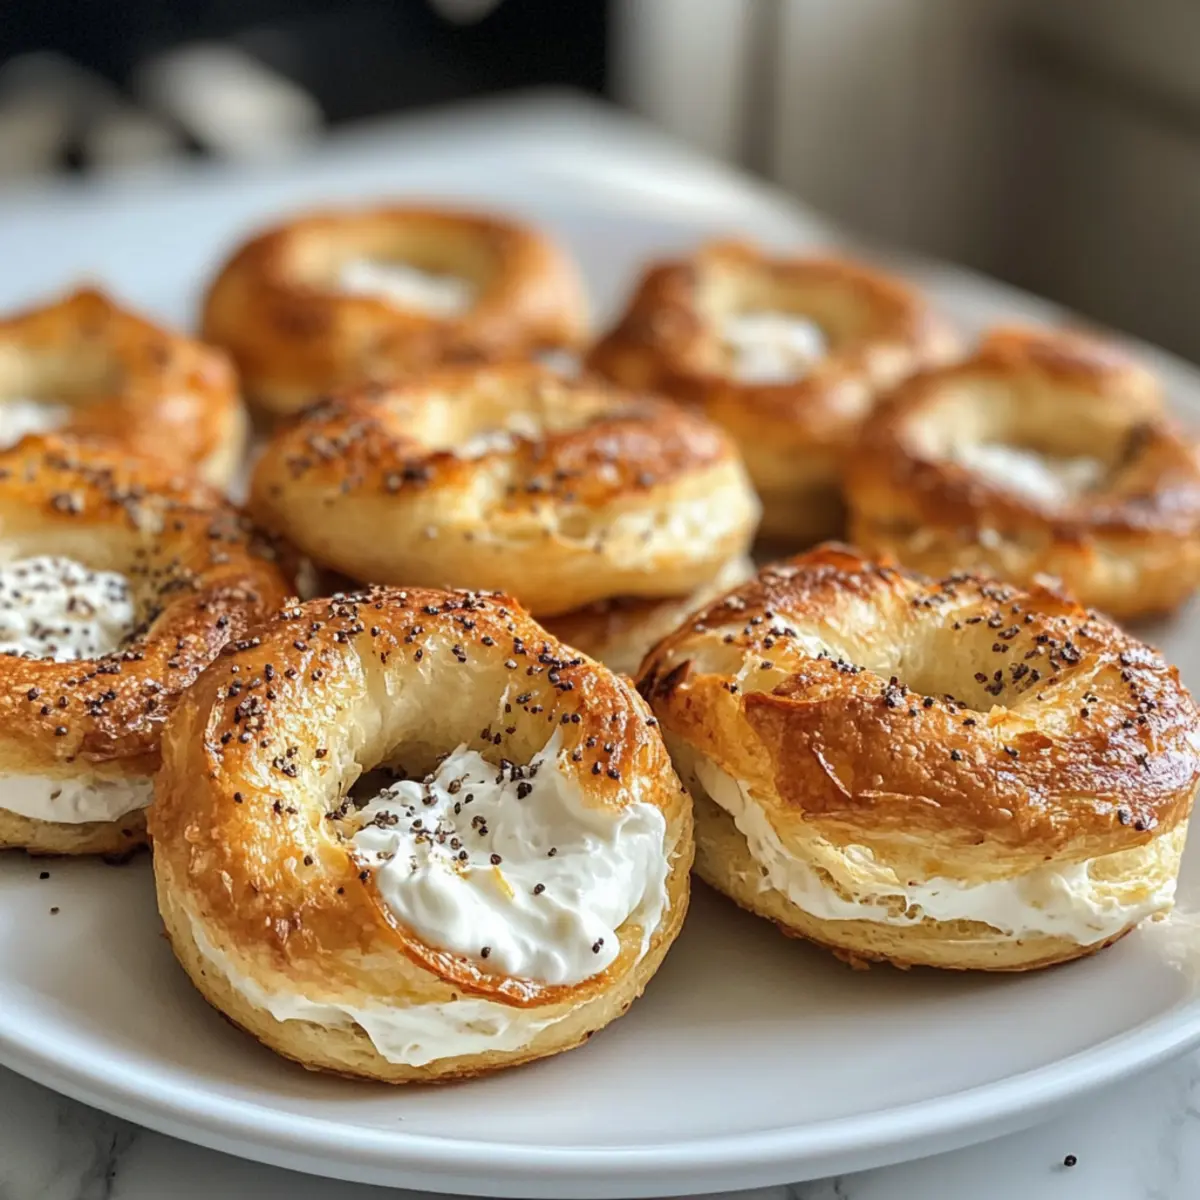
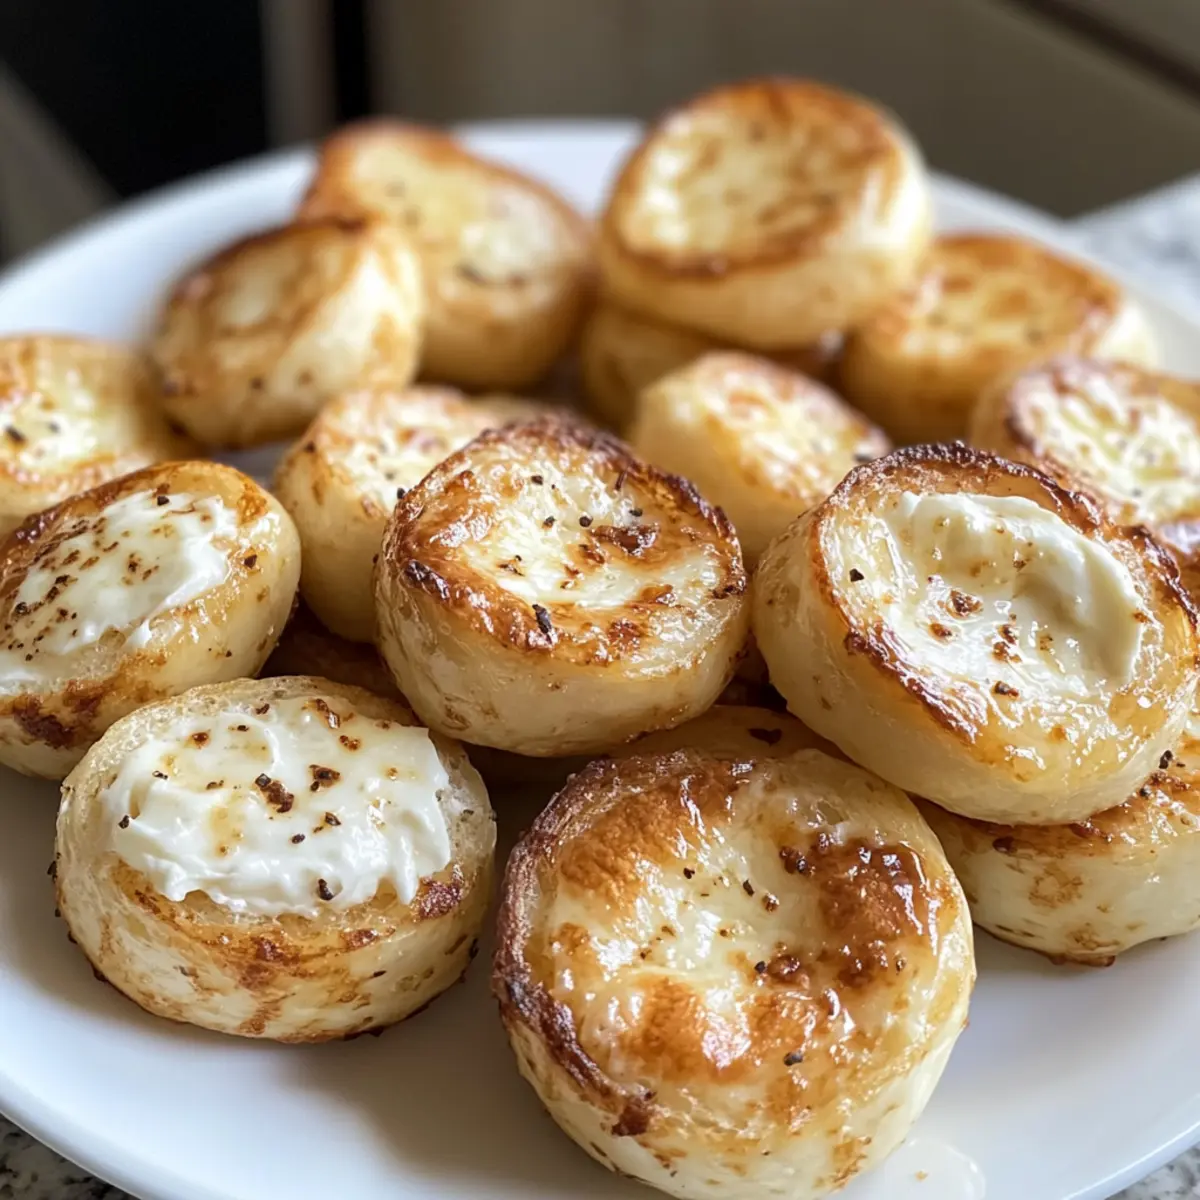
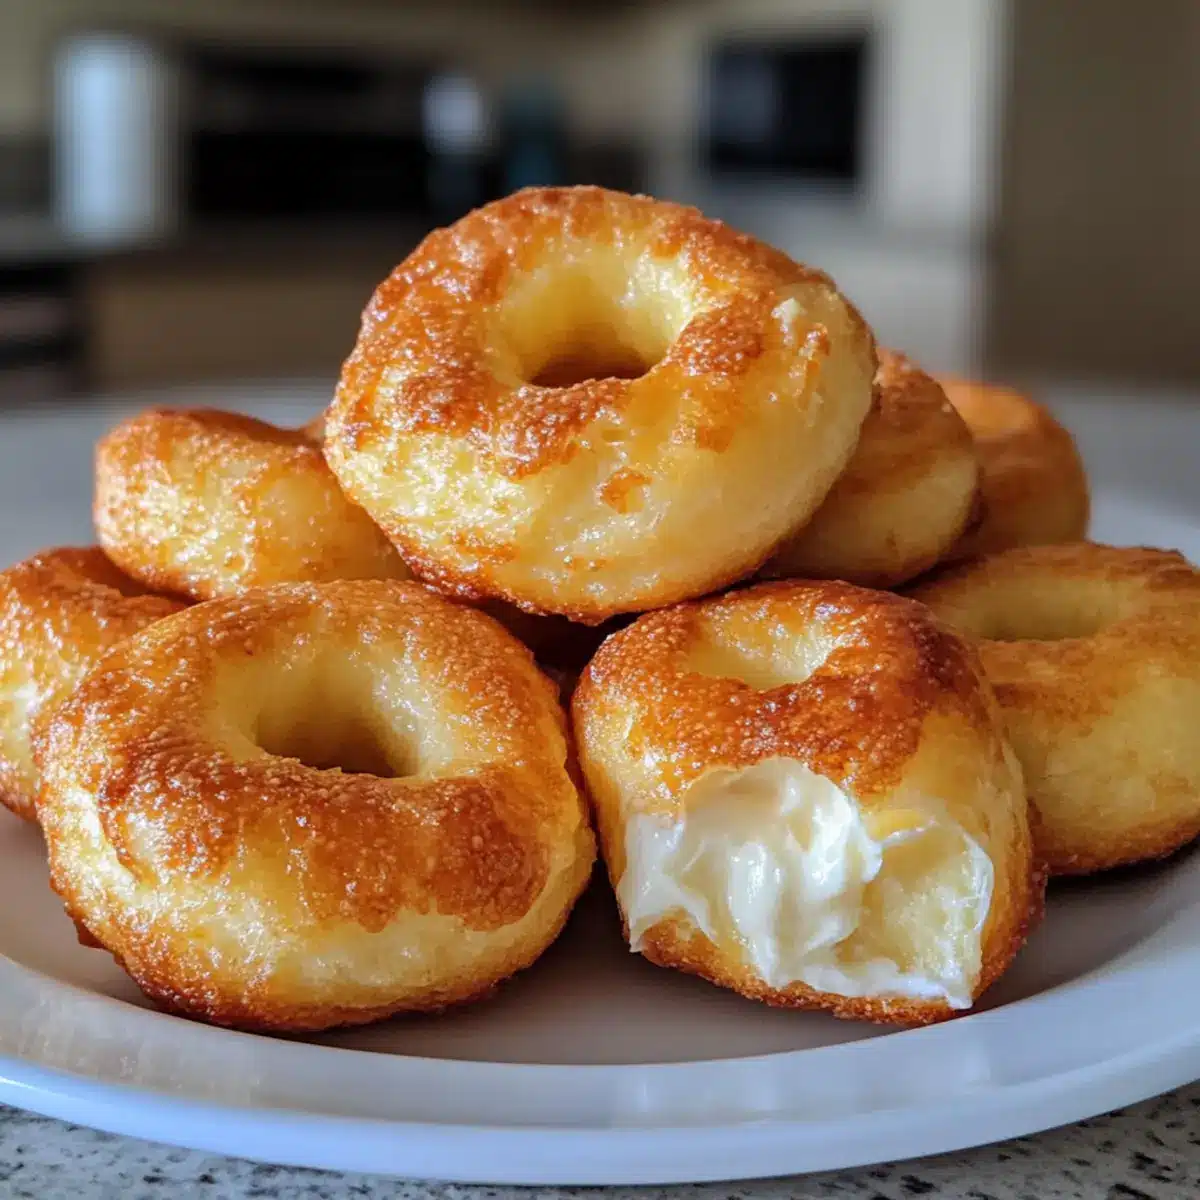
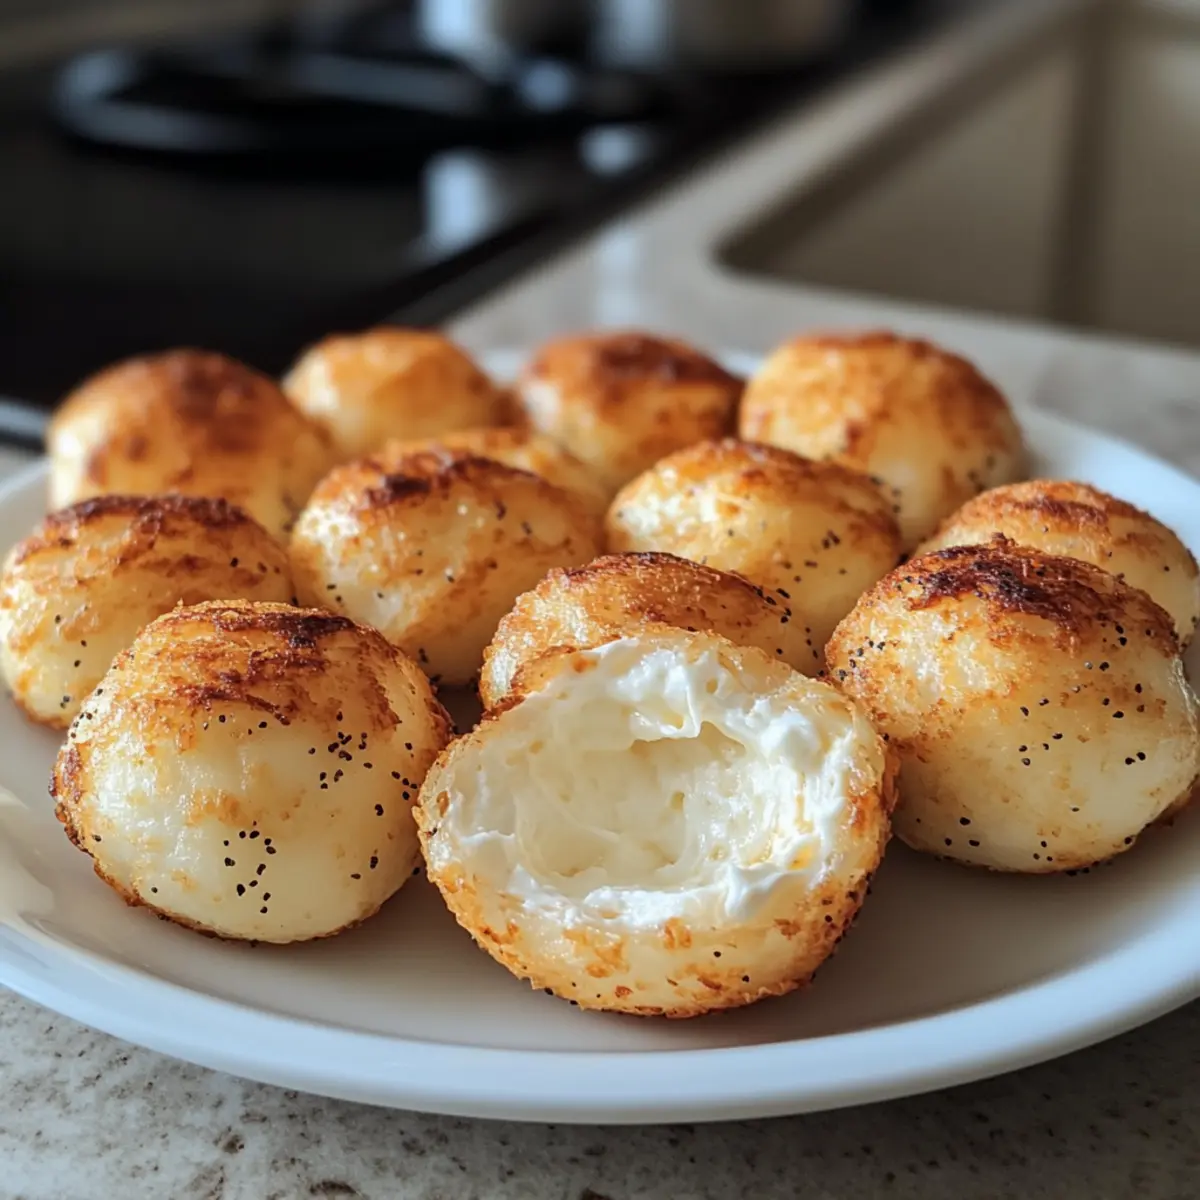
Preheat your air fryer to 380°F (193°C) to ensure it’s hot enough for crispiness. Once heated, arrange the coated onions in a single layer in the air fryer basket, making sure they aren’t overcrowded. Lightly spritz them with oil from a spray bottle, then air fry for 3 minutes.
Step 5: Shake and Continue Cooking
At the 3-minute mark, carefully shake the basket to turn the onions for even crisping, then spritz them with more oil. Return the onions to the air fryer and cook for an additional 3 minutes, or until they are golden brown and crispy. Keep an eye on them during the last few minutes to avoid burning.
Step 6: Serve Warm
Once your Air Fried Pearl Onions have reached a perfect golden color and crispy texture, carefully remove them from the air fryer. Allow them to cool for a moment before serving warm. Pair them with your favorite dipping sauce, and enjoy this delightful appetizer at your next gathering or cozy night in!
Make Ahead Options
These Air Fried Pearl Onions are perfect for meal prep enthusiasts! You can prep the coating mix and the pearl onions up to 24 hours in advance, allowing flavors to meld beautifully. Simply follow the initial steps of microwaving and coating the onions, then store them in an airtight container in the refrigerator. This chilling step is crucial as it helps the breading adhere better during cooking. When you’re ready to serve, just preheat your air fryer and cook directly from the fridge, spritzing with oil as instructed. This way, you’ll have deliciously crispy mini blooming onions without the last-minute rush—ideal for busy weeknights or impromptu gatherings!
How to Store and Freeze Air Fried Pearl Onions
Fridge: Store leftover Air Fried Pearl Onions in an airtight container in the refrigerator for up to 4 days to maintain freshness and flavor.
Freezer: For longer storage, freeze the cooked onions in a single layer on a baking sheet, then transfer to a freezer-safe bag for up to 3 months.
Reheating: To enjoy crispy leftovers, reheat Air Fried Pearl Onions in the air fryer at 350°F (177°C) for 3–5 minutes. This will restore their delightful crunch!
Thawing: If frozen, thaw in the refrigerator overnight before reheating for the best texture.
What to Serve with Crispy Mini Blooming Onions?
Transform your delightful air-fried pearl onions into a full-fledged feast with these irresistible pairings.
-
Creamy Ranch Dip:
Pairs perfectly with the crispy texture of the onions, adding a cool, tangy balance that makes each bite pop. -
Spicy Mayo:
A zesty, creamy option that complements the mild sweetness of the onions, bringing a kick to your snacking experience. -
Garlic Aioli:
This rich, garlicky sauce enhances the flavor profile, creating a sumptuous contrast to the crispy, savory onions. -
Fresh Veggie Platter:
Bright, crisp vegetables add crunch and freshness, making for a lighter side that nicely balances the indulgent snacks. -
Caesar Salad:
A classic Caesar salad offers a crispy element with peppery romaine and creamy dressing that works well with the onion’s sweetness. -
Craft Beer:
An ice-cold craft beer beautifully complements the crunchy snacks, with flavors ranging from hoppy to malty enhancing the overall experience. -
Sparkling Cider:
For a non-alcoholic option, sparkling cider brings a touch of sweetness and effervescence that aligns deliciously with these golden delights. -
Mini Sliders:
Serve mini sliders alongside your crispy mini blooming onions for a hearty platter; their flavors blend beautifully for an exciting taste adventure!
Air Fried Pearl Onions Variations
Feel free to get creative with your Air Fried Pearl Onions; there’s a world of delicious possibilities waiting for you!
- Oven-Baked: For a healthier alternative, bake at 400°F (204°C) for 15-20 minutes. You’ll get that crispy crunch without the air fryer!
- Gluten-Free: Substitute regular flour with gluten-free flour to accommodate your gluten sensitivity while retaining the delightful crunch.
- Smoky Flavor: Swap standard paprika for smoked paprika for a more intense flavor; it adds a wonderful earthy depth that elevates every bite.
- Cheesy Twist: Mix in grated Parmesan with your breading for a cheesy, savory flavor explosion! You’ll love how it melds perfectly with the sweetness of the onions.
- Spicy Kick: Add more cayenne or a dash of your favorite hot sauce to the egg mixture for a fiery twist. It’s perfect for those who love a little heat!
- Herb Infusion: Incorporate dried Italian herbs into the flour mixture for an aromatic touch; think basil, oregano, and thyme to jazz up your bite-sized treats.
- Dipping Sauce Variety: Serve with an array of sauces! From zesty ranch to tangy BBQ, the right dip can change the whole flavor profile of your dish. Check out my recipe for these crispy Air Fryer Chicken Wings for more dipping suggestions!
- Breading Variability: Try using panko breadcrumbs for an extra crunchy texture; they create a delightful coating that will have everyone asking for more!
With these variations, your Air Fried Pearl Onions will never be boring! Enjoy experimenting and savor each delightful bite.
Expert Tips for Air Fried Pearl Onions
-
Chill Before Cooking: Chilling the coated onions for 10 minutes helps the breading adhere better, ensuring a crunchier result.
-
Avoid Overcrowding: Place the onions in a single layer in the air fryer; overcrowding can lead to uneven cooking and soggy spots.
-
Watch the Time: Keep an eye on the onions during the last few minutes of cooking; every air fryer is different, and you want them perfectly golden.
-
Fresh Ingredients Matter: Use fresh spices and ingredients for the best flavor. Stale spices can dull the taste of your air fried pearl onions.
-
Experiment with Dipping Sauces: Don’t limit yourself! Try different sauces like garlic aioli, spicy ketchup, or homemade ranch to elevate the snacking experience.
Air Fried Pearl Onions Recipe FAQs
Are frozen pearl onions the best choice for this recipe?
Absolutely! Frozen pearl onions are perfect for this recipe as they provide a mild sweetness and save time. You can simply thaw them in cold water instead of microwaving to make the prep even quicker and easier.
How should I store leftover air fried pearl onions?
Store any leftovers in an airtight container in the fridge for up to 4 days. This keeps them fresh and ready for snacking later! When you’re ready to enjoy them again, just reheat in the air fryer at 350°F (177°C) for 3-5 minutes to bring back that delightful crunch.
Can I freeze air fried pearl onions?
Yes, you can freeze them! After air frying, let the pearls cool completely. Freeze them in a single layer on a baking sheet first. Once frozen, transfer them to a freezer-safe bag, where they can last up to 3 months. For the best results, thaw in the refrigerator overnight before reheating.
What should I do if my breading isn’t sticking?
If the breading isn’t adhering well, try chilling the coated onions for 10 minutes before air frying. This step is critical as it helps the coating set, resulting in a crunchier texture. Make sure to also remove excess moisture from the thawed onions by patting them dry with a paper towel.
Can I make this recipe gluten-free?
Very! Simply substitute the regular flour with a gluten-free flour blend, and you can still enjoy these delicious air fried pearl onions without compromising on flavor or texture.
What dipping sauces pair well with air fried pearl onions?
The more the merrier! I love serving them with zesty sauces like spicy mayo or ranch dressing. You can also try garlic aioli or homemade salsa for a flavorful twist, depending on your taste preferences. Enjoy experimenting with your favorite flavors!
Crispy Air Fried Pearl Onions for Irresistible Snacking
Ingredients
Equipment
Method
- Microwave the frozen pearl onions for about 2 minutes and pat dry.
- Beat one egg in a medium bowl. In another bowl, mix flour, paprika, salt, black pepper, cayenne pepper, and garlic powder.
- Coat the thawed pearl onions in the flour mixture, dip them in the egg, then back into the flour mixture.
- Preheat air fryer to 380°F (193°C) and arrange the coated onions in a single layer in the basket.
- Air fry for 3 minutes, shake the basket, spritz with more oil, and cook for an additional 3 minutes.
- Remove the golden crispy onions from the air fryer and serve warm with your favorite dipping sauce.