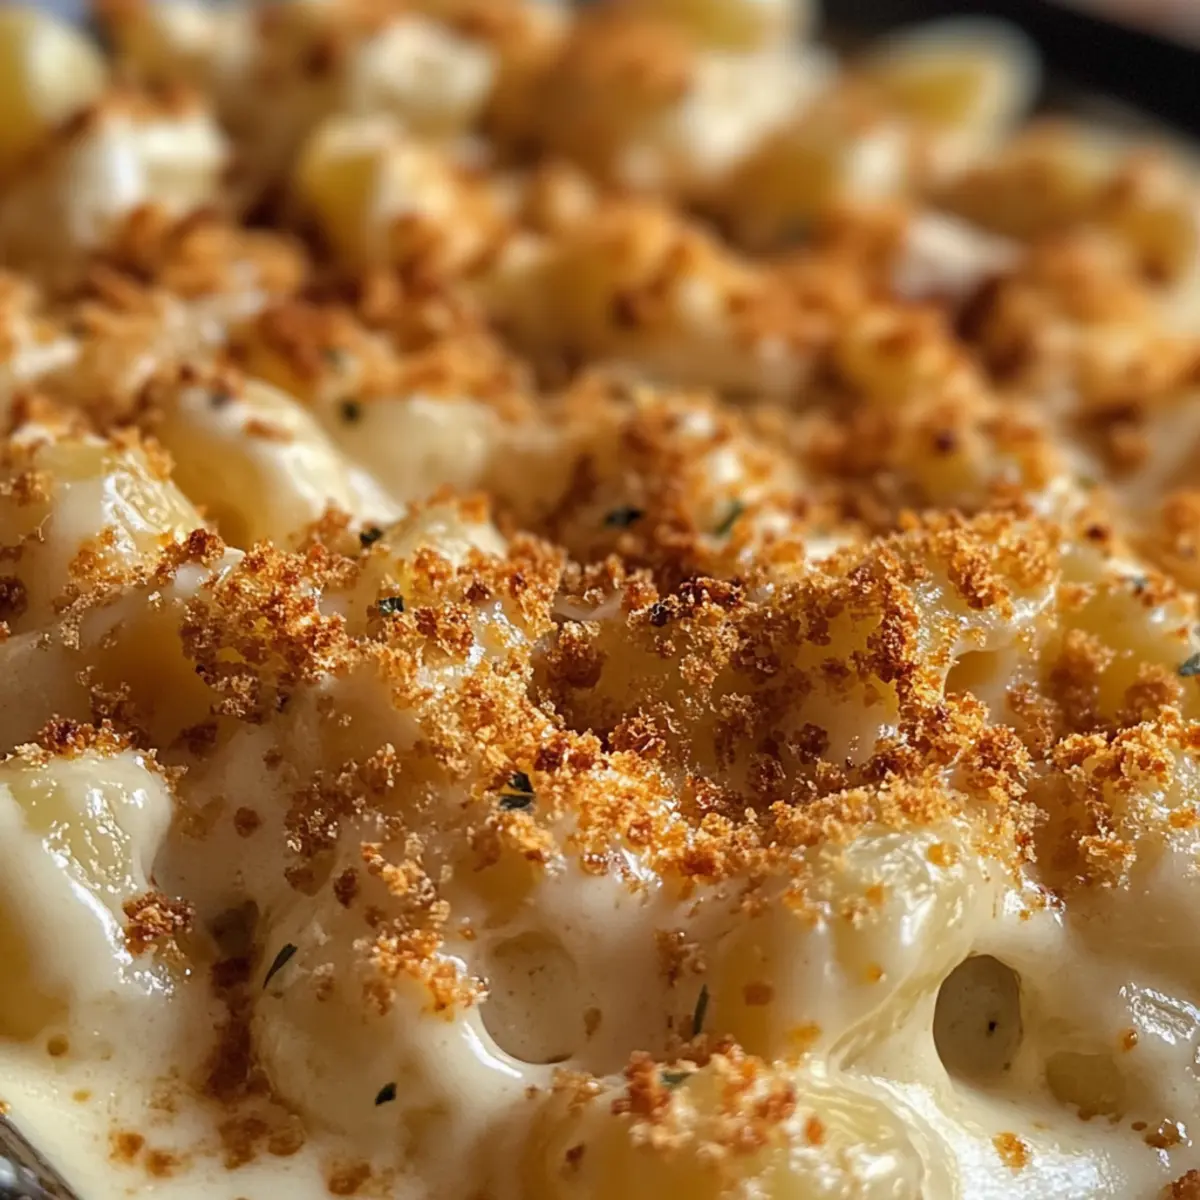
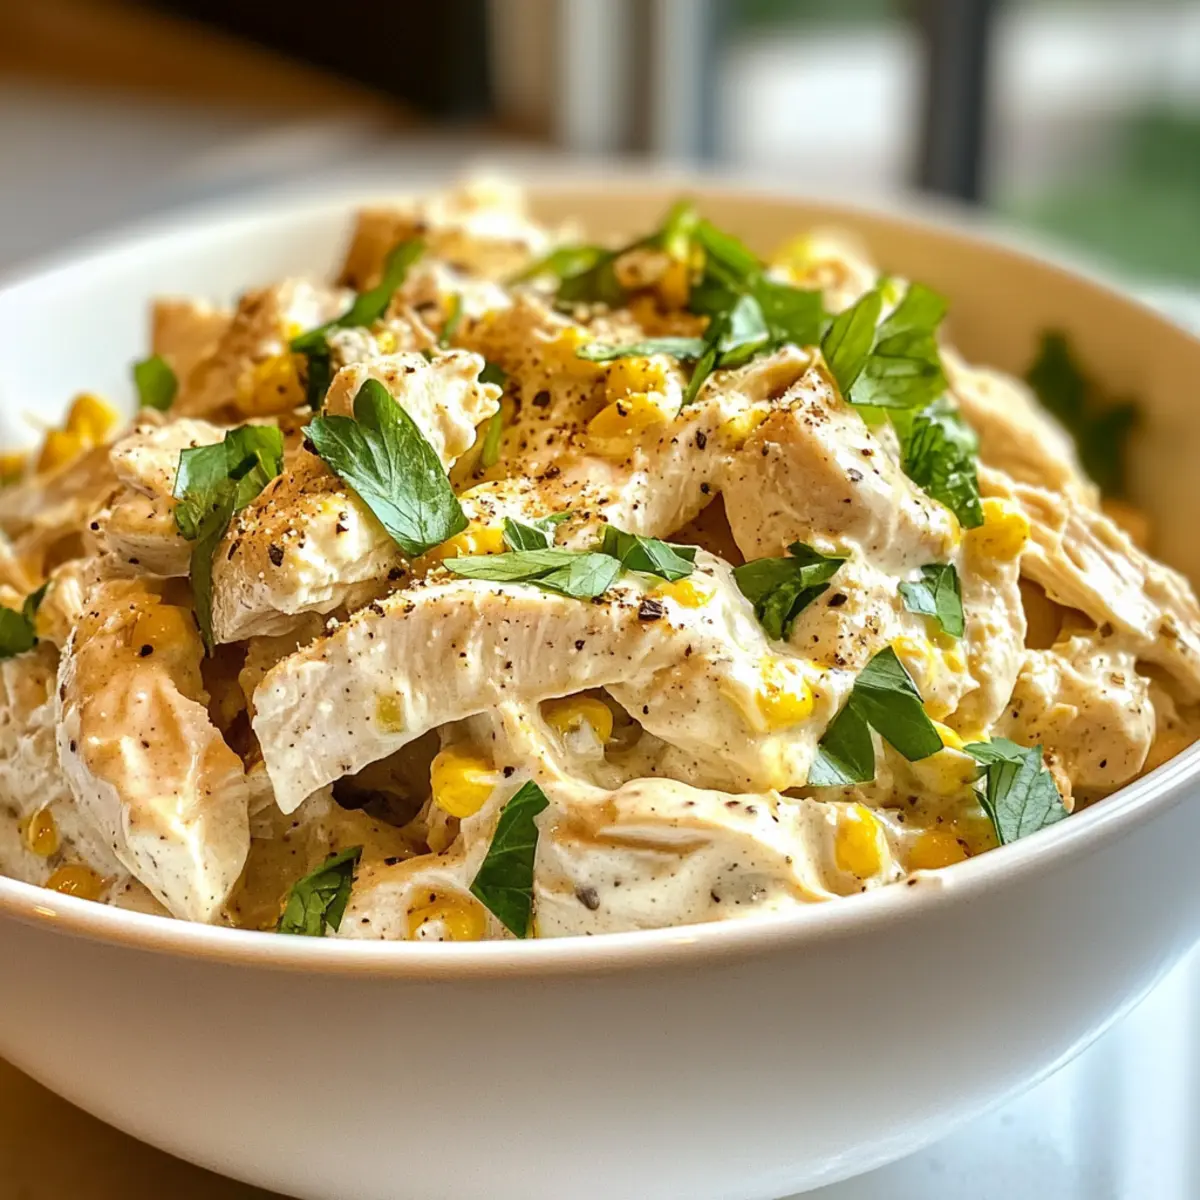
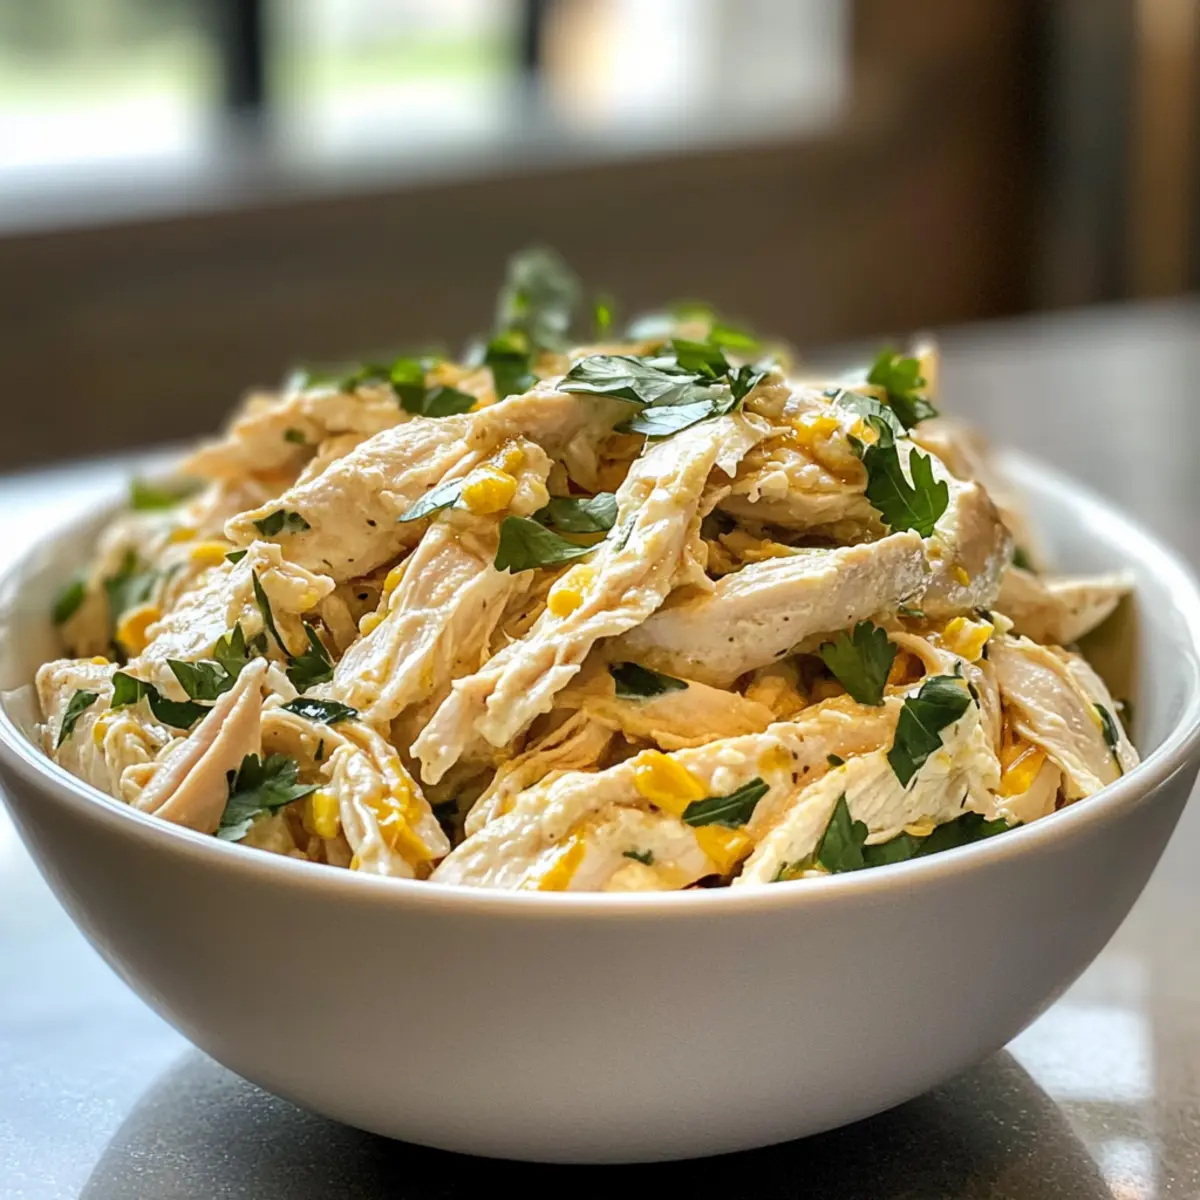
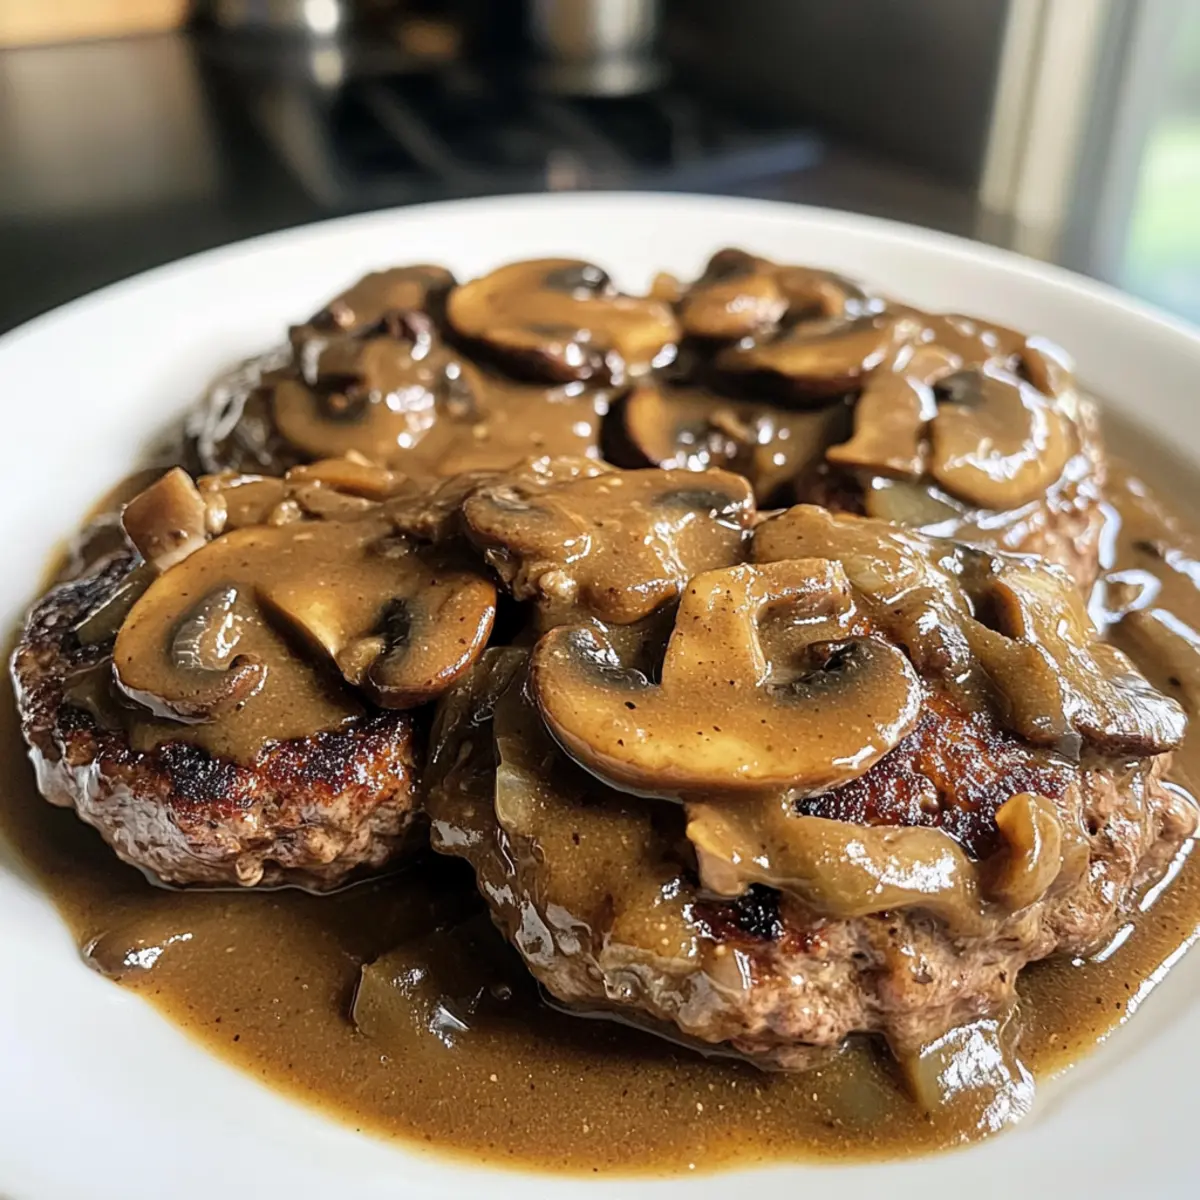
As the aroma of sizzling beef fills the kitchen, memories of family gatherings and hearty meals come rushing back. One dish that has a way of bringing everyone together is the classic Amish Hamburger Steak Bake. This comforting recipe combines savory beef patties with rich mushroom gravy, creating a dish that is as satisfying as it is simple to prepare. It’s not just quick to whip up; it’s also perfect for a family dinner, pleasing both the little ones and the adults alike. Plus, with the option to customize it for dietary preferences, you’ll find it can easily adapt to your needs. Ready to elevate your dinner table with this cozy dish? Let’s dive into the world of Amish cooking!
Why is Amish Hamburger Steak Bake a must-try?
Comfort Food Awaits: This dish brings a taste of home straight to your table, reminiscent of hearty, family-friendly meals that warm the soul.
Quick and Easy: With simple preparation steps, it’s perfect for busy weeknights, taking only about an hour from start to finish.
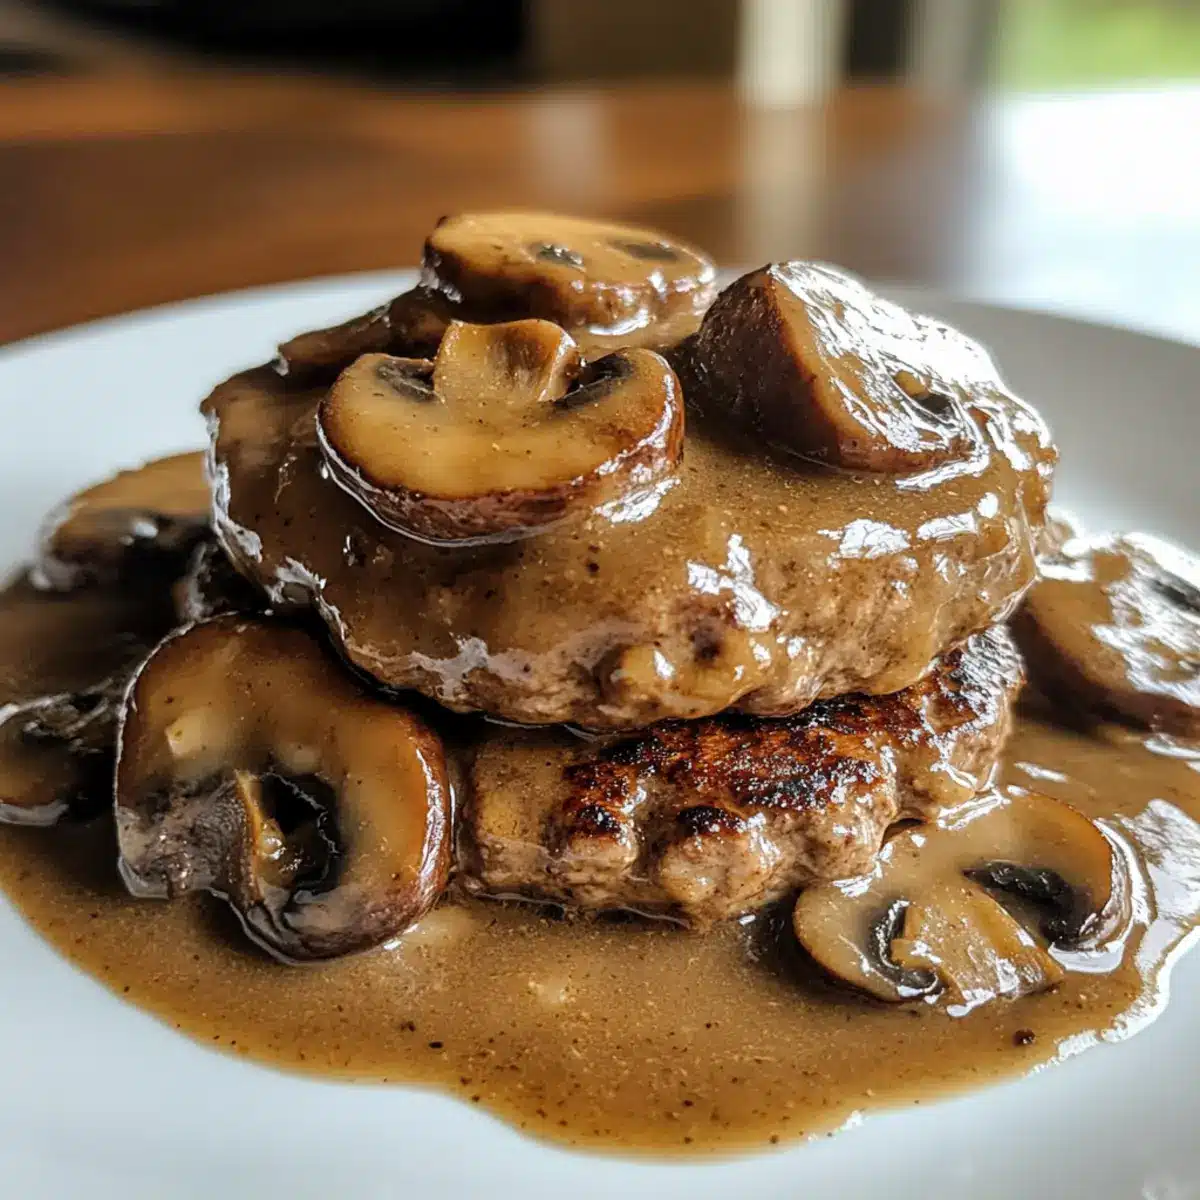
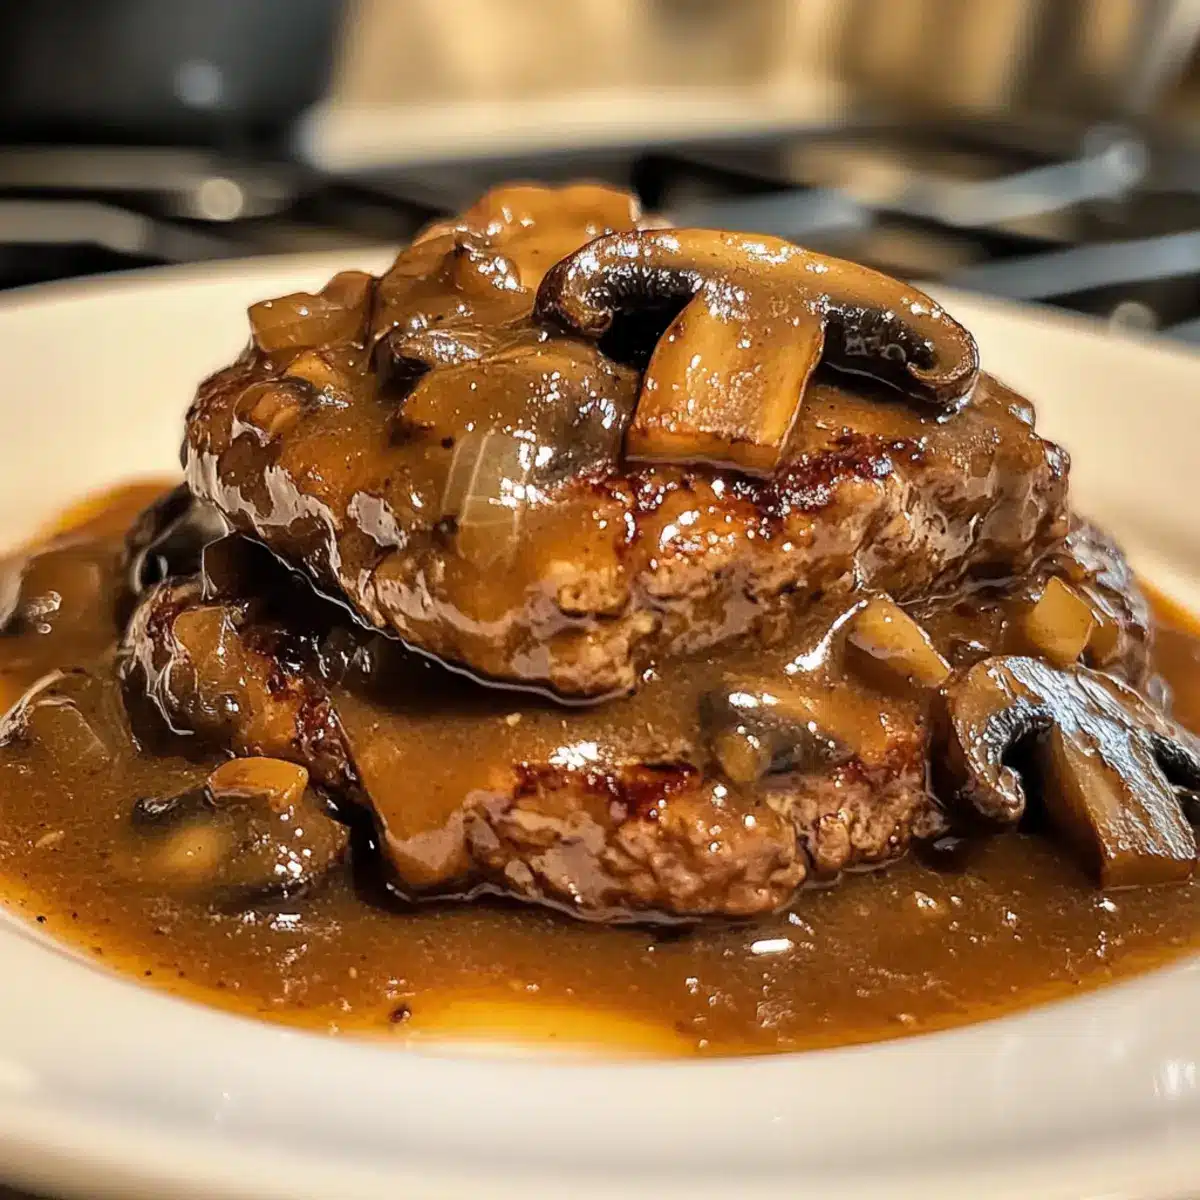
Flavorful Gravy Magic: The rich, creamy mushroom gravy envelops the juicy beef patties, creating an irresistible blend that family members will request time and again.
Versatility: It can be adapted to suit various tastes and dietary restrictions, with options for ground turkey or plant-based proteins available.
Perfect Pairings: Serve alongside comforting sides like mashed potatoes or buttered noodles for a complete meal that everyone will love!
Amish Hamburger Steak Bake Ingredients
Get ready to whip up a hearty meal with these easily accessible ingredients!
For the Beef Patties
- Ground Beef – A flavorful base for your patties; opt for lean ground beef for a healthier twist.
- Saltine Crackers – These act as a binder, giving the patties a delightful texture; feel free to substitute with breadcrumbs if needed.
- Milk – Adds moisture to the beef mix; use non-dairy milk for a lactose-free alternative.
- Italian Herbs – Provide aromatic flavor; Italian seasoning works just as well.
- Onion Powder – Enhances the savory taste; you can swap it for fresh onion if you prefer.
- Garlic Powder – Adds depth to your meat mixture; fresh garlic is a great substitute.
- Cayenne Pepper – Optional for a bit of heat, adjust based on your spice preference or leave it out.
- Salt and Pepper – Essential for flavor enhancement, don’t forget to season generously.
- Flour – Perfect for dredging and creating a lovely crust on the patties; cornstarch can serve as a gluten-free alternative.
For the Gravy
- Cream of Mushroom Soup – The base for a deliciously creamy gravy; homemade mushroom sauce can make it even better.
- Additional Milk – To mix with the soup for a smoother gravy consistency.
With these ingredients in hand, you’re all set to create a comforting Amish Hamburger Steak Bake that your family will rave about!
Step‑by‑Step Instructions for Amish Hamburger Steak Bake
Step 1: Preheat the Oven
Begin by preheating your oven to 350°F (175°C). While the oven warms up, take a moment to grease a 9×13-inch baking dish with cooking spray or oil to prevent the Amish Hamburger Steak Bake from sticking. This step ensures a beautifully golden finish on your dish.
Step 2: Make the Beef Mixture
In a large mixing bowl, combine the ground beef, crushed saltine crackers, milk, Italian herbs, onion powder, garlic powder, cayenne pepper, and a generous sprinkle of salt and pepper. Use your hands or a spatula to mix these ingredients until just combined—be careful not to overmix, as this could lead to tough patties.
Step 3: Form Patties
With your beef mixture ready, shape it into 8 equal-sized patties, each about ½ inch thick. This uniformity ensures even cooking throughout the Amish Hamburger Steak Bake. After forming the patties, dredge each one lightly in flour, coating both sides for a delicious crust that enhances their texture during cooking.
Step 4: Brown the Patties
Heat a drizzle of oil in a skillet over medium-high heat. Once hot, add the flour-coated patties and brown them for about 2 to 3 minutes on each side until they develop a lovely golden color. This step not only locks in flavor but also adds a savory touch that complements the rich gravy.
Step 5: Prepare the Gravy
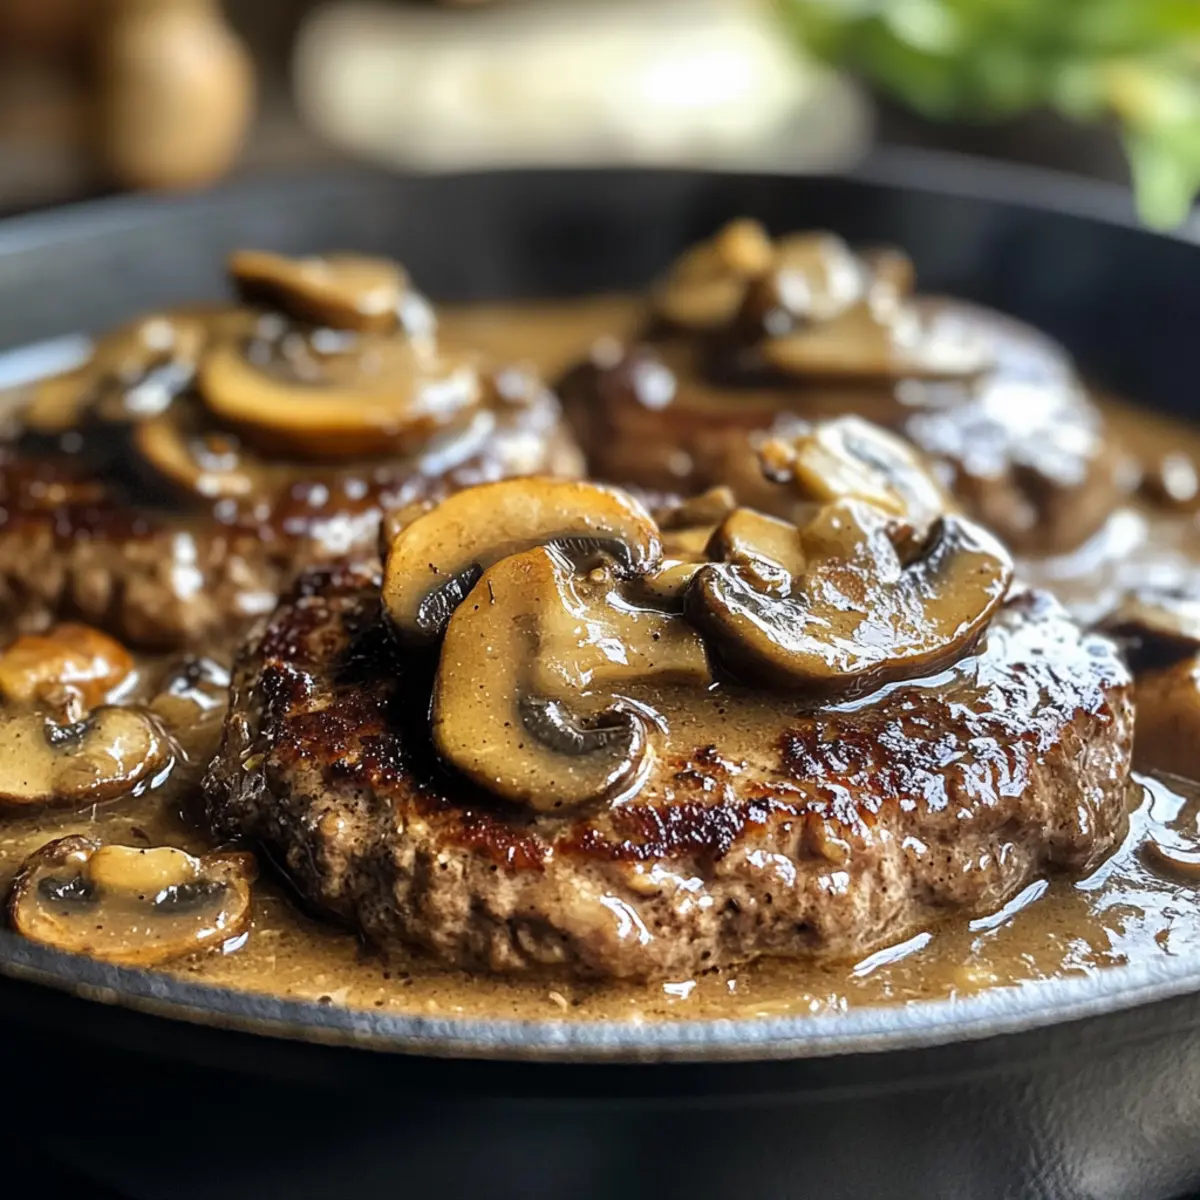
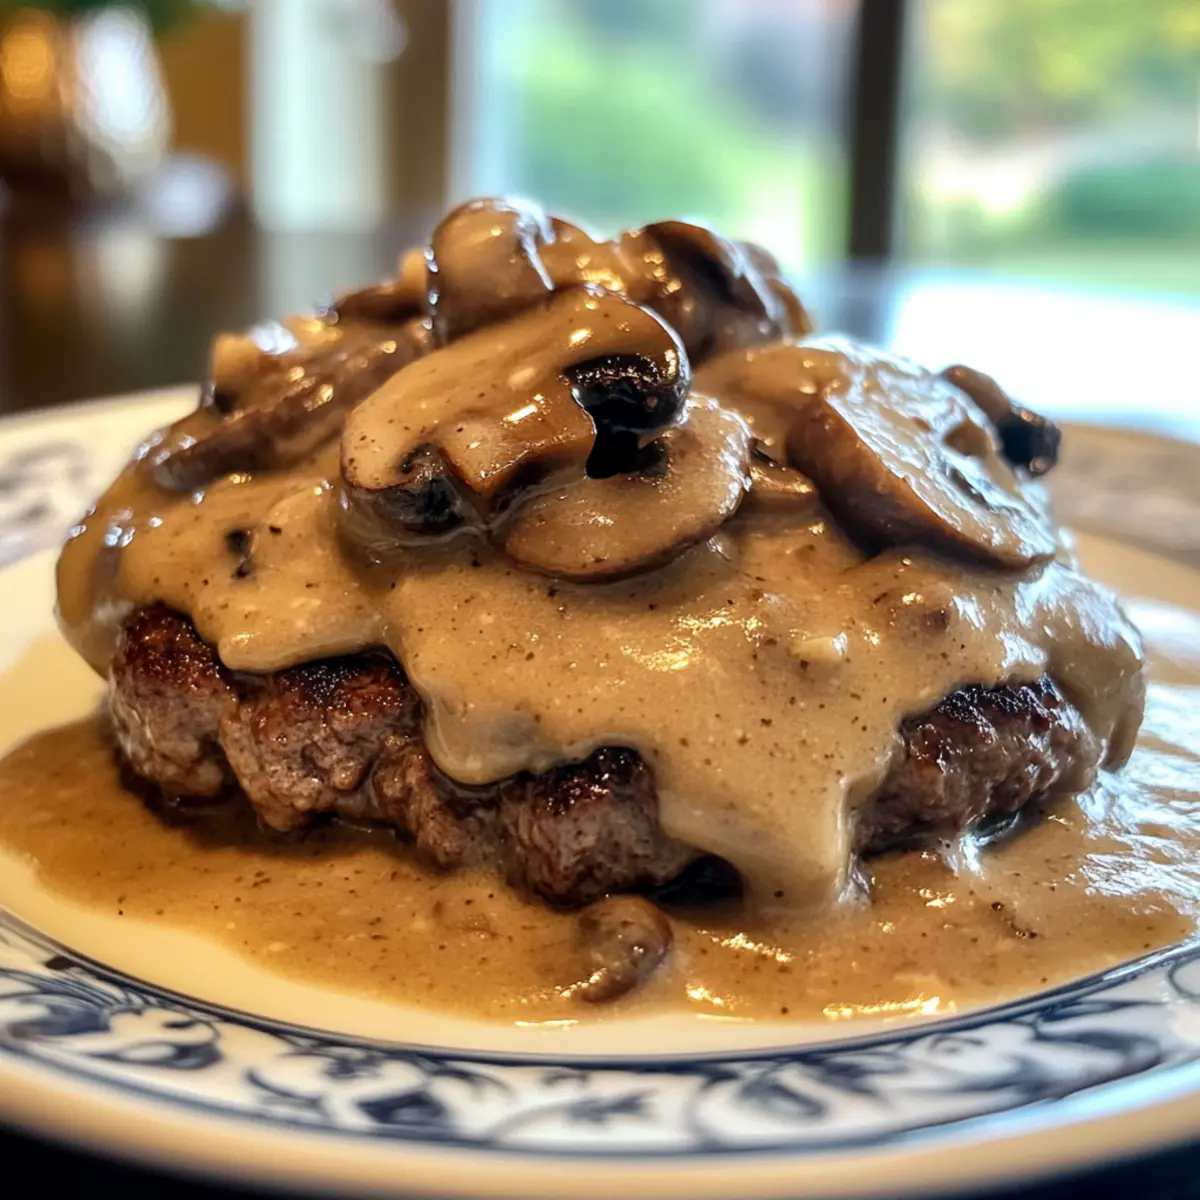
In a separate mixing bowl, whisk together the cream of mushroom soup and an extra splash of milk until smooth and creamy. This mixture forms the luscious gravy that will envelop your hamburger steaks, ensuring every bite of the casserole is filled with savory goodness.
Step 6: Bake the Dish
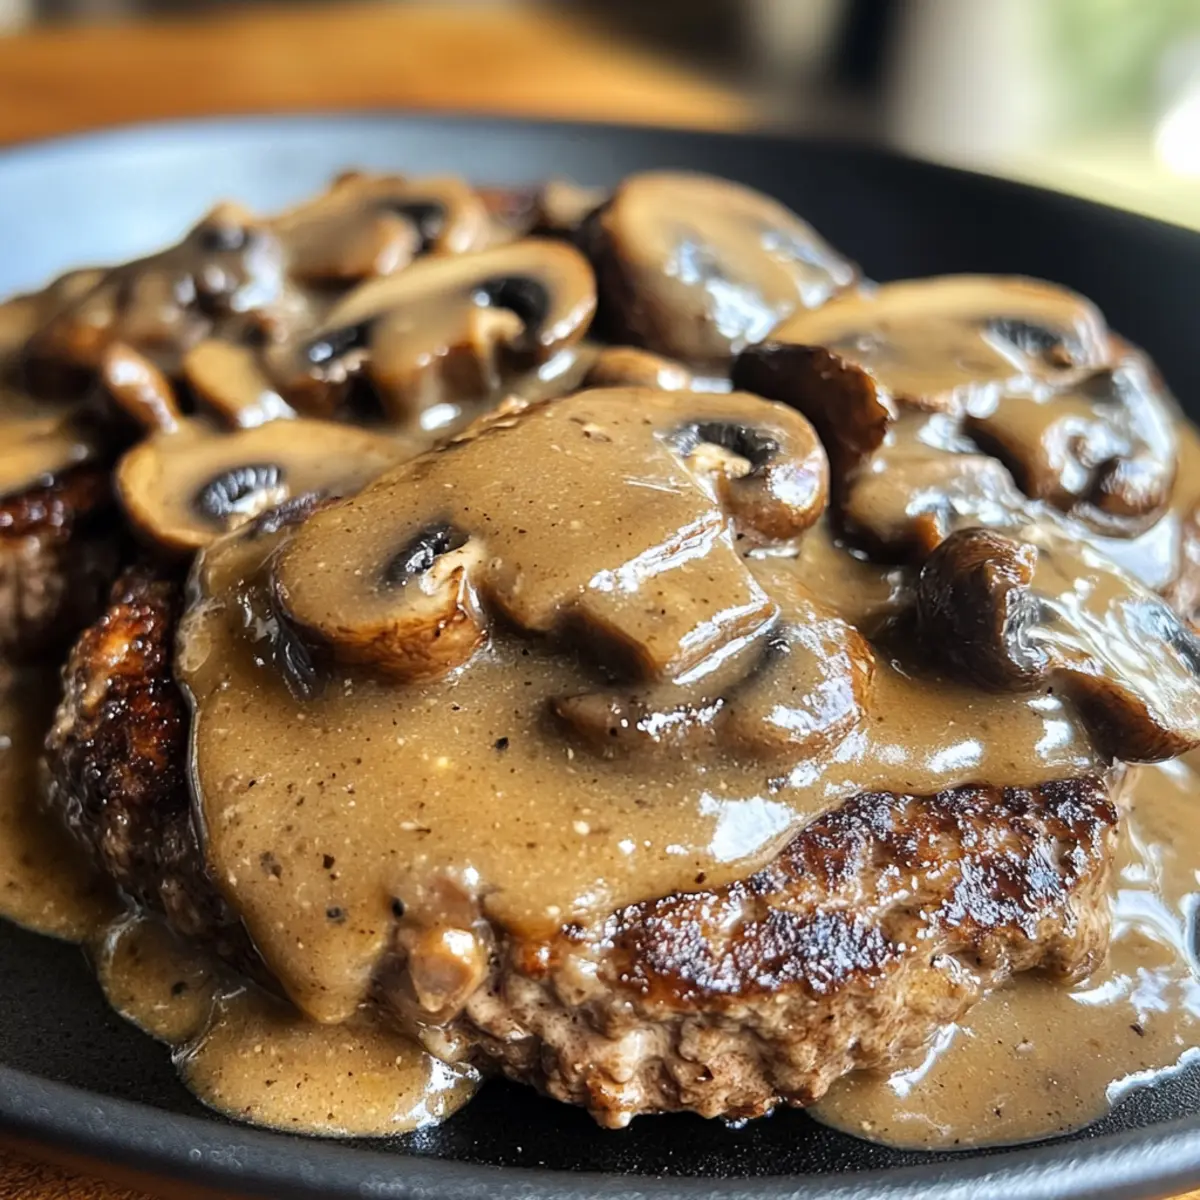
Arrange the browned patties side by side in the greased baking dish, then pour the prepared gravy evenly over the top. Cover the dish with aluminum foil to trap in moisture and bake for 30 minutes. After this time, remove the foil and allow it to bake uncovered for an additional 10 minutes for a beautifully bubbly finish.
Step 7: Serve and Enjoy
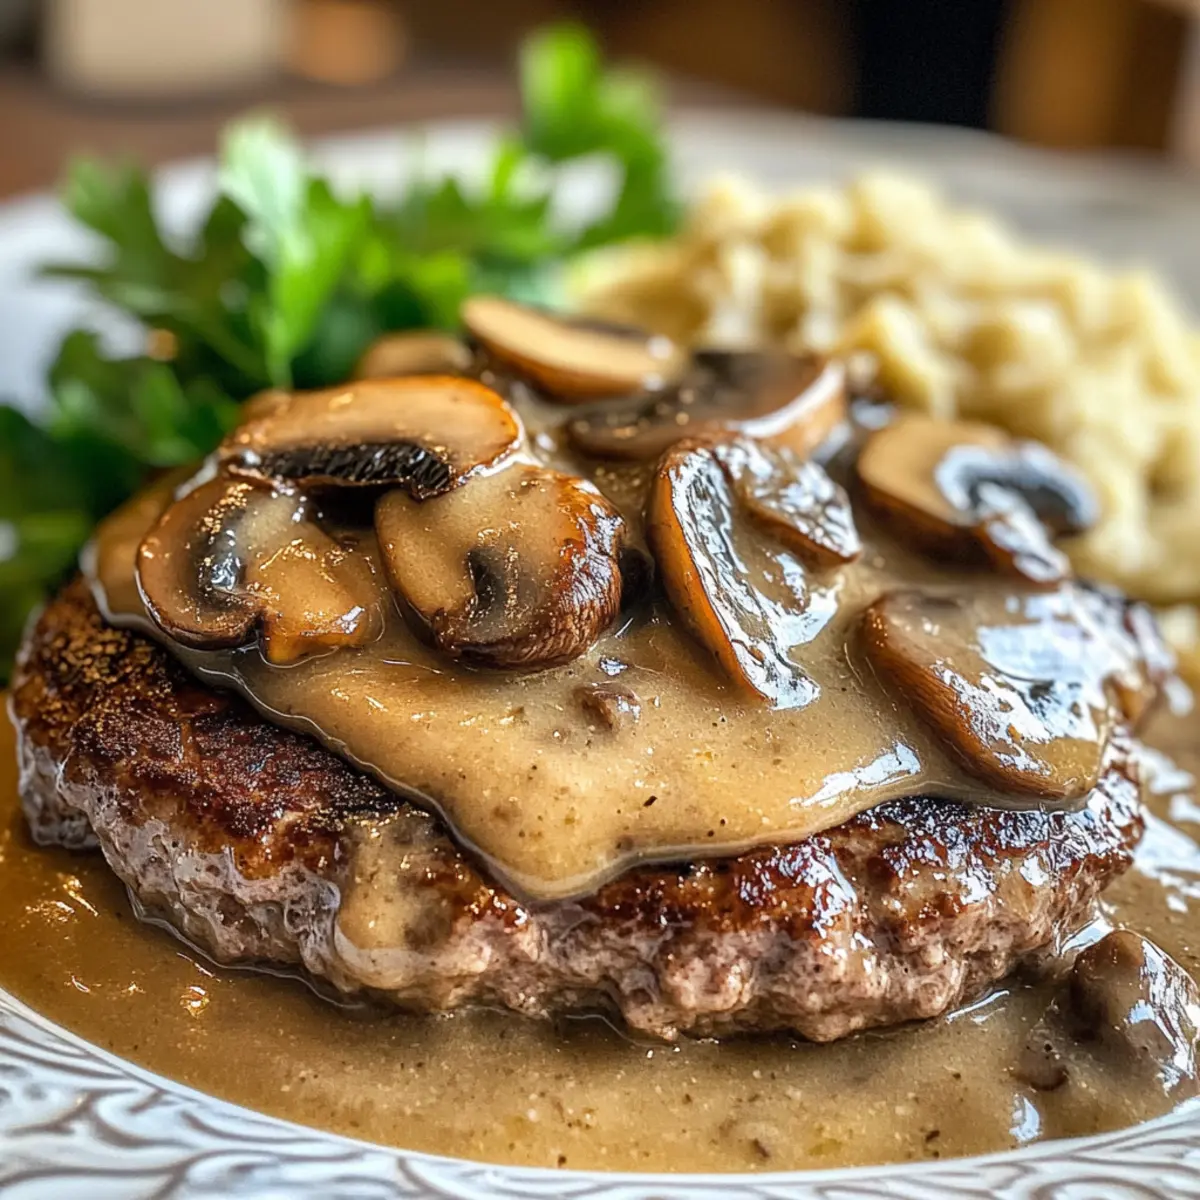
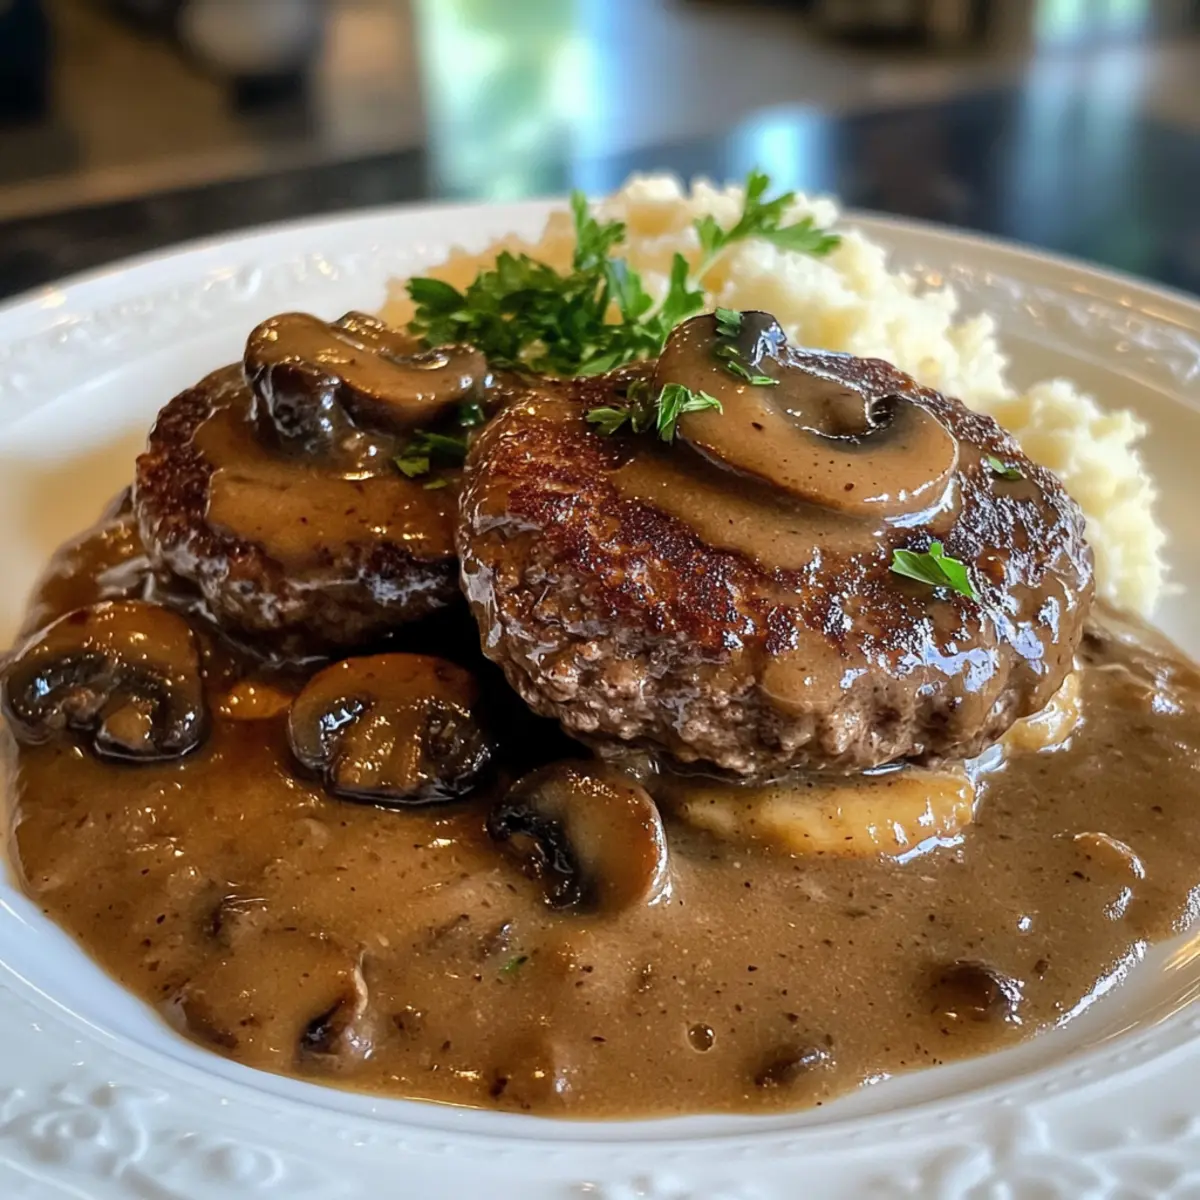
After baking, take the Amish Hamburger Steak Bake out of the oven and let it rest for about 5 minutes. This resting period allows the juices to redistribute, resulting in tender, juicy patties. Serve this hearty dish alongside mashed potatoes, rice, or buttered noodles for a cozy family dinner.
Amish Hamburger Steak Bake Variations
Feel free to get creative with your Amish Hamburger Steak Bake for a personalized touch that everyone will love!
-
Turkey Option: Use ground turkey instead of beef for a lighter but equally tasty patty. The flavors still shine through and offer a healthier alternative.
-
Plant-Based: Swap in your favorite plant-based meat substitute to make a vegetarian version. This twist keeps the heartiness while accommodating dietary preferences.
-
Creamy Alternatives: Use a different cream soup, like chicken or celery, for unique flavor profiles. Each variation brings its own character to this cozy dish.
-
Herb Infusion: Add fresh herbs like thyme or parsley to the beef mixture for a vibrant flavor boost. Fresh herbs brighten the entire dish and elevate the comforting essence.
-
Spicy Kick: Mix in diced jalapeños or a dash of hot sauce for added heat. Adjust the amount based on your spice tolerance and enjoy the fiery twist!
-
Onion Upgrade: Opt for sautéed onions instead of onion powder for increased depth. The caramelized sweetness from the onions enriches the flavor palette beautifully.
-
Mushroom Medley: Enhance the gravy with sautéed mushrooms for a more robust sauce. This adds texture and strengthens the umami flavor, making every bite in the Amish Hamburger Steak Bake even more enjoyable.
-
Pasta Base: Instead of serving with mashed potatoes or rice, try spooning the beef and gravy mixture over cooked pasta for a comforting twist. It makes for a hearty one-pot meal reminiscent of a delicious meat sauce.
Whatever variation you choose, enjoy experimenting like you would in recipes like a delectable Korean Steak Sandwich or a vibrant Steak Fajita Salad. Bon appétit!
Make Ahead Options
These delicious Amish Hamburger Steak Bake patties are perfect for meal prep enthusiasts! You can form the patties and refrigerate them up to 24 hours in advance, which makes for an easy, quick dinner on busy nights. Simply make the beef mixture, shape the patties, and store them in an airtight container to prevent any drying out. The gravy can also be whisked together and kept in the fridge for the same timeframe. When you’re ready to serve, preheat your oven and proceed to brown the patties and bake them in the prepared gravy, ensuring your family enjoys the same comforting, hearty flavors they love, just with a bit less fuss!
How to Store and Freeze Amish Hamburger Steak Bake
Fridge: Store leftovers in an airtight container for up to 3 days. This keeps your Amish Hamburger Steak Bake fresh and ready for quick meals.
Freezer: Freeze portions in a freezer-safe container for up to 3 months. Wrap them tightly in plastic wrap or aluminum foil to prevent freezer burn.
Reheating: Reheat in the microwave or oven until heated through. If using the oven, cover with foil to retain moisture, and heat at 350°F (175°C) for about 20 minutes.
Serving Tip: Allow to thicken slightly after reheating for the best texture and flavor experience when serving.
What to Serve with Amish Hamburger Steak Bake
As you lift a spoonful of creamy gravy-drenched goodness, think about what to complement this comforting dish and elevate your meal experience.
- Creamy Mashed Potatoes: The rich texture blends beautifully with the gravy, making every bite a heavenly experience.
- Buttered Noodles: Their simple flavors are the perfect vehicle for the savory gravy, providing a delightful chewiness that balances the dish.
- Steamed Green Beans: Bright and crunchy, they add a fresh element to the rich flavors of the bake, serving as a lovely counterpoint.
- Garlic Bread: Perfect for sopping up the gravy, this classic side brings an extra layer of heartiness that complements the meal beautifully.
- Coleslaw: The crunchy, tangy slaw cuts through the heaviness of the dish, adding a light and refreshing touch that your family will love.
- Homemade Biscuits: Soft, flaky biscuits are a delicious choice, ideal for mopping up gravy and adding comforting warmth to the dinner table.
- Crisp Side Salad: A seasonal mixed salad brings brightness and crunch, complementing the richness of the Amish Hamburger Steak Bake’s flavors.
- Red Wine: A glass of smooth red wine enhances the meal, balancing the savory flavors and creating an inviting dining atmosphere.
- Chocolate Cake: End your hearty meal with a slice of rich chocolate cake, offering a sweet finale that rounds out the experience perfectly.
Expert Tips for Amish Hamburger Steak Bake
Even Cooking: Ensure patties are uniform in size to guarantee even cooking throughout the Amish Hamburger Steak Bake. This avoids some being overcooked while others are underdone.
Don’t Overmix: When combining the beef mixture, be gentle and avoid overmixing. This keeps the patties tender instead of tough.
Resting Time: Allow the dish to rest for 5 minutes after baking. This step is crucial for letting the juices redistribute, resulting in juicy patties.
Flavor Variations: For added depth, consider incorporating fresh herbs or sautéed onions into the beef mixture. This can elevate the flavor profile significantly.
Proper Gravy Texture: If the gravy seems too thick after baking, whisk in a bit of water or additional milk before serving. Ensure it’s creamy and smooth for the best experience.
Amish Hamburger Steak Bake Recipe FAQs
What type of ground beef should I use for the best flavor?
Absolutely! For the best flavor, I recommend using lean ground beef. It provides a hearty taste and helps keep the patties juicy. If you’re looking for a healthier alternative, ground turkey or chicken works beautifully too!
How long can I store leftovers of Amish Hamburger Steak Bake?
You can store leftovers in an airtight container in the refrigerator for up to 3 days. Make sure to allow it to cool down before sealing to maintain freshness—trust me, you’ll want to savor this dish again!
Can I freeze Amish Hamburger Steak Bake? How?
Very! To freeze, let the dish cool completely before cutting it into portions. Wrap each portion tightly in plastic wrap or aluminum foil, then place them in a freezer-safe container or bag. This way, it can be frozen for up to 3 months. When you’re ready to eat, just thaw in the refrigerator overnight and reheat in the oven at 350°F (175°C) until heated through.
What should I do if the gravy is too thick after baking?
If you find your gravy is too thick after baking, no worries! Just whisk in a bit of water or additional milk before serving. Aim for a creamy, smooth texture that will make every bite irresistible. If it’s too thin, let it simmer for a few minutes on low heat to thicken up nicely.
Are there any common allergy considerations with this recipe?
Certainly! This Amish Hamburger Steak Bake contains gluten from the saltine crackers and flour, as well as dairy from the milk and cream of mushroom soup. For gluten-free options, try using gluten-free breadcrumbs and cornstarch. If lactose-free is a concern, non-dairy milk and a dairy-free cream of mushroom alternative can easily be used! Always check labels for hidden allergens.
How can I ensure my patties are evenly cooked?
To achieve perfectly cooked patties, make sure they’re uniform in size—about ½ inch thick is ideal. Use a kitchen scale if you want to be precise! Additionally, when browning in the skillet, don’t overcrowd the pan; this ensures hot air can circulate, cooking them evenly.
Hearty Amish Hamburger Steak Bake for Cozy Family Dinners
Ingredients
Equipment
Method
- Preheat your oven to 350°F (175°C) and grease a 9×13-inch baking dish.
- Combine the ground beef, crushed saltine crackers, milk, Italian herbs, onion powder, garlic powder, cayenne pepper, and a generous sprinkle of salt and pepper in a large mixing bowl.
- Shape the beef mixture into 8 equal-sized patties, each about ½ inch thick, then dredge in flour.
- Heat oil in a skillet over medium-high heat and brown the patties for about 2 to 3 minutes on each side.
- In a separate bowl, whisk together the cream of mushroom soup and milk until smooth.
- Arrange the browned patties in the baking dish and pour the gravy over the top, cover with foil, and bake for 30 minutes.
- Remove the foil and bake uncovered for an additional 10 minutes, then let it rest for 5 minutes before serving.