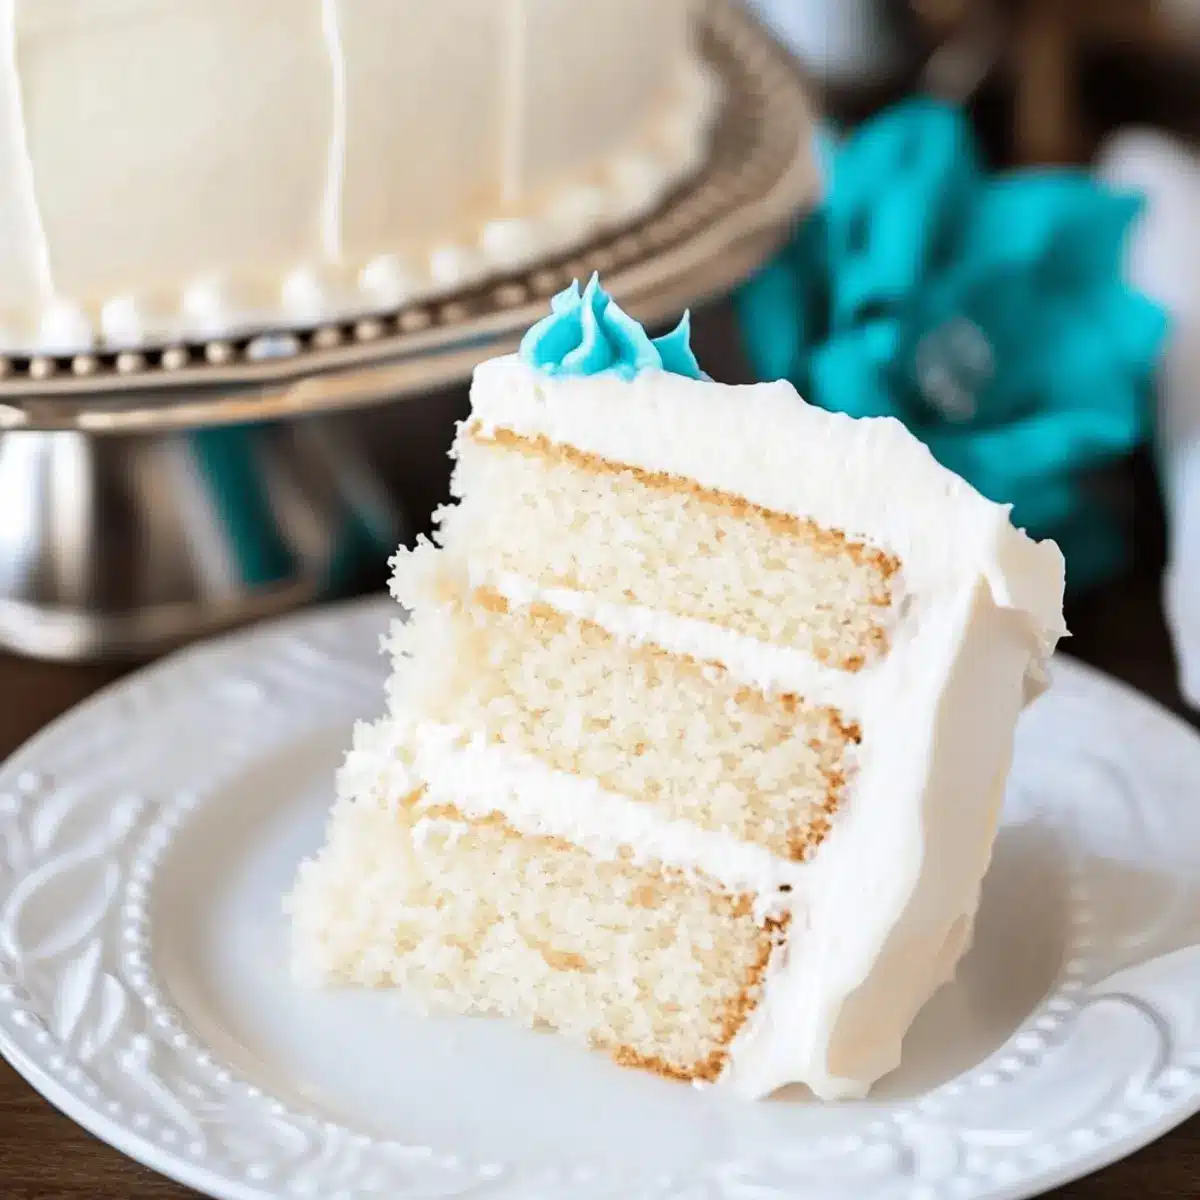
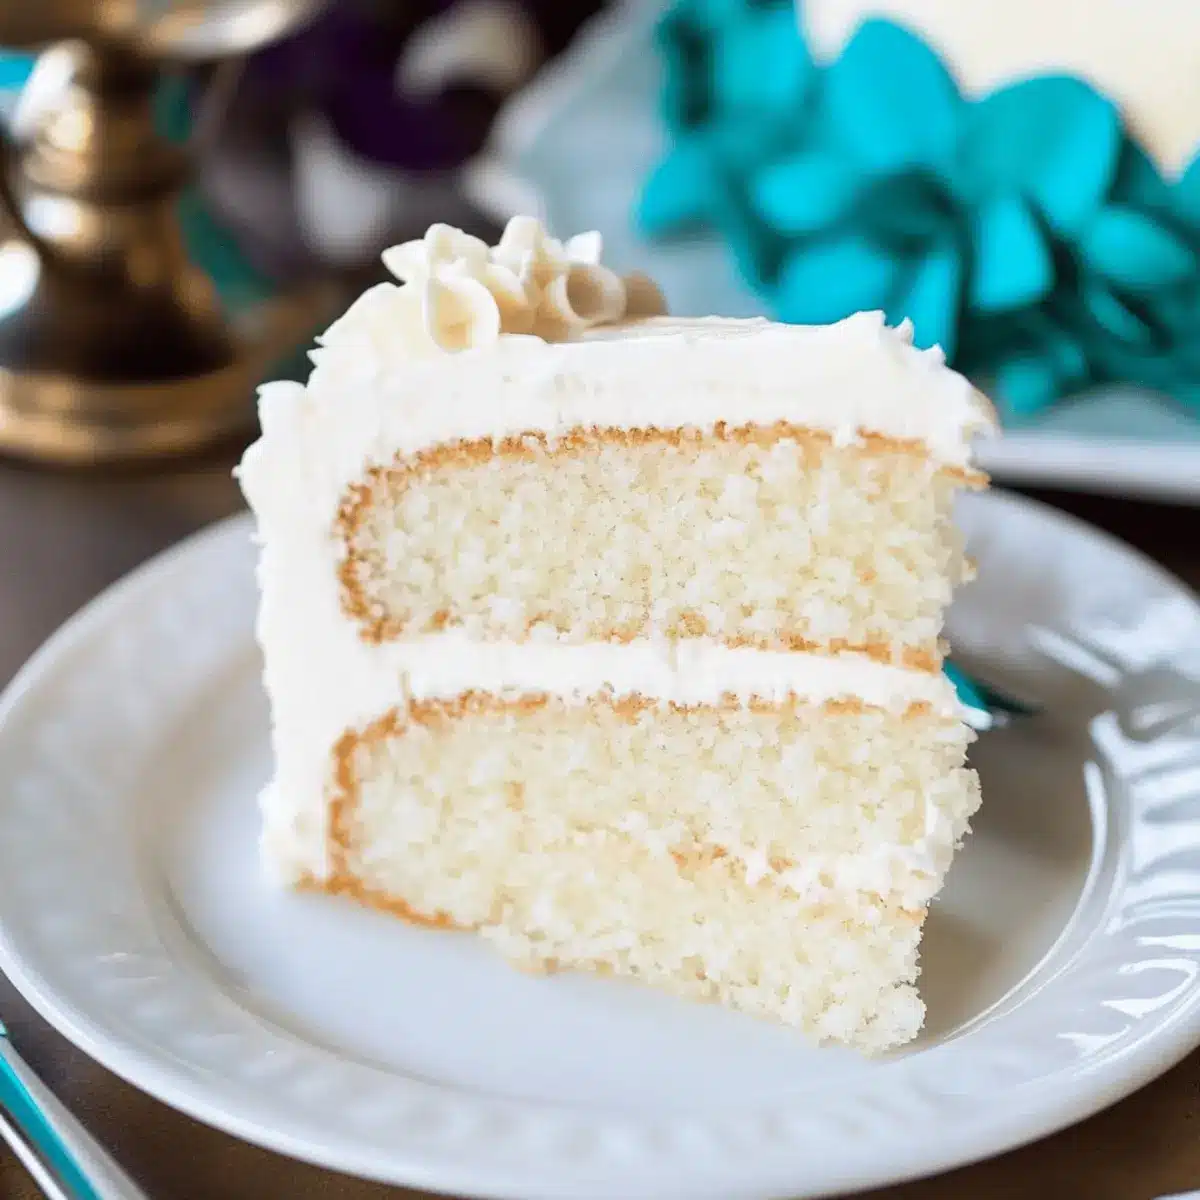
As I was baking the other day, a tantalizing scent floated through my kitchen, drawing me back to childhood birthdays filled with laughter and joy—a two-layer white cake was the star of the show. This recipe for The Best White Cake transforms simple ingredients into a light, fluffy delight that brings a touch of nostalgia to any celebration. Not only is it incredibly easy to whip up, making it perfect for novice bakers, but its sturdy structure holds up beautifully under layers of frosting, allowing for fun decorating ideas. Whether you’re planning a birthday party or a casual family gathering, this white cake is sure to please everyone at the table. Ready to dive into a slice of sweetness that captures the essence of celebration? Let’s get started!
Why is this white cake a must-try?
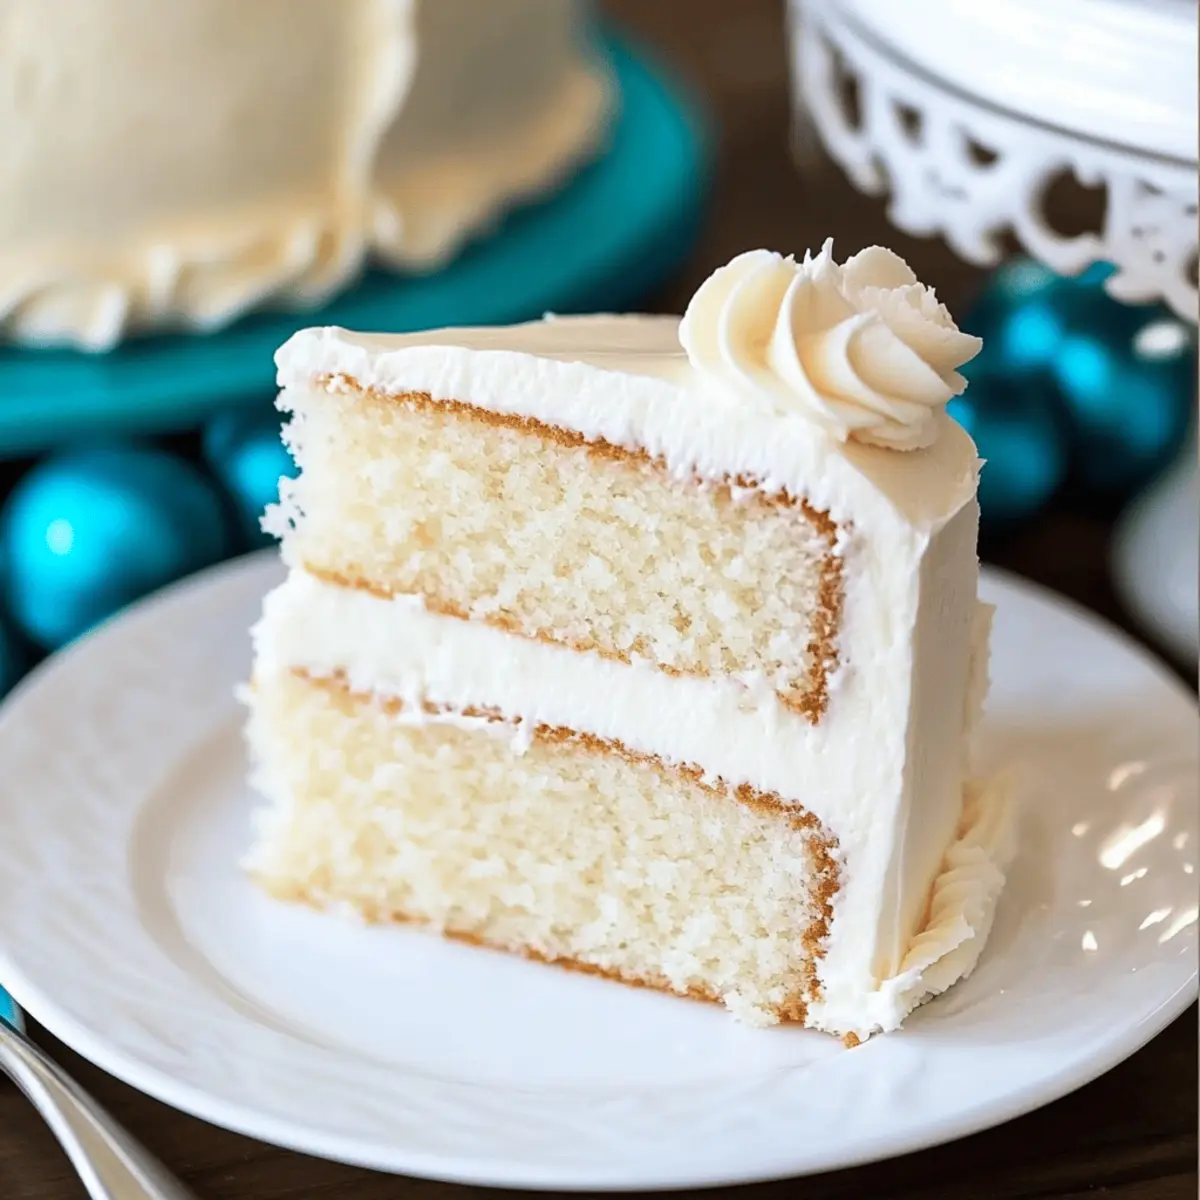
Light, Fluffy Texture: The unique combination of egg whites and careful folding results in a cake that’s as airy as a cloud, perfect for any celebration.
Versatile Delight: Transform this recipe into delightful cupcakes or a vibrant Funfetti cake with just a few tweaks!
Visual Appeal: The pristine white finish serves as a beautiful canvas for any frosting or fresh fruit decorations.
Simple Ingredients: Using just a handful of pantry staples, you can create a bakery-quality dessert without the fuss.
This white cake is not just a treat—it’s a showstopper! For more festive ideas, explore these delightful variations like our Pistachio Carrot Cake or the refreshing Patriotic Poke Cake. Enjoy baking!
White Cake Ingredients
• Here’s everything you need for a perfect white cake!
For the Cake
- Unsalted Butter – Provides richness and moisture; ensure it’s softened to room temperature for better blending.
- Avocado Oil, Canola Oil, or Vegetable Oil – Adds moisture and improves texture without overpowering the flavor.
- Granulated Sugar – Sweetens the cake and helps create a tender crumb.
- Clear Vanilla Extract – Imparts delicious flavor without adding color; don’t substitute with regular vanilla if you want to maintain that pristine whiteness.
- All-Purpose Flour – Essential for structure; measure carefully for accuracy.
- Baking Powder – This leavening agent is key to a beautifully risen cake.
- Salt – Enhances flavor and balances sweetness.
- Milk – Adds moisture; use room temperature for the best batter consistency.
- Egg Whites – Provide lift and create that beloved light texture; ensure they’re at room temperature and beaten to stiff peaks for the best results.
This white cake is sure to bring a smile to the faces of friends and family alike!
Step‑by‑Step Instructions for The Best White Cake
Step 1: Preheat the Oven and Prepare Pans
Begin by preheating your oven to 350°F (175°C). While it warms up, grab two 8-inch round cake pans and thoroughly grease and flour them to ensure your cake releases easily after baking. Creating a dusting of flour creates a barrier, allowing the fluffy white cake to rise seamlessly.
Step 2: Cream the Butter and Sugar
In a large mixing bowl, blend the softened unsalted butter until creamy and smooth. Add in the granulated sugar and your choice of oil, and mix until the ingredients are fully combined and fluffy—a process that usually takes about 3-4 minutes. This step is crucial to build the right texture for your white cake.
Step 3: Incorporate Vanilla Extract
Next, pour in the clear vanilla extract into the creamed mixture and mix until evenly distributed. The clear vanilla is essential for maintaining the cake’s pristine white color while delivering a delicious flavor that enhances the overall taste of your cake.
Step 4: Combine Dry Ingredients
In a separate bowl, sift together the all-purpose flour, baking powder, and salt. This step not only combines the dry ingredients but also aerates the flour for a lighter cake. It’s key for achieving that light and fluffy texture we desire in this white cake.
Step 5: Mix Dry Ingredients with Wet Mixture
Now, gradually add the dry mixture into your creamed mixture, alternating with the room temperature milk. Start and finish with the flour mixture to help ensure everything is well blended without overmixing, as this could impact the cake’s fluffiness. Aim for a smooth batter with no lumps.
Step 6: Beat Egg Whites to Stiff Peaks
In a clean mixing bowl, beat the egg whites until stiff peaks form. This can take about 3-5 minutes; you know they’re ready when they hold their shape firmly. Properly beaten egg whites are essential for the lift and airy structure of your white cake, resulting in a texture that melts in your mouth.
Step 7: Fold in the Egg Whites
Gently fold the beaten egg whites into the batter using a spatula, taking care not to deflate the mixture. This delicate approach ensures that your fluffy white cake maintains its volume, resulting in a light and tender crumb—exactly what you want for your special dessert.
Step 8: Divide and Bake the Batter
Carefully divide the batter evenly between the prepared cake pans. Place them in the oven and bake for 35-40 minutes, rotating the pans halfway through to encourage even cooking. You’ll know they’re done when a toothpick inserted into the center comes out clean, indicating that the cake has set beautifully.
Step 9: Cool the Cakes
Once baked, remove the cakes from the oven and let them cool in the pans for about 15 minutes. After that, gently invert them onto a wire rack to cool completely. This step is essential to prevent excess moisture from forming, ensuring your fluffy white cake remains light and airy.
White Cake Variations & Substitutions
Embrace your creativity and make this fluffy white cake truly your own! These delightful variations and substitutions are sure to inspire your baking adventure.
-
Almond Extract: Swap clear vanilla for 1½ – 2 teaspoons of almond extract to deepen the cake’s flavor profile. The nutty essence adds a charming depth that complements the sweetness beautifully.
-
Cupcakes Option: Turn this cake into cupcakes by filling liners ¾ full and baking at the same temperature for about 18 minutes. Picture a colorful cupcake topped with your favorite frosting—perfect for parties or lunchboxes!
-
Funfetti Twist: Add ½ cup of rainbow sprinkles to the batter for a funfetti version that’s bursting with color and joy! Not only will it look festive, but it also adds a delightful crunch to each bite.
-
Cream Cheese Frosting: For a richer flavor, consider using cream cheese frosting instead of Vanilla Buttercream. The tangy cream cheese pairs wonderfully with the sweet cake, creating a delightful balance.
-
Coconut Flakes: Mix in 1 cup of sweetened shredded coconut for a tropical twist. The delicate texture and flavor elevate the cake, reminiscent of a beachside getaway.
-
Fresh Fruit Topping: Top this cake with fresh seasonal fruits like berries or sliced peaches for a refreshing burst of flavor. A fruity layer can transform the presentation and taste, inviting brighter notes to your palate.
-
Chocolate Layers: For a chocolate lover’s dream, try adding cocoa powder to one of the layers. Just ½ cup will create a fabulous chocolate-studded dessert that contrasts beautifully with the vanilla base.
For more festive baking inspiration, don’t forget to check out our Red White Blue Fruit Kabobs or the delicious White Chocolate Cranberry Cookies. Dive into these variations and have fun creating your masterpiece!
How to Store and Freeze White Cake
Room Temperature: Enjoy your white cake at room temperature for up to 3 days. Keep it covered with plastic wrap or in an airtight container to maintain moisture.
Fridge: If you have leftover cake, store it in the refrigerator for up to 5 days. Make sure it’s well-wrapped to prevent it from absorbing other flavors.
Freezer: For longer storage, wrap slices of white cake tightly in plastic wrap followed by aluminum foil, and freeze for up to 3 months. Thaw in the fridge before serving or frosting.
Reheating: To enjoy a slice warm, heat it in the microwave for 10-15 seconds. This will bring back some of the cake’s fresh-baked goodness!
Expert Tips for the Best White Cake
-
Room Temperature Ingredients: Ensure all ingredients, especially eggs and milk, are at room temperature for optimal blending and batter consistency.
-
Be Gentle with Egg Whites: When folding beaten egg whites into the batter, use a light hand to prevent deflation, preserving the fluffiness essential for this white cake.
-
Sift for Success: Don’t skip the sifting step for your dry ingredients. It aerates the flour and gives your cake a lighter texture.
-
Monitor Baking Time: Keep a close eye on the baking time. Every oven is different, so check your cake a few minutes early to avoid overbaking.
-
Simple Syrup Magic: For extra moisture, drizzle a simple syrup over your layers before frosting, especially effective for cakes made a day in advance.
Make Ahead Options
These white cake layers are a dream for meal prep! You can bake the cakes up to 3 days in advance and store them wrapped in plastic wrap at room temperature to maintain their moisture. If you want an even longer shelf life, feel free to freeze the layers for up to 3 months; just ensure they’re well-wrapped to prevent freezer burn. When you’re ready to serve, simply thaw the layers at room temperature and frost as desired. Drizzling a bit of simple syrup before frosting can help the cake retain its fluffiness, ensuring each slice is as delightful and tender as the day it was baked!
What to Serve with The Best White Cake Recipe
There’s nothing like a sweet slice of cake to bring warmth and joy to your gathering!
-
Fresh Berries: A medley of strawberries, blueberries, and raspberries adds a burst of freshness. Their tartness perfectly balances the sweetness of the cake.
-
Vanilla Ice Cream: A scoop of creamy vanilla ice cream not only complements the cake’s flavors but also brings a delightful contrast in temperature.
-
Lemon Curd: The tartness of lemon curd enhances the sweetness of the cake, making each bite a delightful experience. Consider spreading this on a slice for a zingy twist.
-
Fruit Compote: A warm fruit compote over cake introduces a juicy texture and rich flavor; it’s delightful when served with whipped cream.
-
Chocolate Ganache: A silky chocolate ganache drizzled over the cake adds depth and indulgence—a true celebration of flavors!
-
Coffee or Tea: A warm cup of coffee or a fragrant herbal tea pairs beautifully with cake, enhancing the flavors while creating a soothing experience.
-
Cream Cheese Frosting: For an extra touch of flavor, consider spreading cream cheese frosting, which adds richness and a hint of tanginess, elevating the cake to a new level.
Perfect for special occasions or simply enjoying with family, these pairings will have everyone asking for a second slice of your white cake!
White Cake Recipe FAQs
What’s the best way to select ripe ingredients for my white cake?
Absolutely! For the best results, use room temperature unsalted butter, eggs, and milk, as they blend more effectively, creating a smooth cake batter. Choose eggs with clean shells and check that your butter is pliable, not hard. Fresh milk should have a pleasant aroma and not be nearing its expiration date.
How should I store leftover white cake?
To store your white cake, cover it securely with plastic wrap or place it in an airtight container and keep it at room temperature for up to 3 days. If you think you won’t eat it within that time, transfer it to the refrigerator for up to 5 days. Just remember to rewrap it well to maintain its moisture!
Can I freeze my white cake, and if so, how?
Yes, you can freeze your white cake! First, allow it to cool completely, then wrap it tightly in plastic wrap and aluminum foil to prevent freezer burn. You can freeze it for up to 3 months. When you’re ready to enjoy it, simply thaw it in the refrigerator overnight before serving or frosting.
What should I do if my white cake turns out too dense?
If your cake ends up dense, it could be due to overmixing the batter or not folding in the egg whites gently enough. Always cream the butter and sugar until fluffy, and be careful when incorporating the dry ingredients and beaten egg whites. Remember to alternate between dry and wet while mixing; start and end with flour for the best results.
Are there any dietary considerations I should keep in mind when making white cake?
If you or your guests have allergies, consider using alternative ingredients. For those allergic to eggs, you can use a commercial egg replacer or unsweetened applesauce (1/4 cup per egg). For dairy allergies, plant-based milk and vegan butter are great substitutes. Always label your cake for guests with dietary restrictions to ensure their safety!
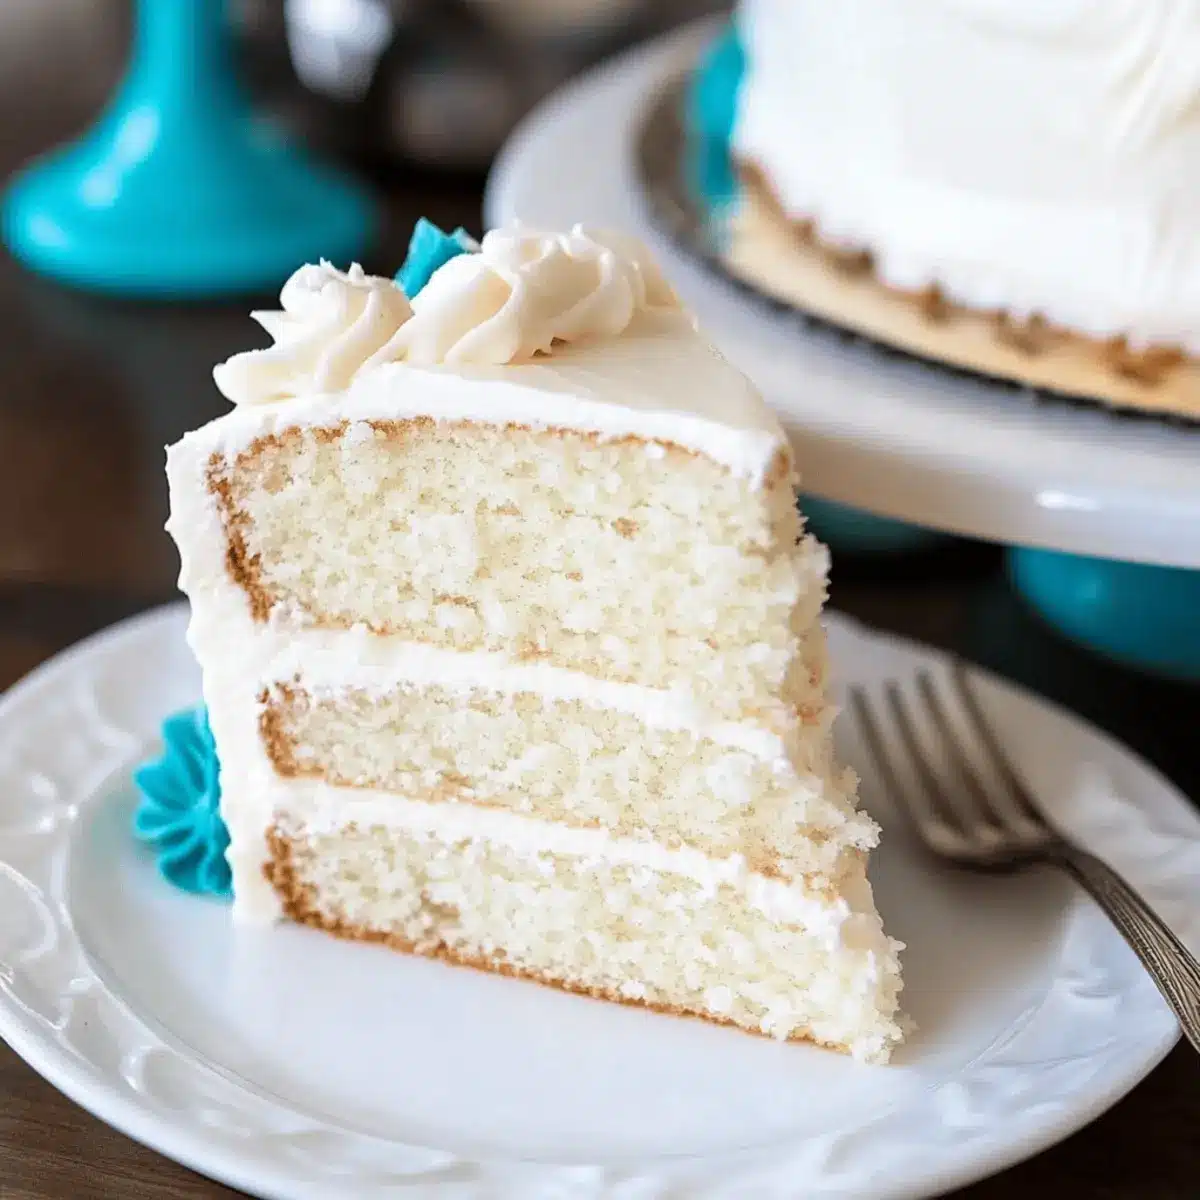
Fluffy White Cake Recipe That Melts in Your Mouth
Ingredients
Equipment
Method
- Preheat your oven to 350°F (175°C) and grease and flour two 8-inch round cake pans.
- In a mixing bowl, blend the softened butter until creamy. Add sugar and oil, mixing until fluffy (3-4 minutes).
- Add clear vanilla extract to the creamed mixture and mix until evenly distributed.
- In a separate bowl, sift together flour, baking powder, and salt.
- Gradually add the dry mixture into the creamed mixture, alternating with room temperature milk.
- In a clean bowl, beat egg whites until stiff peaks form (3-5 minutes).
- Gently fold the egg whites into the batter using a spatula.
- Divide the batter evenly between the prepared pans and bake for 35-40 minutes.
- Allow cakes to cool in the pans for 15 minutes, then invert onto a wire rack to cool completely.