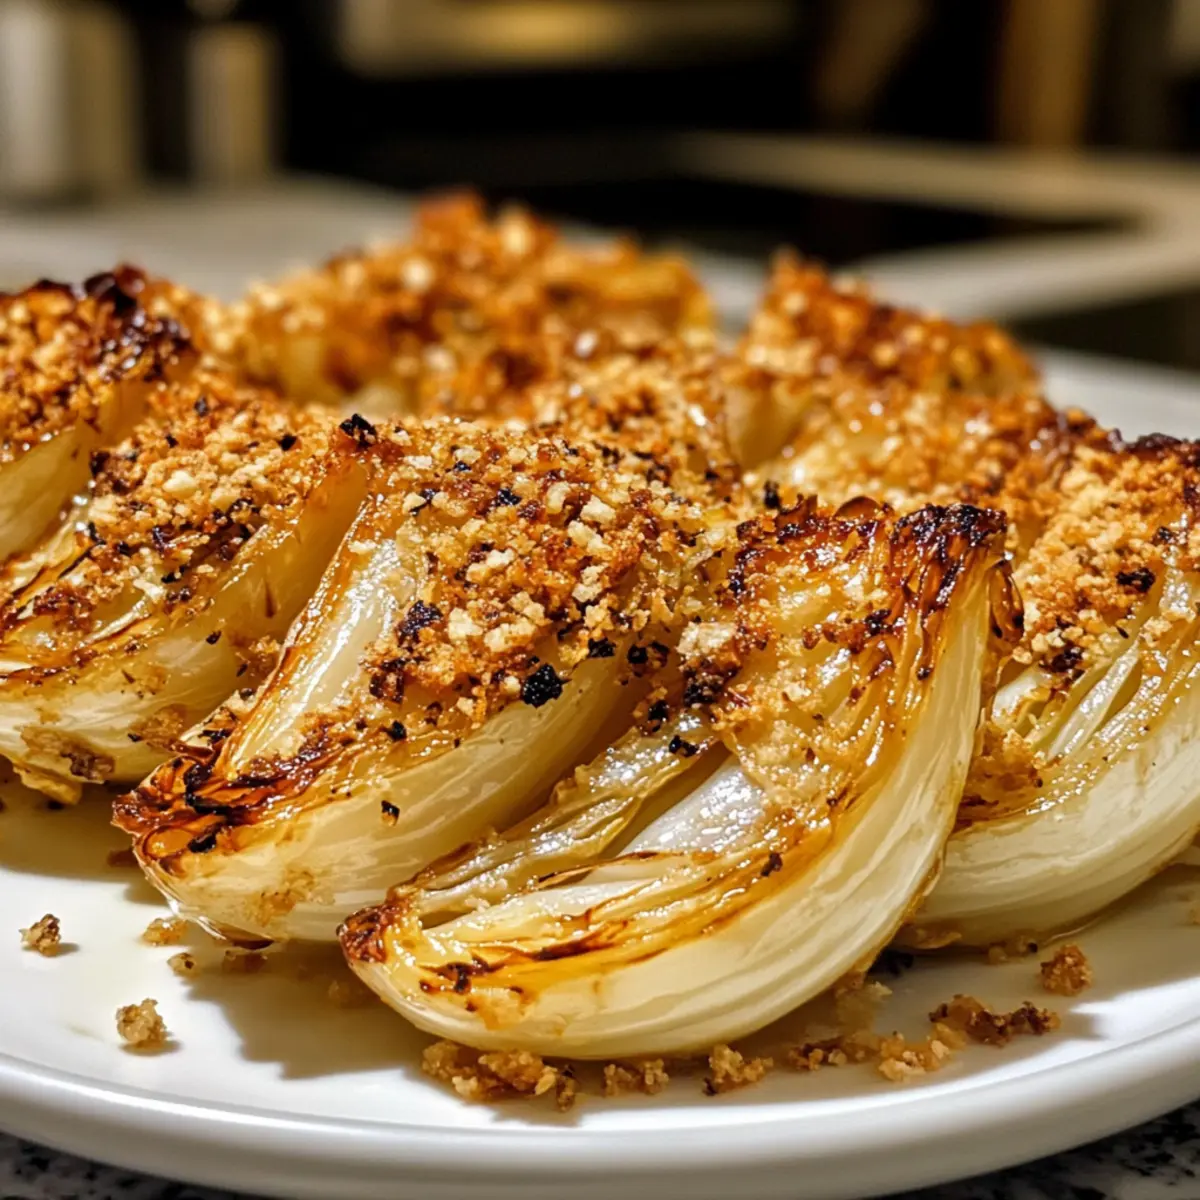
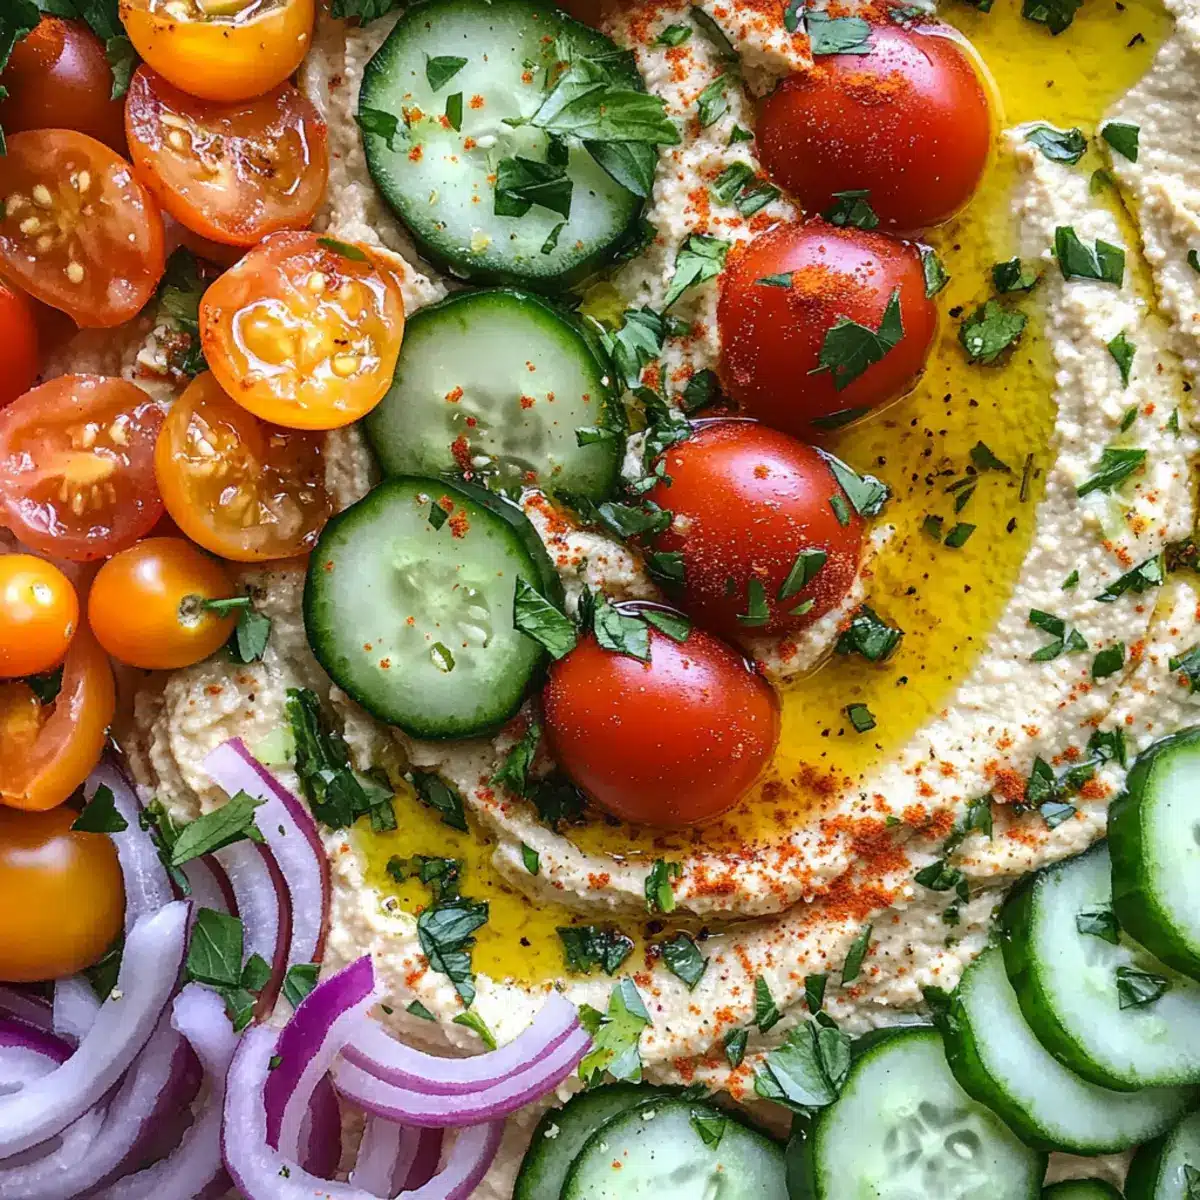
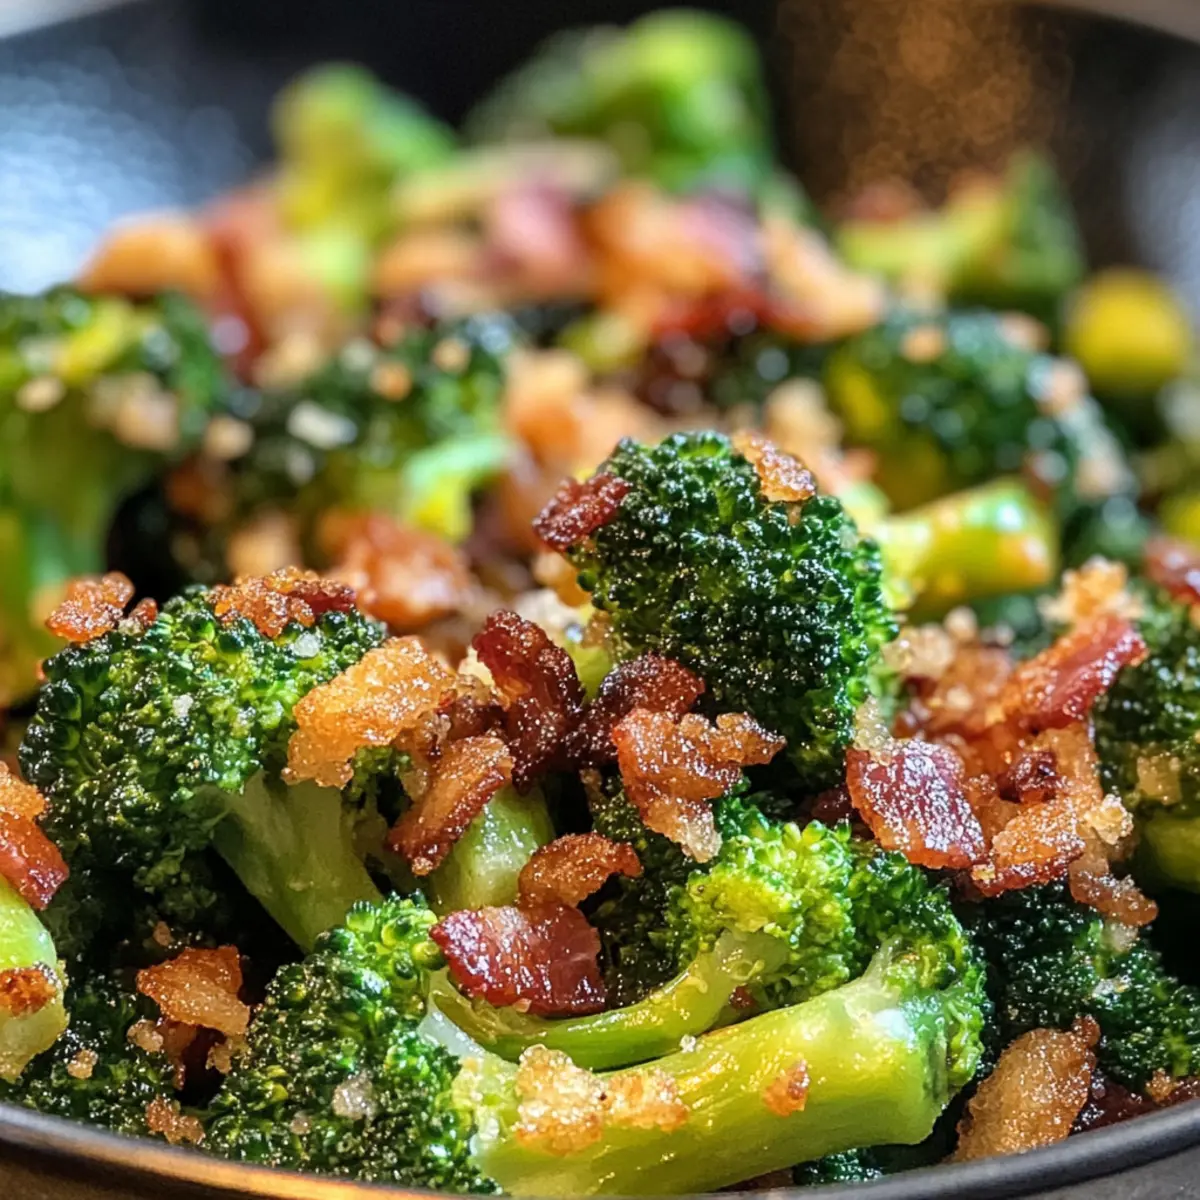
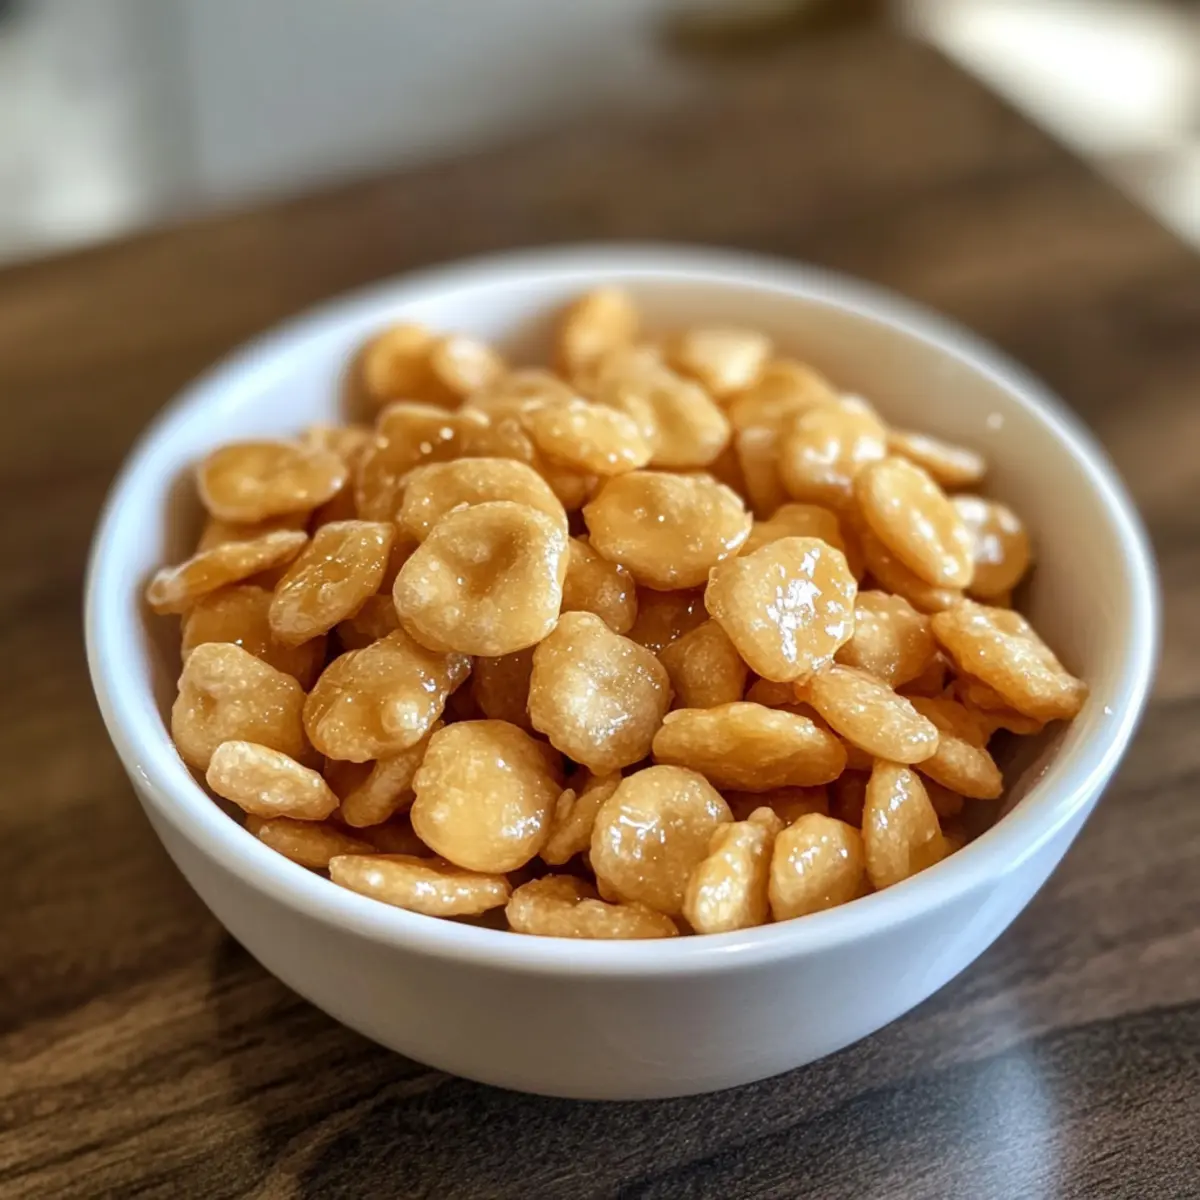
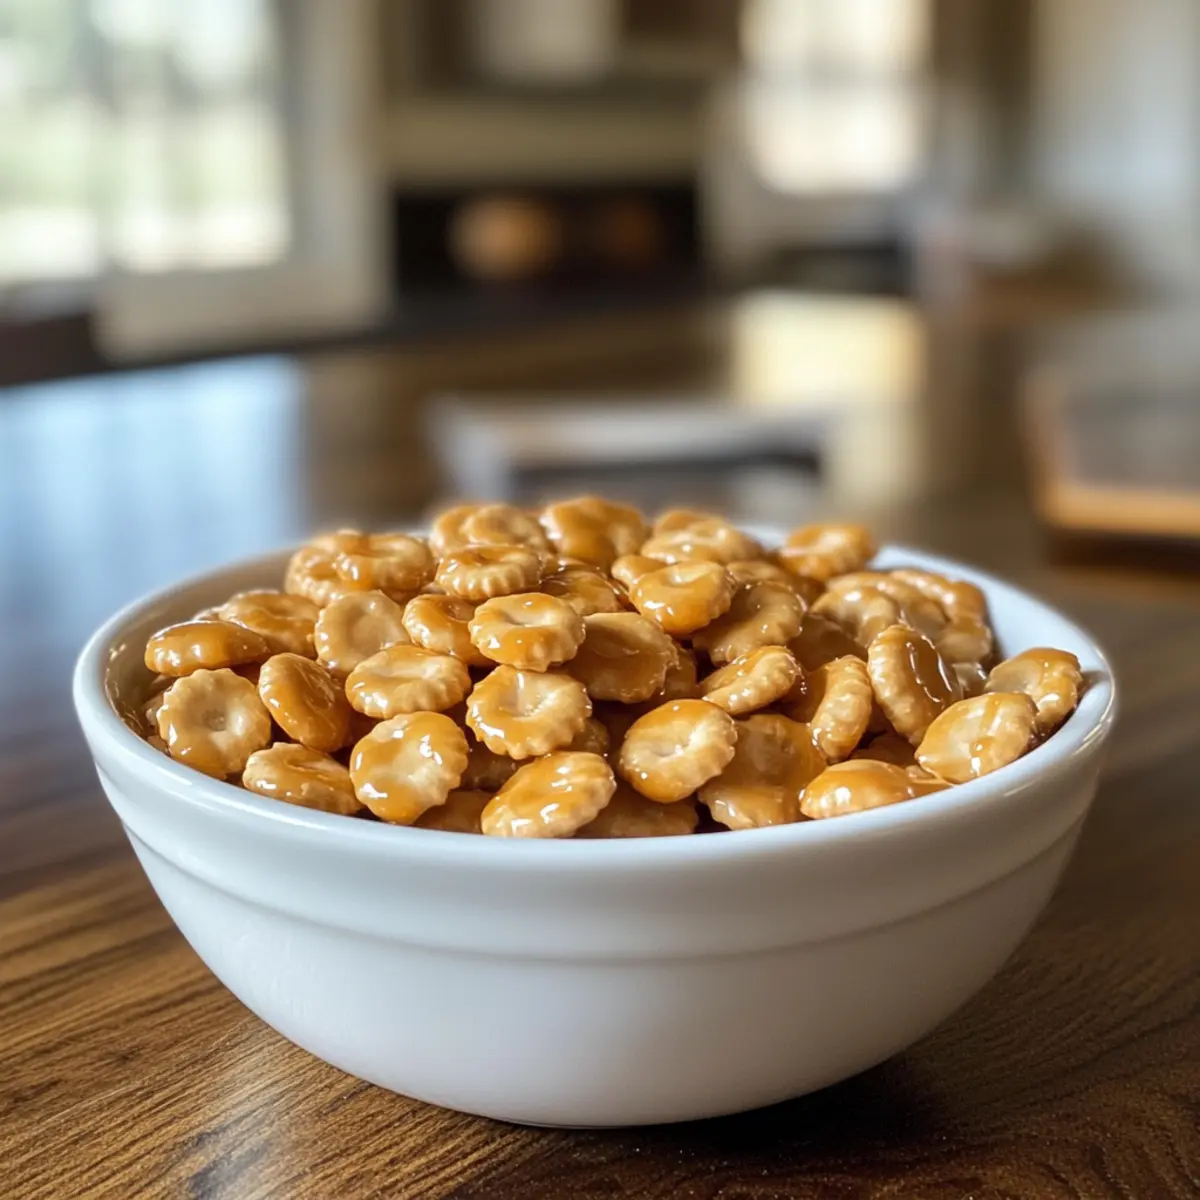
As I rushed through the kitchen, the sweet aroma of melting butter and brown sugar enveloped me like a warm hug. That’s when I decided to whip up a batch of Caramel Crunch Oyster Crackers—a recipe that transforms simple pantry staples into a divine sweet snack! The magic lies in the addictive combination of crispy oyster crackers coated with buttery caramel, creating a treat that’s equal parts sweet and salty. I love how quick and easy this recipe is; it’s perfect for festive gatherings or cozy movie nights when you crave something comforting and indulgent. Plus, it makes an excellent gift when packaged in a charming jar, spreading joy to friends and family alike. Are you ready to crunch into this delightful creation?

Why Are These Crackers Addictive?
Unique Flavor Fusion: The caramel coating perfectly balances buttery sweetness and salty crunch, creating a snack that will make you yearn for more.
Quick Preparation: With just a few steps, you can whip up a batch that will impress your guests or satisfy your sweet tooth!
Versatile Treat: These Caramel Crunch Oyster Crackers are perfect for sharing during holiday gatherings, as a sweet movie snack, or even as thoughtful gifts.
Simple Ingredients: Made with easily accessible pantry staples, this recipe is approachable for cooks of all skill levels.
Crowd-Pleasing Delight: This irresistible mix offers a crunchy twist that’s sure to steal the spotlight, alongside other snacks like Crab Crunchies Snack. Enjoy a delightful experience with every bite!
Caramel Crunch Oyster Cracker Ingredients
For the Caramel Coating
• Butter – rich and creamy, it’s the base that brings everything together in this delicious caramel.
• Brown Sugar – provides a deep sweetness that beautifully complements the buttery flavor.
• Vanilla Extract – enhances the caramel’s warm notes; while optional, it’s highly recommended!
• Baking Soda – this ingredient is critical for creating a light and crunchy texture in the caramel coating.
• Salt – just a pinch balances the sweetness, enhancing the overall flavor profile of the Caramel Crunch Oyster Crackers.
For the Crackers
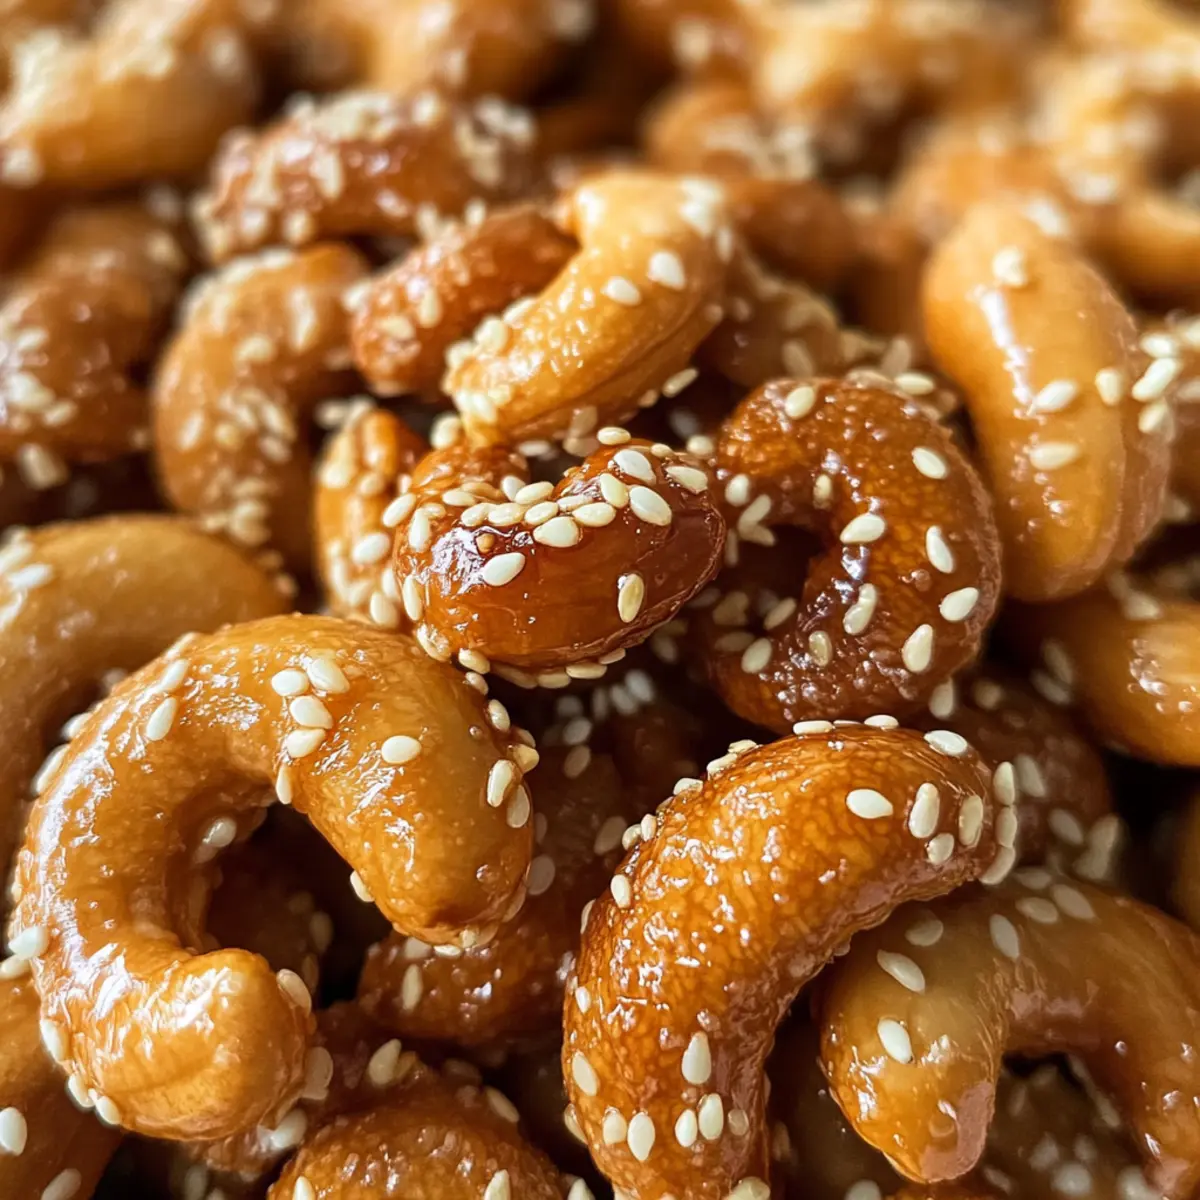
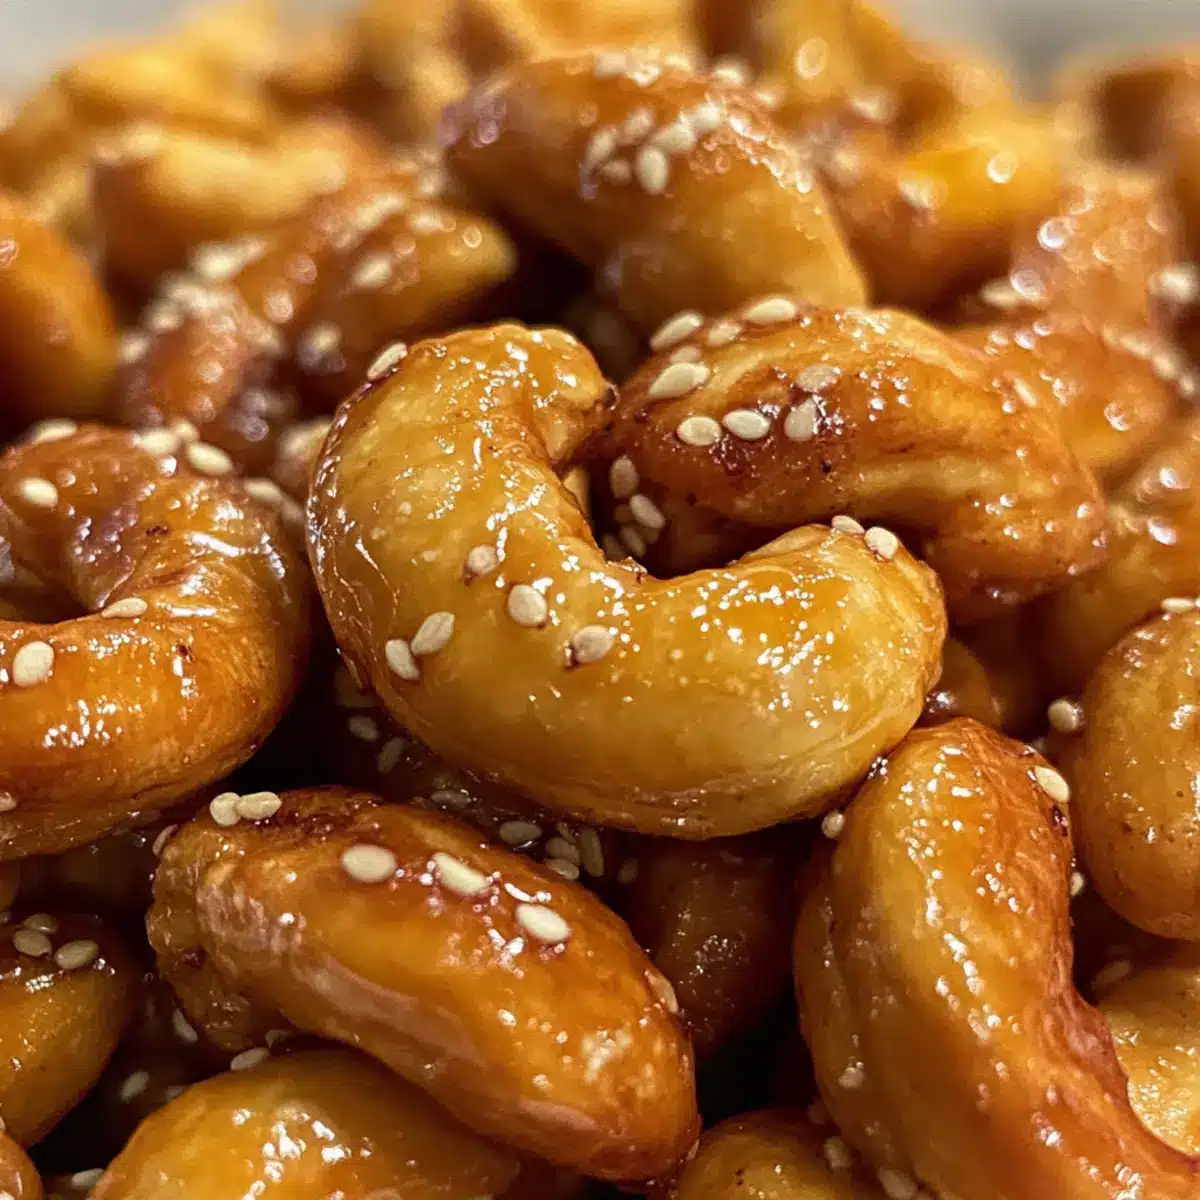
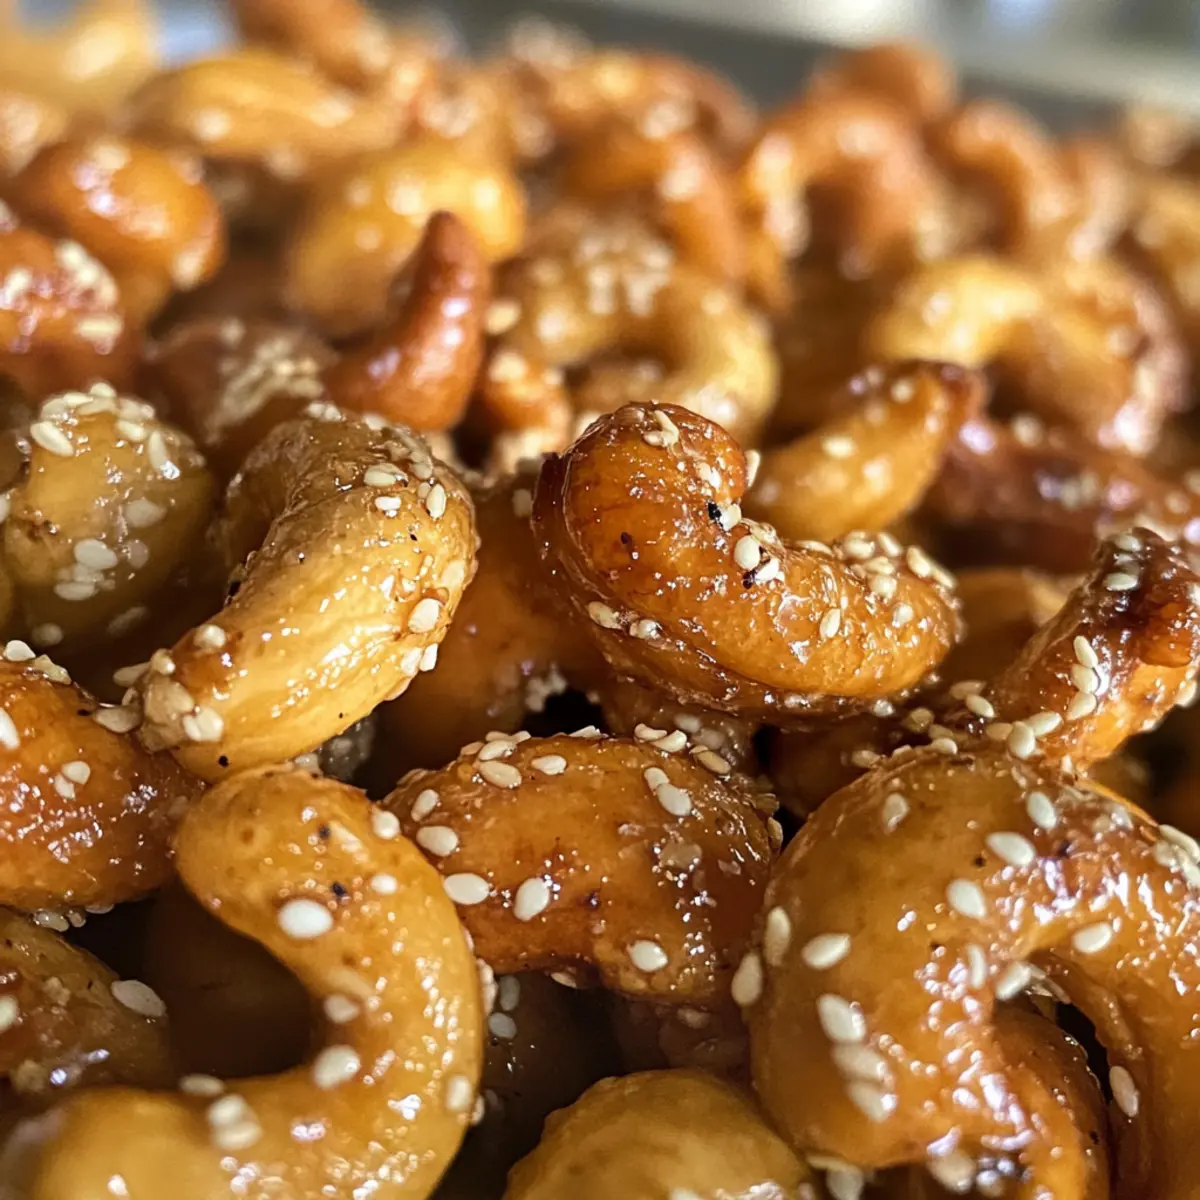
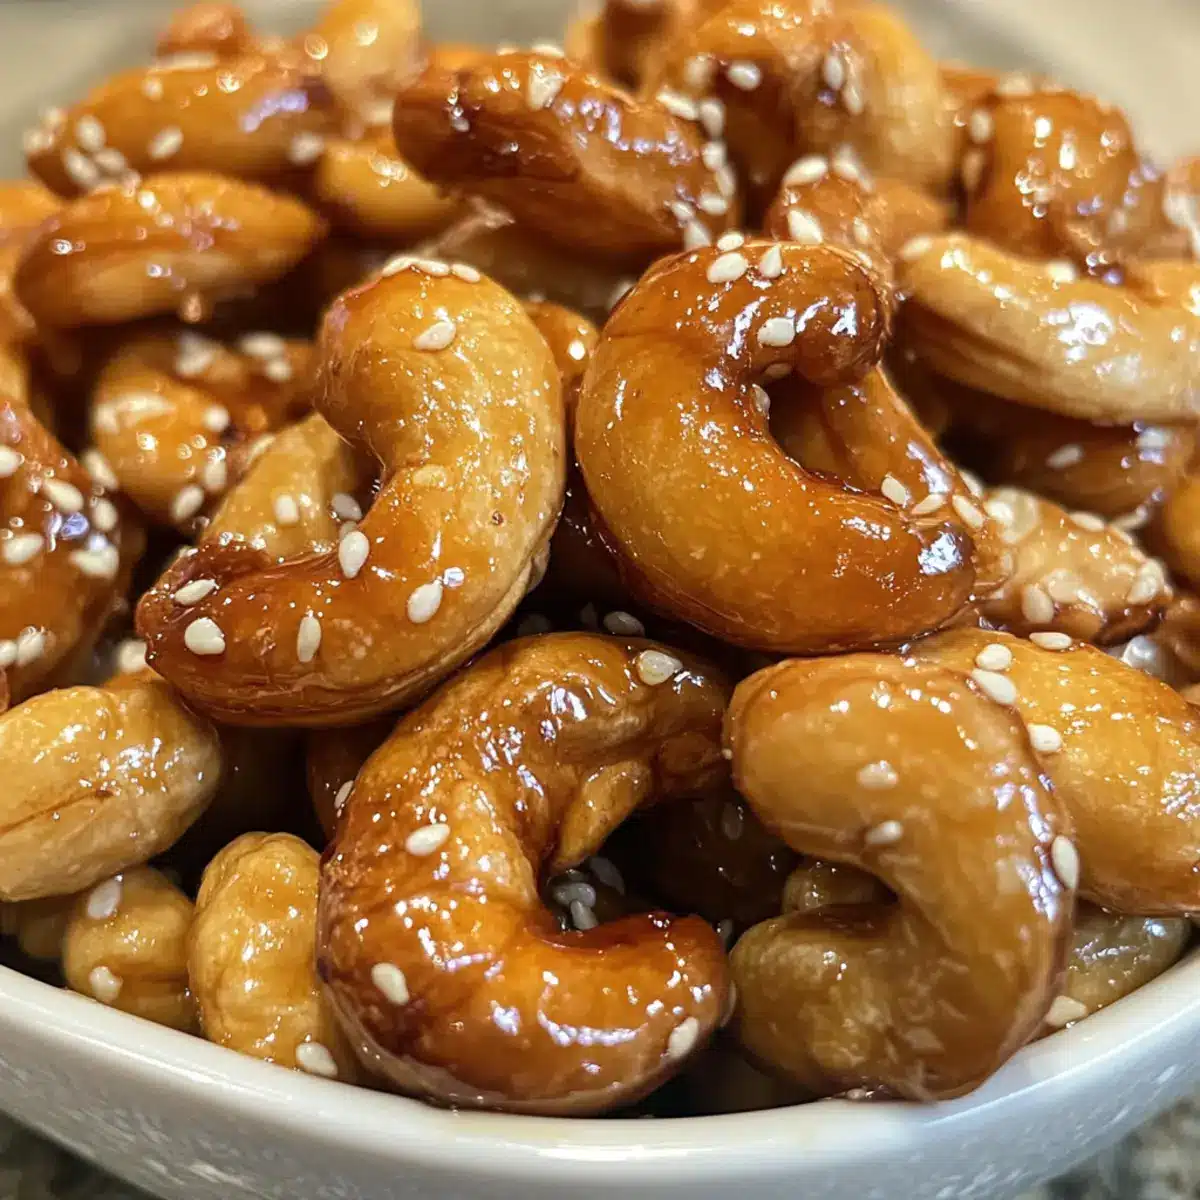
• Oyster Crackers – the perfect crunchy base that holds the caramel coating beautifully; their size is ideal for snacking.
With these simple ingredients, you’ll be on your way to enjoying delightful Caramel Crunch Oyster Crackers in no time!
Step‑by‑Step Instructions for Caramel Crunch Oyster Crackers
Step 1: Preheat the Oven
Begin by preheating your oven to 250°F (120°C). Line a large baking sheet with parchment paper or foil, ensuring it’s ready to hold the delightful Caramel Crunch Oyster Crackers. This step is crucial as it sets the stage for an even baking process, allowing the caramel to coat the crackers perfectly.
Step 2: Create the Caramel
In a medium saucepan, combine butter and brown sugar over medium heat. Stir the mixture continuously to ensure the butter melts evenly and prevents scorching, allowing it to bubble for about 2-3 minutes. Keep an eye on the caramel, and watch for its golden hue as it thickens, transforming into a rich, glossy consistency that will envelop the oyster crackers.
Step 3: Enhance the Flavor
Once the caramel has bubbled and thickened, carefully remove the saucepan from the heat. Stir in the vanilla extract and sprinkle the baking soda into the mixture. Be prepared for a little foaming action as the baking soda reacts, creating a lighter texture for the caramel coating. This magical moment elevates the flavor, making your Caramel Crunch Oyster Crackers irresistible!
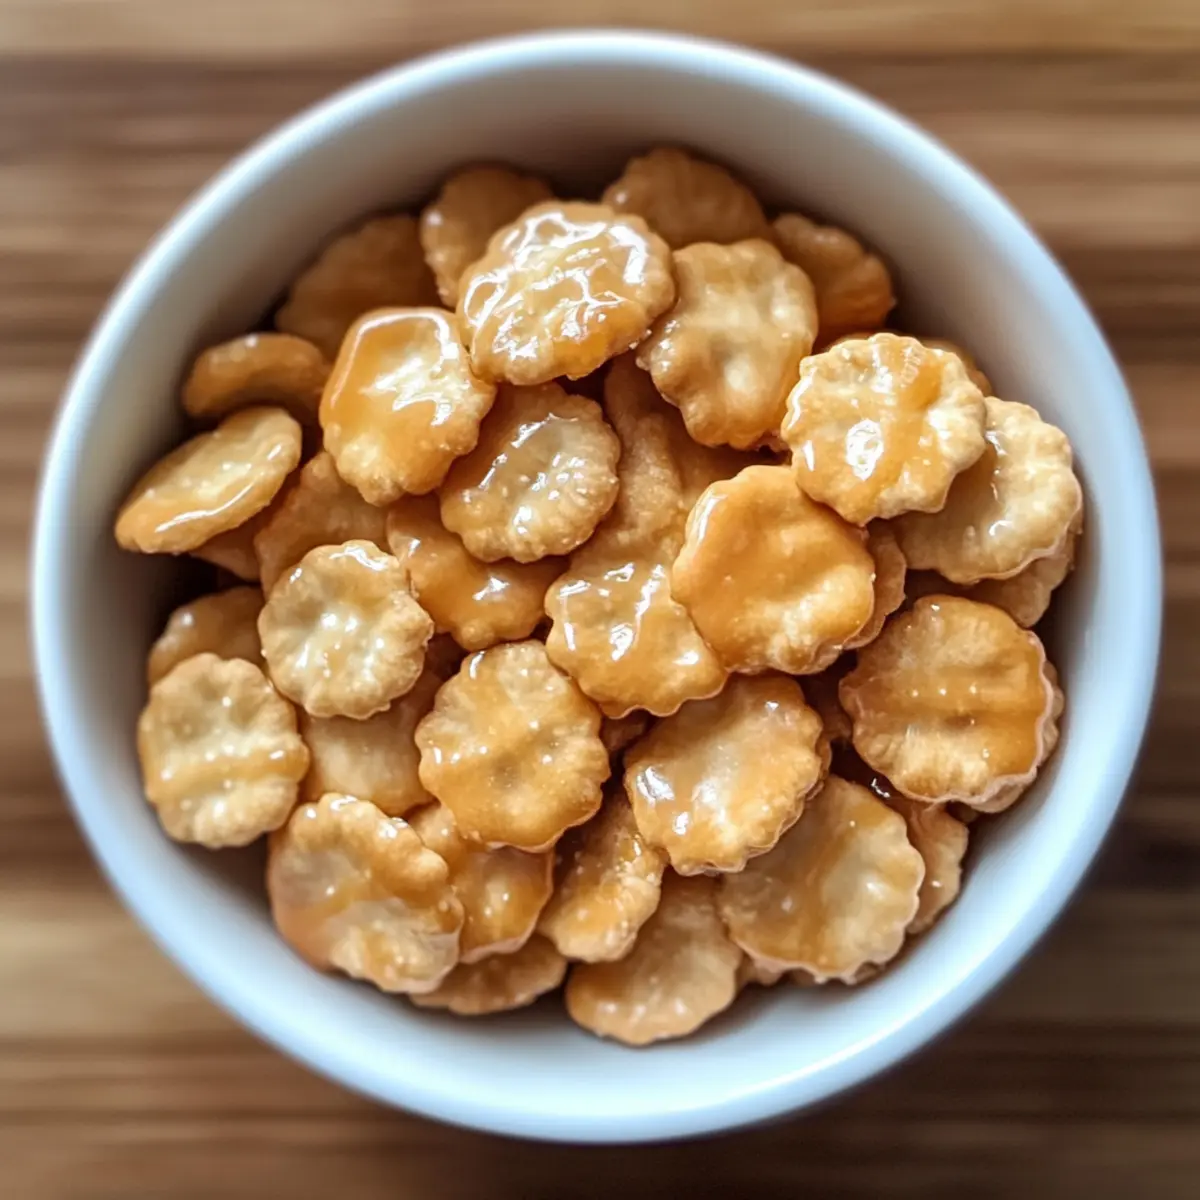
Step 4: Coat the Crackers
In a large mixing bowl, pour the warm caramel over the oyster crackers. Using a spatula, gently mix the crackers and caramel together until each cracker is evenly coated. Take your time with this step, ensuring the buttery caramel envelops every piece, so you get that delicious sweet crunch in every bite of your Caramel Crunch Oyster Crackers.
Step 5: Bake for Crunchiness
Carefully spread the coated oyster crackers onto the prepared baking sheet in an even layer. Bake them in your preheated oven for approximately 45 minutes, stirring every 15 minutes. This ensures that each cracker remains separated and evenly crisp, transforming into the delectable Caramel Crunch Oyster Crackers you’ve been dreaming of.
Step 6: Cool and Serve
Once baking is complete, remove the tray from the oven and let the crackers cool completely on the baking sheet. As they cool, the caramel will harden into a delightful crunch. After cooling, break apart any clumps, and get ready to savor your homemade Caramel Crunch Oyster Crackers. Enjoy them with family or package them as gifts to spread the joy!
Expert Tips for Caramel Crunch Oyster Crackers
-
Storage Secrets: Ensure crackers cool completely before storing in an airtight container. This keeps your Caramel Crunch Oyster Crackers perfectly crunchy!
-
Flavor Variations: Don’t hesitate to add a teaspoon of cinnamon or a handful of chopped nuts to enhance flavor and crunch; it personalizes your delightful creation.
-
Gentle Reheating: If the caramel hardens too quickly, reheat it gently over low heat to make coating the crackers easier and prevent clumping.
-
Gluten-Free Options: If you need to cater to dietary restrictions, opt for certified gluten-free oyster crackers to let everyone enjoy this sweet snack!
-
Avoid Overheating: Watch the caramel carefully while it bubbles; it can easily burn if left unattended. A perfect caramel gives a deep, inviting color without bitterness.
Make Ahead Options
These Caramel Crunch Oyster Crackers are perfect for busy home cooks looking to save time! You can prepare the caramel coating up to 24 hours in advance—simply melt the butter and brown sugar, then store the mixture in an airtight container in the refrigerator. To maintain quality, allow the caramel to come to room temperature before using it to coat the oyster crackers. Additionally, you can measure out and store the oyster crackers separately for up to 3 days. When you’re ready to enjoy your Caramel Crunch Oyster Crackers, just follow the final steps: quickly reheat the caramel if needed, coat the crackers, bake, and they’ll be just as delicious as if made fresh. Enjoy the convenience without compromising on taste!
Caramel Crunch Oyster Crackers Variations
Feel free to let your creativity shine by customizing your Caramel Crunch Oyster Crackers with these delicious variations!
-
Nutty Crunch: Add in chopped pecans or almonds for an extra layer of crunch and flavor. They’ll toast beautifully as the crackers bake!
-
Cocoa Delight: Mix in cocoa powder with the caramel for a chocolatey twist that elevates the sweetness. What a decadent treat that any chocolate lover will adore!
-
Cinnamon Sugar: Sprinkle some cinnamon into the caramel mixture for a warm, comforting flavor. This helps evoke feelings of cozy holidays with every bite.
-
Spicy Kick: Add a pinch of cayenne pepper to the caramel to introduce a delightful heat that complements the sweetness. It’s a fun surprise for daring snackers!
-
Pretzel Swap: Try using mini pretzels instead of oyster crackers for a unique twist on texture. The combination of salty pretzel and sweet caramel is simply irresistible!
-
Almond Extract Boost: Swap vanilla extract for almond extract to give your caramel a new depth of flavor. It’s an unexpected yet delightful change that will impress your taste buds!
-
Seasonal Spice: During the fall, incorporate pumpkin spice into your caramel for a seasonal treat that evokes all the cozy vibes. It’s like autumn in a bite!
-
Mix it Up: Combine different snacks like Cheerios or Rice Chex with the oyster crackers for a crunchy medley! This fun mix will make for an adventurous snack experience.
With all these delightful options, there’s no shortage of ways to tailor your Caramel Crunch Oyster Crackers. Speaking of perfect pairings, how about serving them alongside some delightful Crab Crunchies Snack? The combination will surely be a hit with friends and family!
Storage Tips for Caramel Crunch Oyster Crackers
Airtight Container: Store your Caramel Crunch Oyster Crackers in an airtight container to maintain their crispy texture for up to 1 week.
Room Temperature: Keep the container in a cool, dry place to prevent the caramel from becoming sticky. Avoid areas with high humidity.
Freezing: Freezing is not recommended, as it may cause the caramel to lose its crunch when thawed. Enjoy fresh for the best experience.
Reheating: If the crackers clump together, gently reheat in the oven at a low temperature (around 200°F or 93°C) for a few minutes to restore their crunchiness.
What to Serve with Caramel Crunch Oyster Crackers
Dive into a delightful array of accompaniments that enrich the sweet and salty experience of these irresistible treats.
-
Hot Cocoa: Perfectly paired with the sweet caramel, a warm cup of cocoa will create a cozy, comforting atmosphere.
-
Creamy Vanilla Ice Cream: The luscious ice cream contrasts beautifully with the crunch, elevating your snack into a delectable dessert experience.
-
Nutty Trail Mix: A handful of nutty trail mix adds extra texture and a healthy twist, complementing the cracker’s sweetness with savory elements.
-
Charcuterie Board: Include these crackers on a charcuterie board for a sweet surprise alongside meats and cheeses, charming guests with a variety of flavors.
-
Fresh Fruit Salad: Bright and refreshing, a medley of fruits like strawberries or grapes provides a delightful freshness that balances the sweetness of the crackers.
-
Sparkling Water: A fizzy drink is perfect for cleansing the palate, enhancing the experience with a light and refreshing touch.
Each pairing amplifies the joy of the Caramel Crunch Oyster Crackers, inviting you to explore delicious combinations and create unforgettable moments.
Caramel Crunch Oyster Crackers Recipe FAQs
What type of oyster crackers should I use?
I recommend using plain oyster crackers as they provide the best texture to hold the caramel coating. For those with dietary restrictions, make sure to choose certified gluten-free oyster crackers if needed!
How should I store my Caramel Crunch Oyster Crackers?
Store your Caramel Crunch Oyster Crackers in an airtight container to keep them crisp for up to 1 week. It’s important to keep the container in a cool, dry place, away from humidity, which can make them sticky and lose their delightful crunch.
Can I freeze Caramel Crunch Oyster Crackers?
Freezing is not recommended as it can affect the texture of the caramel, causing it to lose its crunch. It’s best to enjoy them fresh. However, if they do clump together after storage, you can gently reheat them in the oven at approximately 200°F (93°C) for a few minutes to restore their delicious crunchiness.
What can I do if my caramel hardens too quickly?
If your caramel hardens and makes it difficult to coat the crackers, you can gently reheat it over low heat to loosen it up. Stir in a little water or additional butter if necessary to restore a pourable consistency, then coat your crackers as before.
Are there any allergenic ingredients I should consider?
Yes! This recipe contains butter, which is a dairy product. For those with dairy allergies, you could substitute with a nondairy margarine. Also, if you’re adding nuts or using flavored extracts, be sure to consider any allergies associated with those as well.
Sweet and Salty Caramel Crunch Oyster Crackers You’ll Love
Ingredients
Equipment
Method
- Preheat your oven to 250°F (120°C). Line a large baking sheet with parchment paper or foil.
- In a medium saucepan, combine butter and brown sugar over medium heat. Stir continuously for about 2-3 minutes until it bubbles and thickens.
- Remove from heat, stir in vanilla extract and sprinkle baking soda, watch for foaming action.
- Pour the warm caramel over the oyster crackers in a large bowl; mix gently until evenly coated.
- Spread coated crackers onto the prepared baking sheet in an even layer and bake for about 45 minutes, stirring every 15 minutes.
- Let cool completely on the baking sheet, then break apart any clumps and enjoy!