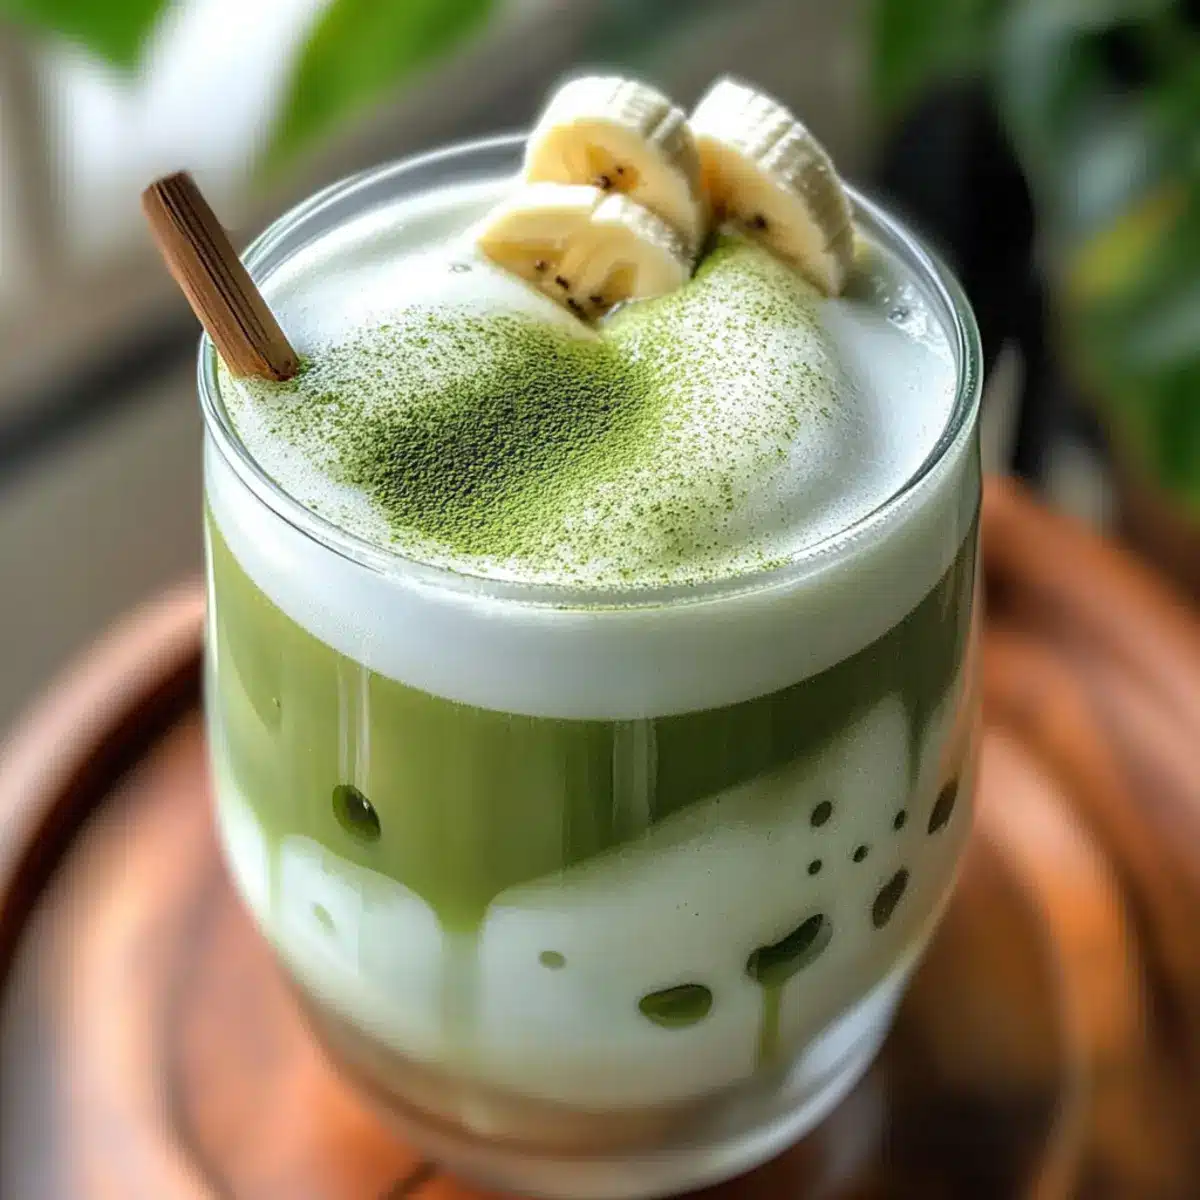
As I stood in my kitchen one sunny morning, the sweet aroma of ripe bananas filled the air, reminding me of cozy cafés and sunlit breakfasts. If you’ve ever craved a delightful pick-me-up that’s easy to whip up, then my Easy Banana Matcha Latte is just for you. This creamy, naturally sweetened drink combines the smooth texture of blended banana with refreshing milk, all while highlighting the earthy undertones of matcha. Not only is it quick to prepare—perfect for busy mornings or lazy afternoons—but it’s also a nourishing alternative to sugary coffee beverages. With just a handful of ingredients, you’re on your way to creating a café-style treat at home. Ready to elevate your drink game and indulge in something truly special? Let’s dive into the recipe!
Why is this latte so special?
Creamy, Delicious Base: The blend of ripe banana and milk creates a smooth and creamy texture that’s simply irresistible.
Naturally Sweetened: Forget added sugars—this latte gets its sweetness from bananas, making it a guilt-free pleasure.
Quick & Easy: Whip this up in just minutes, perfect for busy mornings when you need a boost.
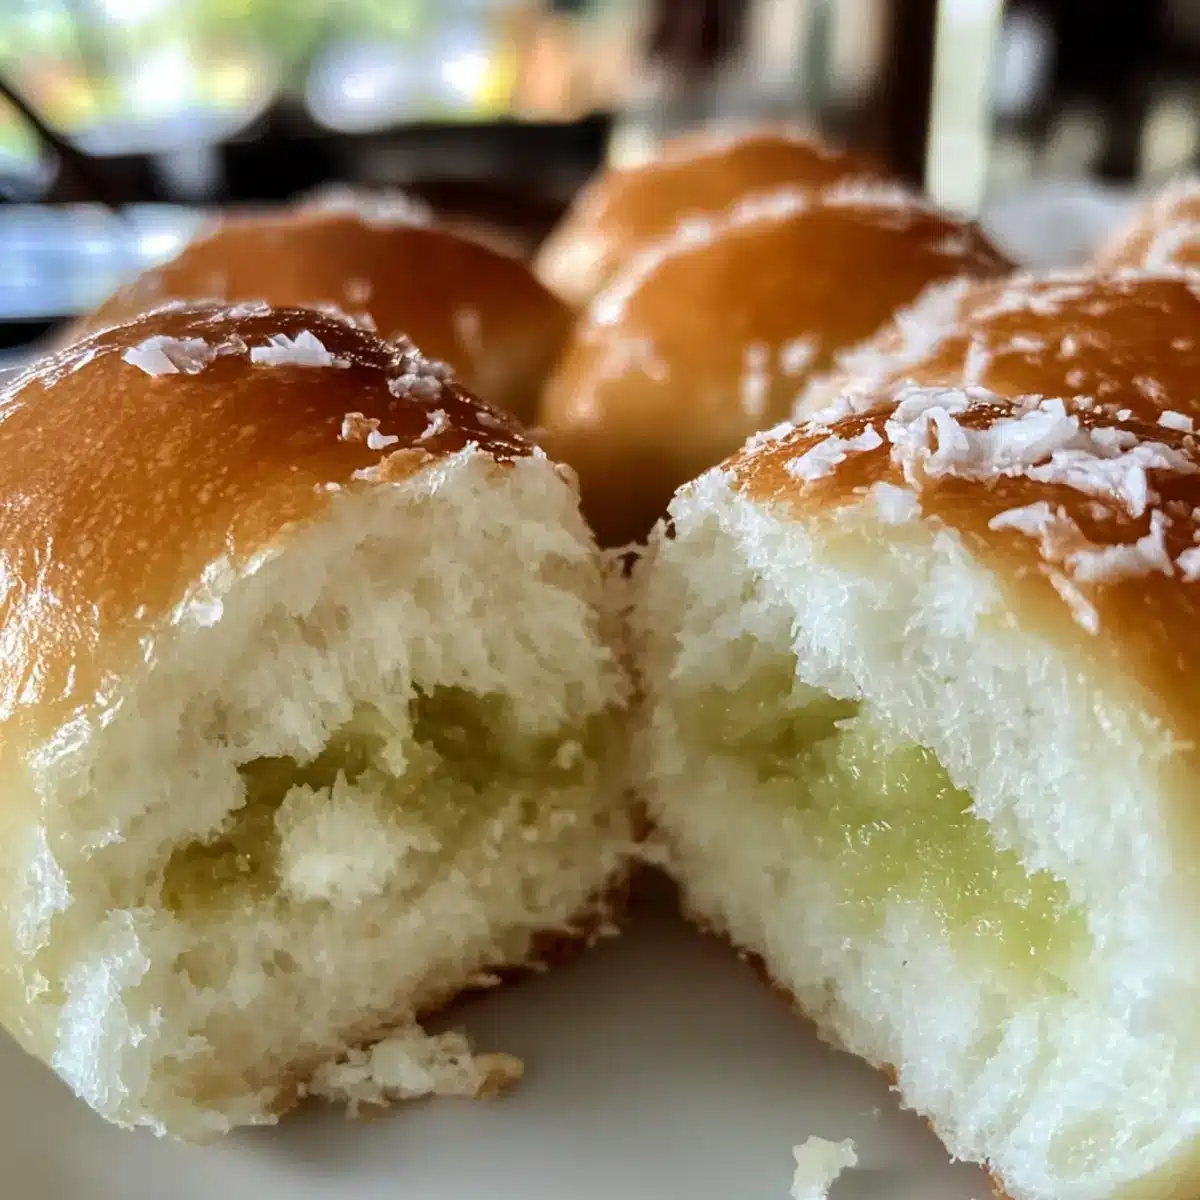
Versatile Options: Experiment with different milk types or add a scoop of nut butter for a nutty twist! Check out my Cheeseburger Pockets Snack for more tasty ideas.
Colorful & Inviting: The vibrant green hues make this latte as visually appealing as it is delicious, ideal for impressing guests or enjoying solo.
Health Benefits: Packed with potassium and antioxidants, this latte isn’t just a treat; it’s a nutritious choice.
Easy Banana Matcha Latte Ingredients
For the Banana Base
- Ripe Banana – Provides natural sweetness and creaminess; overripe bananas work best for flavor and texture.
- Milk – Acts as the liquid base that helps blend the banana and matcha smoothly; any milk (dairy or non-dairy) can be used.
For the Matcha Mix
- Matcha Powder – Adds an earthy flavor and caffeine, essential for the latte experience; use high-quality culinary or latte-grade matcha for the best results.
- Sweetener (optional) – Enhances sweetness according to personal preference; gradually adjust to taste for your ideal Easy Banana Matcha Latte.
Step‑by‑Step Instructions for Easy Banana Matcha Latte
Step 1: Prepare Banana Milk
Start by peeling a ripe banana and placing it in your blender. Add in your choice of milk, around 1 cup, and blend on high for 30-60 seconds until the mixture is smooth and creamy. You can blend only half of the milk for a thicker texture if you prefer. Pour this luscious banana milk into a separate bowl and set aside.
Step 2: Mix the Matcha
In a small cup, measure out about 1 teaspoon of high-quality matcha powder. Add just enough hot water, approximately 2-3 tablespoons at around 175°F (80°C), to dissolve the matcha smoothly. Use a whisk or a milk frother to mix until no clumps remain, and you get a beautiful, rich green paste; this will ensure a well-combined Easy Banana Matcha Latte.
Step 3: Combine the Mixtures
Gradually pour your creamy banana milk into the cup with the whisked matcha, stirring gently as you combine them. This step allows the earthy matcha flavor to infuse evenly throughout the smoothie-like banana milk. If desired, taste your creation and add a touch of sweetener for extra sweetness, whisking it in until fully blended.
Step 4: Serve Your Latte
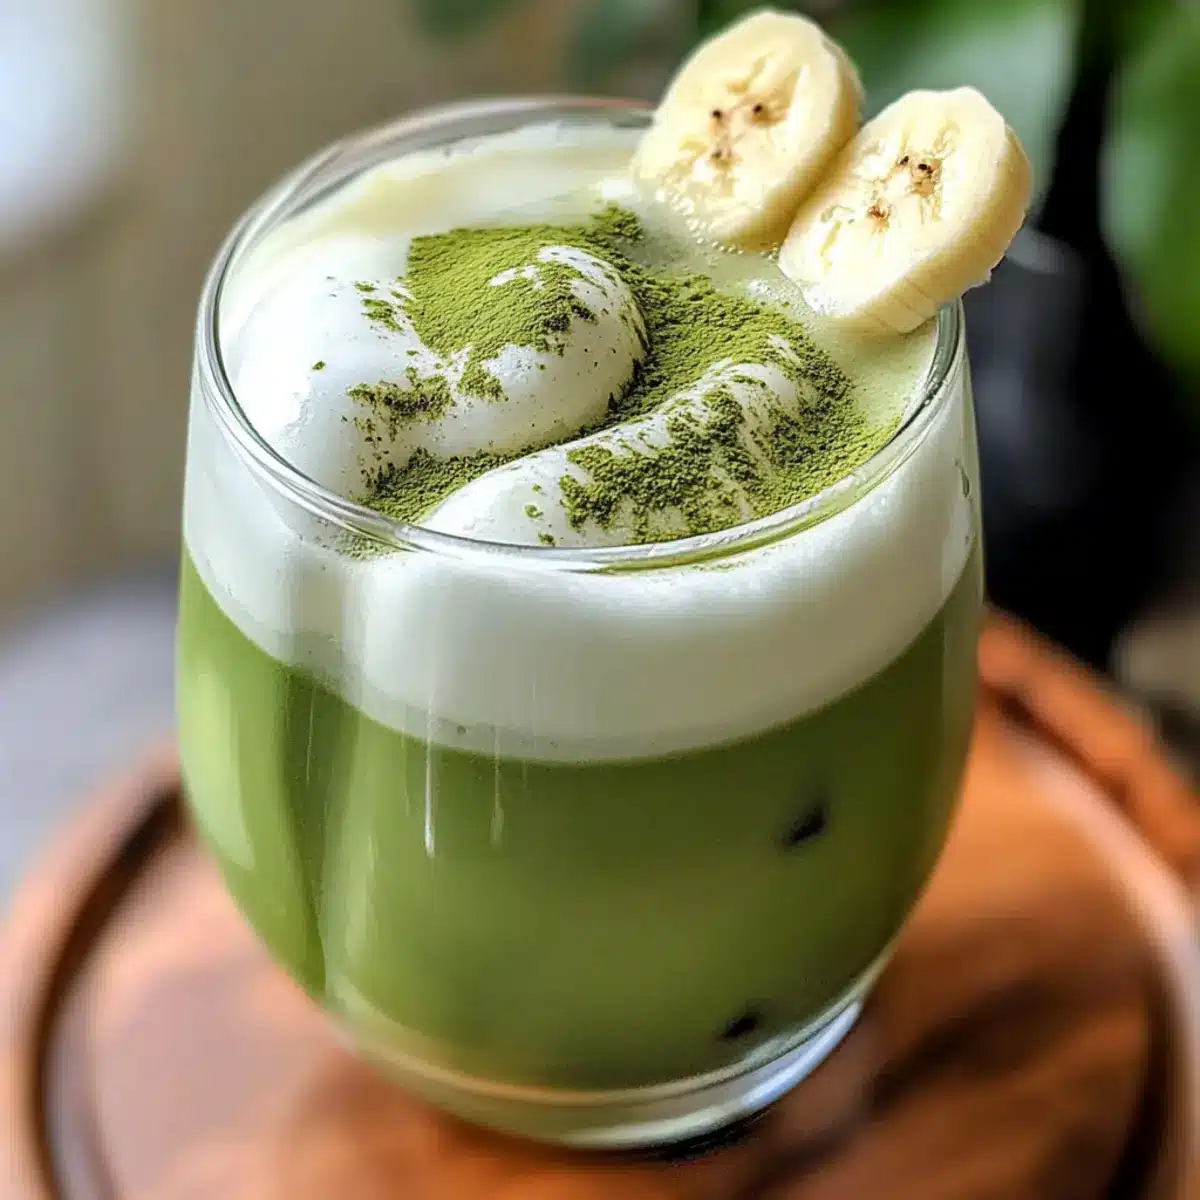
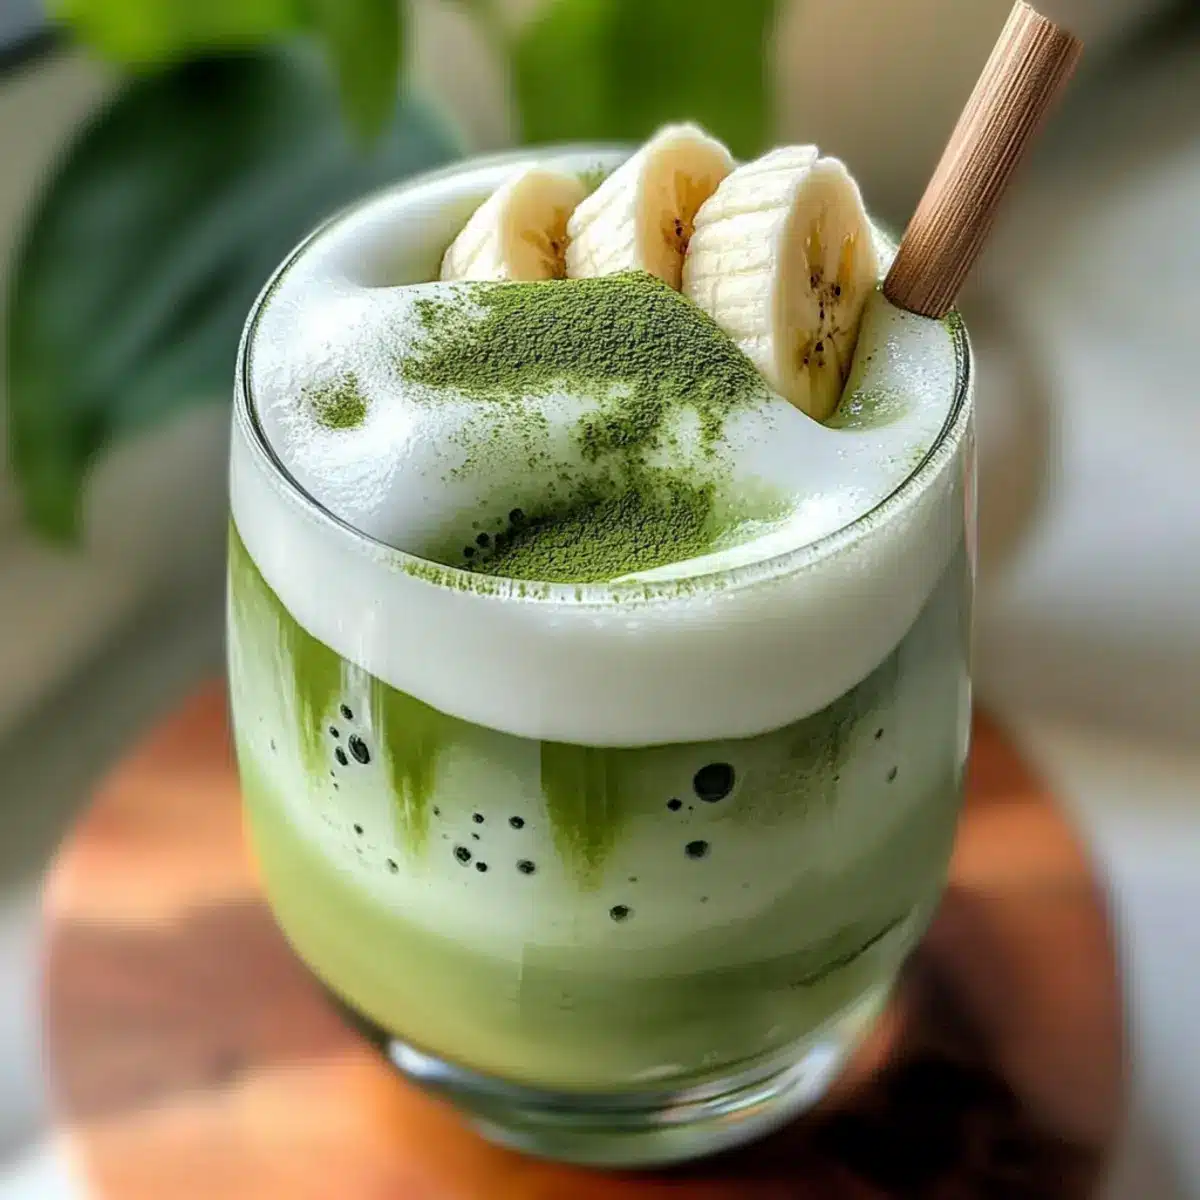
Decide if you want your Easy Banana Matcha Latte hot or cold. For an iced version, fill a glass with ice and pour your latte mixture over it. If you prefer it hot, simply heat the banana milk gently over medium-low heat before pouring in the matcha blend. Garnish with banana slices or a sprinkle of matcha for an inviting finish.
Step 5: Enjoy or Store
Take a moment to savor the aroma before sipping your delightful banana matcha latte. If you’re not drinking it all in one sitting, store any leftover banana milk base in an airtight container in the refrigerator for up to 24 hours. Just give it a good stir before using it again for a quick refresh on another day!
What to Serve with Easy Banana Matcha Latte
As you sip your creamy latte, imagine a delightful spread that complements its refreshing flavors and vibrant colors.
- Fluffy Scrambled Eggs: A warm, soft dish that adds protein and pairs perfectly with the latte’s creamy texture.
- Avocado Toast: Rich and filling, the buttery avocado enhances the freshness of the latte, creating a winning breakfast combo.
- Berry Parfait: Layers of yogurt and fresh berries offer a lovely contrast of tartness and sweetness, balancing the earthy notes of matcha.
- Cinnamon Oatmeal: Comforting and hearty, this warm bowl complements the latte’s natural sweetness, making for a cozy breakfast.
- Homemade Granola Bars: Crunchy, chewy bars add a delightful texture and are a fantastic on-the-go snack beside your latte.
- Mint Lemonade: This crisp, refreshing drink contrasts beautifully with the earthy flavors of matcha, bringing brightness to your meal.
- Chocolate Banana Muffins: Overflowing with sweet banana goodness, these muffins echo the flavors of your latte and are perfect for a sweet treat.
- Light Fruit Salad: A medley of tropical fruits can evoke dreams of sunshine, enhancing the latte experience and refreshing your palate.
- Chamomile Tea: This calming herbal tea makes a tranquil pairing, perfect if you want a gentle afternoon boost alongside your latte.
Easy Banana Matcha Latte Variations
Feel free to unleash your creativity and try these fun twists that can enhance your Easy Banana Matcha Latte experience!
- Nutty Delight: Add a tablespoon of almond or peanut butter for a rich, nutty flavor that complements the latte beautifully. The creaminess it brings is such a treat!
- Chocolate Twist: Substitute matcha with cacao powder for a chocolatey version that’s perfect for sweet cravings. Mix it up and see which one you enjoy more!
- Flavored Milk: Swap out regular milk for your favorite non-dairy option like almond or oat for a unique flavor experience. The possibilities are endless with plant-based alternatives!
- Spicy Kick: Add a sprinkle of cinnamon or a dash of cayenne pepper for a surprising warmth that elevates your drink beautifully. This little spice can lift your mood any time of the day!
- Creamy Coconut: Use coconut milk for a tropical flair that pairs perfectly with banana and matcha. It’s like a mini-vacation in a cup!
- Superfood Boost: Toss in some chia seeds or hemp hearts for added nutrition and texture. They infuse health benefits while giving your latte a delightful crunch!
- Frozen Treat: Freeze your banana milk into ice cubes and blend with matcha for a refreshing slushy version on a hot day. Perfect for a summer pick-me-up!
- Layered Beauty: Pour your banana milk and matcha separately for a stunning layered effect. Not only will it look gorgeous, but it will also add a unique drinking experience!
And while you’re at it, why not try these other delicious recipes like my Strawberry Cheesecake Bars or the savory Shrimp Sausage Foil? They make wonderful complements to your latte!
How to Store and Freeze Easy Banana Matcha Latte
Fridge: Keep any leftover banana milk base in an airtight container in the refrigerator for up to 24 hours. Give it a stir before using it again for a quick refresh.
Freezer: For longer storage, freeze the banana milk in ice cube trays for up to 3 months. Blend the frozen cubes with matcha when you’re ready for a cool treat!
Reheating: Avoid reheating the entire latte. If you prefer it warm, gently warm the banana milk over low heat before mixing in the matcha.
Freshness Tip: While the Easy Banana Matcha Latte is best enjoyed fresh, prepping the banana milk base in advance saves you time on busy mornings!
Make Ahead Options
These Easy Banana Matcha Lattes are perfect for meal prep enthusiasts! You can prepare the banana milk base up to 24 hours in advance by blending a ripe banana with your choice of milk and storing it in an airtight container in the refrigerator. This method helps maintain the smooth texture and prevents browning. When you’re ready to enjoy your latte, simply whisk your matcha powder with hot water, and mix it with the chilled banana milk. This way, you’ll have a creamy and refreshing drink ready in no time—ideal for busy mornings or a delightful afternoon treat! Thus, you can savor a café-style beverage at home with minimal effort.
Tips for the Best Easy Banana Matcha Latte
-
Banana Choice: Use overripe bananas for maximum sweetness and creaminess; they will blend into your latte more smoothly.
-
Matcha Quality: Opt for high-quality culinary or latte-grade matcha to ensure a rich flavor profile; cheap matcha may taste bitter.
-
Blending Method: If you lack a blender, mash the ripe banana thoroughly before whisking it with milk; this ensures a creamy consistency.
-
Temperature Control: For a hot latte, avoid ice and gently warm the banana milk before mixing with matcha; harsh temperature changes can affect the texture.
-
Personalize Sweetness: Taste your latte before adding sweetener; you might find you prefer the natural sweetness of the banana in your Easy Banana Matcha Latte!

Easy Banana Matcha Latte Recipe FAQs
What type of banana is best for making an Easy Banana Matcha Latte?
Overripe bananas are the absolute best choice for this recipe! Their natural sweetness and soft texture make for a creamy and flavorful banana base. Look for bananas with brown spots or ones that are fully yellow—these will blend seamlessly and enhance the sweetness of your latte.
How should I store my Easy Banana Matcha Latte?
You can keep any leftover banana milk base in an airtight container in the refrigerator for up to 24 hours. Make sure to stir it well before using it again to ensure a smooth consistency. If you prepare it all at once and have some left over, just remember to enjoy it fresh!
Can I freeze the banana milk base?
Absolutely! Freeze the banana milk in ice cube trays to store it for longer. This method allows you to keep it for up to 3 months. When you’re ready for a treat, simply blend the frozen cubes with matcha to make your Easy Banana Matcha Latte—perfect for a refreshing iced version!
What can I do if my matcha isn’t dissolving properly?
If you’re having trouble with clumps in your matcha, ensure you’re adding the matcha powder to a small amount of hot water first. Use a whisk or frother to mix until you achieve a smooth paste. This step is crucial, as it ensures that you don’t end up with lumpy matcha in your latte.
Are there any dietary concerns I should know about?
This Easy Banana Matcha Latte is naturally vegetarian and can easily be made vegan by choosing a plant-based milk. If you have allergies, be sure to check the labels on your matcha and milk types. Additionally, if you’re preparing this for children or pets, keep in mind that matcha contains caffeine; you may want to adjust the amount or skip it altogether in those cases.
What sweeteners can I use if I want to adjust the sweetness?
You can use honey, maple syrup, agave nectar, or your favorite sweetener! Start by adding just a small amount and whisk it into the latte until fully mixed. Taste as you go to find your ideal level of sweetness that complements the natural flavors of banana and matcha.
Creamy Easy Banana Matcha Latte for a Refreshing Boost
Ingredients
Equipment
Method
- Peel a ripe banana and place it in your blender. Add in your choice of milk and blend on high for 30-60 seconds until smooth and creamy.
- In a small cup, measure out matcha powder and add enough hot water to dissolve it smoothly. Whisk until no clumps remain.
- Gradually pour your banana milk into the cup with the whisked matcha, stirring gently to combine.
- Decide if you want your latte hot or cold, then serve accordingly.
- Savor the aroma before sipping your delicious Easy Banana Matcha Latte.