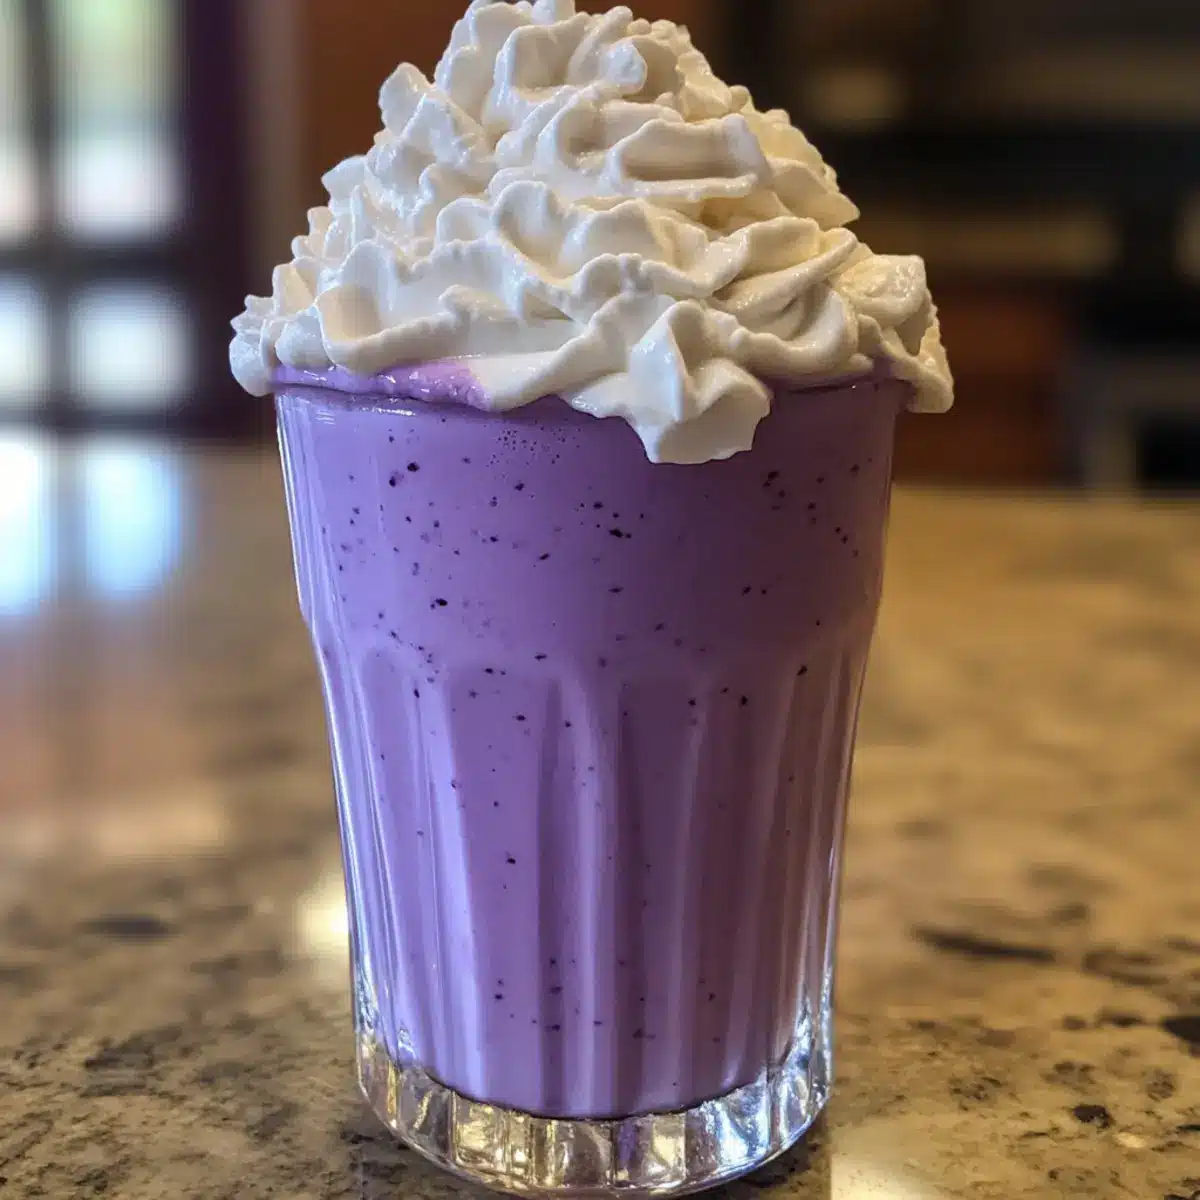
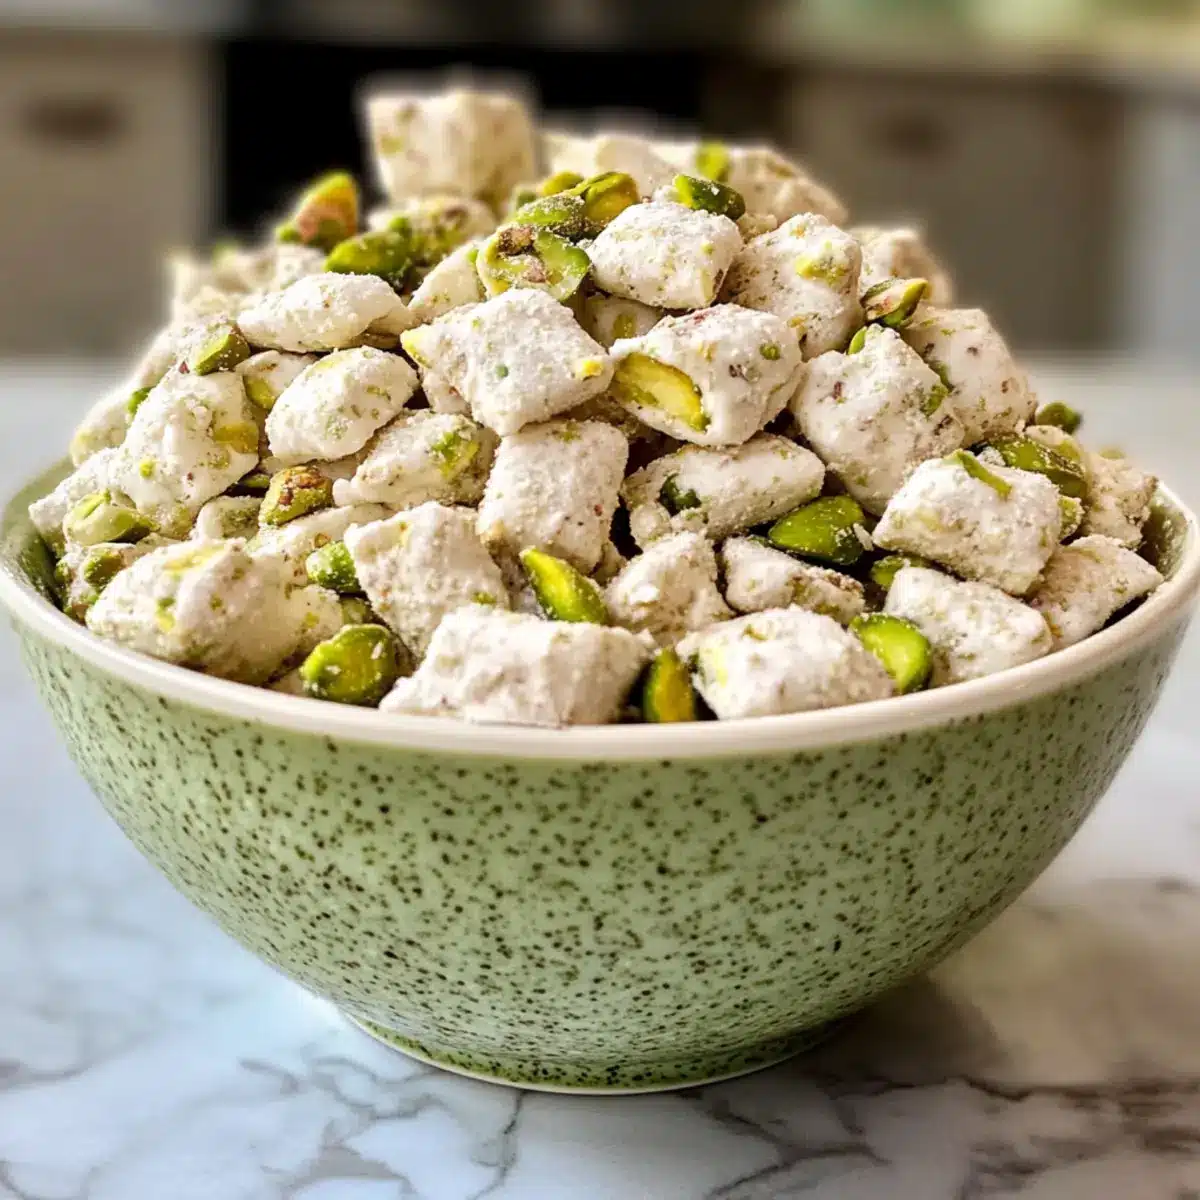
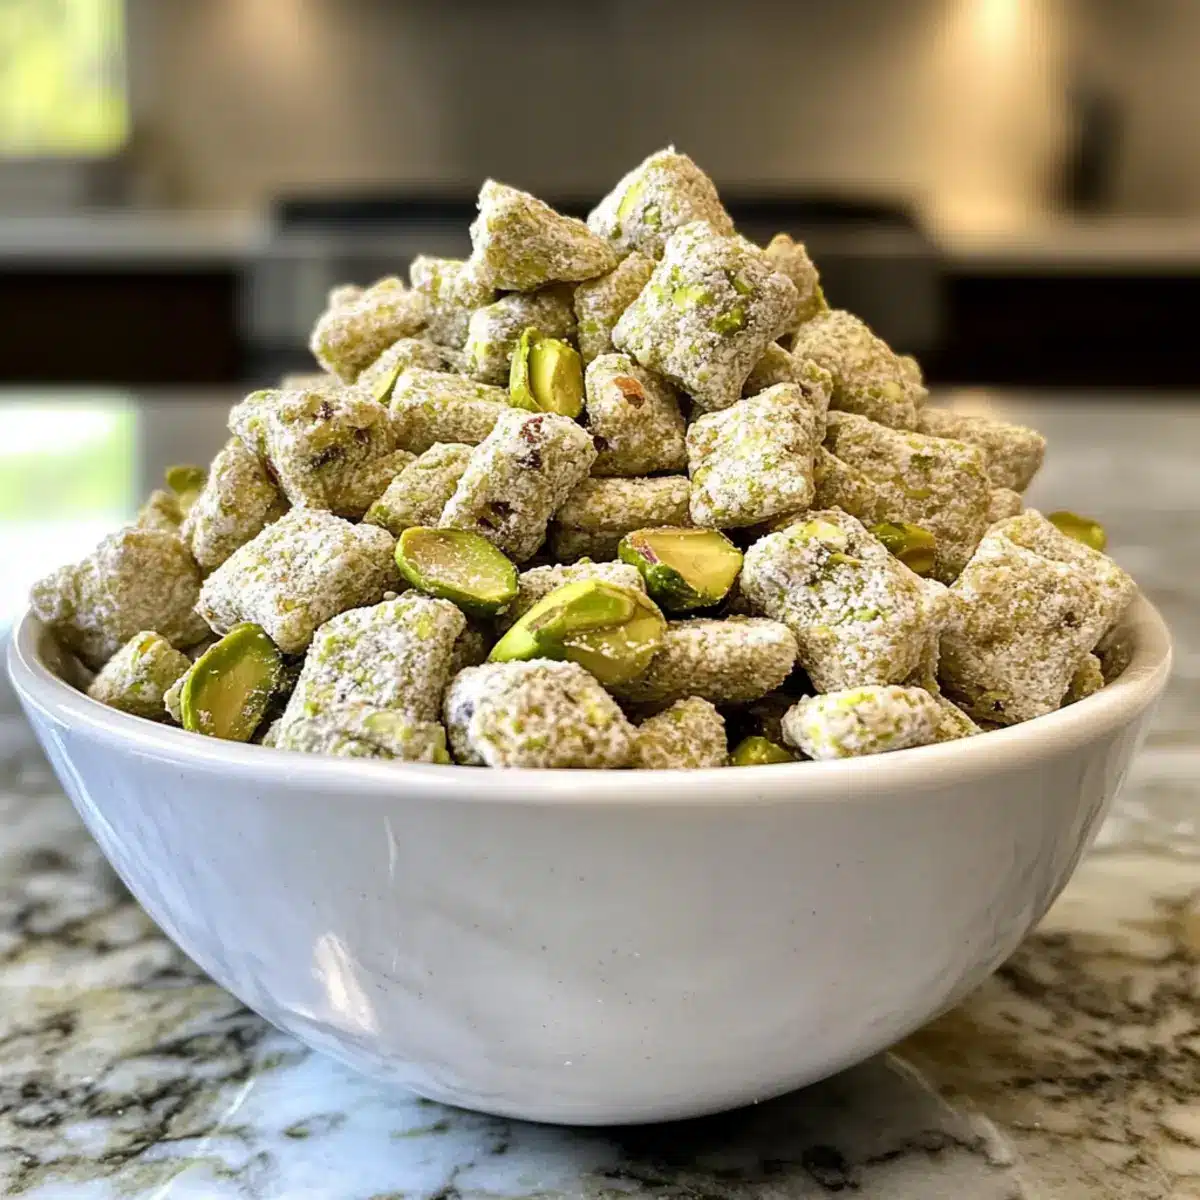
You know that feeling when you uncover a treasure from your childhood? That’s exactly what making Pistachio Puppy Chow brings to mind! This simple and sweet recipe is a delightful blend of nostalgia and modern indulgence, perfect for satisfying your sweet tooth or impressing guests at gatherings. With just 15 minutes of prep time, this crunchy treat is not only gluten-free when using the right Chex and pudding mix, but it also delivers a colorful burst of flavor that makes it a fantastic crowd-pleaser. Imagine serving a bowl of this vibrant mix during movie nights or as a unique gift – you won’t believe how quickly it disappears! Are you ready to dive into this delicious, pistachio-infused adventure? Let’s get started!
Why is Pistachio Puppy Chow So Irresistible?
Nostalgic Delight: This Pistachio Puppy Chow is a treasure trove of memories, combining nostalgic flavors with a modern twist.
Quick and Easy: With just 15 minutes of prep, it’s perfect for last-minute snacking or surprises!
Colorful Presentation: Its vibrant green hue not only looks festive but also makes it a hit at parties.
Gluten-Free Option: Easily modify using gluten-free Chex and pudding mix to ensure everyone can enjoy this treat!
Versatile Snacking: Serve it as a crunchy snack, a fun movie night munch, or even package it for gift-giving! Combine it with recipes like Summer Corn Chowder for a perfect treat spread.
Pistachio Puppy Chow Ingredients
• Experience the magic of flavor with these delightful ingredients!
For the Cereal Base
- Rice Chex cereal – Adds the perfect crunch and texture; feel free to substitute with Crispix or Corn Chex for a delightful twist.
For the Coating
- White chocolate chips – Provides irresistible sweetness and a smooth finish; consider using vanilla or butterscotch chips for a flavored variation.
- Unsalted butter – Enhances richness; it’s crucial to stick with butter instead of margarine for best results.
- Sweetened condensed milk – Infuses creaminess; an essential ingredient for achieving that beloved consistency, no substitutes recommended.
For Flavoring
- Instant pistachio pudding mix – The star of this recipe, delivering vibrant flavor and color; try swapping for vanilla or banana if you’re feeling adventurous!
- Vanilla extract – Elevates the overall taste; opt for pure vanilla for a richer flavor profile.
For the Topping
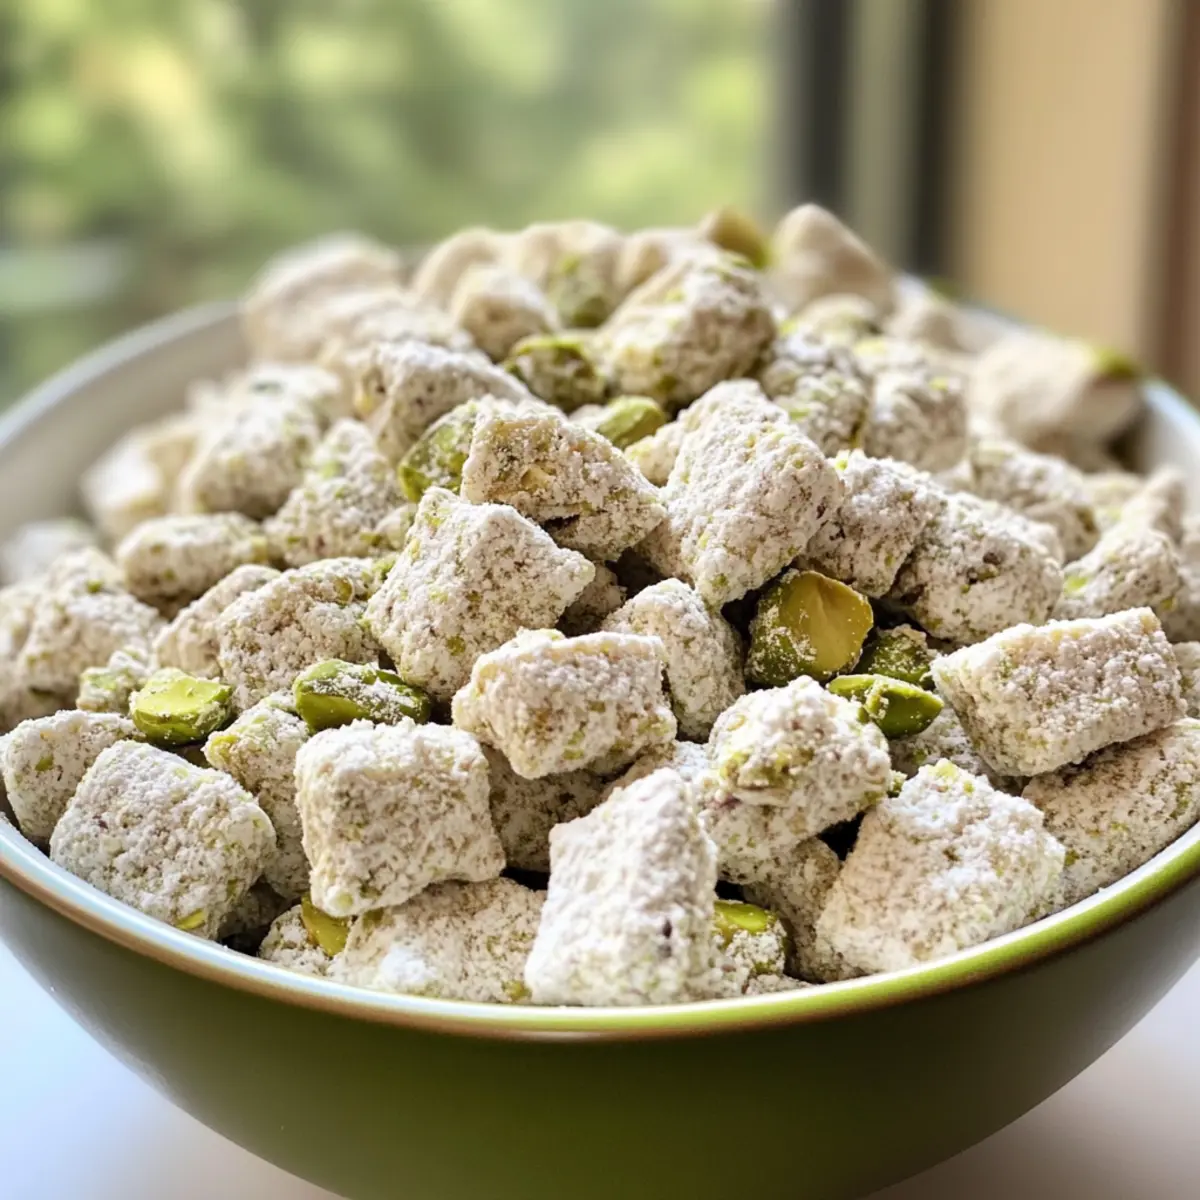
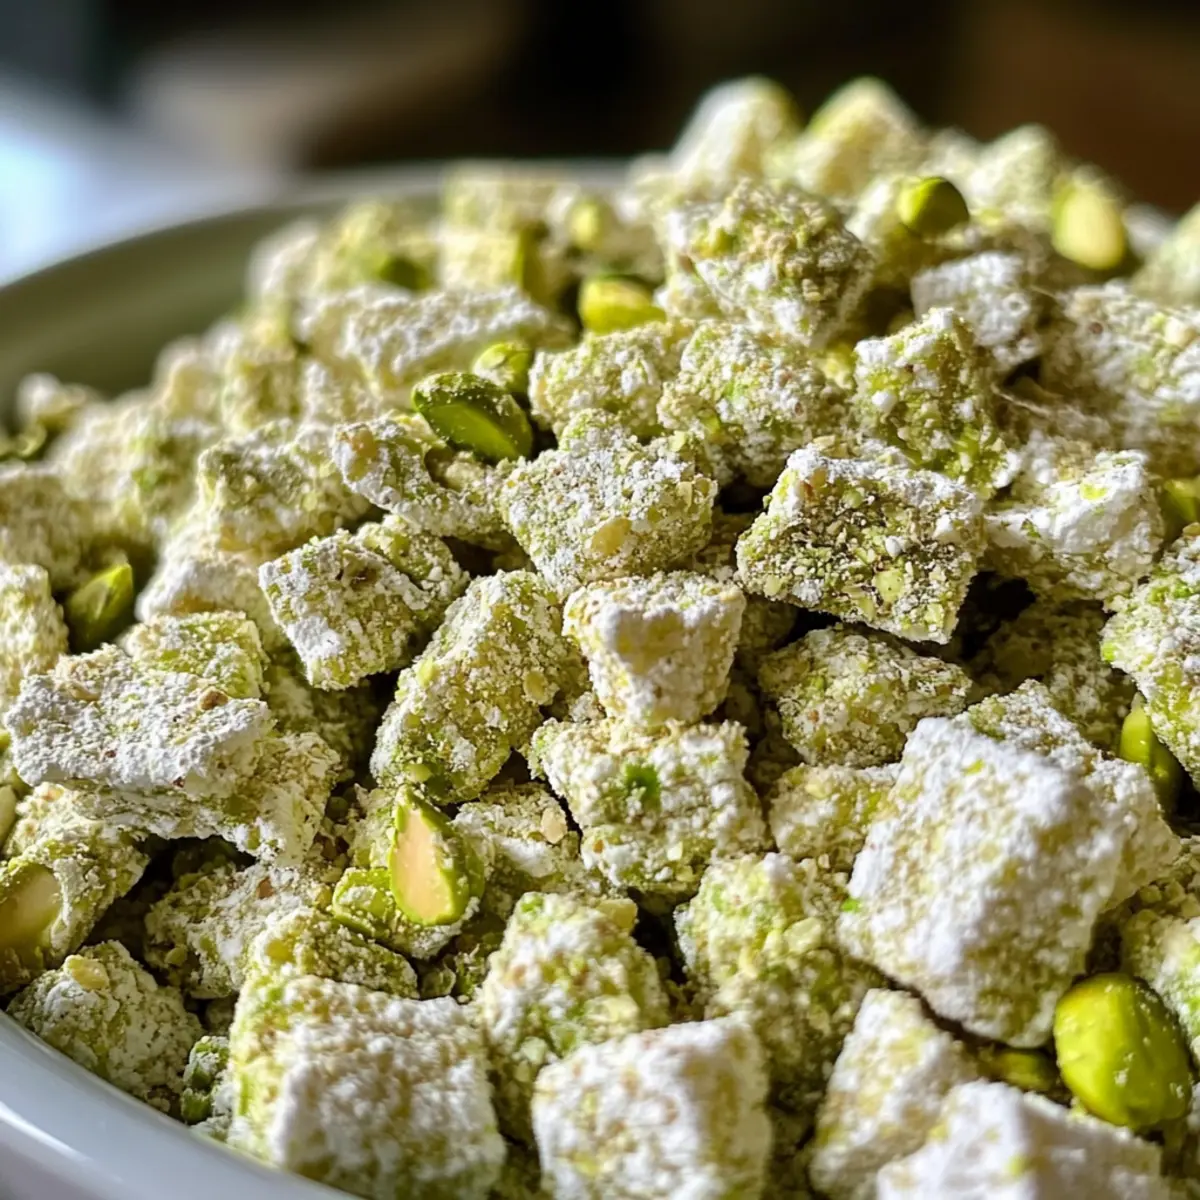
- Powdered sugar – Coats the puppy chow with just the right amount of sweetness.
- Crushed pistachios (optional) – Adds an extra crunch and nutty flavor; feel free to replace with any nut of your choice or omit if allergies are a concern.
Dive into your cooking adventure and make your own Pistachio Puppy Chow—a transformative treat that promises to be a hit for every occasion!
Step‑by‑Step Instructions for Pistachio Puppy Chow
Step 1: Prepare the Cereal
In a large mixing bowl, carefully add 6 cups of Rice Chex cereal. Take your time to ensure all pieces are intact and none are crushed. Set this bowl aside, as it will hold the mixture that transforms into your delightful Pistachio Puppy Chow.
Step 2: Melt the Butter
Grab a microwave-safe bowl and add 1/4 cup of unsalted butter. Microwave in 30-second intervals, stirring after each round, until the butter is completely melted and bubbling gently. This should take about 1-2 minutes. A smooth, hot liquid will serve as the base for your decadent coating.
Step 3: Mix Chocolate and Milk
Into the melted butter, stir in 1 cup of white chocolate chips alongside 1/2 cup of sweetened condensed milk. Microwave this mixture again, but now in 15-20 second intervals, stirring each time until the chocolate is fully melted and the mixture is silky smooth. This luscious blend is key to making your Pistachio Puppy Chow delightful!
Step 4: Combine Pudding Mix
Once the chocolate mixture is smooth, blend in 1 (3.4 oz) box of pistachio pudding mix and 1/2 teaspoon of vanilla extract. Stir vigorously until the mixture is completely combined and smooth in consistency, exhibiting a vibrant green color. The pudding mix is what infuses the signature flavor into your treat.
Step 5: Coat the Cereal
Pour your creamy pistachio mixture over the prepared Rice Chex cereal. Working gently with a spatula, fold the cereal into the mixture. Continue until all pieces are generously coated, taking care not to crush the cereal. This step will ensure that every bite of your Pistachio Puppy Chow is bursting with flavor.
Step 6: Shake in Sugar
Transfer the coated cereal mixture into a large zip-top bag. Add 1 1/2 cups of powdered sugar, seal the bag tightly, and shake it vigorously. Continue shaking until all the cereal is evenly coated in powdered sugar, which adds sweetness and helps prevent clumping.
Step 7: Add Pistachios
Open the zip-top bag and sprinkle in your crushed pistachios for extra crunch and flavor. Seal the bag once more and give it a gentle shake to combine. This step adds a delightful texture to your Pistachio Puppy Chow, making it extra special!
Step 8: Serve or Store
Pour the completed Pistachio Puppy Chow into a festive serving bowl for immediate enjoyment. Alternatively, if you want to save some for later, store it in an airtight container at room temperature. It will keep well for up to one week, but I doubt it will last that long—it’s just too delicious!
Make Ahead Options
These Pistachio Puppy Chow treats are ideal for meal prep, saving you time on busy days! You can prepare and coat the Rice Chex cereal up to 24 hours in advance. Simply follow the initial steps of melting the butter, mixing in the white chocolate and sweetened condensed milk, and blending in the pistachio pudding mix, then pour it over the cereal and coat it. Store the coated cereal in an airtight container to maintain its crunch, and when ready to serve, simply shake in the powdered sugar and crushed pistachios for finishing touches. This method ensures that you’ll have a delightful snack ready to go, without losing any of that tasty charm!
Pistachio Puppy Chow Customizations
Feel free to unleash your creativity and modify this Pistachio Puppy Chow recipe to suit your preferences!
- Gluten-Free: Substitute with gluten-free Rice Chex and pudding mix to make this treat accessible to everyone.
- Nut-Free: Swap crushed pistachios with sunflower seeds or omit them entirely for a nut-free version without sacrificing flavor.
- Chocolatey Delight: Drizzle melted chocolate over the finished puppy chow for a rich, decadent layer that chocolate lovers will adore.
- Flavor Variations: Use vanilla or butterscotch pudding mix instead of pistachio for a different spin on this crunchy classic.
- Spiced Up: Add a pinch of cinnamon or cayenne pepper for a surprising kick that balances the sweetness perfectly.
- Texture Addition: Incorporate mini marshmallows or pretzel pieces for an interesting crunch and flavor contrast in every bite.
- Taste the Rainbow: Mix in colorful candy-coated chocolates or sprinkles to create a fun look that’s bound to wow at parties.
As you explore these variations, you can also serve your Pistachio Puppy Chow alongside dishes like Summer Corn Chowder for a fantastic gathering spread, or pair it with the decadent flavors of Pistachio Carrot Cake to keep your guests smiling!
Expert Tips for the Best Pistachio Puppy Chow
-
Melted Perfection: Ensure both white chocolate and butter are melted smoothly; avoid overheating to prevent the chocolate from seizing up.
-
Gluten-Free Check: For a gluten-free Pistachio Puppy Chow, double-check the labels on your Chex and pudding mix to guarantee they are safe.
-
Even Coating: Use a spatula to gently fold the cereal into the pistachio mixture to prevent crushing. Every piece deserves that delicious coating!
-
Powdered Sugar Bliss: When shaking the mix in the bag, don’t skimp on shaking time. Your goal is a fully coated mixture, so be persistent!
-
Texture Twist: Feel free to get creative! Consider mixing in other nuts or drizzling melted chocolate for an extra decadent treat.
-
Storage Solutions: To maintain freshness, store your Pistachio Puppy Chow in an airtight container. It can last up to a week, but good luck keeping it around that long!
What to Serve with Simple and Sweet Pistachio Puppy Chow
Imagine a vibrant gathering where crunchy treats meet delightful flavors, creating a feast for both the eyes and taste buds.
-
Creamy Fruit Dip: This velvety dip pairs beautifully with fresh fruits, enhancing the sweet flavor of the pistachio chow amidst a colorful spread.
-
Savory Cheese Platter: A selection of cheeses like brie, goat cheese, and aged cheddar will offer a tasty contrast to the sweet and salty notes of the puppy chow, making for a well-rounded tasting experience.
-
Homemade Chocolate Bark: Dark chocolate bark, studded with nuts and dried fruit, makes for a wonderful partner. The rich chocolate will play off the nuttiness of the pistachios, keeping all flavors in perfect harmony.
-
Zesty Lemonade: A refreshing glass of homemade lemonade adds a citrus kick, balancing the sweetness of the chow while enhancing the whole snacking affair.
-
Miniature Cupcakes: Their light and fluffy texture will complement the crunchiness of the puppy chow, turning your gathering into a delightful dessert buffet. Choose flavors like vanilla or lemon to keep it lively.
-
Chilled Sparkling Water: Infused with herbs or fruits, this drink is a great palate cleanser that won’t overpower the sweet and nutty flavors. It keeps your guests refreshed and ready for more snacks.
Elevate your snacking experience by intermingling these delightful choices with your Simple and Sweet Pistachio Puppy Chow!
How to Store and Freeze Pistachio Puppy Chow
Room Temperature: Store in an airtight container at room temperature for up to 1 week to maintain its delightful crunch.
Fridge: If you prefer a cooler snack, you can store it in the fridge, but keep it airtight to prevent it from drying out; it’s good for about 1 week here as well.
Freezer: For longer storage, freeze the Pistachio Puppy Chow in an airtight container or freezer bag for up to 2 months. Thaw in the refrigerator before serving for best texture.
Reheating: No reheating is necessary; simply enjoy it cold!
Pistachio Puppy Chow Recipe FAQs
How do I select the best ingredients for Pistachio Puppy Chow?
Absolutely! When selecting your pistachio pudding mix, choose one with a vibrant green color and a strong pistachio flavor for the best taste. For the Rice Chex cereal, look for fresh boxes without any tears or damage. If you’re adding crushed pistachios, opt for ones that are unsalted and keep an eye out for any dark spots which indicate they may be past their prime.
What’s the best way to store Pistachio Puppy Chow?
Very! For optimal freshness, store your Pistachio Puppy Chow in an airtight container at room temperature. It will stay crunchy for up to 1 week. If you choose to keep it in the fridge, make sure it’s sealed tightly to prevent any moisture from making it soggy.
Can I freeze Pistachio Puppy Chow?
Absolutely! To freeze your Pistachio Puppy Chow, place it in an airtight container or freezer bag to prevent freezer burn. It can be stored for up to 2 months. When you’re ready to enjoy it again, thaw it in the refrigerator. Avoid leaving it at room temperature for extended periods to maintain the ideal crisp texture!
What should I do if my mixture clumps together?
No worries! If you find that your Pistachio Puppy Chow is clumping, it might be due to not mixing the powdered sugar well enough. Try adding a bit more powdered sugar to the bag and give it another vigorous shake. Alternatively, if the chocolate mixture was too hot when coating the cereal, try spreading it on a baking sheet to cool slightly and break up any clumps before bagging.
Is this recipe safe for dogs?
I recommend it! While the name “Puppy Chow” might sound enticing for your furry friends, this recipe is not safe for dogs due to ingredients like chocolate and sweetened condensed milk, which can be harmful. Always keep treats meant for humans away from pets.
Are there any allergy concerns with Pistachio Puppy Chow?
Very! Keep in mind that this recipe contains nuts and dairy ingredients, which can be common allergens. If you have guests with nut allergies, consider omitting the crushed pistachios or replacing them with a safe alternative like sunflower seeds. Always check the labels of your pudding mix and Chex cereal to ensure no other allergens are present.
Irresistible Pistachio Puppy Chow for Sweet Snacking Bliss
Ingredients
Equipment
Method
- In a large mixing bowl, carefully add 6 cups of Rice Chex cereal. Set aside.
- In a microwave-safe bowl, add 1/4 cup of unsalted butter and microwave in 30-second intervals until melted.
- Stir in 1 cup of white chocolate chips and 1/2 cup of sweetened condensed milk; microwave until fully melted and smooth.
- Blend in 1 box of pistachio pudding mix and 1/2 teaspoon of vanilla extract until smooth and vibrant green.
- Pour the pistachio mixture over the Rice Chex and fold gently to coat.
- Transfer the mixture into a zip-top bag, add 1 1/2 cups of powdered sugar, seal and shake until evenly coated.
- Add crushed pistachios to the bag, seal, and shake gently to combine.
- Pour into a serving bowl or store in an airtight container.