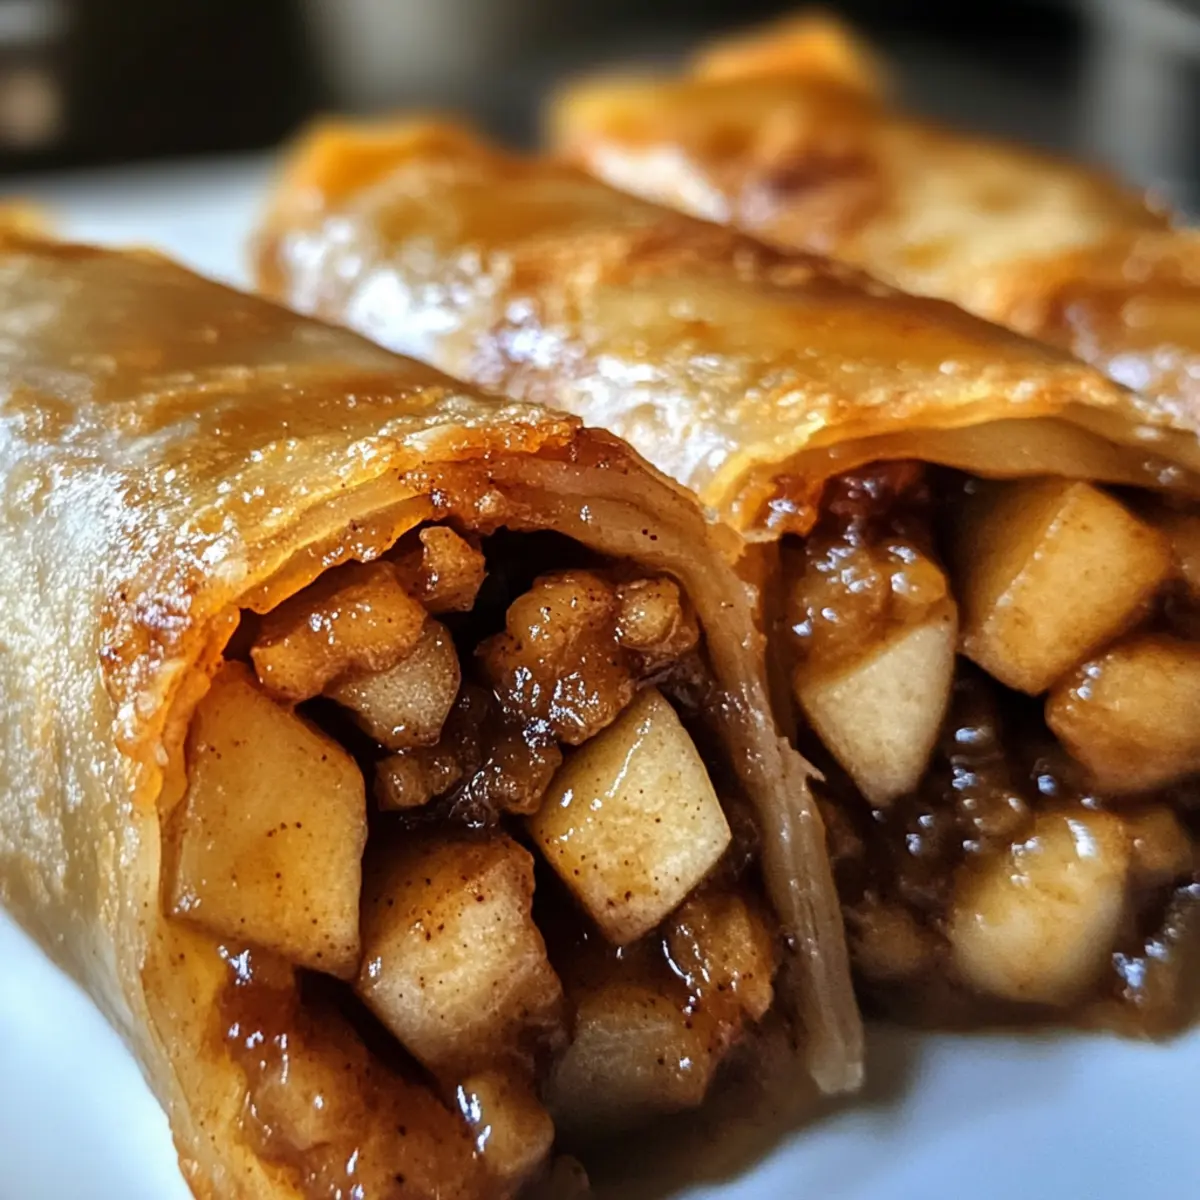
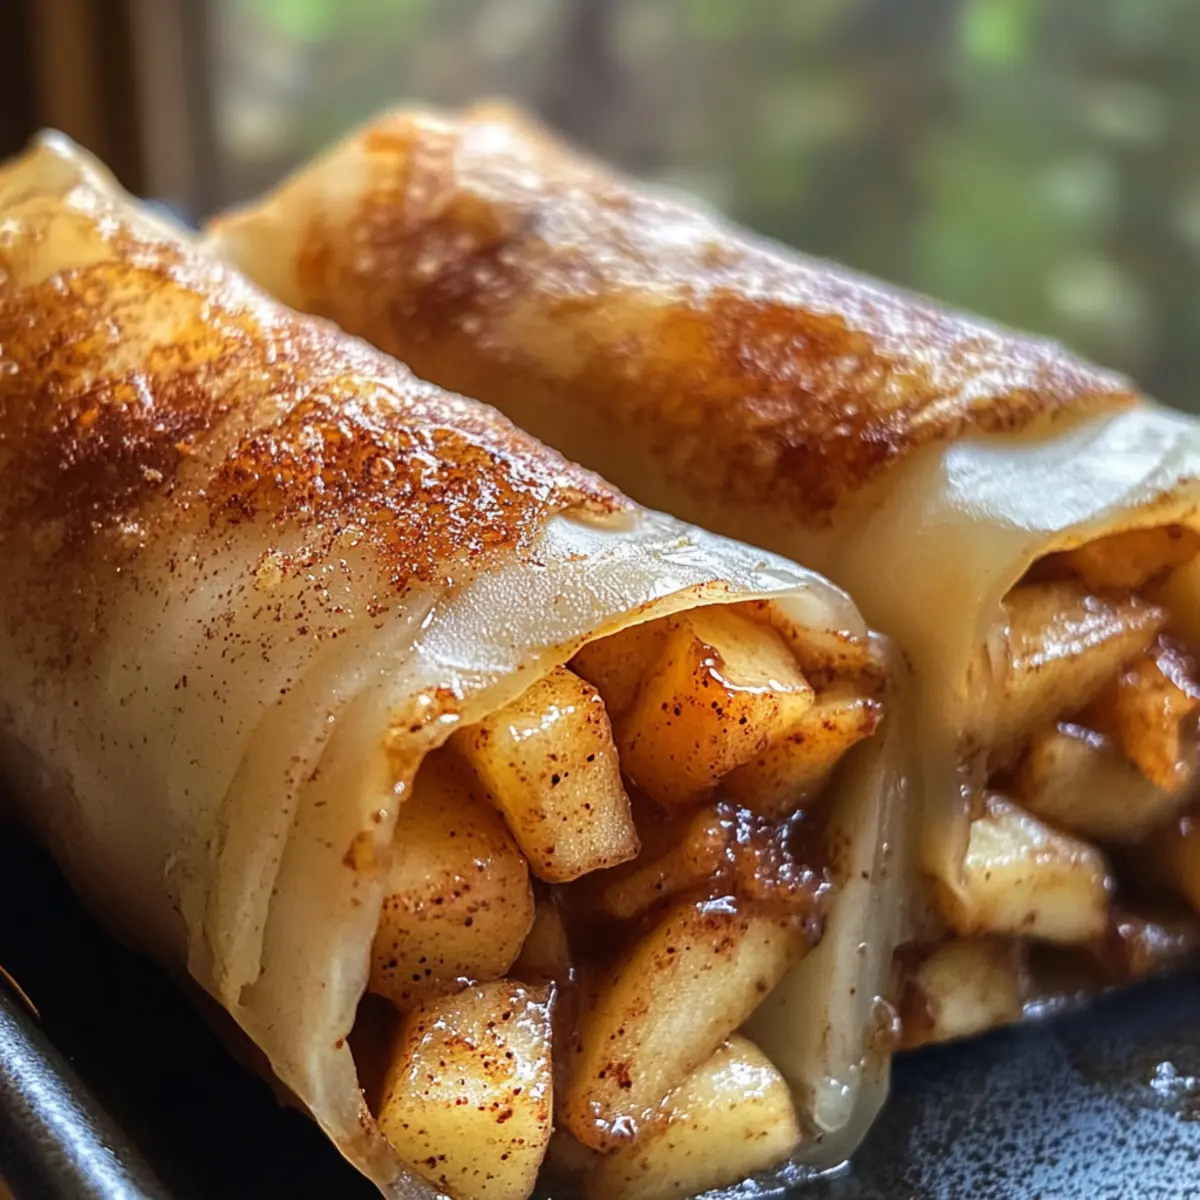
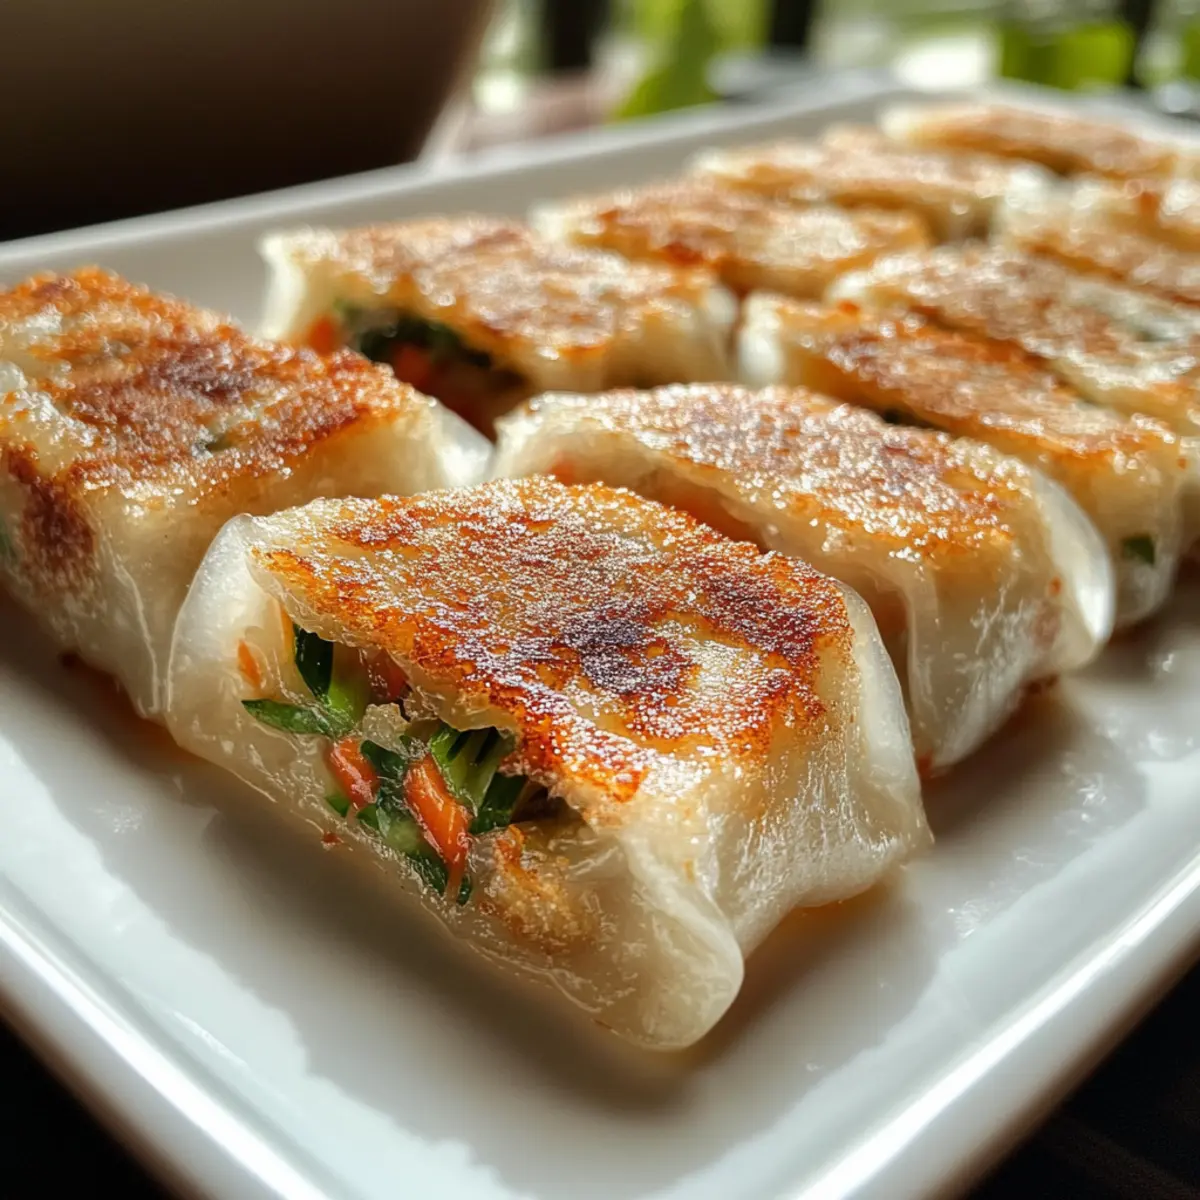
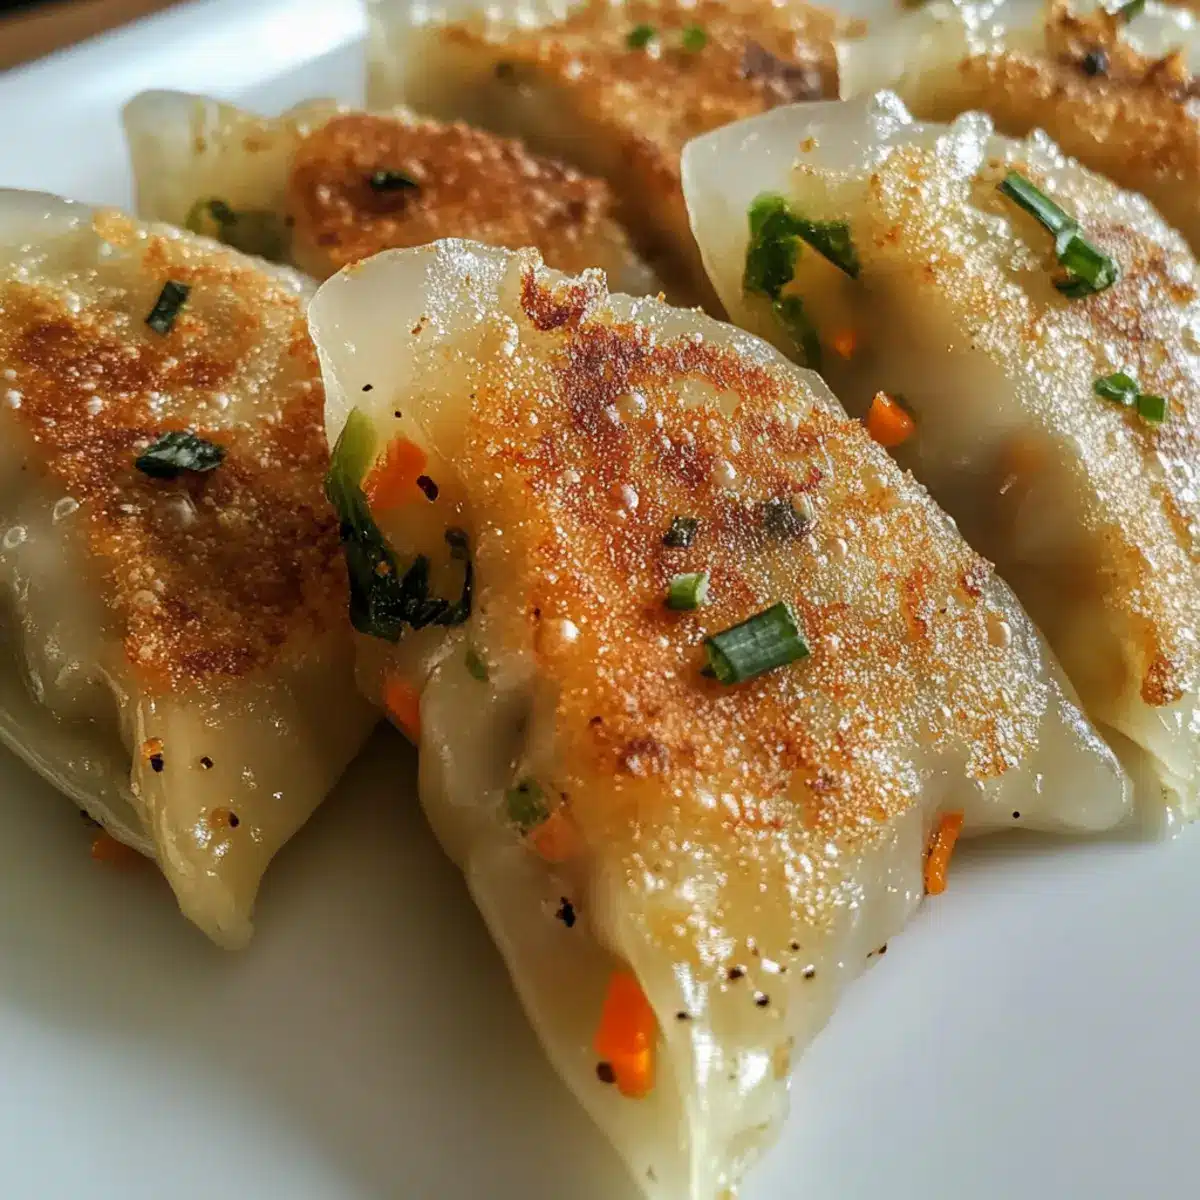
As I stood in my kitchen, the enticing scent of sizzling vegetables filled the air, immediately transporting me to bustling Asian street markets where the sound of golden dumplings being fried is a familiar melody. Today, I’m thrilled to share my recipe for Crispy Rice Paper Dumplings. In just 20 minutes, you can whip up these delightful bites that are not only quick and easy but also gluten-free and fully customizable with your choice of fillings, whether you’re leaning towards a vibrant vegan mix or a savory meat option. Perfect as an appetizer for a dinner party or a cozy family meal, these dumplings are designed to impress. What will you fill yours with? Let’s get cooking!
Why Are These Dumplings a Must-Try?
Quick Preparation: You can whip up these crispy rice paper dumplings in just 20 minutes! Perfect for a busy weeknight or last-minute gathering.
Customizable Fillings: Whether you’re vegan or a meat lover, this recipe allows you to tailor the filling to your taste—use tofu, lentils, or even shrimp!
Gluten-Free Delight: This dish serves those who seek out gluten-free meals without sacrificing flavor. Perfect for everyone at the table!
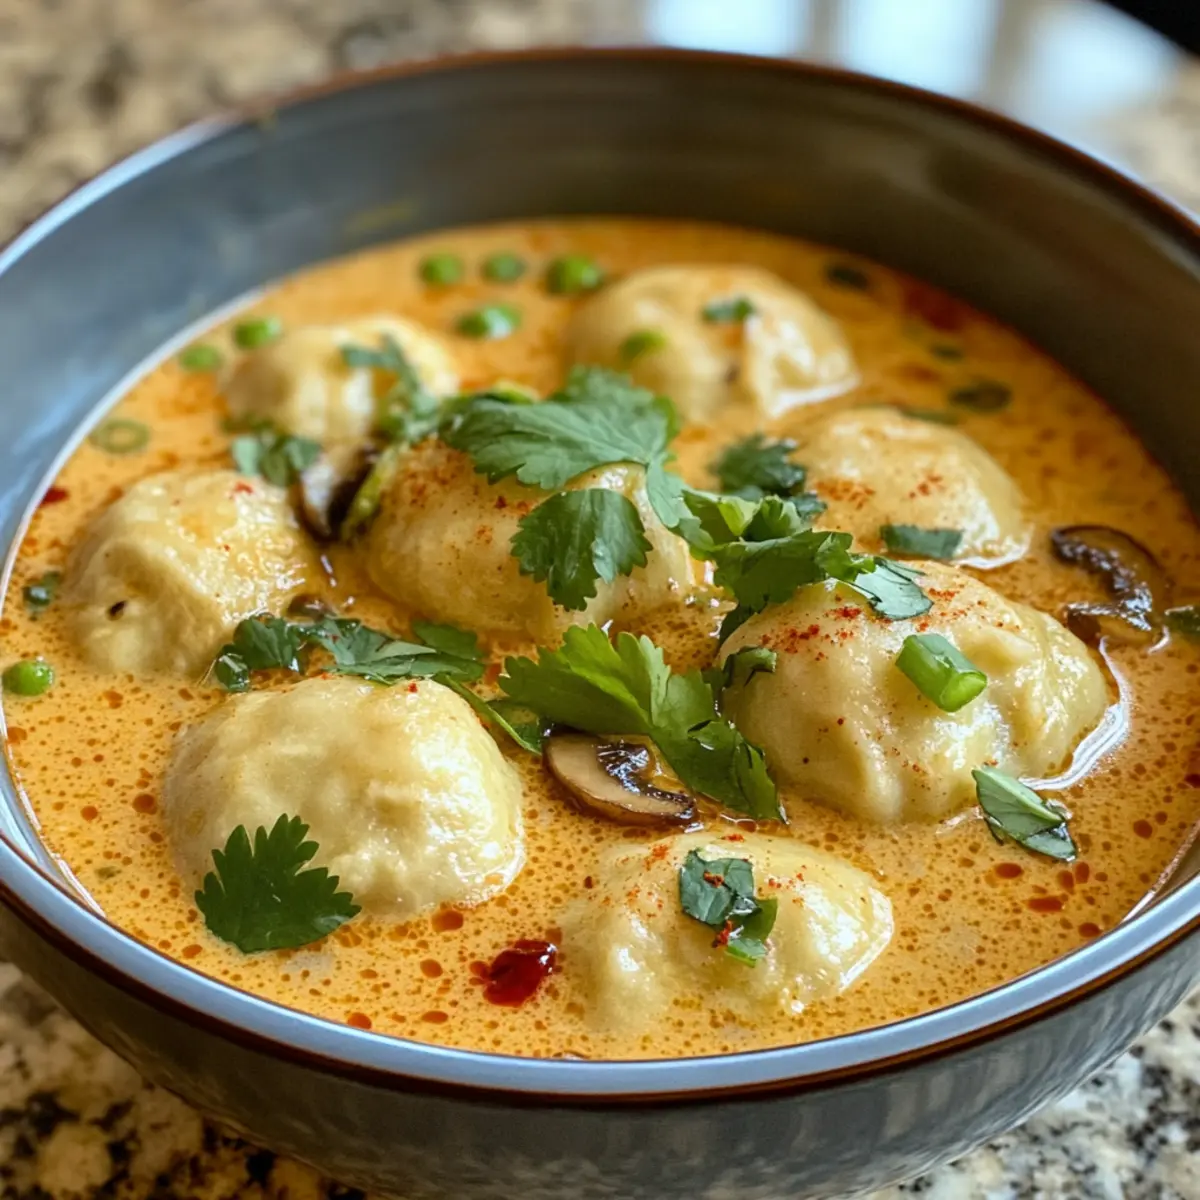
Crowd-Pleasing Flavor: Serve them at your next dinner party alongside a tangy dipping sauce and watch them disappear! Pair them with a fresh cucumber salad or a side of Curry Soup Dumplings for a rounded meal experience.
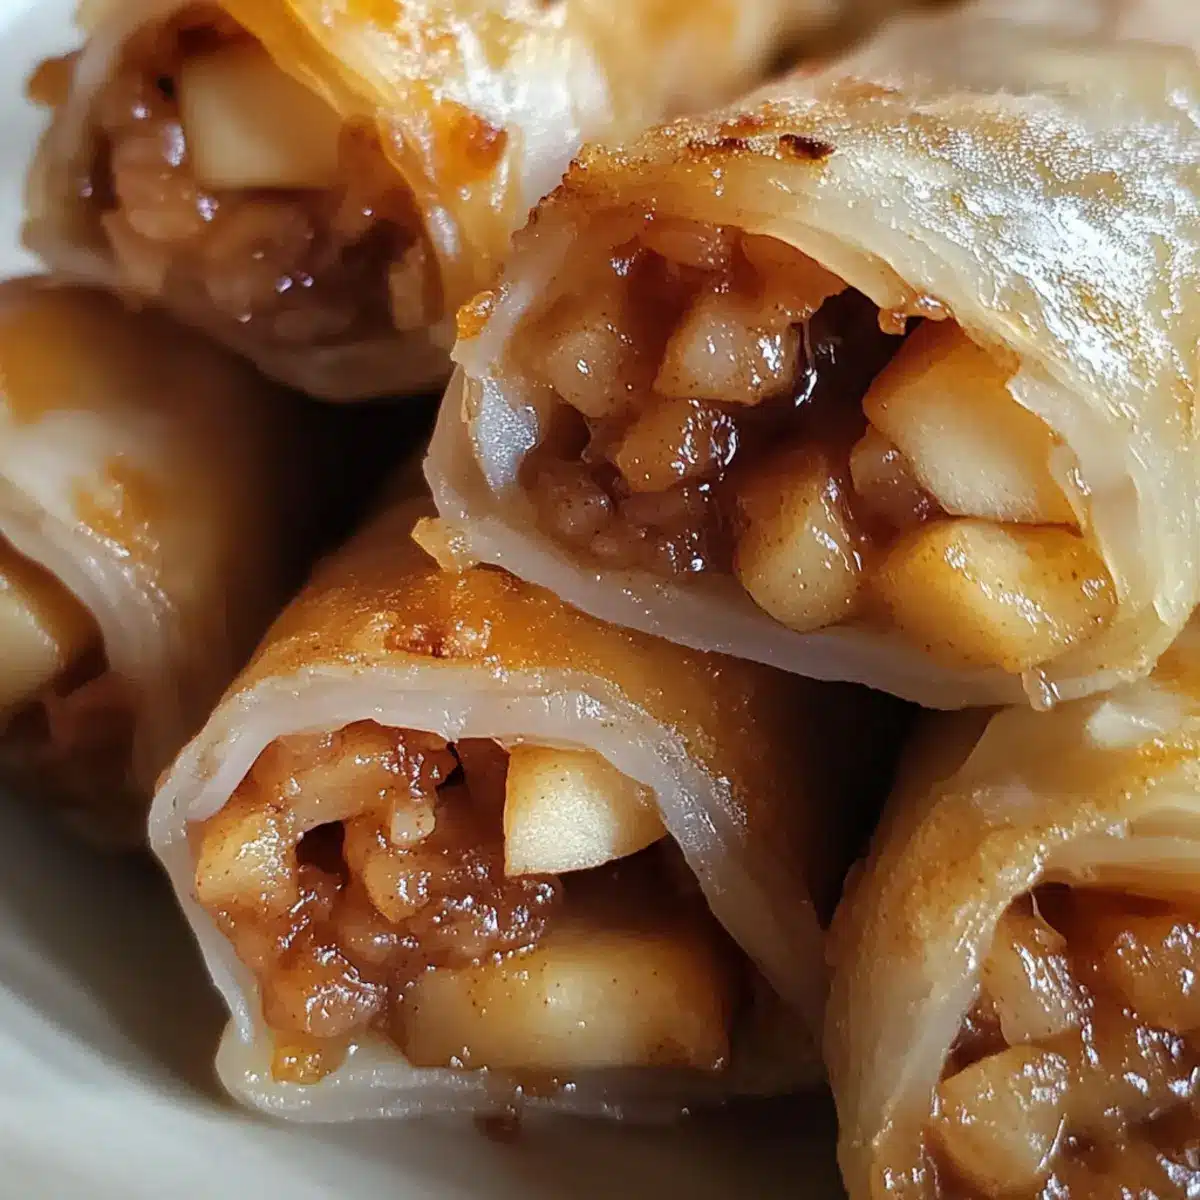
Texture Perfection: Experience the satisfying crunch of the golden exterior juxtaposed with a flavorful filling! This combination is sure to impress.
Crispy Rice Paper Dumplings Ingredients
For the Dumplings
- Rice Paper – Use round sheets designed for dumplings for the perfect crispy exterior.
- Firm Tofu – Crumble for protein and texture; substitute with ground chicken or shrimp for a non-vegan option.
- Mushrooms – Add umami depth; shiitake or baby bella works great!
- Carrots – Shredded for color and sweetness; finely shred for even cooking.
- Green Cabbage – Provides bulk and crunch; napa cabbage is a suitable substitute.
- Spring Onions – Chopped for a fresh, mild flavor; an easy way to enhance the filling.
- Garlic – Fresh minced garlic brings aromatic richness; avoid dried for best flavor.
- Ginger – Freshly grated or minced for warmth and spice; adds a delightful zing.
- Salt and Pepper – Essential for seasoning; adjust to taste for a well-rounded flavor.
For Sautéing
- Olive Oil – Used to sauté the filling; contributes to the overall flavor profile.
- Soy Sauce – Adds savory umami; swap for tamari to make it gluten-free.
- Sesame Oil – Optional for an extra layer of nuttiness; a little goes a long way!
For Cooking
- Olive Oil – Additional olive oil for frying the dumplings until they’re golden brown and crisp.
These Crispy Rice Paper Dumplings are not only versatile but perfect for any occasion. Enjoy customizing them to your taste!
Step‑by‑Step Instructions for Crispy Rice Paper Dumplings
Step 1: Prepare the Filling
Finely shred the green cabbage and carrots, and dice the garlic and mushrooms. Crumble the firm tofu into small pieces to ensure it’s evenly distributed. This colorful mixture will create a delicious filling for your crispy rice paper dumplings. Gather all the ingredients in a large mixing bowl, ready for sautéing.
Step 2: Sauté the Filling
In a skillet, heat 1 tablespoon of olive oil over medium heat until shimmering. Add the diced mushrooms and sauté for about 3-4 minutes until they turn golden and fragrant. Next, stir in the shredded cabbage, carrots, crumbled tofu, ginger, soy sauce, sesame oil, salt, and pepper. Cook until the vegetables are tender, about 3-5 more minutes, then mix in the chopped spring onions.
Step 3: Wrap the Dumplings
Fill a shallow dish with warm water and dip a rice paper sheet in it for 5-10 seconds until it softens but remains intact. Place the softened rice paper on a damp surface. Spoon a small amount of the filling into the center of the wrapper, fold the sides over, and roll it up tightly, sealing the edges. For added durability, layer a second sheet of rice paper before filling and folding.
Step 4: Pan-Fry the Dumplings
In a clean skillet, heat another tablespoon of olive oil over medium-high heat. When hot, carefully place the dumplings seam-side down in the skillet. Fry for 2-3 minutes on each side, until they are golden brown and crispy. Adjust the heat as needed to avoid burning, ensuring a perfect crunch on the outside.
Step 5: Serve
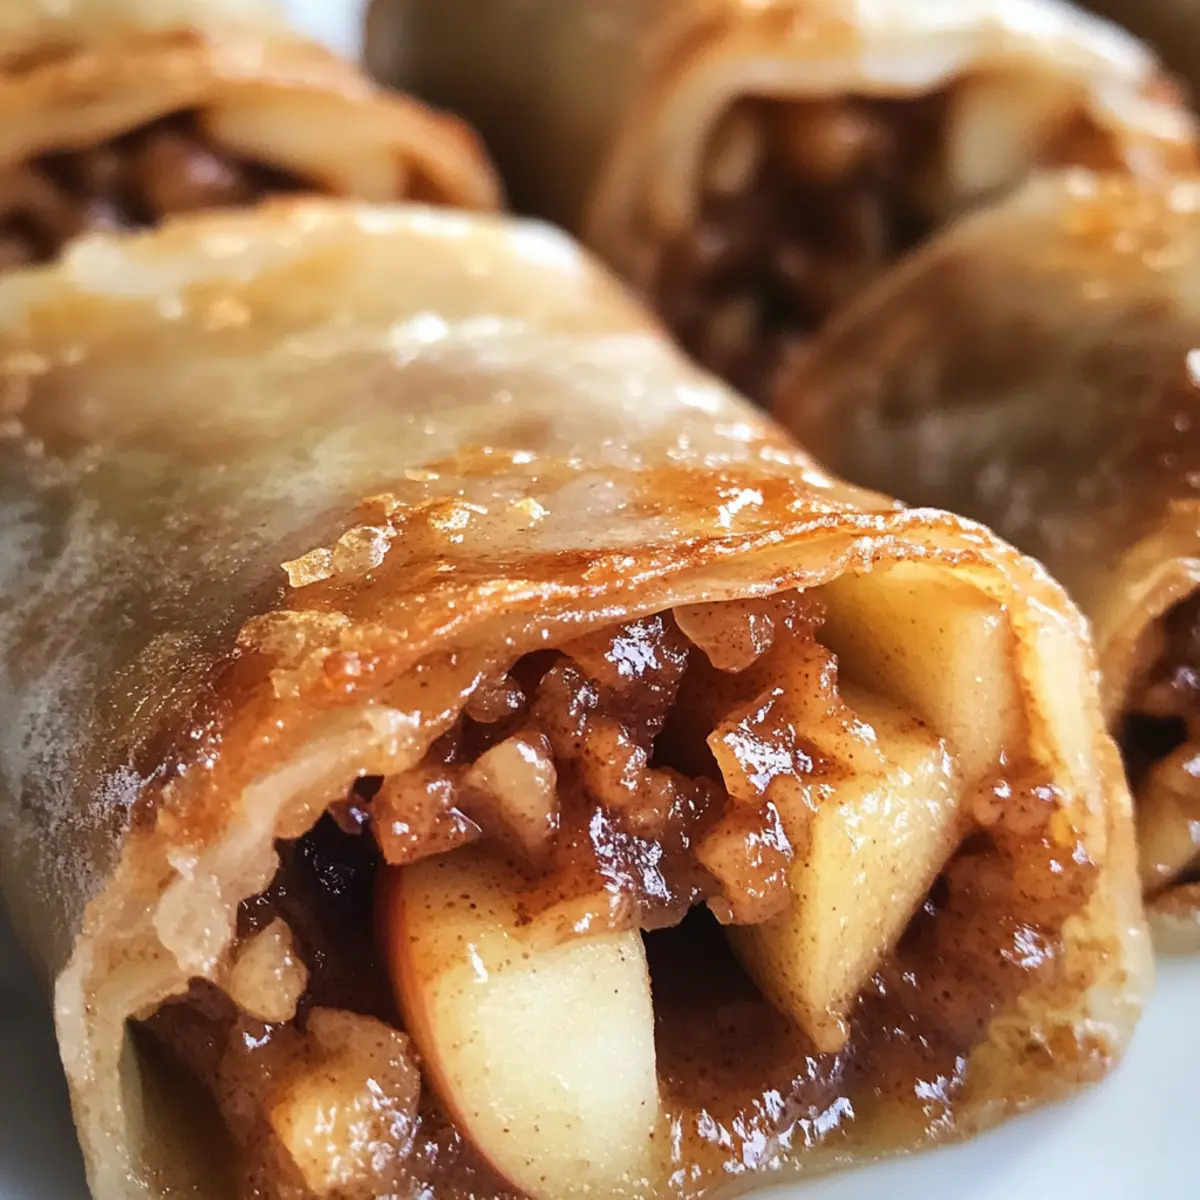
Once your crispy rice paper dumplings are beautifully browned, transfer them to a plate lined with paper towels to absorb any excess oil. Serve them hot with your choice of dipping sauce, such as sweet chili or soy sauce. These dumplings are best enjoyed fresh for that delightful crunch!
Expert Tips for Crispy Rice Paper Dumplings
-
Soak Wisely: Briefly soak the rice paper in warm water for 5-10 seconds to avoid tearing. Too long can make it limp and difficult to work with.
-
Double Layer: For extra crispiness and durability, consider layering two sheets of rice paper. This technique helps maintain the dumpling’s structure during frying.
-
Heat Control: Maintain a medium-high heat while frying. This prevents the dumplings from getting soggy and ensures a perfect golden crust on your crispy rice paper dumplings.
-
Serve Immediately: Enjoy the dumplings right after frying for maximum crunch. Leftovers can become chewy, so plan to serve them fresh and hot.
-
Experiment with Fillings: Don’t hesitate to get creative with your filling! Mix and match ingredients to suit your taste—vegan, meat-filled, or spicy options are all delicious.
Make Ahead Options
These Crispy Rice Paper Dumplings are a fantastic choice for meal prep enthusiasts looking to save time during busy weeknights! You can prepare the filling up to 3 days in advance; simply store it in an airtight container in the refrigerator to keep it fresh and flavorful. If you’re thinking ahead, you can also wrap the uncooked dumplings and freeze them for up to 3 months—just be sure to fry them directly from frozen, adding an extra few minutes of cooking time. When you’re ready to serve, pan-fry the frozen dumplings until golden and crispy, and enjoy the perfectly crunchy texture, just as delicious as when made fresh!
How to Store and Freeze Crispy Rice Paper Dumplings
- Fridge: Store leftover crispy rice paper dumplings in an airtight container for up to 3 days to maintain their freshness.
- Freezer: Uncooked dumplings can be frozen for up to 3 months; ensure they are separated to prevent sticking. Fry directly from frozen, adding a few extra minutes of cooking time.
- Reheating: For best results, reheat leftovers in a skillet over medium heat for a few minutes to restore their crispiness. Avoid microwaving, which can make them soggy.
- Preparation Ahead: The filling can be prepared up to 3 days in advance and stored in the fridge, making assembly quick and easy when you’re ready to cook your crispy rice paper dumplings!
What to Serve with Crispy Rice Paper Dumplings?
These delightful bites not only shine on their own but also pair beautifully with a variety of dishes that will round out your meal.
-
Zesty Cucumber Salad: Refreshingly crunchy, this light salad complements the fried dumplings with a burst of coolness, brightening up each bite.
-
Sweet Chili Dipping Sauce: Serve with a homemade or store-bought sweet chili sauce that adds a fantastically sweet and tangy kick, enhancing the flavors of the dumplings.
-
Crispy Vegetable Stir-Fry: A colorful array of sautéed vegetables adds vibrant textures and nutrients to your meal, creating a wonderful balance with the dumplings.
-
Miso Soup: Warm, comforting miso soup offers a subtle umami flavor which pairs perfectly with the crispy exterior and rich filling of the dumplings.
-
Energizing Quinoa Salad: Tossed with fresh herbs and light dressing, this protein-packed salad provides a nutty flavor that complements the dumplings without overwhelming them.
-
Chilled Green Tea: Enhance your dining experience with a refreshing glass of chilled green tea, whose earthy notes will cleanse the palate between bites.
Indulge in a delightful spread that transforms your Crispy Rice Paper Dumplings into a mouthwatering, memorable feast!
Variations & Substitutions for Crispy Rice Paper Dumplings
Feel free to get creative with your dumpling fillings and cooking styles—your taste buds will thank you!
-
Vegan Option: Swap firm tofu for lentils or mushrooms for a heartier filling packed with protein. This twist will still deliver all the flavors you crave.
-
Chicken Twist: Use shredded rotisserie chicken for a quick-meal option that brings comforting flavors. It’s perfect for those busy weeknights when you want something delicious in a flash.
-
Shrimp Delight: Replace tofu with finely chopped cooked shrimp for a delightful seafood flavor. Just imagine those crispy bites with a hint of ocean sweetness!
-
Spicy Kick: Incorporate diced jalapeños or a splash of sriracha into the filling for a fiery flavor explosion. This little addition can elevate your dumplings to a new level of excitement.
-
Herb Boost: Mix in fresh herbs like cilantro or basil for a vibrant, aromatic punch. The freshness will brighten up every bite and add a lovely fragrance.
-
Quinoa Filling: Use cooked quinoa for a nutritious protein-packed option—this swap not only adds texture but keeps things gluten-free!
-
Cheesy Addition: Stir in vegan cream cheese for a rich twist that melts delightfully inside the dumplings. It’ll give your crispy bites a creamy surprise.
For a perfect meal pairing, serve these dumplings with a refreshing cucumber salad or alongside some mouthwatering Corn Chicken Rice for a delightful experience that everyone will love!
Crispy Rice Paper Dumplings Recipe FAQs
What type of rice paper should I use?
I recommend using round rice paper sheets specifically designed for dumplings. These are typically softer and more pliable, making it easier to wrap your dumplings without tearing. Look for sheets labeled as “spring roll wrappers” or “rice paper.”
How should I store leftover crispy rice paper dumplings?
Leftover dumplings can be stored in an airtight container in the refrigerator for up to 3 days. It’s essential to keep them sealed to prevent them from drying out and losing their yummy texture!
Can I freeze uncooked dumplings, and how do I do it?
Absolutely! Uncooked crispy rice paper dumplings can be frozen for up to 3 months. Here’s how: After wrapping, lay them in a single layer on a baking sheet lined with parchment paper. Freeze until solid, then transfer to a freezer bag or container. When you’re ready to enjoy, fry them directly from frozen—just add a few extra minutes to the cooking time for a perfectly crispy result.
What’s the best way to reheat crispy rice paper dumplings?
For the best texture, reheat your leftover dumplings in a skillet over medium heat for about 3-4 minutes. This method helps to restore their crispiness. Avoid using a microwave, as it can make the dumplings soggy and lose that delightful crunch we adore!
Can I modify the ingredients for dietary restrictions?
Certainly! The beauty of these crispy rice paper dumplings lies in their versatility. You can replace firm tofu with other protein sources like lentils, shredded chicken, or shrimp, catering to different dietary needs. Just be mindful of any allergies, especially regarding soy sauce—choose tamari for a gluten-free alternative or skip it entirely for a lighter version.
Crispy Rice Paper Dumplings: A Crunchy Joy to Your Plate
Ingredients
Equipment
Method
- Prepare the Filling: Finely shred the green cabbage and carrots, and dice the garlic and mushrooms. Crumble the firm tofu into small pieces to ensure it's evenly distributed. Gather all the ingredients in a large mixing bowl, ready for sautéing.
- Sauté the Filling: In a skillet, heat 1 tablespoon of olive oil over medium heat, add the diced mushrooms and sauté for 3-4 minutes. Then stir in cabbage, carrots, tofu, ginger, soy sauce, sesame oil, salt, and pepper. Cook until tender, about 3-5 more minutes, then mix in the spring onions.
- Wrap the Dumplings: Fill a shallow dish with warm water and dip a rice paper sheet for 5-10 seconds. Place it on a damp surface, spoon a small amount of filling in the center, fold the sides, and roll tightly. For added durability, layer a second sheet of rice paper.
- Pan-Fry the Dumplings: Heat another tablespoon of olive oil in a skillet over medium-high heat. Place the dumplings seam-side down and fry for 2-3 minutes on each side until golden brown and crispy.
- Serve: Transfer hot dumplings to a plate lined with paper towels. Serve with your choice of dipping sauce and enjoy fresh for maximum crunch.